Love this? Save it for later!
Share the inspiration with your friends
“I wasn’t planning on making dessert that night,” I remember saying to myself. It was past 10 PM on a random Thursday, and honestly, the only thing I had energy for was a quick snack. But you know that feeling when your sweet tooth suddenly stages a full-on rebellion? That’s exactly what happened. I was rummaging through the pantry, half asleep, when I spotted a bag of Oreo cookies staring back at me like a little midnight beacon.
Now, I hadn’t planned to whip up anything fancy—heck, I was too tired for anything that required an oven or complicated steps. Then, on a whim, I thought, “Why not try making some no-bake Oreo cheesecake cups?” I’d seen similar recipes floating around but never gave them a proper shot. Well, let me tell you, those five minutes in the kitchen turned out to be the best decision that night.
It was a bit messy—I accidentally dropped some crushed Oreos on the floor and almost spilled the cream cheese—but that’s the beauty of it: no stress, no fuss, just a quick mix, a little layering, and voila! Creamy, dreamy cheesecake cups that hit every craving spot perfectly. The next day, I found myself making these for a casual brunch with friends, and they vanished before I even had a chance to snap a photo.
Maybe you’ve been there too—looking for a last-minute dessert that feels indulgent without the hassle. This recipe stays with me because it’s that kind of simple magic: just a handful of ingredients, no oven required, and a result that makes you close your eyes after the first bite. If you love Oreo cookies and creamy cheesecake, but hate complicated recipes, you’re going to want to stick around.
Why You’ll Love This Recipe
Honestly, this Easy No-Bake Oreo Cheesecake Cups recipe has become my go-to for those moments when dessert needs to be fast, fuss-free, and absolutely delicious. I’ve tested this recipe multiple times, tweaking it to get that perfect creamy texture and Oreo crunch balance. Here’s why it stands out:
- Quick & Easy: Ready in just 5 minutes, ideal for busy weeknights or spontaneous cravings.
- Simple Ingredients: No need for fancy groceries—just common kitchen staples and your favorite Oreos.
- Perfect for Any Occasion: Whether it’s a casual get-together or a last-minute dessert, these cups impress without stress.
- Crowd-Pleaser: Kids, adults, even the pickiest eaters can’t resist the creamy texture and sweet Oreo crunch.
- Unbelievably Delicious: The smooth cheesecake filling paired with crunchy cookie bits creates a comforting flavor combo every time.
What makes this recipe different? Well, the secret is in the quick chilling step and the way the Oreo crumbs are pressed for that perfect base without getting soggy. I also like to whip the cream cheese just right to keep it light but rich. You won’t find a complicated ingredient list or long wait times here—just pure, simple, cheesecake goodness. Honestly, it’s the kind of dessert that makes you want to keep the recipe handy for whenever life throws a dessert emergency your way.
What Ingredients You Will Need
This recipe uses simple, wholesome ingredients to deliver bold flavor and satisfying texture without the fuss. Most of these are pantry staples, and you probably have them right now.
- Oreo cookies (about 20 whole cookies): Crushed into fine crumbs and chunks. I prefer the classic Oreos for that iconic flavor, but feel free to try Golden Oreos for a twist.
- Cream cheese (8 ounces / 225 grams): Softened to room temperature for smooth blending. I recommend Philadelphia brand for its creamy texture.
- Powdered sugar (½ cup / 60 grams): Adds just the right amount of sweetness without graininess.
- Heavy whipping cream (1 cup / 240 ml): Chilled, to whip into stiff peaks. If you want a lighter option, use half-and-half but note the texture may be less thick.
- Vanilla extract (1 teaspoon): For that subtle depth of flavor.
- Butter (3 tablespoons / 45 grams), melted: To bind the Oreo crust, optional but recommended for sturdiness.
If you want to keep it dairy-free, you can swap cream cheese with a vegan alternative and use coconut cream instead of heavy cream. Just be sure to check the consistency before assembling.
Equipment Needed
- Mixing bowls: At least two—one for the crust and one for the filling.
- Electric mixer or hand whisk: An electric mixer makes whipping the cream and cream cheese easier and fluffier, but you can use a whisk if you’re up for a bit of an arm workout.
- Food processor or resealable bag and rolling pin: To crush the Oreos finely. I personally like using a food processor because it’s quick and gives an even crumb size.
- Spatula: For folding the whipped cream into the cream cheese mixture smoothly.
- Serving cups or small jars: Any clear cups you have on hand work well to show off the layers.
- Measuring cups and spoons: For accuracy with ingredients.
For budget-friendly options, you can crush Oreos by placing them in a sturdy plastic bag and pounding them gently with a rolling pin or even a heavy pan. I’ve done this many times when my food processor was in the dishwasher, and it works just fine!
Preparation Method
- Crush the Oreos: Place 18 Oreos in a food processor and pulse until you get fine crumbs with some small chunks for texture. If using a bag and rolling pin, crush carefully until you have a mix of crumbs and chunks. Reserve 2 Oreos to chop roughly for topping. (5 minutes)
- Make the crust: In a medium bowl, combine the Oreo crumbs with melted butter. Mix until all crumbs are evenly coated and slightly clump together when pressed. (2 minutes)
- Press crust into cups: Spoon about 2 tablespoons (30 grams) of the crust mixture into the bottom of each serving cup. Press down firmly with the back of a spoon to create a compact base. (3 minutes)
- Whip the cream: Using an electric mixer, beat the chilled heavy cream in a cold bowl on high speed until stiff peaks form. This usually takes about 3-4 minutes. Be careful not to overwhip, or it turns grainy. (5 minutes)
- Mix cream cheese and sugar: In a separate bowl, beat the softened cream cheese with powdered sugar and vanilla extract until smooth and fluffy, about 2-3 minutes. (3 minutes)
- Fold whipped cream into cream cheese: Gently fold about half of the whipped cream into the cream cheese mixture to lighten it, then fold in the remaining cream carefully to keep it airy. (2-3 minutes)
- Assemble the cheesecake cups: Spoon or pipe the cream cheese filling over the Oreo crust in the cups, filling them almost to the top. Smooth the surface with a spatula. (5 minutes)
- Top with chopped Oreos: Sprinkle the reserved chopped Oreo pieces on top for extra crunch and visual appeal. (1 minute)
- Chill: Place the cups in the refrigerator for at least 1 hour to set. (Optional: you can enjoy them right away if pressed for time, but chilling improves texture.)
Pro tip: If your cream cheese isn’t soft enough, microwave it in 10-second bursts to avoid lumps. Also, folding the whipped cream gently keeps the filling light and fluffy—don’t rush this step! You want to see soft peaks, not a dense mixture.
Cooking Tips & Techniques
One of the trickier parts of making no-bake cheesecakes is getting the texture just right. I’ve learned a few things the hard way, like what happens if you don’t soften the cream cheese enough—lumps, lumps, lumps. Here’s my advice:
- Softening the cream cheese: Always let it sit at room temperature for at least 30 minutes, or use the microwave trick mentioned earlier. This ensures a creamy, smooth filling.
- Whipping cream tips: Cold cream whips best, so chill your bowl and beaters in the freezer for 10 minutes before whipping. Watch closely to avoid overwhipping, which can turn it grainy and separate.
- Crust consistency: The melted butter binds the Oreo crumbs so the crust doesn’t crumble apart. If too dry, add a little more butter, but not too much or it gets soggy.
- Folding technique: Use a gentle folding motion rather than stirring to keep air in the whipped cream, resulting in a lighter texture.
- Chilling time: While you can eat these right away, chilling for at least an hour helps flavors meld and texture firm up nicely.
Honestly, the first time I tried this recipe, I underestimated the importance of folding properly and ended up with a dense, heavy filling. After a few tries, I got the hang of it, and now I love how fluffy and smooth the cheesecake feels. Multitasking helps too—I usually start crushing the Oreos while the cream cheese softens, shaving precious minutes off prep time.
Variations & Adaptations
This recipe is super flexible, which I love. Here are some ways I’ve played around with it, and you can too:
- Chocolate Lover’s Twist: Add 2 tablespoons of cocoa powder to the cream cheese mixture for a chocolatey cheesecake base. Top with mini chocolate chips for extra fun.
- Berry Fresh: Layer fresh strawberries or raspberries between the crust and filling for a fruity surprise. In summer, fresh berries bring a bright, tangy contrast that pairs beautifully with Oreos.
- Peanut Butter Swirl: Mix 2 tablespoons of creamy peanut butter into the cream cheese before folding in whipped cream. This adds a nutty richness that’s irresistible.
- Vegan/Dairy-Free: Use vegan cream cheese and coconut whipping cream instead of dairy. You’ll want to chill the coconut cream overnight for best whipping results.
- Different Cookie Bases: Swap Oreos for chocolate graham crackers, Biscoff cookies, or gluten-free options if you prefer.
One personal favorite was adding a pinch of cinnamon to the crust, inspired by a cozy autumn afternoon. The warmth of cinnamon with the Oreo crunch created a comforting twist that I couldn’t stop eating. Feel free to customize based on your pantry and mood!
Serving & Storage Suggestions
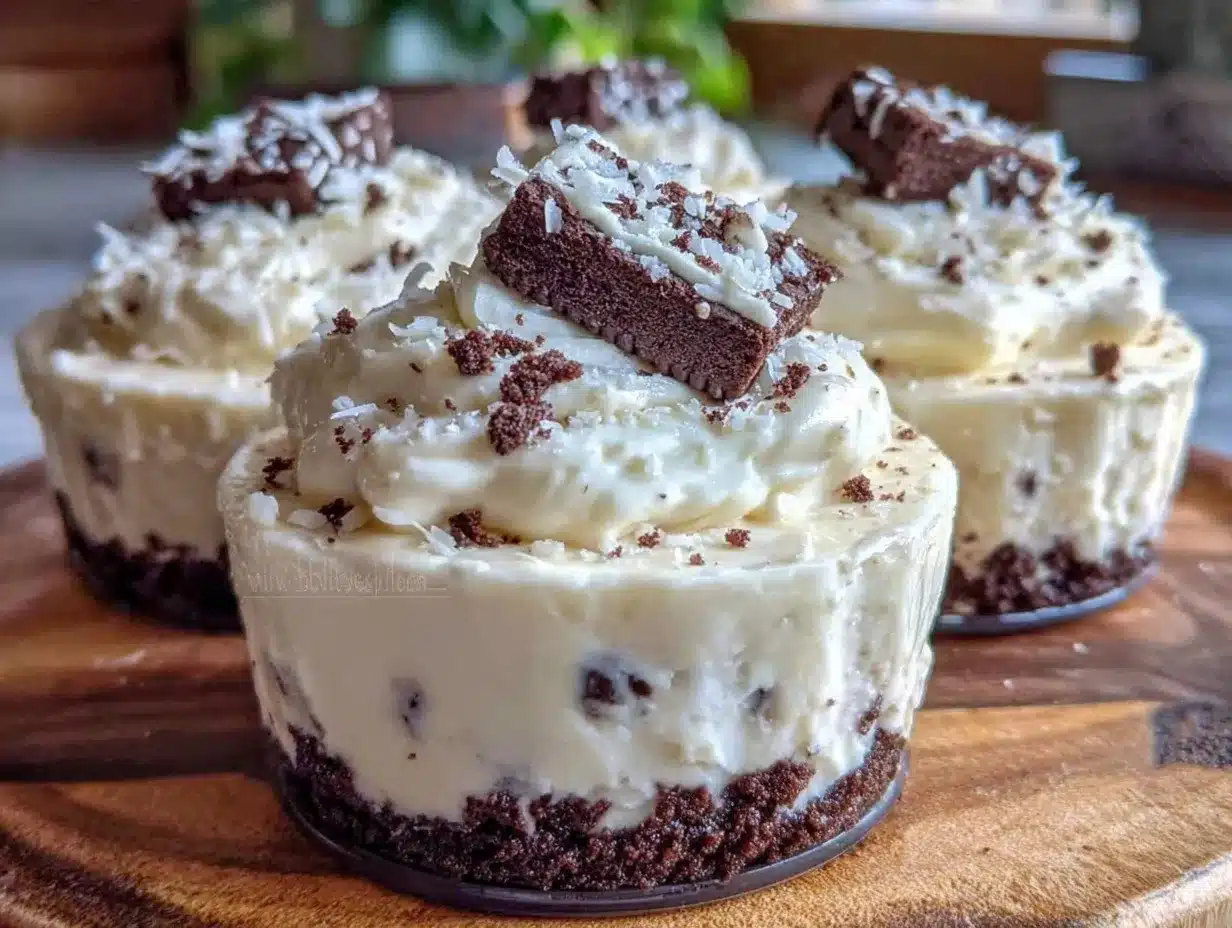
These Easy No-Bake Oreo Cheesecake Cups taste best chilled, so serve them straight from the fridge. I like to garnish mine with a few extra Oreo crumbs or a dollop of whipped cream on top for that little extra flair. They also look lovely in clear glasses or mason jars, making an appealing presentation for guests.
Complement these cheesecake cups with a cup of coffee or a cold glass of milk to balance the richness. If you’re serving at a party, pair them with lighter bites like fresh fruit or a simple green salad.
For storage, cover the cups tightly with plastic wrap or lids and keep refrigerated for up to 3 days. You can also freeze them (without the crumb topping) for up to a month. When ready to enjoy, thaw overnight in the fridge and add fresh Oreo crumbs before serving.
Flavors actually deepen after a day in the fridge, so if you can wait, the texture becomes creamier and the Oreo crust softens just right without losing crunch.
Nutritional Information & Benefits
Each serving of these cheesecake cups (about 1 cup / 200 grams) contains approximately:
| Calories | 350 |
|---|---|
| Fat | 25g |
| Carbohydrates | 28g |
| Protein | 5g |
| Sugar | 20g |
The cream cheese provides a good source of calcium and protein, while the Oreos add a sweet crunch. Though this is a treat, using quality ingredients like real cream cheese and fresh whipping cream makes a difference in taste and texture.
For dietary needs, you can make this gluten-free by choosing gluten-free sandwich cookies and opt for low-fat cream cheese if you want to reduce fat content. Be mindful that Oreos contain wheat and milk, so this dessert isn’t suitable for those with allergies to these ingredients unless substitutions are made.
From a wellness perspective, I see this recipe as a perfect occasional indulgence that satisfies sweet cravings quickly, without the need to bake or make a mess. It’s also a great way to involve kids in simple dessert making, which is always a win in my book.
Conclusion
Easy No-Bake Oreo Cheesecake Cups are proof that you don’t need a fancy oven or hours of prep to make a crowd-pleasing dessert that feels special. Whether you’re rescuing a late-night sweet craving or bringing a simple yet delicious treat to a gathering, this recipe has your back.
I love how flexible it is—you can tweak it with different flavors or toppings to suit your taste, making it a recipe you’ll return to again and again. Honestly, it’s one of those sweet little kitchen victories that feels like a hug in a cup.
Give it a try and let me know how it turns out! I’m always curious to hear your favorite variations or tips. Don’t forget to share this recipe if it saves your dessert day — you never know who might need a quick, no-fuss cheesecake fix.
FAQs About Easy No-Bake Oreo Cheesecake Cups
Can I make these cheesecake cups ahead of time?
Yes! They can be prepared up to 1 day in advance and stored in the fridge. Just add the Oreo topping right before serving to keep it crunchy.
What if I don’t have heavy cream?
You can use half-and-half or whipping cream, but the texture won’t be as fluffy or stable. For best results, use heavy cream chilled.
How do I prevent the crust from getting soggy?
Mixing melted butter with the Oreo crumbs and pressing firmly helps create a solid base that resists sogginess. Also, chilling the cups helps the crust set.
Can I use a different cookie besides Oreos?
Absolutely! Graham crackers, Biscoff cookies, or gluten-free cookies all work well for the crust and topping.
Is this recipe kid-friendly?
Definitely! Kids love the sweet Oreo flavor, and it’s a fun, no-bake recipe that’s easy to help with.
Speaking of no-bake desserts, I once made a no-bake chocolate peanut butter bars that also come together super fast if you want to add variety to your dessert rotation. For another quick treat with a cookie twist, these crispy garlic chicken recipes are a must-try savory option that pairs well with cheesecake cups for a full meal experience.
Pin This Recipe!
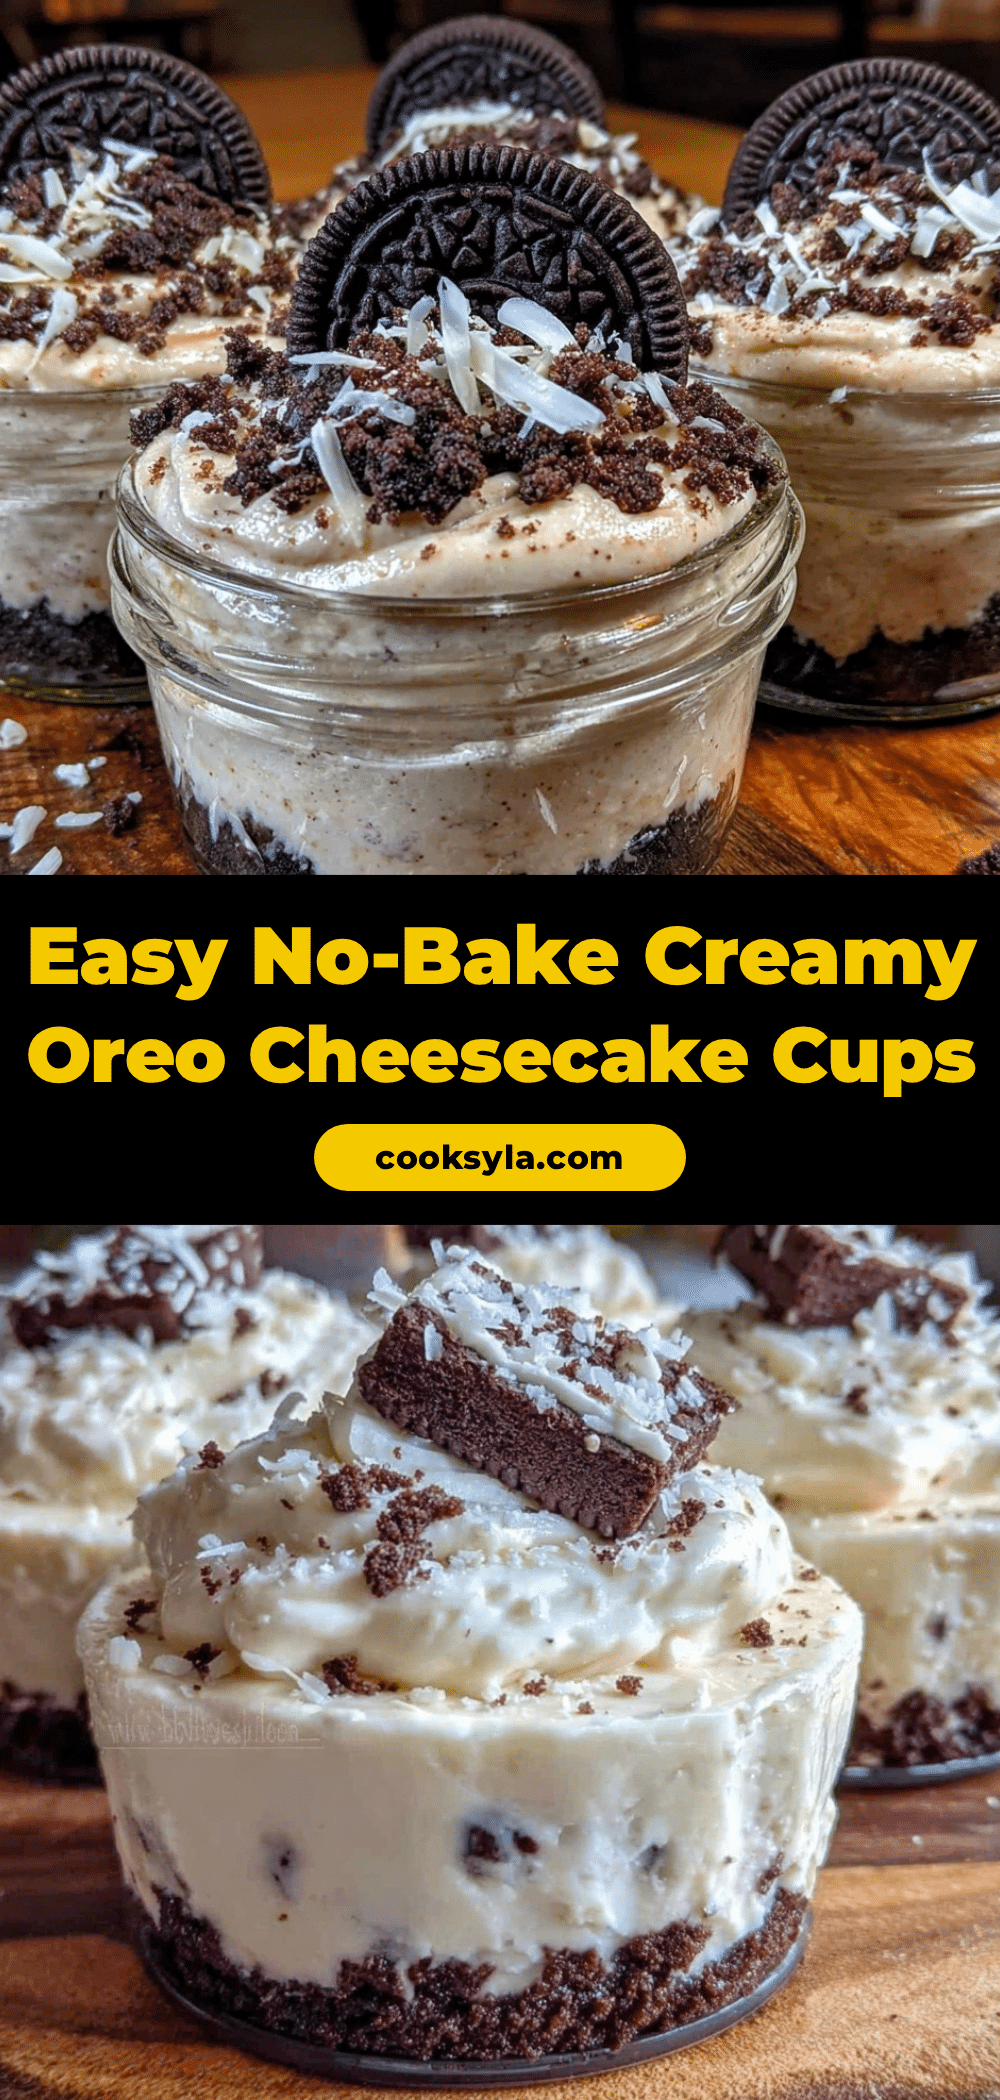
Easy No-Bake Oreo Cheesecake Cups
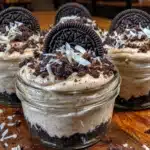
A quick and fuss-free no-bake dessert featuring creamy cheesecake filling layered over a crunchy Oreo crust, ready in just 5 minutes.
- Prep Time: 10 minutes
- Cook Time: 0 minutes
- Total Time: 1 hour 10 minutes
- Yield: 6 servings 1x
- Category: Dessert
- Cuisine: American
Ingredients
- 20 Oreo cookies (crushed into fine crumbs and chunks)
- 8 ounces (225 grams) cream cheese, softened to room temperature
- ½ cup (60 grams) powdered sugar
- 1 cup (240 ml) heavy whipping cream, chilled
- 1 teaspoon vanilla extract
- 3 tablespoons (45 grams) melted butter (optional, for crust binding)
Instructions
- Crush 18 Oreos in a food processor until fine crumbs with some chunks remain. Reserve 2 Oreos chopped roughly for topping.
- In a medium bowl, combine Oreo crumbs with melted butter and mix until crumbs clump together when pressed.
- Press about 2 tablespoons (30 grams) of crust mixture into the bottom of each serving cup firmly.
- Whip chilled heavy cream in a cold bowl on high speed until stiff peaks form, about 3-4 minutes.
- Beat softened cream cheese with powdered sugar and vanilla extract until smooth and fluffy, about 2-3 minutes.
- Gently fold half of the whipped cream into the cream cheese mixture, then fold in the remaining whipped cream carefully to keep it airy.
- Spoon or pipe the cream cheese filling over the Oreo crust in the cups, filling almost to the top and smooth the surface.
- Sprinkle reserved chopped Oreo pieces on top for crunch and visual appeal.
- Chill the cups in the refrigerator for at least 1 hour to set (optional, but recommended).
Notes
Softening cream cheese to room temperature is crucial for a smooth filling. Chill the bowl and beaters before whipping cream to achieve stiff peaks. Fold whipped cream gently to keep the filling light and airy. Chilling the cups for at least 1 hour improves texture and flavor melding. Use melted butter in the crust to prevent crumbling and sogginess. Variations include adding cocoa powder, fresh berries, peanut butter, or using vegan/dairy-free substitutes.
Nutrition
- Serving Size: About 1 cup (200 gra
- Calories: 350
- Sugar: 20
- Fat: 25
- Carbohydrates: 28
- Protein: 5
Keywords: no-bake, Oreo, cheesecake, quick dessert, easy dessert, no oven, creamy, Oreo crust