Love this? Save it for later!
Share the inspiration with your friends
Introduction
“Why can’t you just stir the caramel right into the cream and freeze it?” my friend asked one rainy Saturday afternoon while I was fussing over my old ice cream maker. I started to explain why that wouldn’t work — then stopped. Honestly, I decided to try her idea, half-expecting it to be a sticky, icy mess. But instead, what came out of the freezer was this unbelievably smooth, creamy salted caramel ice cream that tasted like it belonged in a fancy gelato shop. It was a little messy (I forgot to cover the container properly, so a few ice crystals sneaked in), and my kitchen smelled like a burnt sugar factory for a day, but it was worth every imperfect moment.
Maybe you’ve been there, trying to make homemade ice cream and getting frustrated with complicated machines or long churning times. This recipe flips that on its head — no churn, simple ingredients, and a rich, buttery caramel flavor that somehow feels both indulgent and effortless. This creamy no-churn salted caramel ice cream recipe has since become my go-to for last-minute dessert emergencies and weekend treats. Let me tell you, it’s the kind of recipe that makes you question everything you thought you knew about homemade ice cream.
Why You’ll Love This Recipe
After testing countless ice cream recipes, this one stood out for its simplicity and flavor. It’s not just another salted caramel ice cream — it’s got that perfect balance of salty and sweet, with a texture so creamy you won’t believe it’s no-churn.
- Quick & Easy: Ready in under 4 hours, no fancy equipment needed.
- Simple Ingredients: Pantry staples like heavy cream, sweetened condensed milk, and caramel sauce.
- Perfect for Any Occasion: Whether it’s a cozy night in or a summer BBQ, this dessert fits right in.
- Crowd-Pleaser: Friends and family always ask for the recipe — kids love it too!
- Unbelievably Delicious: The salted caramel swirl creates a mellow, buttery richness that melts in your mouth.
- Unique Technique: Instead of churning, whipping the cream and folding in the caramel keeps it fluffy and creamy without ice crystals.
This isn’t just any homemade ice cream. It’s the recipe that made me stop avoiding dessert prep and start looking forward to making sweets from scratch. Honestly, it’s the kind of treat that makes you close your eyes, savor, and say, “Yep, I made that.”
What Ingredients You Will Need
This creamy no-churn salted caramel ice cream recipe uses minimal ingredients — all easy to find and mostly staples. Each one plays a role in creating that luscious texture and rich flavor without fuss.
- Heavy Cream (2 cups / 480 ml) – The base for the creamy texture. Use cold for best whipping results.
- Sweetened Condensed Milk (1 can, 14 oz / 396 g) – Adds sweetness and body; I prefer La Lechera brand for its smooth consistency.
- Caramel Sauce (¾ cup / 180 ml) – Homemade or store-bought, just make sure it’s thick and buttery. I sometimes use Trader Joe’s Salted Caramel Sauce when in a hurry.
- Sea Salt (1 tsp) – Enhances the caramel’s depth and balances sweetness.
- Pure Vanilla Extract (1 tsp) – Adds subtle warmth and rounds out flavors.
Optional:
- Chopped Pecans or Walnuts (½ cup / 60 g) – For a little crunch and nutty contrast.
- Flaky Sea Salt – To sprinkle on top just before serving for extra texture.
If you’re avoiding dairy, you can swap heavy cream with coconut cream and use a dairy-free condensed milk alternative, although the texture might be a bit different. For a gluten-free twist, this recipe is naturally free of gluten, so you’re all set there.
Equipment Needed
- Mixing Bowl – A large, cold bowl works best for whipping the cream.
- Electric Hand Mixer or Stand Mixer – Whipping the cream by hand is possible but takes forever.
- Spatula – For folding in the caramel gently without deflating the cream.
- Freezer-Safe Container – I like using a metal loaf pan with a lid or a plastic container with a tight seal.
- Measuring Cups and Spoons – Accuracy matters, especially for the salt and caramel amounts.
If you don’t have an electric mixer, a whisk with serious elbow grease can work, but honestly, it’s a workout. I’ve tried both, and the electric mixer saves a lot of time and effort. Also, a metal container cools faster, helping the ice cream set more evenly.
Preparation Method
- Chill your bowl and beaters (10 minutes): Place your mixing bowl and beaters in the fridge or freezer for about 10 minutes before starting. Cold tools help the cream whip faster and fluffier.
- Whip the heavy cream (3-5 minutes): Pour cold heavy cream into the chilled bowl. Beat on medium-high speed until stiff peaks form. You’ll see the cream hold its shape when you lift the beaters. Don’t overbeat — it can turn buttery.
- Mix condensed milk, caramel, salt, and vanilla (2 minutes): In a separate bowl, stir together the sweetened condensed milk, caramel sauce, sea salt, and vanilla extract until smooth and well combined. This mixture is your sweet, salty core flavor.
- Fold the caramel mixture into whipped cream (2 minutes): Gently fold the caramel mixture into the whipped cream using a spatula. Use slow, sweeping motions to keep the air in the cream — this keeps the ice cream light and creamy.
- Add nuts if using (optional): Fold in chopped pecans or walnuts for texture and nutty flavor.
- Transfer to freezer container and swirl (1 minute): Pour the mixture into your freezer-safe container. For a pretty marbled effect, drizzle a little extra caramel sauce on top and swirl it gently with a knife.
- Freeze (at least 4 hours): Cover tightly and freeze until firm. I recommend overnight for best texture.
- Let it soften before serving (10 minutes): Remove from the freezer about 10 minutes before scooping. This helps it soften just enough to scoop easily.
Pro tip: If your caramel is too thin, it can sink to the bottom during freezing. Thick caramel sauce or homemade caramel that’s cooled properly works best. Also, don’t rush the freezing — patience really pays off here.
Cooking Tips & Techniques
Whipping cream properly is key to this recipe. I’ve learned the hard way that warm cream just won’t fluff up right, and that’s why chilling everything helps so much. Also, folding gently instead of stirring vigorously keeps your ice cream airy and creamy.
One time, I tried swirling in the caramel too early, and it blended completely into the cream, losing that gorgeous salted caramel ribbon look. Now, I always add a little extra caramel on top after pouring into the container and swirl it last-minute.
Watch the salt amount carefully — too much can overpower the sweetness, but too little and the caramel falls flat. I usually start with one teaspoon and adjust in future batches based on taste.
For multitasking, whip the cream while your caramel sauce cools to save time. And if you ever find your ice cream icy, it’s likely from overmixing or not enough fat in the base. Don’t skip the heavy cream or condensed milk!
Variations & Adaptations
This no-churn salted caramel ice cream recipe is pretty flexible. Here are a few ways I’ve mixed it up:
- Chocolate Swirl Version: Add melted dark chocolate drizzled in with the caramel for a salted caramel chocolate combo.
- Vegan Adaptation: Use coconut cream instead of heavy cream and a dairy-free condensed milk alternative. The texture changes slightly but still delicious.
- Fruit Infusion: Toss in some chopped roasted pears or apples for a caramel fruit twist.
- Spiced Caramel: Add a pinch of cinnamon or cayenne to the caramel for warmth or heat.
I once tried adding espresso powder to the caramel mix for a salted caramel mocha ice cream — it was unexpectedly addictive and perfect for coffee lovers. Feel free to experiment, and don’t be afraid to tweak salt and caramel levels to suit your preference.
Serving & Storage Suggestions
Serve this salted caramel ice cream slightly softened, either in bowls or cones. It pairs beautifully with warm desserts like apple crisp or chocolate brownies — the contrast of hot and cold is a real crowd-pleaser.
For a simple topping, sprinkle flaky sea salt or crushed nuts on top just before serving. A drizzle of extra caramel sauce always gets a thumbs-up too.
Store leftovers in an airtight container in the freezer for up to two weeks. To avoid ice crystal formation, press a layer of parchment paper or plastic wrap directly on the surface before sealing. When reheating, let it soften at room temperature for about 10 minutes rather than microwaving, which can melt it unevenly.
Flavors tend to mellow and blend beautifully after a day or two, so if you can resist, making it ahead is a great idea.
Nutritional Information & Benefits
Estimated per serving (¼ cup / 60 ml): approximately 250 calories, 15g fat, 25g carbohydrates, and 2g protein.
While this is definitely a treat, the recipe uses real ingredients without artificial stabilizers or additives. The heavy cream provides a good amount of fat necessary for that creamy texture, while the sea salt adds trace minerals. Using a quality caramel sauce with minimal preservatives keeps things cleaner than many store-bought options.
This recipe is gluten-free and can be made dairy-free with substitutions, making it suitable for many dietary needs. It’s a great dessert for sharing with kids and adults alike — honestly, I find it’s one of those indulgences worth savoring because the flavor is so rich.
Conclusion
This creamy no-churn salted caramel ice cream recipe has taught me that sometimes the simplest ideas are the best — and that being wrong about how something should be made can lead to delicious surprises. It’s easy, uses ingredients you probably already have, and tastes like you put in way more effort than you did.
Feel free to tweak the saltiness, add your favorite mix-ins, or try the variations to make it your own. Honestly, I can’t wait to hear how you personalize it — this recipe has a special way of bringing out creativity in the kitchen.
So go ahead, whip up a batch, and share your experience in the comments below. Your perfect scoop of creamy salted caramel ice cream awaits!
FAQs
Can I make this ice cream without sweetened condensed milk?
Sweetened condensed milk is key for sweetness and smooth texture here. You could try homemade condensed milk alternatives, but it may affect creaminess and sweetness levels.
How long should I let the ice cream sit before scooping?
About 10 minutes at room temperature softens it just enough to scoop easily without melting.
Can I store this ice cream longer than two weeks?
It’s best within two weeks for optimal texture and flavor. Beyond that, ice crystals may form, and taste may degrade.
Is it possible to make this recipe in an ice cream maker?
You can, but this recipe is designed for no-churn ease. Using an ice cream maker might make it denser and require less freeze time.
Can I use brown sugar caramel instead of salted caramel?
Yes, but adding a pinch of sea salt will help balance the sweetness and bring out that signature salted caramel flavor.
Pin This Recipe!
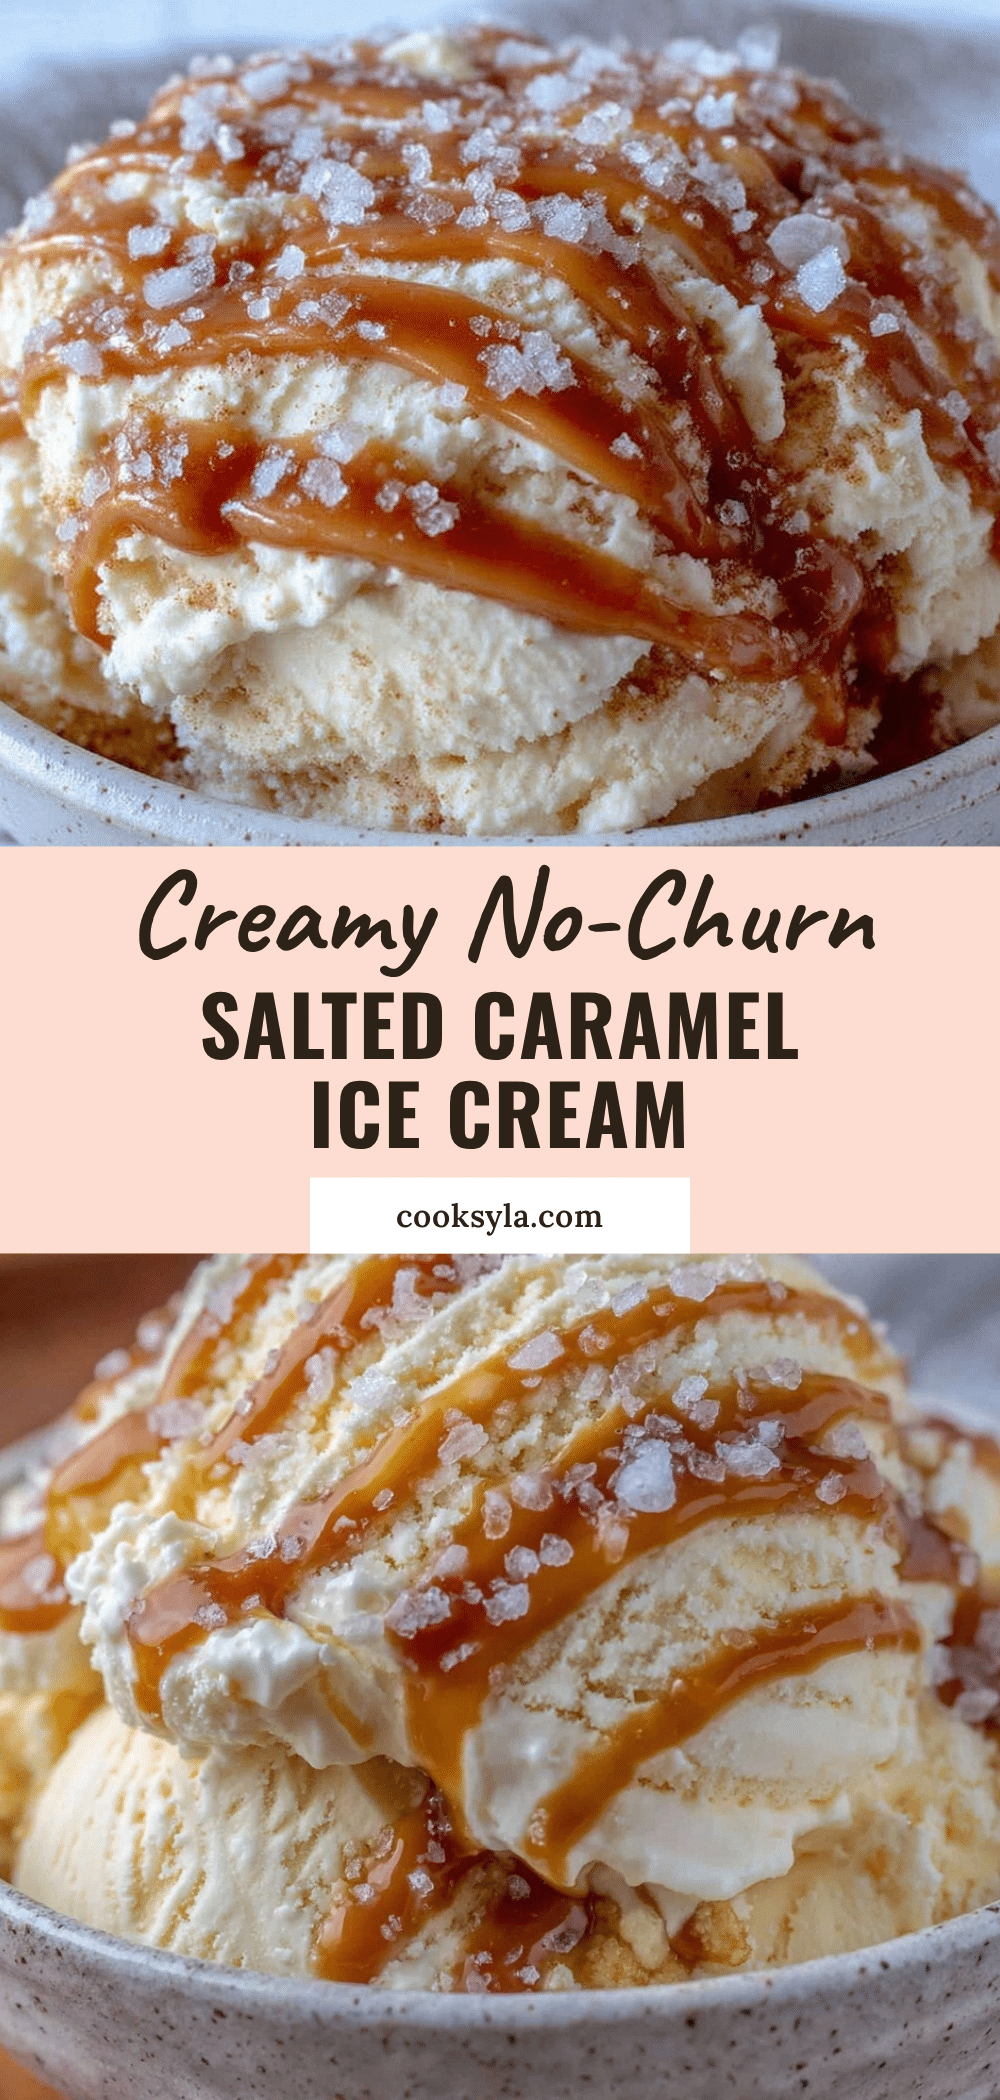
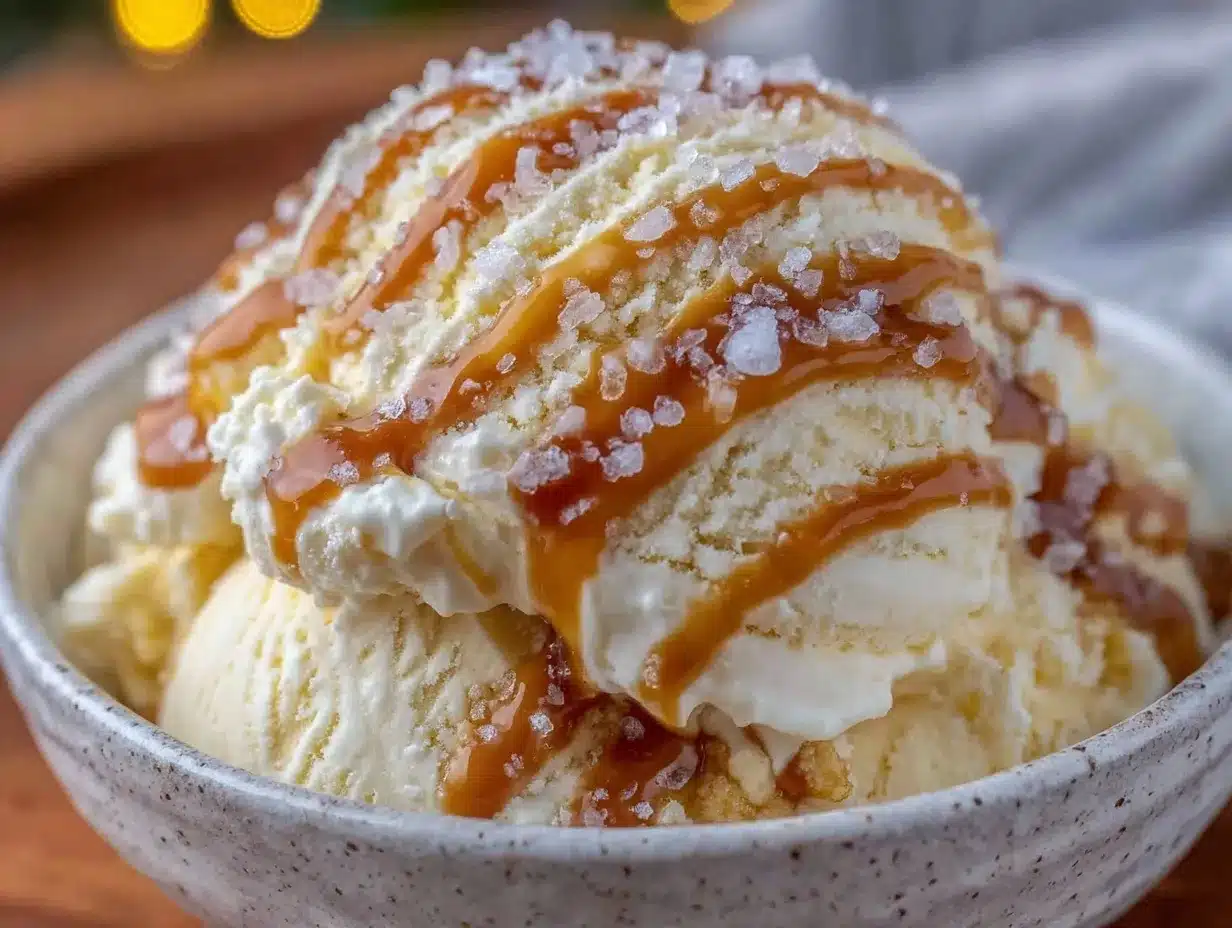
Creamy No-Churn Salted Caramel Ice Cream

A simple and indulgent no-churn ice cream recipe featuring a rich, buttery salted caramel flavor with a creamy texture that rivals gelato.
- Prep Time: 15 minutes
- Cook Time: 4 hours
- Total Time: 4 hours 15 minutes
- Yield: 8 servings 1x
- Category: Dessert
- Cuisine: American
Ingredients
- 2 cups (480 ml) heavy cream, cold
- 1 can (14 oz / 396 g) sweetened condensed milk
- ¾ cup (180 ml) caramel sauce, thick and buttery
- 1 tsp sea salt
- 1 tsp pure vanilla extract
- Optional: ½ cup (60 g) chopped pecans or walnuts
- Optional: flaky sea salt for sprinkling
Instructions
- Chill your mixing bowl and beaters in the fridge or freezer for about 10 minutes.
- Pour cold heavy cream into the chilled bowl and beat on medium-high speed until stiff peaks form, about 3-5 minutes. Avoid overbeating.
- In a separate bowl, stir together sweetened condensed milk, caramel sauce, sea salt, and vanilla extract until smooth.
- Gently fold the caramel mixture into the whipped cream using a spatula, using slow sweeping motions to keep the mixture airy.
- If using, fold in chopped pecans or walnuts.
- Transfer the mixture to a freezer-safe container. Drizzle a little extra caramel sauce on top and swirl gently with a knife for a marbled effect.
- Cover tightly and freeze for at least 4 hours, preferably overnight.
- Remove from freezer about 10 minutes before serving to soften slightly for easy scooping.
Notes
Chill bowl and beaters before whipping cream for best results. Use thick caramel sauce to prevent sinking. Fold gently to keep ice cream airy. Let ice cream soften 10 minutes before scooping. Store leftovers in airtight container with parchment or plastic wrap pressed on surface to avoid ice crystals.
Nutrition
- Serving Size: ¼ cup (60 ml)
- Calories: 250
- Fat: 15
- Carbohydrates: 25
- Protein: 2
Keywords: no-churn ice cream, salted caramel, easy dessert, homemade ice cream, no ice cream maker, creamy ice cream, caramel swirl