Love this? Save it for later!
Share the inspiration with your friends
There used to be a tiny bakery tucked behind a vintage shop on Main Street that made the most incredible pumpkin sourdough loaf. When they closed their doors three years ago—just a handwritten sign taped to the window saying “Thanks for the memories”—I honestly felt a little lost. That bread had become my October ritual, the thing I looked forward to when the air turned crisp and the leaves started falling. After twelve tries—including one sad, dense brick that my neighbor’s dog wouldn’t even touch—I finally got it. This cozy small-batch pumpkin sourdough loaf is the one that makes me close my eyes and remember that little bakery.
The thing is, I didn’t just want any pumpkin bread. I wanted that specific tangy-sweet balance, that tender crumb with just enough chew, that faint whisper of cinnamon and nutmeg that meant fall had officially arrived. Maybe you’ve been there—chasing a flavor memory that feels just out of reach. I spent three weeks testing hydration levels, adjusting fermentation times, and yes, making a spectacular mess of my kitchen in the process. Let me tell you, there was one particularly memorable evening when I forgot the salt entirely. The loaf was edible, barely, and I ate it anyway because I was that determined.
What makes this recipe special isn’t just the pumpkin—it’s how the natural sourdough tang plays off the subtle sweetness of roasted squash. The crust gets this gorgeous deep amber color, and the inside stays soft and almost velvety. It’s the kind of bread that makes you want to sit by a window with a thick slice slathered in butter and watch the leaves fall. I keep making it because it feels like holding onto something good, something worth the effort. And honestly, when that warm pumpkin-sourdough smell fills your kitchen, you’ll understand exactly what I mean.
Why You’ll Love This Recipe
This cozy small-batch pumpkin sourdough loaf isn’t just another fall baking project. It’s the one I’ve tested more times than I care to admit, tweaking and tasting until every detail felt right. Here’s why I think you’ll fall for it too:
- Small-Batch Perfection: This recipe makes exactly one beautiful loaf. No leftovers that go stale, no half-used cans of pumpkin puree lingering in the fridge. It’s just enough for a cozy weekend or to share with one or two friends.
- Simple, Real Ingredients: You don’t need a specialty grocery run. Flour, pumpkin puree, your active sourdough starter, butter, sugar, and fall spices. That’s it. Things you probably already have or can grab without thinking twice.
- Perfect for Fall Mornings: There’s something about slicing into this loaf on a cool October morning with a cup of coffee in hand. It turns an ordinary Tuesday into something special, you know?
- That Tangy-Sweet Magic: The sourdough starter adds this gentle tang that keeps the pumpkin from feeling too heavy or sweet. It’s balanced in a way that makes you want another slice before you’ve finished the first one.
- Foolproof for Beginners: If you’re new to baking with sourdough, this recipe is forgiving. The pumpkin adds moisture that helps prevent the dreaded dry loaf, and the fermentation time is flexible enough to fit your schedule.
What really sets this recipe apart is the technique of roasting the pumpkin puree slightly before mixing. It sounds fussy, I know, but concentrating those flavors makes the bread taste like you spent hours when you really just did one smart extra step. This isn’t just another pumpkin bread recipe—it’s the one that makes you wonder why you ever bought bakery loaf when you could make something this good at home.
What Ingredients You Will Need
This recipe uses simple, wholesome ingredients to create that signature cozy small-batch pumpkin sourdough loaf. Most of these are pantry staples, especially if you keep a sourdough starter alive and well on your counter.
For the Loaf
- 1 cup (240g) pumpkin puree – Not pumpkin pie filling! Look for 100% pure pumpkin. I prefer Libby’s for consistent texture, but store brands work fine too. Pro tip: spread it on a paper towel-lined plate for 10 minutes to remove excess moisture.
- 2 cups (250g) bread flour – Bread flour gives this loaf a better structure than all-purpose. King Arthur is my go-to, but any brand with at least 12% protein works beautifully.
- ½ cup (100g) active sourdough starter – Make sure it’s bubbly and doubled in size. A hungry starter won’t give you that lovely rise or tang.
- ¼ cup (50g) brown sugar, packed – Light or dark works. Dark adds a deeper molasses note that I personally love with pumpkin.
- 2 tablespoons (28g) unsalted butter, melted – Salted butter is fine too, just reduce the added salt slightly.
- 1 teaspoon salt – Don’t skip this. Salt controls fermentation and brings out the pumpkin flavor.
- 1 teaspoon pumpkin pie spice – Or make your own: ½ teaspoon cinnamon, ¼ teaspoon nutmeg, ¼ teaspoon ginger, pinch of cloves.
- ¼ cup (60ml) warm water – About 85°F, roughly bath temperature. Too hot will kill your starter’s activity.
For the Topping (Optional but Lovely)
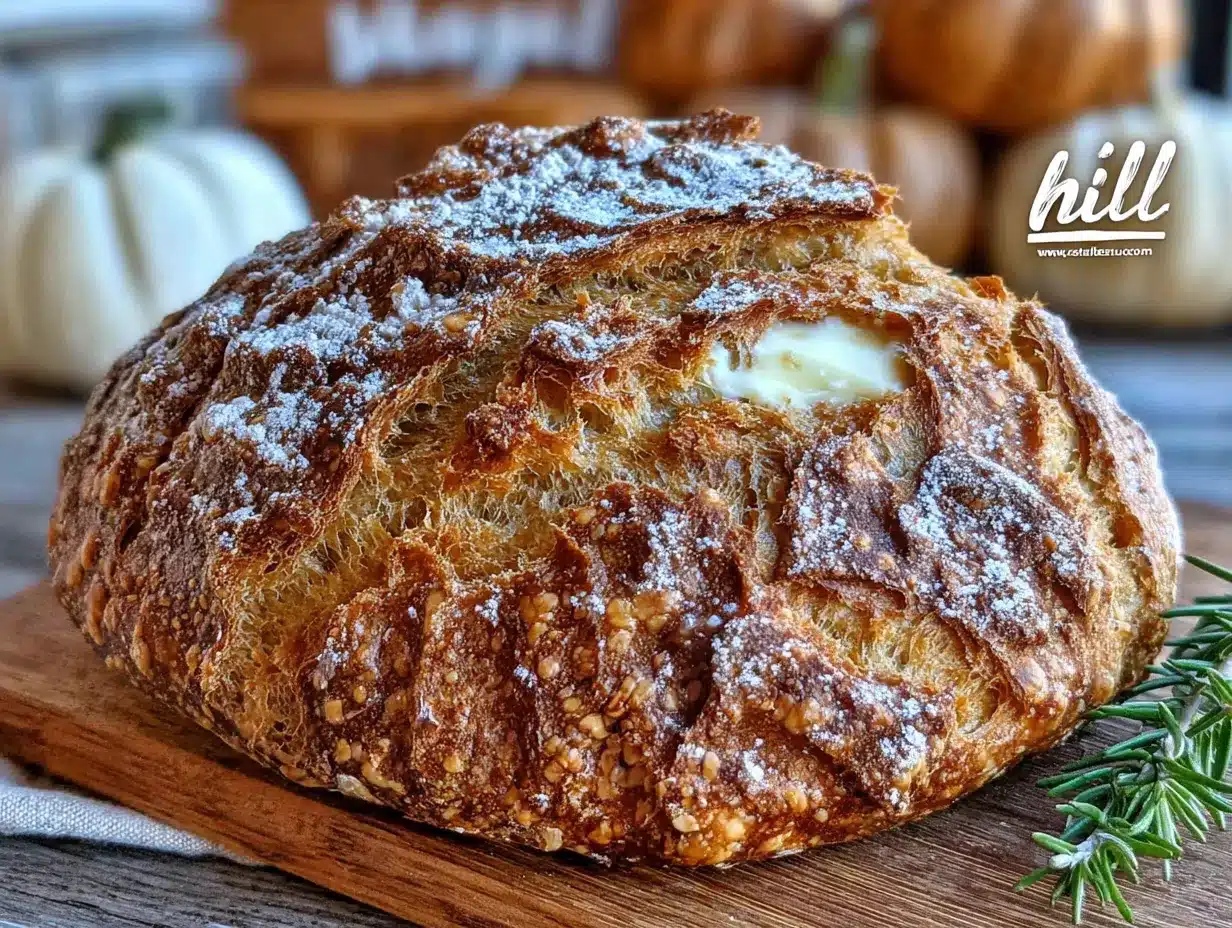
- 1 tablespoon pumpkin seeds (pepitas) – Adds a nice crunch and makes the loaf look bakery-worthy.
- 1 teaspoon coarse sugar – Turbinado or demerara for that sparkly, crunchy top.
When choosing your pumpkin puree, I’ve found that organic brands sometimes have a thinner consistency. If yours seems watery, let it sit in a fine-mesh strainer over a bowl for 15 minutes. You’d be surprised how much liquid drains out, and that extra moisture can make your loaf gummy. For the sourdough starter, feed it 8-12 hours before you plan to mix. You want it active and happy, not sluggish. If your starter is young or weak, this recipe might not rise as dramatically, but it’ll still taste delicious.
Equipment Needed
You don’t need a fancy bakery setup to make this cozy small-batch pumpkin sourdough loaf. Here’s what you’ll actually use:
- Large mixing bowl – Any bowl works, but I prefer a wide one for easier mixing. My favorite is a simple ceramic bowl I got at a thrift store.
- Wooden spoon or dough whisk – A regular spoon works fine. The dough is sticky, so a dough whisk helps, but it’s not essential.
- 8×4 inch loaf pan – This is the perfect size for a small batch. If you only have a 9×5, your loaf will be shorter and bake a bit faster.
- Parchment paper – Line your pan for easy removal. Trust me on this one.
- Kitchen scale – Not required, but baking with a scale is way more accurate. I resisted for years and now I’m a convert.
- Plastic wrap or a clean kitchen towel – For covering the dough during its rise.
- Oven-safe thermometer – The best way to know your bread is done. The internal temperature should hit 190°F.
- Cooling rack – Lets air circulate so your crust stays crisp instead of getting soggy.
If you don’t have a loaf pan, you can shape this into a free-form boule on a parchment-lined baking sheet. The bake time will be similar, just keep an eye on it toward the end. And honestly, I’ve baked this in a cast iron skillet before and it turned out beautifully rustic. Use what you have!
Preparation Method
- Prep your pumpkin puree (10 minutes): Spread your pumpkin puree on a plate lined with paper towels. Let it sit for 10 minutes to draw out excess moisture. This small step makes a big difference in texture. While you wait, preheat your oven to 350°F.
- Mix the dry ingredients (5 minutes): In your large bowl, whisk together the bread flour, brown sugar, salt, and pumpkin pie spice. Make a well in the center. The brown sugar might have lumps—break them up with your fingers as you go.
- Combine the wet ingredients (3 minutes): Add the active sourdough starter, melted butter, pumpkin puree, and warm water to the well. Stir with your wooden spoon until a shaggy, sticky dough forms. It will look messy and not at all like smooth bread dough—that’s okay. This is a wet dough, more like a thick batter.
- First rise (4-6 hours at room temperature): Cover the bowl with plastic wrap or a damp kitchen towel. Let it sit at room temperature (around 70-75°F) until it’s doubled in size and looks puffy with small bubbles on top. This timing depends on your starter’s strength and your kitchen temperature. In my chilly kitchen, it takes closer to 6 hours. On warmer days, about 4.
- Fold and shape (5 minutes): Once risen, gently fold the dough over itself a few times right in the bowl. This deflates it slightly and strengthens the structure. Transfer it to your parchment-lined loaf pan. Use wet fingers to gently smooth the top—the dough is sticky, and wet hands are your friend here.
- Second rise (1-2 hours): Cover the pan and let it rise again until the dough crests just above the rim of the pan. This is shorter than the first rise. Don’t rush it—if you bake too early, the loaf will be dense.
- Preheat and prep (15 minutes): About 30 minutes before baking, preheat your oven to 375°F. If using the topping, sprinkle pumpkin seeds and coarse sugar over the top of the risen loaf. The sugar gives a lovely crunch.
- Bake (40-50 minutes): Place the pan on the middle rack and bake until the loaf is deep golden brown and a thermometer inserted in the center reads 190°F. The top should feel firm and sound hollow when tapped. If the top is browning too quickly, tent loosely with foil after 30 minutes.
- Cool completely (1 hour minimum): This is the hardest part, I know. Let the loaf cool in the pan for 10 minutes, then transfer to a wire rack. Wait at least an hour before slicing. The inside continues to set as it cools, and cutting too early will give you a gummy interior.
A few things I’ve learned the hard way: if your kitchen is cold, the first rise might take longer. Don’t panic. Just give it time. And if you’re using a glass loaf pan, reduce the oven temperature by 25°F—glass holds heat differently and can burn the crust before the inside is done.
Cooking Tips & Techniques
After more failed loaves than I’d like to count, here’s what I’ve learned about making this cozy small-batch pumpkin sourdough loaf work every time.
Temperature matters more than you think. Your ingredients should be at room temperature, especially the starter and pumpkin puree. Cold ingredients slow down fermentation and can make your loaf dense. I set everything out an hour before I start mixing. It’s a small habit that pays off.
The dough will be sticky, and that’s fine. This isn’t a kneaded bread dough. It’s a batter-like mixture that you stir, not knead. If you add extra flour to make it manageable, you’ll end up with a dry, heavy loaf. Trust the stickiness. Use wet hands or a wet spatula to handle it, and resist the urge to add more flour.
Watch the rise, not the clock. Fermentation times are guidelines, not rules. Your dough is ready when it’s doubled, jiggly, and smells pleasantly sour. If it’s not there yet, give it more time. I once let mine rise for 8 hours because my kitchen was unusually cold, and it turned out beautifully.
Don’t skip the moisture removal step. That paper towel trick with the pumpkin puree? It’s not optional. Pumpkin contains a lot of water, and excess moisture makes sourdough gummy. I learned this after baking a loaf that was technically cooked through but had a strange, wet crumb. Removing that extra liquid fixed everything.
Bake until it’s actually done. A thermometer is your best friend here. The loaf might look golden on the outside but still be underdone inside. I’ve pulled loaves too early thinking they looked perfect, only to find a doughy center. 190°F is your target. Trust the thermometer, not your eyes.
Variations & Adaptations
One of the things I love about this cozy small-batch pumpkin sourdough loaf is how adaptable it is. Here are a few ways I’ve played with the recipe:
Vegan Version: Swap the butter for coconut oil or a vegan butter stick. The texture will be slightly different—a bit more tender—but still delicious. I’ve made this for a friend who’s vegan and she asked for the recipe twice.
Whole Wheat Twist: Replace half the bread flour with whole wheat flour. The loaf will be denser and nuttier, with a heartier crumb. Add an extra tablespoon of water since whole wheat absorbs more liquid. This version is my go-to when I want something more rustic.
Spiced Up: Add ¼ teaspoon of cardamom or allspice along with the pumpkin pie spice. Cardamom gives it this warm, almost floral note that pairs beautifully with pumpkin. I discovered this by accident when I grabbed the wrong jar, and now I do it on purpose.
Add-Ins: Fold in ½ cup of toasted walnuts, pecans, or chocolate chips after the first rise. Chocolate and pumpkin is an underrated combination, honestly. I added dark chocolate chips one rainy Sunday and it felt like a hug in bread form.
Gluten-Free Option: I won’t pretend this is a perfect swap, but using a good gluten-free bread flour blend (one that includes xanthan gum) can work. The texture will be more cake-like and less chewy. I’ve tested this with Cup4Cup and it was surprisingly good.
Feel free to experiment and make this recipe your own. That’s the joy of baking—it’s never exactly the same twice.
Serving & Storage Suggestions
This cozy small-batch pumpkin sourdough loaf is best served warm, but let’s be real—it’s good at any temperature. Here’s how I like to enjoy it:
Serving: Slice it thick and toast it lightly if you want that crispy exterior with a soft, warm center. A generous pat of salted butter is all you need, but honey butter or apple butter takes it to another level. For breakfast, I love it with a smear of cream cheese and a drizzle of maple syrup. For an afternoon snack, a slice alongside a cup of chai or coffee is pure comfort.
Storage: Keep the loaf wrapped tightly in plastic wrap or in an airtight container at room temperature for up to 3 days. The crust will soften slightly, but that’s part of its charm. Do not refrigerate—it dries out the bread faster than you’d expect.
Freezing: This loaf freezes beautifully. Wrap it tightly in plastic wrap, then foil, and freeze for up to 3 months. When you’re ready, thaw it at room temperature (still wrapped) and then warm slices in the toaster or oven. I often bake two small loaves and freeze one for a rainy day.
Reheating: Pop slices in a 350°F oven for 5-7 minutes, or use a toaster. The microwave works in a pinch, but it makes the bread chewy. If you’re reheating the whole loaf, wrap it in foil and warm it at 300°F for about 15 minutes.
The flavors actually deepen after a day or two. The sourdough tang becomes more pronounced, and the pumpkin spice mellows into something more complex. It’s one of those rare recipes that tastes even better on day two.
Nutritional Information & Benefits
This cozy small-batch pumpkin sourdough loaf isn’t health food, but it does have some redeeming qualities. Here’s a rough estimate per slice (assuming 10 slices per loaf):
- Calories: Approximately 180-200
- Carbohydrates: 35g
- Protein: 5g
- Fat: 4g
- Fiber: 2g
- Sugar: 8g
Pumpkin is packed with vitamin A and fiber, which supports eye health and digestion. The sourdough fermentation process breaks down some of the gluten and phytic acid, making the bread easier to digest than conventional yeast bread. Plus, the natural tang comes from beneficial bacteria and wild yeast that contribute to gut health.
If you’re watching your sugar intake, you can reduce the brown sugar to 2 tablespoons without sacrificing too much sweetness. The pumpkin adds natural sweetness that carries the flavor. For a lower-carb option, this recipe isn’t ideal, but swapping half the flour for almond flour creates a more keto-friendly version (though the texture will be denser).
As always, check your ingredients for potential allergens. This recipe contains gluten and dairy, but both can be substituted as noted in the variations section.
Conclusion
This cozy small-batch pumpkin sourdough loaf is the kind of recipe that makes fall feel like a warm hug. It’s not complicated, it doesn’t require fancy techniques, and it uses ingredients you probably already have. But the result—that tender crumb, that gentle tang, that whisper of cinnamon and nutmeg—is something special.
I hope you give it a try and make it your own. Maybe you’ll add chocolate chips, or swap in whole wheat flour, or skip the topping entirely. However you make it, I’d love to hear how it turns out. Drop a comment below and tell me about your version. Did you change something? Did it remind you of a bakery you used to love? I read every single comment, and honestly, your stories are my favorite part of this whole thing.
Happy baking, friends. Here’s to cozy kitchens and the smell of pumpkin sourdough in the air.
Frequently Asked Questions
Can I use canned pumpkin pie filling instead of puree?
No, please don’t. Pumpkin pie filling has added sugar and spices, plus thickeners that will throw off the balance of this recipe. Stick with 100% pure pumpkin puree for the best results.
My sourdough starter isn’t very active. Will this still work?
It might, but the rise will be slower and less dramatic. Feed your starter a few times before using it to get it as bubbly as possible. If it’s brand new (less than two weeks old), I’d recommend waiting until it’s more established.
Can I make this without a loaf pan?
Absolutely. Shape the dough into a round boule on a parchment-lined baking sheet. The bake time will be similar, but check the internal temperature to be sure. It will look more rustic but taste just as good.
Why is my loaf dense and heavy?
This usually happens for one of three reasons: your starter wasn’t active enough, you added too much flour, or you didn’t let it rise long enough. Check your starter’s activity, trust the sticky dough, and watch the rise instead of the clock.
How do I know when the loaf is fully baked?
Use an instant-read thermometer. Insert it into the center of the loaf—it should read 190°F. The top should be deep golden brown and sound hollow when tapped. If you don’t have a thermometer, a wooden skewer inserted in the center should come out clean or with a few moist crumbs (not wet batter).
Pin This Recipe!
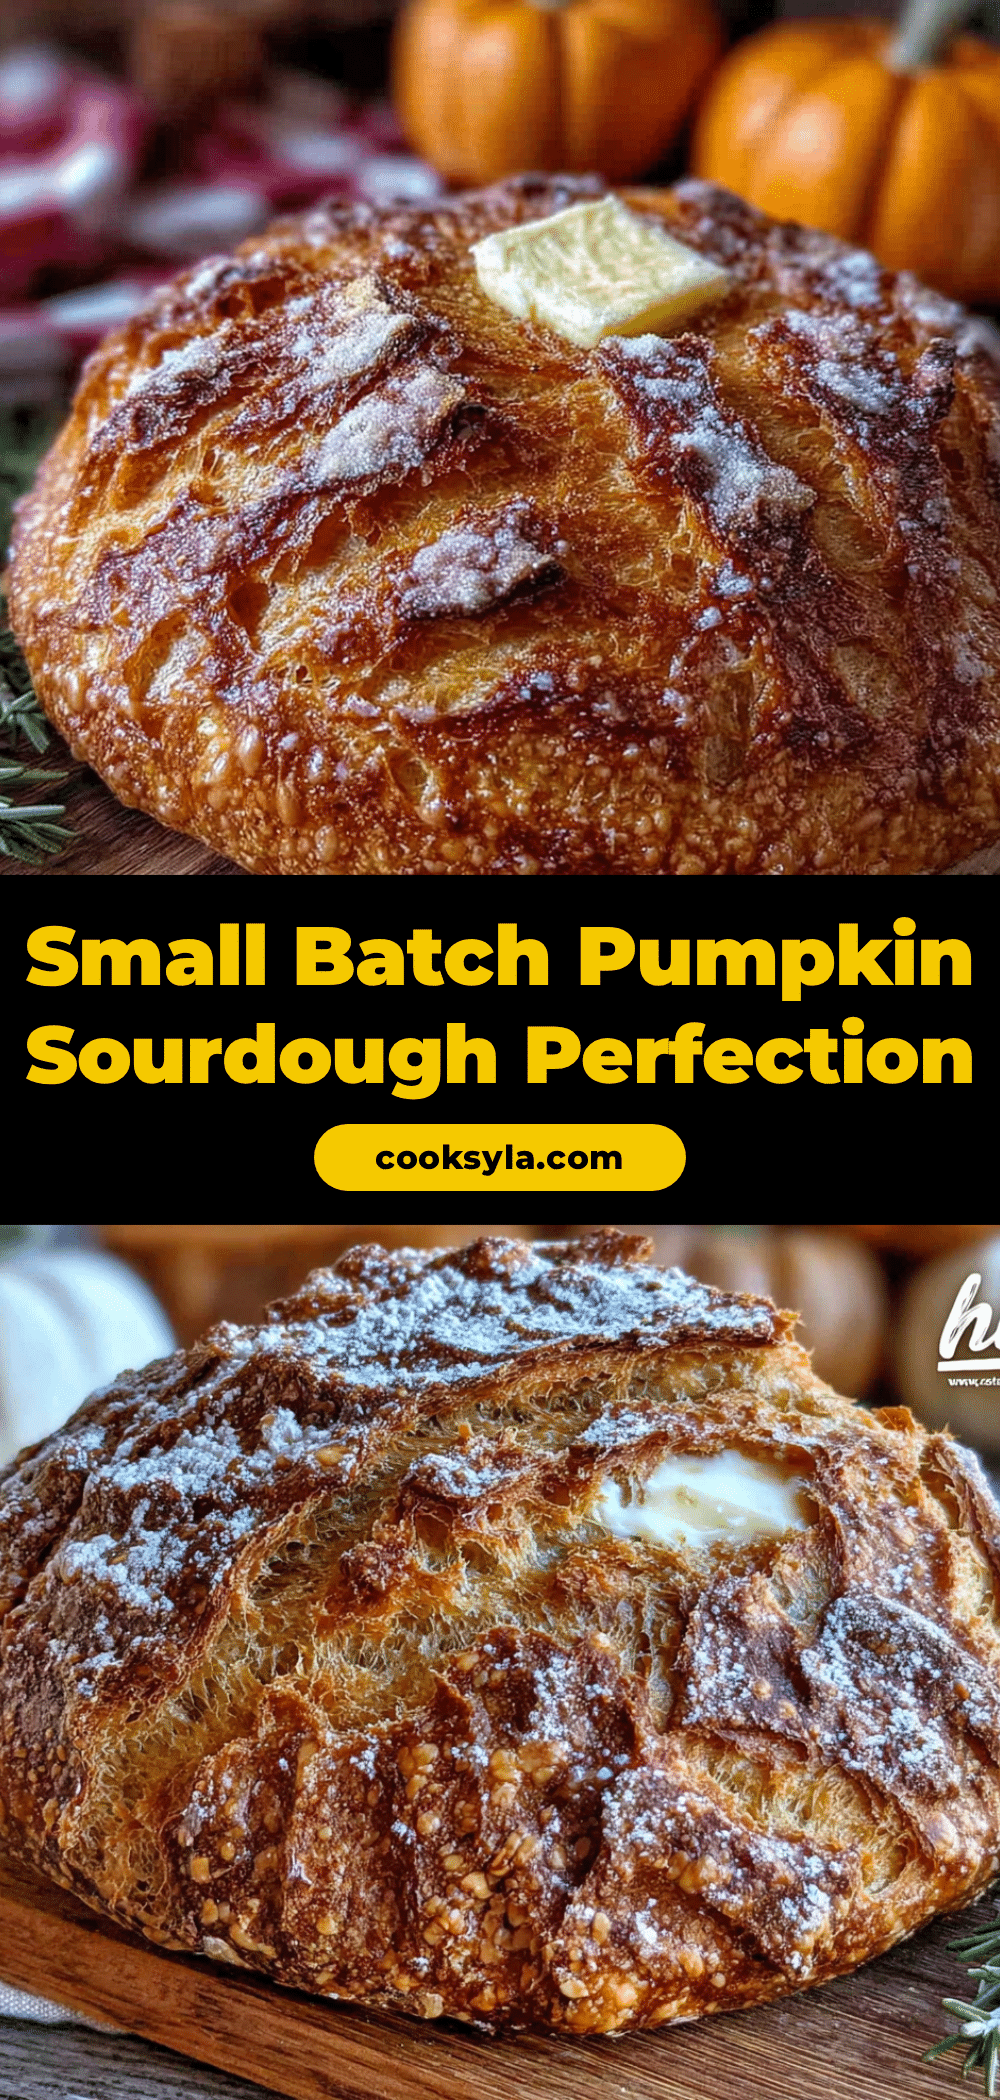
Cozy Small-Batch Pumpkin Sourdough Loaf

This cozy small-batch pumpkin sourdough loaf features a tender crumb with a gentle tangy-sweet balance, enhanced by warm fall spices. It’s the perfect fall baking project that yields one beautiful loaf, ideal for a cozy weekend or sharing with a few friends.
- Prep Time: 20 minutes
- Cook Time: 45 minutes
- Total Time: 7 hours 5 minutes (including rising time)
- Yield: 10 servings 1x
- Category: Bread
- Cuisine: American
Ingredients
- 1 cup (240g) pumpkin puree (100% pure, not pie filling)
- 2 cups (250g) bread flour (at least 12% protein)
- ½ cup (100g) active sourdough starter (bubbly and doubled)
- ¼ cup (50g) brown sugar, packed (light or dark)
- 2 tablespoons (28g) unsalted butter, melted
- 1 teaspoon salt
- 1 teaspoon pumpkin pie spice (or ½ tsp cinnamon, ¼ tsp nutmeg, ¼ tsp ginger, pinch cloves)
- ¼ cup (60ml) warm water (about 85°F)
- 1 tablespoon pumpkin seeds (pepitas) for topping (optional)
- 1 teaspoon coarse sugar (turbinado or demerara) for topping (optional)
Instructions
- Prep your pumpkin puree: Spread pumpkin puree on a paper towel-lined plate and let sit for 10 minutes to remove excess moisture. Meanwhile, preheat oven to 350°F.
- Mix dry ingredients: In a large bowl, whisk together bread flour, brown sugar, salt, and pumpkin pie spice. Make a well in the center.
- Combine wet ingredients: Add active sourdough starter, melted butter, pumpkin puree, and warm water to the well. Stir with a wooden spoon until a shaggy, sticky dough forms (like a thick batter).
- First rise: Cover bowl with plastic wrap or a damp towel. Let rise at room temperature (70-75°F) for 4-6 hours until doubled in size and puffy with small bubbles.
- Fold and shape: Gently fold dough over itself a few times in the bowl. Transfer to a parchment-lined 8×4 inch loaf pan. Use wet fingers to smooth the top.
- Second rise: Cover pan and let rise for 1-2 hours until dough crests just above the rim.
- Preheat and prep: About 30 minutes before baking, preheat oven to 375°F. If using topping, sprinkle pumpkin seeds and coarse sugar over the risen loaf.
- Bake: Place pan on middle rack and bake for 40-50 minutes until deep golden brown and internal temperature reaches 190°F. If top browns too quickly, tent with foil after 30 minutes.
- Cool: Let loaf cool in pan for 10 minutes, then transfer to a wire rack. Cool completely (at least 1 hour) before slicing.
Notes
For best results, use room temperature ingredients. The dough will be sticky—resist adding extra flour. If using a glass loaf pan, reduce oven temperature by 25°F. The flavors deepen after a day or two. For a vegan version, substitute butter with coconut oil or vegan butter. For whole wheat, replace half the bread flour with whole wheat flour and add 1 tablespoon extra water.
Nutrition
- Serving Size: 1 slice
- Calories: 190
- Sugar: 8
- Sodium: 240
- Fat: 4
- Saturated Fat: 2
- Carbohydrates: 35
- Fiber: 2
- Protein: 5
Keywords: pumpkin sourdough, small batch bread, fall baking, sourdough loaf, pumpkin bread, homemade bread, autumn recipe


