Love this? Save it for later!
Share the inspiration with your friends
I was standing in the middle of the spice aisle at my local grocery store last Tuesday, staring at a jar of crystallized ginger I didn’t need, when the smell hit me. Not from the aisle itself, but from somewhere in my memory — that sharp, sweet, slightly burning scent of ginger cooking down with sugar and fruit. And suddenly I was eight years old, sitting on a counter stool in my neighbor Mrs. Kowalski’s kitchen, watching her stir a pot of something golden and bubbling while she hummed off-key. I had no idea what she was making back then. All I knew was that the whole apartment smelled like warmth and something I couldn’t name. I never asked for the recipe. She moved away when I was twelve, and I never tasted anything like it again — until I started messing around with pears and ginger in my own kitchen last fall.
Honestly, the first few batches were disasters. Too runny, too thick, too spicy, not spicy enough. I burned my wrist on a splatter of hot jam and had to scrub sticky sugar off my stovetop for three days. But somewhere between the fourth and fifth attempt, I caught it — that exact scent from Mrs. Kowalski’s kitchen. I almost cried right there over my bubbling pot. This homemade spiced pear and ginger canning jam is the result of all those messy, sticky, imperfect experiments. It’s the recipe I wish I’d asked for twenty years ago, but I’m honestly prouder of this version because I figured it out myself.
Maybe you’ve got a taste memory like that too — something you can almost but not quite recreate. This jam might just be the one that brings it back for you.
Why You’ll Love This Recipe
Let me tell you why this homemade spiced pear and ginger canning jam has become my absolute favorite thing to make every fall. I’ve tested this recipe at least a dozen times, tweaking the spice ratios and cooking times until everything clicked perfectly. It’s not just another jam recipe — it’s the one I reach for when I want to feel like I’ve actually accomplished something in the kitchen.
- Quick & Easy: This comes together in about 45 minutes of active time. You don’t need to stand over the pot for hours. I’ve made it on a Tuesday night after work and still had time to watch a show.
- Simple Ingredients: No fancy grocery trips needed. Pears, sugar, fresh ginger, lemon juice, and a few pantry spices. You probably have most of this already.
- Perfect for Gifting: This jam in a little jar with a ribbon? Instant homemade gift that people actually get excited about. I gave away eight jars last Christmas and got texts asking for more.
- Crowd-Pleaser: Kids love the sweet pear flavor, and adults appreciate that warm ginger kick. It disappears fast at brunches.
- Unbelievably Delicious: The texture is this perfect balance between spreadable and chunky, and the spice blend makes it taste like fall in a jar. I’m not exaggerating when I say I’ve eaten it straight off a spoon.
What makes this recipe different from all the other pear jams out there is the way the ginger and spices work together. Most recipes just throw in some cinnamon and call it done. But I spent weeks figuring out the exact ratio of fresh ginger to ground ginger, and the tiny pinch of cardamom that makes people say “what’s in this? It’s amazing.” This isn’t just another version — it’s the version I’d serve to anyone who thinks homemade jam is too much work.
What Ingredients You Will Need
This recipe uses simple, wholesome ingredients that come together to create something genuinely special. Most of these are pantry staples, especially during fall when pears are everywhere. Here’s what you’ll need and why each ingredient matters.
- Ripe but firm pears (4 pounds, about 6-8 medium pears): You want pears that are sweet and fragrant but still hold their shape when cooked. Bosc or Anjou work beautifully. Avoid overripe mushy pears — they’ll turn your jam into pear soup. I prefer Bosc for their honey-like sweetness.
- Granulated sugar (3 cups): This isn’t just for sweetness. Sugar helps the jam set properly and acts as a natural preservative for canning. Don’t reduce it unless you’re planning to refrigerate and eat within a week.
- Fresh ginger (3 tablespoons, finely grated): This is the star. Fresh ginger gives that warm, slightly spicy kick that dried ginger just can’t match. I use a microplane to grate it directly into the pot — the fine texture means no stringy bits in your jam.
- Ground ginger (1 teaspoon): I know it seems redundant, but the combination of fresh and ground ginger creates depth. The ground ginger adds a warm, almost woody note that rounds out the fresh ginger’s brightness.
- Lemon juice (3 tablespoons, freshly squeezed): The acid balances the sweetness and helps the jam set. Bottled lemon juice works in a pinch, but fresh really does taste better here.
- Ground cinnamon (1 teaspoon): That classic warm spice that pairs perfectly with pears. I use Ceylon cinnamon when I can find it — it’s milder and more floral than the standard cassia.
- Ground cardamom (¼ teaspoon): This is my secret ingredient. Just a tiny bit adds this subtle floral, citrusy note that makes people ask what’s in the jam. Don’t skip it.
- Ground nutmeg (¼ teaspoon, freshly grated if possible): Adds warmth without overwhelming the pear flavor. Freshly grated nutmeg is noticeably more aromatic.
- Powdered pectin (1 box, 1.75 ounces): I use Sure-Jell for consistent results. If you prefer low-sugar pectin, follow the instructions on that specific brand — the ratios are different.
For canning, you’ll also need sterilized jars, lids, and rings. I recommend Ball or Kerr jars — they’re reliable and widely available. Look for pears that yield slightly to pressure at the stem end but aren’t soft all over.
Equipment Needed
You don’t need a professional kitchen to make this jam, but having the right tools makes the process so much smoother. Here’s what I use every time.
- Large heavy-bottomed pot (6-8 quart): A Dutch oven or stainless steel pot works great. The heavy bottom prevents scorching. I use my enameled cast iron pot and it distributes heat perfectly.
- Canning pot or large stockpot: For processing the jars. It needs to be deep enough to cover the jars with at least an inch of water. If you don’t have one, any large pot will work — you just might need to process in batches.
- Jar lifter: This is non-negotiable. Trying to grab hot jars with tongs is a recipe for disaster. A jar lifter costs about $10 and saves your fingers.
- Canning funnel: Makes filling jars so much less messy. The wide mouth fits standard mason jars perfectly.
- Microplane or fine grater: For grating the fresh ginger. A box grater works too, but a microplane gives you that fine paste that melts into the jam.
- Potato masher or immersion blender: For breaking down the pears to your desired texture. I prefer a potato masher for a chunkier jam.
- Clean kitchen towels: For wiping jar rims and resting hot jars. I keep a stack of flour sack towels just for canning.
- Magnetic lid lifter: Not essential, but handy for picking hot lids out of simmering water. I bought one for $5 and it makes me feel like a professional.
If you’re new to canning, start with a basic canning kit from any kitchen store — they usually include the jar lifter, funnel, and lid lifter for under $20.
Preparation Method
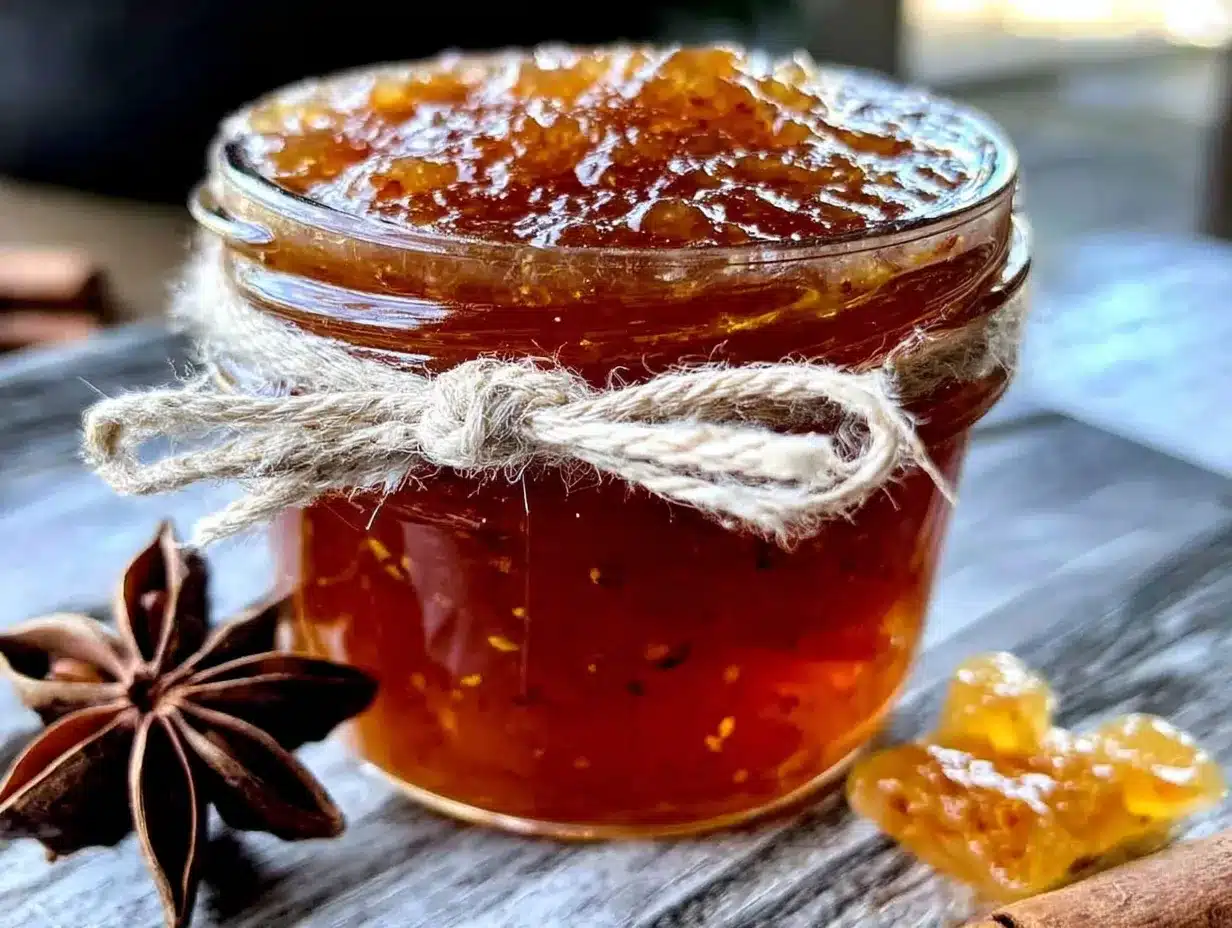
Alright, let’s make some jam. I’ve broken this down into clear steps so you can follow along without any confusion. Take your time with each step — rushing is where mistakes happen.
- Prepare your canning equipment (15 minutes): Wash your jars, lids, and rings in hot soapy water. Place the jars in your canning pot, cover with water, and bring to a simmer. Keep them hot until you’re ready to fill. Place the lids in a small saucepan of simmering water — don’t boil them, just keep them hot. This step ensures a proper seal.
- Prepare the pears (10 minutes): Peel, core, and dice your pears into ½-inch pieces. You should have about 8 cups of prepared fruit. Don’t stress about uniform pieces — some will break down during cooking anyway. I usually peel them with a vegetable peeler, then cut them in half and scoop out the core with a melon baller or small spoon.
- Combine fruit and sugar (5 minutes): In your large pot, combine the diced pears, sugar, and lemon juice. Stir gently to coat the fruit. Let this sit for about 5 minutes — the sugar will start drawing out the pear juices, which helps everything cook evenly.
- Add the spices and ginger (2 minutes): Stir in the grated fresh ginger, ground ginger, cinnamon, cardamom, and nutmeg. Mix well so the spices are evenly distributed. The smell at this point is incredible — seriously, stop and take a whiff.
- Cook the jam (25-30 minutes): Place the pot over medium-high heat and bring to a full rolling boil, stirring frequently. This means a boil that doesn’t stop when you stir it. Once boiling, stir in the pectin powder. Return to a full rolling boil and cook for exactly 1 minute, stirring constantly. Don’t walk away — jam can scorch quickly at this stage.
- Test for doneness (2 minutes): Drop a small spoonful of jam onto a cold plate and let it sit for 30 seconds. Run your finger through it — if it wrinkles and doesn’t run back together, it’s ready. If it’s still runny, cook another 2-3 minutes and test again.
- Mash to desired texture (3 minutes): Remove the pot from heat. Use a potato masher to break down the pears to your preferred consistency. I like mine with some chunky bits, but if you prefer smooth jam, use an immersion blender for a few quick pulses.
- Fill the jars (10 minutes): Using your jar lifter, remove hot jars from the canning pot and place them on a clean towel. Place the canning funnel on a jar and ladle the hot jam into each jar, leaving ¼-inch headspace at the top. Wipe the rims with a clean, damp towel — any residue can prevent sealing. Center a lid on each jar and screw on the ring until fingertip-tight (don’t overtighten).
- Process the jars (10 minutes): Using the jar lifter, lower the filled jars back into the simmering water in your canning pot. Make sure they’re covered by at least an inch of water. Bring to a full boil, then process for 10 minutes (adjust for altitude if needed — add 1 minute for every 1,000 feet above sea level).
- Cool and check seals (12+ hours): Using your jar lifter, remove the jars and place them on a towel-lined counter. Don’t disturb them for 12-24 hours. As they cool, you’ll hear the satisfying “pop” of the lids sealing. After cooling, press the center of each lid — if it doesn’t flex up and down, it’s sealed. Any unsealed jars should be refrigerated and used within 3 weeks.
You should end up with about 5-6 half-pint jars of golden, spiced jam. The color is gorgeous — like amber with little flecks of ginger throughout.
Cooking Tips & Techniques
After making this jam more times than I can count, I’ve picked up a few tricks that make the process smoother and the results more consistent. Let me share what I’ve learned the hard way.
Don’t skip the lemon juice. I once thought I could get away with less because my pears were particularly tart. The jam never set properly, and I ended up with pear syrup instead. The acid in lemon juice helps activate the pectin and balances the sweetness. Trust the recipe on this one.
Grate your ginger finely. The first time I made this, I chopped the ginger into tiny pieces thinking it would be fine. Big mistake. Those little chunks turned into chewy, fibrous bits that were unpleasant to bite into. Grating it on a microplane gives you all the flavor without the texture issues.
Watch your heat during cooking. I burned my first batch because I walked away to answer a text. Jam goes from perfectly bubbling to scorched in about 30 seconds. Stay by the stove, stir frequently, and use a heavy-bottomed pot that distributes heat evenly.
Use the cold plate test. Don’t rely on timing alone to know when your jam is done. The cold plate test is foolproof. Keep a plate in the freezer before you start cooking, and test your jam as you go. When it wrinkles when pushed, it’s ready.
Work in batches if needed. If you only have one large pot, you might need to process jars in batches. That’s totally fine. Just keep the unprocessed jars covered with a clean towel while you wait.
Label your jars. I learned this one the hard way when I couldn’t tell my pear ginger jam from my strawberry jam six months later. Write the date and flavor on the lid with a permanent marker, or use cute canning labels.
Variations & Adaptations
One of the best things about this recipe is how flexible it is. I’ve played around with different combinations, and here are some variations that turned out surprisingly well.
Spiced Pear and Vanilla Jam: Replace the ginger with the seeds from one vanilla bean or 2 teaspoons of vanilla extract added at the end. The vanilla adds this creamy, floral note that makes the jam taste almost luxurious. I made this for a friend who doesn’t love ginger, and she ate half a jar in one sitting.
Pear and Apple Ginger Jam: Swap half the pears for firm apples like Granny Smith or Honeycrisp. The apples add more natural pectin, so the jam sets up firmer. The combination of pear and apple is classic, and the ginger ties them together beautifully.
Low-Sugar Version: Use low-sugar pectin and reduce the sugar to 1½ cups. The texture will be slightly softer, and the flavor will be more tart. I’ve made this for a friend who’s watching her sugar intake, and it was still delicious — just remember it won’t keep as long unopened.
Spiced Pear and Fig Jam: Replace one pound of pears with fresh figs. The figs add this deep, honey-like sweetness and a beautiful dark color. I tried this last September when figs were in season, and it was honestly one of the best jams I’ve ever made.
Add a splash of bourbon or rum: Stir in 2 tablespoons of bourbon or dark rum right before filling the jars. The alcohol cooks off, but the warm, oaky flavor stays. This version is amazing on vanilla ice cream or stirred into yogurt.
Serving & Storage Suggestions
This jam is incredibly versatile, and I’ve found about a million ways to use it. Here are my favorites.
Serving temperature: Serve at room temperature for the best texture and flavor. Cold jam straight from the fridge is fine, but letting it sit out for 15-20 minutes lets the flavors open up. Spread it thickly on warm buttered toast, scones, or English muffins.
Pairing suggestions: This jam is amazing with sharp cheddar cheese on crackers — the sweet-spicy jam balances the salty cheese perfectly. It’s also wonderful stirred into plain yogurt, spooned over pancakes or waffles, or used as a filling for thumbprint cookies. I’ve even used it as a glaze for baked ham, and it was a showstopper.
Storage instructions: Sealed jars of properly processed jam can be stored in a cool, dark place for up to 18 months. Once opened, refrigerate and use within 3 weeks. I keep my sealed jars in the pantry and my opened jar in the fridge door where I can see it and remember to use it.
Reheating tips: If your jam crystallizes or gets too thick in the fridge, just microwave a small amount for 10-15 seconds and stir. It’ll smooth right out. Don’t microwave the whole jar — just scoop out what you need.
Freezing option: You can freeze this jam in freezer-safe containers for up to 6 months. Leave about ½ inch of headspace for expansion. Thaw in the fridge overnight and stir before using. The texture might be slightly softer, but the flavor stays great.
Flavor development: Here’s something interesting — the flavor actually gets better after a few weeks. The spices meld together and the ginger mellows out. I always try to save one jar for at least a month before opening it. The difference is subtle but noticeable.
Nutritional Information & Benefits
I’m not a nutritionist, but I can give you a rough idea of what’s in this jam. Per 1-tablespoon serving, you’re looking at about 45 calories, 0 grams of fat, 11 grams of carbohydrates, and 0 grams of protein. The sugar content is around 10 grams per serving, which is typical for fruit jam.
On the plus side, pears are a good source of dietary fiber and vitamin C. Ginger has anti-inflammatory properties and can help with digestion — I always feel like a spoonful of this jam settles my stomach after a heavy meal. The spices like cinnamon and cardamom are packed with antioxidants too.
If you’re watching your sugar intake, this jam is best used sparingly as a flavor accent rather than a main ingredient. The low-sugar variation I mentioned earlier is a good option if you need to cut back. This recipe is naturally gluten-free, dairy-free, and vegan, so it works for a lot of dietary needs.
Just be aware that this jam contains pectin, which is derived from fruit. Some people with citrus allergies might react to commercial pectin, so check the label if that’s a concern.
Conclusion
This homemade spiced pear and ginger canning jam is more than just a recipe to me. It’s the taste of fall, the memory of a neighbor’s kitchen, and the satisfaction of figuring something out through trial and error. Every time I open a jar and smell that warm, spicy fragrance, I feel like I’ve captured something special in a bottle.
I really hope you give this recipe a try. Don’t worry if your first batch isn’t perfect — mine certainly wasn’t. The beauty of jam-making is that even the “mistakes” are usually delicious. Adjust the spices to your taste, try different pear varieties, and make it your own. That’s what cooking is all about.
If you make this jam, I’d love to hear about it. Drop a comment below and tell me how it turned out, what variations you tried, or just share your own kitchen memory. And if you’re looking for another canning project, you might enjoy my homemade cinnamon apple butter or this strawberry rhubarb jam without pectin. Happy canning, friends!
Frequently Asked Questions
Can I use canned pears instead of fresh?
You can, but the texture won’t be the same. Canned pears are much softer and have more liquid, which can make your jam runny. If you use canned pears, drain them well and reduce the cooking time slightly. Fresh pears really do give the best results.
Why didn’t my jam set properly?
This usually happens for one of three reasons: not cooking it long enough, using overripe pears that are low in natural pectin, or not measuring the ingredients accurately. Next time, try the cold plate test before you stop cooking, and make sure your pears are firm but ripe.
How long does homemade jam last?
Properly sealed and processed jars can last 12-18 months in a cool, dark pantry. Once opened, refrigerate and use within 3 weeks. If you see mold, discoloration, or an off smell, toss it. When in doubt, throw it out.
Can I reduce the sugar in this recipe?
You can, but it affects both the texture and the shelf life. Sugar helps the jam set and acts as a preservative. If you reduce it, use low-sugar pectin and plan to eat the jam within a few months. The flavor will be more tart, but still delicious.
Do I have to can the jam, or can I just refrigerate it?
You don’t have to can it! If you’re not interested in water bath processing, just pour the hot jam into clean jars, let them cool, and store them in the fridge. It’ll keep for about 3 weeks. This is a great option if you’re making a small batch or just want to enjoy it right away.
Pin This Recipe!
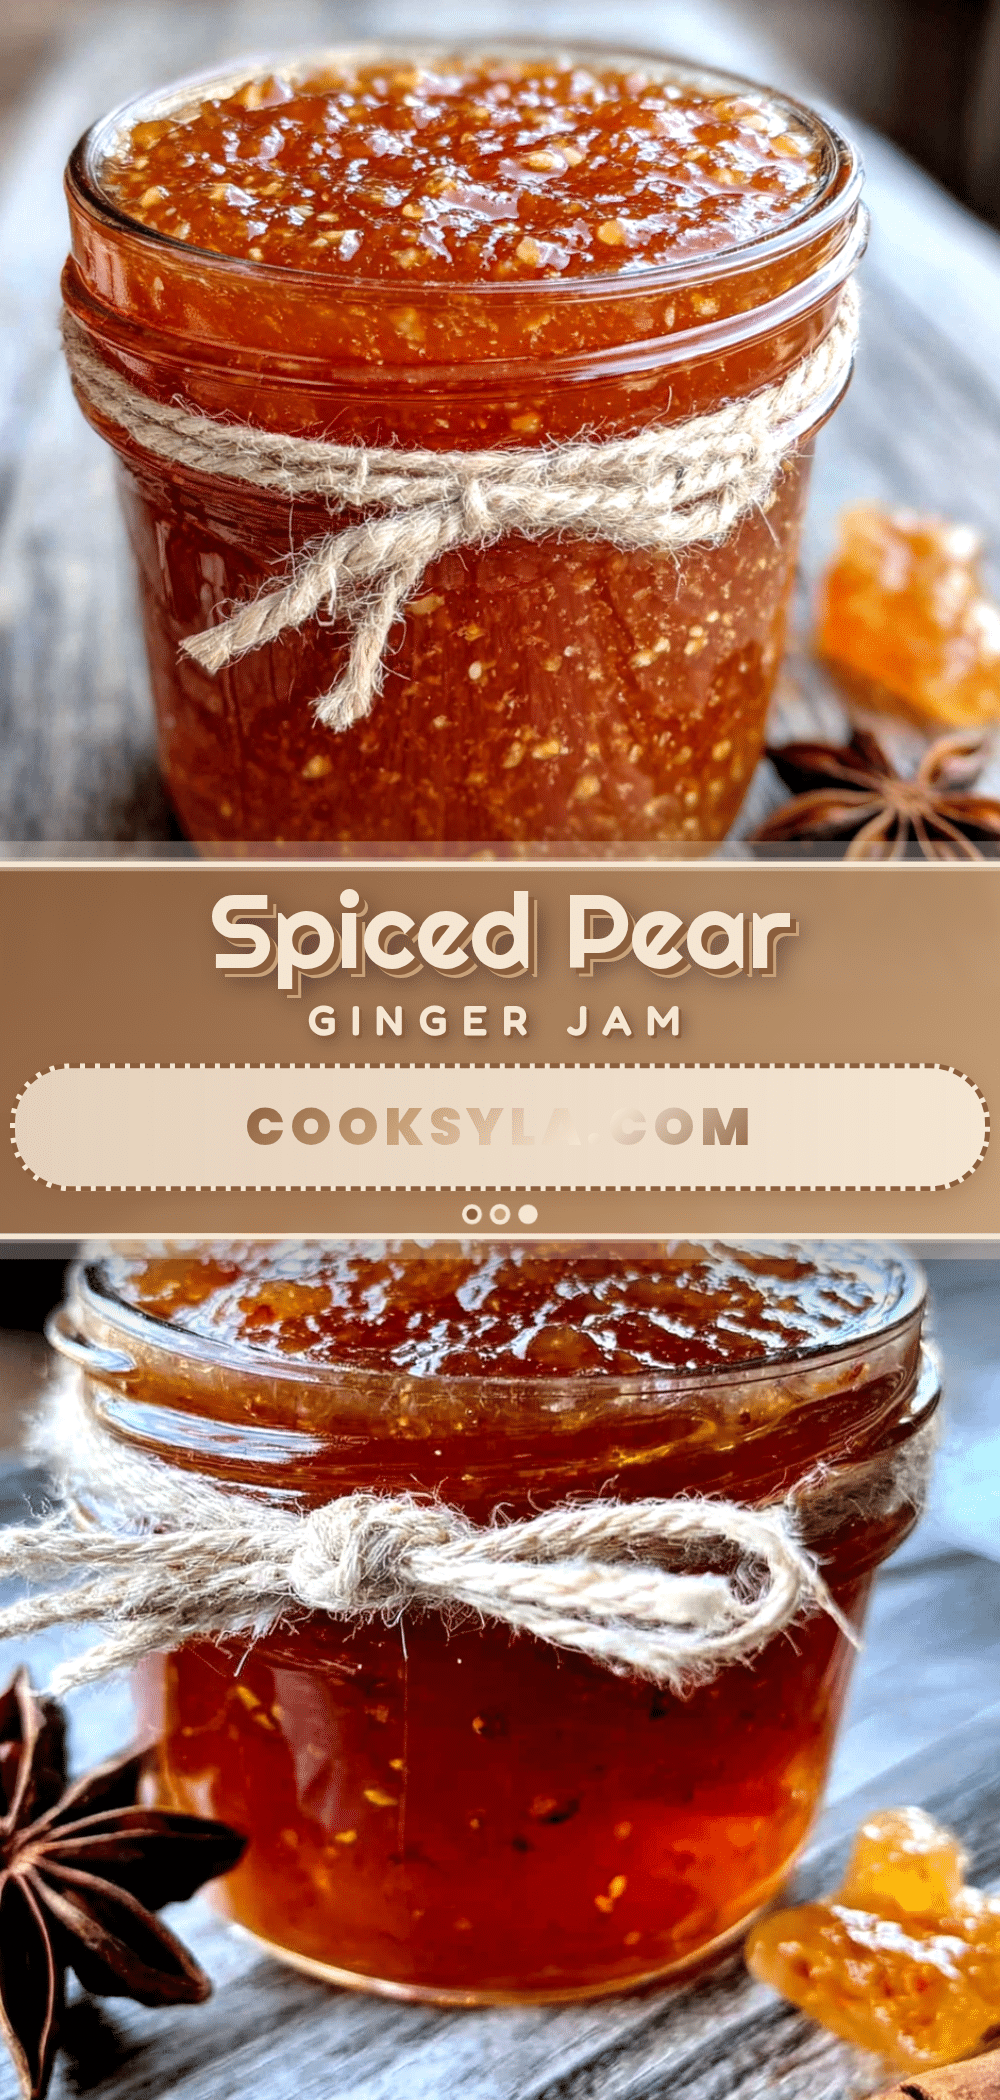
Easy Homemade Spiced Pear & Ginger Jam
This homemade spiced pear and ginger canning jam is the taste of fall, with a perfect balance of sweet pear and warm ginger kick. It’s quick to make with simple ingredients and perfect for gifting.
- Prep Time: 15 minutes
- Cook Time: 30 minutes
- Total Time: 45 minutes
- Yield: 5-6 half-pint jars 1x
- Category: Preserves
- Cuisine: American
Ingredients
- 4 pounds ripe but firm pears (about 6–8 medium pears, preferably Bosc or Anjou)
- 3 cups granulated sugar
- 3 tablespoons fresh ginger, finely grated
- 1 teaspoon ground ginger
- 3 tablespoons freshly squeezed lemon juice
- 1 teaspoon ground cinnamon (preferably Ceylon cinnamon)
- ¼ teaspoon ground cardamom
- ¼ teaspoon ground nutmeg (freshly grated if possible)
- 1 box (1.75 ounces) powdered pectin (e.g., Sure-Jell)
Instructions
- Prepare your canning equipment: Wash jars, lids, and rings in hot soapy water. Place jars in canning pot, cover with water, and bring to a simmer. Keep hot until ready to fill. Place lids in a small saucepan of simmering water (do not boil).
- Prepare the pears: Peel, core, and dice pears into ½-inch pieces (about 8 cups).
- Combine fruit and sugar: In a large pot, combine diced pears, sugar, and lemon juice. Stir gently and let sit for about 5 minutes.
- Add the spices and ginger: Stir in grated fresh ginger, ground ginger, cinnamon, cardamom, and nutmeg. Mix well.
- Cook the jam: Place pot over medium-high heat and bring to a full rolling boil, stirring frequently. Once boiling, stir in pectin powder. Return to a full rolling boil and cook for exactly 1 minute, stirring constantly.
- Test for doneness: Drop a small spoonful of jam onto a cold plate and let sit for 30 seconds. Run your finger through it; if it wrinkles and doesn’t run back together, it’s ready. If still runny, cook another 2-3 minutes and test again.
- Mash to desired texture: Remove pot from heat. Use a potato masher to break down pears to preferred consistency, or use an immersion blender for smoother jam.
- Fill the jars: Using jar lifter, remove hot jars from canning pot and place on a clean towel. Place canning funnel on a jar and ladle hot jam into each jar, leaving ¼-inch headspace. Wipe rims with a clean, damp towel. Center a lid on each jar and screw on ring until fingertip-tight.
- Process the jars: Lower filled jars into simmering water in canning pot, ensuring they’re covered by at least 1 inch of water. Bring to a full boil and process for 10 minutes (adjust for altitude: add 1 minute per 1,000 feet above sea level).
- Cool and check seals: Remove jars and place on a towel-lined counter. Do not disturb for 12-24 hours. After cooling, press center of each lid; if it doesn’t flex up and down, it’s sealed. Refrigerate any unsealed jars and use within 3 weeks.
Notes
Don’t skip the lemon juice; it helps activate pectin and balance sweetness. Grate ginger finely to avoid fibrous bits. Stay by the stove during cooking to prevent scorching. Use the cold plate test for doneness. Label jars with date and flavor. Flavor improves after a few weeks of storage.
Nutrition
- Serving Size: 1 tablespoon
- Calories: 45
- Sugar: 10
- Carbohydrates: 11
Keywords: pear jam, ginger jam, spiced jam, homemade jam, canning recipe, fall preserves, pear ginger jam, easy jam recipe


