Love this? Save it for later!
Share the inspiration with your friends
The woman at the craft fair booth next to mine had been eyeing my cookie tin all afternoon. I was selling my usual autumn batch—pumpkin shapes, maple leaves, the occasional ghost—and she kept glancing over while her own handmade cat toys sat untouched. Around 3 p.m., when the crowd thinned, she finally spoke. “You know what those cookies are missing?” she said, pulling out her phone to show me a photo of her black cat, Jasper, sprawled across her cutting board. “A face like this.”
I laughed, but honestly, she had a point. I’d been so focused on traditional Halloween shapes that I never thought to make something that actually looked like a real animal. She wasn’t a baker herself, but she described exactly how her cat’s ears sat—slightly tilted, one a bit higher than the other—and I got this sudden vision of black cats marching across a cooling rack, each one with its own little personality. I scribbled her name on a napkin and promised to try it.
That first batch was a mess, let me tell you. The ears kept breaking off, and the eyes looked more like surprised owls than sleek felines. But by the third attempt, something clicked. I figured out the right dough thickness, the perfect chilling time, and a decorating shortcut that didn’t require a pastry degree. Now these adorable black cat sugar cookies are the ones I look forward to making most every October. Maybe you’ve been there—staring at a cookie cutter collection and wishing for something a little more fun, a little more alive? These little guys are exactly that.
Why You’ll Love This Recipe
These aren’t just any Halloween cookies. They’re the kind that make people do a double-take and then grin. Here is what makes them stand out:
- Adorably Easy to Decorate : No piping bags or fancy tips required. A simple squeeze bottle and some candy eyes do all the work. You don’t need to be an artist—I promise.
- Perfectly Crisp Edges : The dough holds its shape beautifully during baking. Your cat ears will stay intact, and those little tails won’t disappear into the cookie.
- Simple Ingredients : Butter, sugar, flour, eggs—the usual suspects. Nothing weird, nothing hard to find. You probably have most of it already.
- Crowd-Pleaser for All Ages : Kids love the cute factor, and adults appreciate the nostalgic sugar cookie flavor. They disappear fast at parties.
- Make-Ahead Friendly : The dough freezes beautifully, and the decorated cookies stay fresh for days. Perfect for spreading out the Halloween prep.
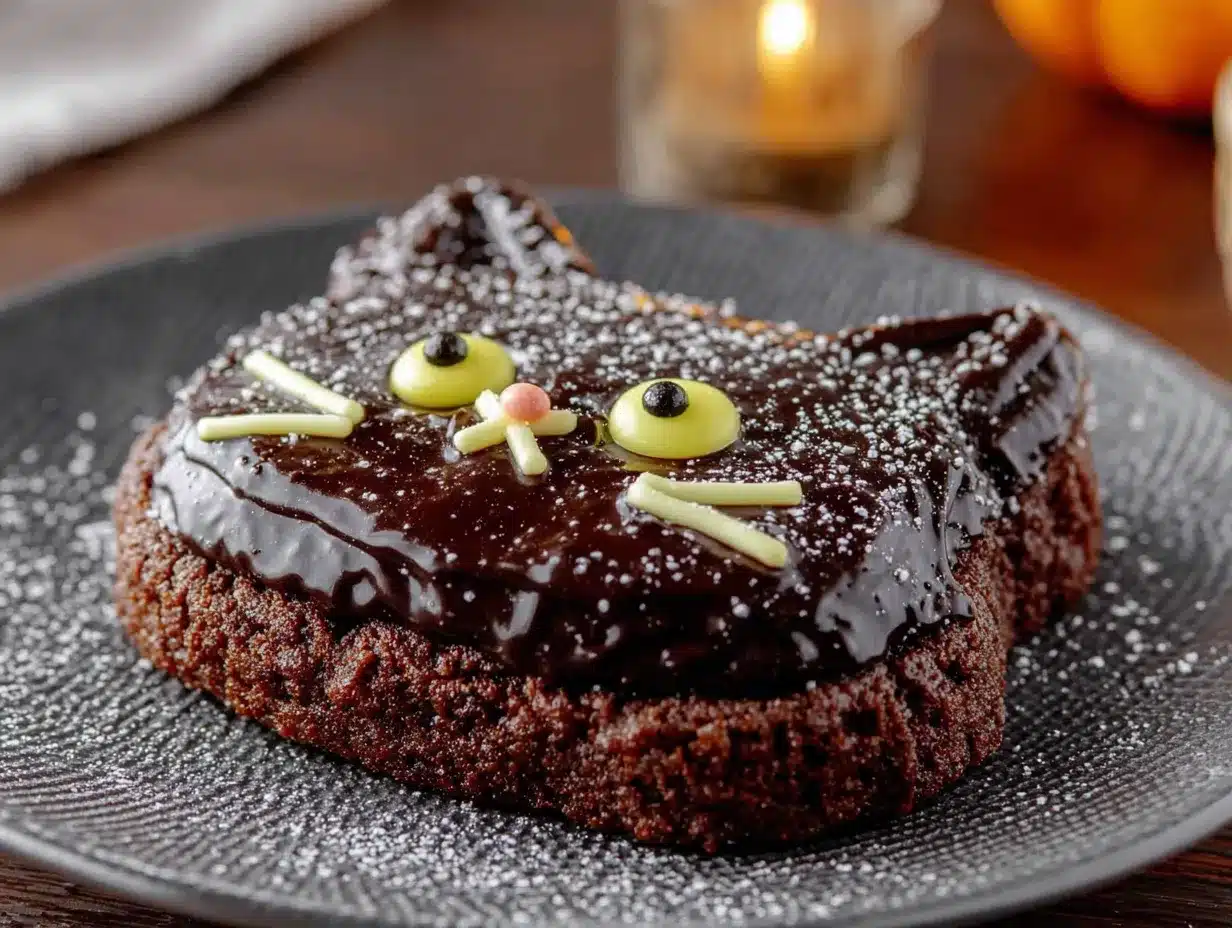
What makes this recipe different from other black cat cookies is the texture. I use a slightly higher butter-to-flour ratio than standard sugar cookies, which gives you a tender crumb that still holds a sharp edge. No spreading, no puffiness—just clean, crisp lines that make your cats look like they stepped right out of a storybook. And that black cocoa? It adds a rich, almost Oreo-like flavor that pairs perfectly with the sweet royal icing. This is comfort food reimagined—cute enough to impress, simple enough to actually enjoy making.
What Ingredients You Will Need
This recipe uses simple, wholesome ingredients to deliver bold flavor and satisfying texture without the fuss. Most of these are pantry staples, which makes spontaneous baking actually possible.
For the Sugar Cookie Dough
- 1 cup (226g) unsalted butter, softened (I prefer Kerrygold for the rich flavor, but any good-quality butter works)
- 1 cup (200g) granulated sugar
- 1 large egg, room temperature
- 1 teaspoon vanilla extract (use pure, not imitation, for the best taste)
- ½ teaspoon almond extract (optional but adds a lovely subtle flavor)
- 2 ½ cups (312g) all-purpose flour, spooned and leveled
- ½ cup (45g) black cocoa powder (I use Rodelle brand—it gives the deepest color without being bitter)
- ½ teaspoon salt
- ½ teaspoon baking powder
For the Royal Icing
- 3 cups (360g) powdered sugar, sifted
- 2 tablespoons meringue powder (Wilton brand is reliable)
- 3-4 tablespoons water, plus more as needed
- ½ teaspoon vanilla extract (clear vanilla keeps the icing white for the eyes)
- Black gel food coloring (AmeriColor Super Black works best—liquid coloring will thin the icing too much)
For Decoration
- Candy eyes (the half-sphere kind, not flat—they give the cats that cute 3D look)
- Pink or white sanding sugar (for little noses or inner ears, optional)
Ingredient Selection Tip : Black cocoa powder is different from regular Dutch-process cocoa. It is intensely dark and has a slightly smoky, Oreo-like flavor. If you cannot find it, you can substitute regular dark cocoa powder, but the color will be more of a dark brown than true black. For the blackest cookies, black cocoa is non-negotiable.
Substitution Note : If you need a gluten-free option, use a 1:1 gluten-free baking flour blend that contains xanthan gum. I have tested this with Bob’s Red Mill 1:1, and the texture is slightly more delicate but still holds its shape well.
Equipment Needed
You do not need a professional bakery setup for these cookies, but a few specific tools make the process much smoother.
- Cat-shaped cookie cutter (about 3 inches tall—look for one with a distinct head and tail shape)
- Rolling pin with thickness guides (I use a wooden rolling pin with removable rings; ¼-inch thickness is perfect)
- Baking sheets (light-colored metal sheets work best—dark sheets can over-brown the bottoms)
- Parchment paper or silicone baking mats
- Squeeze bottles (the ones with fine tips, like from Wilton, for the royal icing)
- Small offset spatula (for spreading icing if needed)
- Cooling rack (essential for even cooling and drying the icing)
- Stand mixer or hand mixer (a stand mixer makes the dough easier, but a hand mixer works fine)
Budget-Friendly Tip : If you do not have a cat-shaped cutter, you can freehand the shape using a paring knife and a paper template. It takes a little longer, but the cookies end up looking even more unique. I have done this when my cutter was buried somewhere in the back of a drawer.
Preparation Method
This method is broken down into manageable steps. Take your time with the chilling—it makes all the difference.
Step 1: Make the Dough
In a large mixing bowl or the bowl of a stand mixer fitted with the paddle attachment, cream the softened butter and granulated sugar together on medium speed until light and fluffy, about 3 minutes. Scrape down the sides of the bowl halfway through. Add the egg, vanilla extract, and almond extract (if using), and beat until fully incorporated. The mixture should look smooth and slightly glossy.
Step 2: Combine Dry Ingredients
In a separate medium bowl, whisk together the all-purpose flour, black cocoa powder, salt, and baking powder. Make sure the cocoa powder is completely broken up—no lumps allowed. Gradually add the dry ingredients to the wet mixture, mixing on low speed until just combined. The dough will look crumbly at first, but keep mixing until it comes together into a cohesive ball. Do not overmix, or the cookies will be tough.
Step 3: Chill the Dough
Divide the dough into two equal discs, flatten each into a 1-inch thick round, and wrap tightly in plastic wrap. Refrigerate for at least 2 hours, or up to 3 days. This step is crucial—chilled dough holds its shape during baking and prevents spreading. If you are in a hurry, you can pop the discs in the freezer for 45 minutes, but do not skip chilling entirely.
Step 4: Roll and Cut
Preheat your oven to 350°F (175°C). Line two baking sheets with parchment paper or silicone mats. On a lightly floured surface, roll one disc of dough to ¼-inch thickness. Use your cat-shaped cutter to press out shapes, re-rolling scraps as needed. Place cookies about 1 inch apart on the prepared baking sheets. If the dough gets too soft at any point, pop the baking sheet in the fridge for 10 minutes before baking.
Step 5: Bake
Bake the cookies for 8-10 minutes, rotating the baking sheet halfway through. The cookies are done when the edges look set and the tops are slightly firm to the touch. They will not brown noticeably because of the black cocoa, so watch the time carefully. Let the cookies cool on the baking sheet for 5 minutes, then transfer to a wire rack to cool completely. Do not even think about decorating them while they are warm—the icing will slide right off.
Step 6: Make the Royal Icing
In a clean mixing bowl, combine the sifted powdered sugar and meringue powder. Add 3 tablespoons of water and the vanilla extract, then beat on low speed until combined. Increase to medium-high speed and beat for 4-5 minutes, until the icing is thick, glossy, and forms stiff peaks. Add more water, one teaspoon at a time, until the icing reaches a “15-second consistency”—when you lift the spoon, the ribbon of icing settles back into the bowl within 15 seconds. Separate a small portion of icing (about ¼ cup) into a separate bowl and tint it white for the eyes. Tint the remaining icing black using the gel food coloring.
Step 7: Decorate the Cats
Transfer the black icing to a squeeze bottle fitted with a fine tip. Outline each cookie first, then flood the center with a slightly thinner consistency of the same icing. Use a toothpick to guide the icing into corners and pop any air bubbles. While the black icing is still wet, add two small dots of white icing for the eyes, then gently press a candy eye into each dot. For the nose, pipe a tiny pink or white triangle. Let the cookies dry at room temperature for at least 4 hours, or overnight, before stacking or packaging.
Cooking Tips & Techniques
I have made these cookies at least two dozen times, and I have messed up in almost every way possible. Here is what I learned so you do not have to.
Chill the cut-out shapes too. After you cut the cookies and place them on the baking sheet, refrigerate them for another 15 minutes before baking. This extra chill time guarantees sharp edges and minimal spreading. I skipped this once when I was in a rush, and my cats came out looking like blobs with ears.
Black cocoa is dusty. When you measure it, do it over the sink or a paper towel. That fine powder gets everywhere—I have found black fingerprints on my cabinets for days after baking. Wear an apron if you care about your clothes.
Do not overbeat the royal icing. If you beat it too long, it becomes stiff and difficult to pipe. Stop as soon as it reaches stiff peaks. If it gets too thick, add water drop by drop until it loosens up. Conversely, if it is too thin, add more sifted powdered sugar.
Work in batches. Only take one disc of dough out of the fridge at a time. Keep the other disc chilled until you are ready to roll it out. Warm dough is sticky dough, and sticky dough leads to mangled cat ears.
Use a light touch with flour. When rolling out the dough, use just enough flour to prevent sticking. Too much flour on the surface will dry out the dough and make the cookies crumbly. I use a small sieve to dust the surface lightly.
Variations & Adaptations
One of the best things about this recipe is how easy it is to change up. Here are a few ways I have adapted it over the years.
Gluten-Free Version : Substitute the all-purpose flour with a 1:1 gluten-free baking blend. I have tested this with King Arthur Measure for Measure, and the cookies come out slightly more tender but still hold their shape. Add an extra tablespoon of butter to compensate for the lack of gluten structure.
Vegan Adaptation : Use vegan butter (I like Miyoko’s) and replace the egg with a flax egg (1 tablespoon ground flaxseed mixed with 3 tablespoons water, let sit for 5 minutes). For the royal icing, replace the meringue powder with aquafaba—use 2 tablespoons of chickpea brine in place of the water and meringue powder combination.
Spooky Cat Variations : Instead of black icing, try a ghostly white cat by using white cocoa butter and white food coloring in the dough. Or make pumpkin spice cats by adding 1 teaspoon of pumpkin pie spice to the dough and using orange icing. I made a batch of “zombie cats” last year with green icing and red candy eyes—my nephew still talks about them.
Mini Cat Cookies : Use a smaller cutter (about 1.5 inches) and reduce the baking time to 6-7 minutes. These are perfect for party favors or cookie platters. Just be warned—they are even harder to stop eating.
Serving & Storage Suggestions
These cookies are best served at room temperature. I like to arrange them on a platter with the cats facing different directions, as if they are having a little conversation. It makes people smile every time.
For storage, place the fully decorated and dried cookies in an airtight container, layered between sheets of parchment paper. They will stay fresh at room temperature for up to 2 weeks. Do not refrigerate them—the moisture in the fridge can make the icing weep and the cookies lose their crispness.
If you want to freeze the undecorated cookies, bake them, let them cool completely, then freeze in a single layer on a baking sheet. Once frozen solid, transfer to a freezer-safe bag or container. They will keep for up to 3 months. When you are ready to decorate, thaw them at room temperature for about 30 minutes before icing.
The flavors actually improve after the first day. The black cocoa mellows out, and the cookie becomes more tender. I honestly prefer them on day two. That is, if they last that long.
Nutritional Information & Benefits
Let’s be real—these are a treat, not a health food. But here is the breakdown per cookie (based on a 3-inch cat shape, decorated):
- Calories : 185
- Fat : 8g
- Carbohydrates : 28g
- Protein : 2g
- Sugar : 18g
On the bright side, black cocoa powder is rich in antioxidants—more so than regular cocoa because it undergoes less processing. It also contains flavonoids that can support heart health in small amounts. The butter provides vitamin A, and eggs offer a bit of protein. But honestly, I make these because they make Halloween more fun, not because they are a superfood. Balance is everything.
Allergen Note : This recipe contains dairy (butter), eggs, and gluten (flour). The royal icing contains egg whites from the meringue powder. For egg-free or dairy-free versions, see the variations section above.
Conclusion
These adorable black cat sugar cookies have become a non-negotiable part of my Halloween tradition. Every year, I make a batch for my neighbors, a batch for my kids’ school party, and a batch just for us to nibble on while watching spooky movies. They are cute without being fussy, delicious without being complicated, and they genuinely make people happy. That is the whole point, right?
I would love to see your versions. Tag me when you make them, and tell me if your cats turned out mischievous, sleepy, or ready to pounce. And if you come up with a fun variation—maybe a witch cat with a little hat, or a vampire cat with tiny fangs—please share that too. Baking is better when we swap ideas.
So grab your butter, preheat that oven, and let’s make some cookies that are almost too cute to eat. Almost.
Frequently Asked Questions
Can I make the dough ahead of time?
Absolutely. The dough can be refrigerated for up to 3 days or frozen for up to 3 months. Just wrap it tightly in plastic wrap and then foil. Thaw frozen dough in the refrigerator overnight before rolling.
Why did my cookies spread during baking?
This usually happens when the dough is too warm. Make sure you chill the cut-out shapes on the baking sheet for at least 15 minutes before baking. Also, check that your butter was properly softened—if it was too soft, the dough will spread.
Can I use liquid food coloring instead of gel?
I do not recommend it. Liquid food coloring will thin out your royal icing and can make it too runny to pipe clean lines. Gel or paste food coloring is much more concentrated and will not affect the consistency of the icing.
How do I get the black icing to be truly black?
Start with black cocoa powder in the dough—that gives you a dark base. For the icing, use a gel color like AmeriColor Super Black, and let the icing sit for about 30 minutes after adding the color. The color deepens as it sits. If it is still not dark enough, add more gel color a tiny drop at a time.
Can I skip the royal icing and just use store-bought frosting?
You can, but the results will not be as clean. Store-bought frosting is too soft to hold sharp details like cat ears and eyes. If you want a simpler option, dust the baked cookies with powdered sugar for a “ghost cat” look, or dip them in melted dark chocolate and add candy eyes before the chocolate sets.
Pin This Recipe!
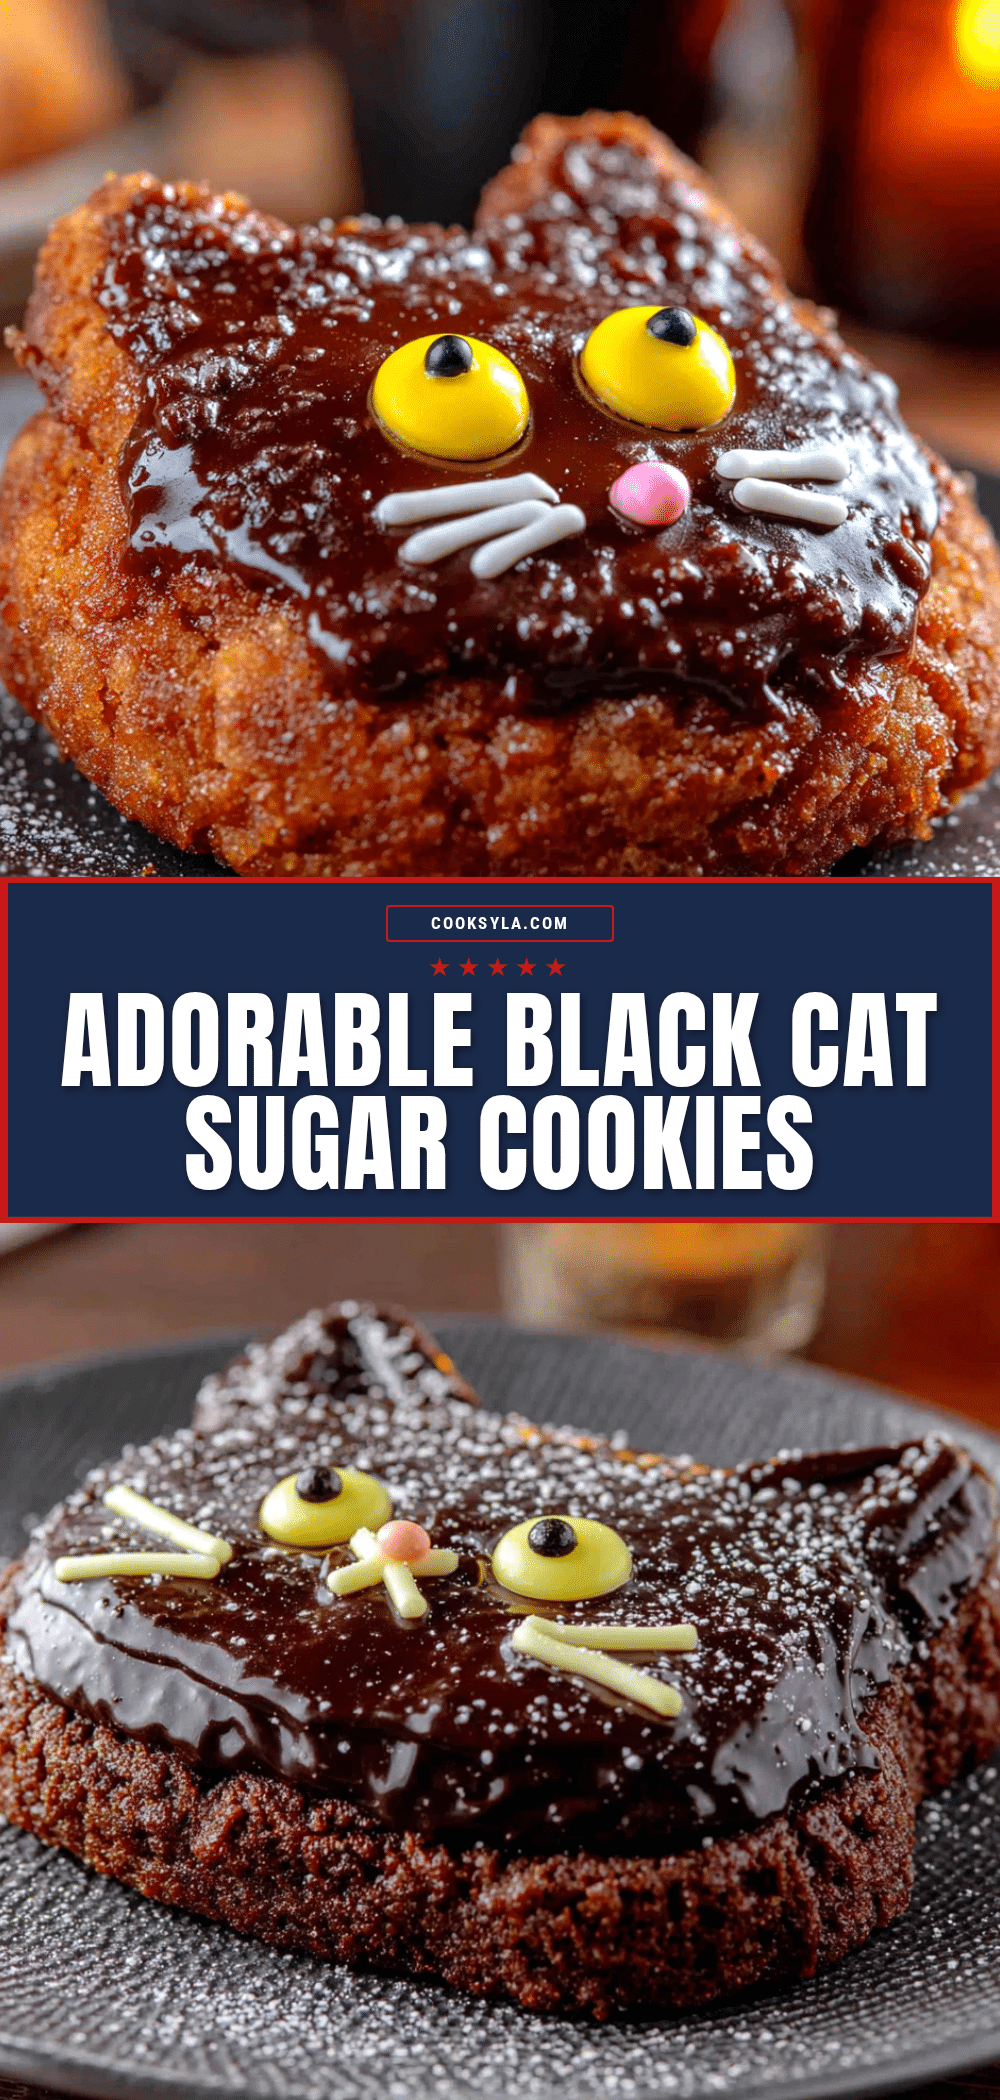
Adorable Black Cat Cookies: Easy Halloween Treat

These adorable black cat sugar cookies are the perfect Halloween treat. With crisp edges, a tender crumb, and easy decorating using a squeeze bottle and candy eyes, they are almost too cute to eat.
- Prep Time: 30 minutes
- Cook Time: 10 minutes
- Total Time: 2 hours 40 minutes (includes chilling and decorating time)
- Yield: 24 servings 1x
- Category: Dessert
- Cuisine: American
Ingredients
- 1 cup (226g) unsalted butter, softened
- 1 cup (200g) granulated sugar
- 1 large egg, room temperature
- 1 teaspoon vanilla extract
- ½ teaspoon almond extract (optional)
- 2 ½ cups (312g) all-purpose flour, spooned and leveled
- ½ cup (45g) black cocoa powder
- ½ teaspoon salt
- ½ teaspoon baking powder
- 3 cups (360g) powdered sugar, sifted
- 2 tablespoons meringue powder
- 3–4 tablespoons water, plus more as needed
- ½ teaspoon vanilla extract (clear for white icing)
- Black gel food coloring
- Candy eyes (half-sphere kind)
- Pink or white sanding sugar (optional)
Instructions
- In a large mixing bowl or stand mixer fitted with the paddle attachment, cream the softened butter and granulated sugar together on medium speed until light and fluffy, about 3 minutes. Scrape down the sides halfway through. Add the egg, vanilla extract, and almond extract (if using), and beat until fully incorporated.
- In a separate medium bowl, whisk together the all-purpose flour, black cocoa powder, salt, and baking powder. Gradually add the dry ingredients to the wet mixture, mixing on low speed until just combined. Do not overmix.
- Divide the dough into two equal discs, flatten each into a 1-inch thick round, and wrap tightly in plastic wrap. Refrigerate for at least 2 hours, or up to 3 days.
- Preheat oven to 350°F (175°C). Line two baking sheets with parchment paper or silicone mats. On a lightly floured surface, roll one disc of dough to ¼-inch thickness. Use a cat-shaped cookie cutter to press out shapes, re-rolling scraps as needed. Place cookies about 1 inch apart on prepared baking sheets. Chill the cut-out shapes on the baking sheet for 15 minutes before baking.
- Bake for 8-10 minutes, rotating the baking sheet halfway through. Cookies are done when edges are set and tops are slightly firm. Let cool on baking sheet for 5 minutes, then transfer to a wire rack to cool completely.
- In a clean mixing bowl, combine sifted powdered sugar and meringue powder. Add 3 tablespoons water and vanilla extract, beat on low until combined. Increase to medium-high and beat for 4-5 minutes until thick, glossy, and forms stiff peaks. Add more water, one teaspoon at a time, until reaching a ’15-second consistency’. Separate about ¼ cup of icing and tint white for eyes. Tint remaining icing black with gel food coloring.
- Transfer black icing to a squeeze bottle with a fine tip. Outline each cookie, then flood the center. While wet, add two small dots of white icing for eyes and press a candy eye into each. Pipe a tiny pink or white triangle for the nose. Let dry at room temperature for at least 4 hours or overnight before stacking.
Notes
Chill the cut-out shapes for 15 minutes before baking to prevent spreading. Black cocoa powder is essential for true black color; substitute with dark cocoa if unavailable. Royal icing color deepens as it sits. Store decorated cookies in an airtight container at room temperature for up to 2 weeks; do not refrigerate.
Nutrition
- Serving Size: 1 cookie
- Calories: 185
- Sugar: 18
- Sodium: 95
- Fat: 8
- Saturated Fat: 5
- Carbohydrates: 28
- Fiber: 1
- Protein: 2
Keywords: black cat cookies, Halloween cookies, sugar cookies, royal icing, easy Halloween treats, cat-shaped cookies


