Love this? Save it for later!
Share the inspiration with your friends
It was 10:47 PM on a Wednesday in mid-October, and I was staring into my fridge like it held the secrets to the universe. The Halloween party was in three days, and I had promised to bring “something fun” for the kids table. I didn’t have time for elaborate sugar cookies or a themed cake that would take all afternoon. But I had a pack of hot dogs, a can of crescent rolls, and a desperate idea that arrived somewhere between the mustard and the pickles. Honestly, I almost texted my friend Jen to say I was bringing store-bought chips instead.
I grabbed the crescent roll dough—the kind that pops when you open the can, which always makes me jump—and started cutting it into thin strips. I wrapped them around the hot dogs, leaving a little gap for the “face,” and squeezed on some mustard eyes. They looked ridiculous. They looked perfect. I threw them in the oven not really knowing what would happen, and when they came out golden and a little crispy, I actually laughed out loud in my quiet kitchen. My dog, Charlie, looked at me like I had finally lost it.
These little guys saved me that year, and now they’ve become a non-negotiable part of our Halloween tradition. Maybe you’ve been there—needing a recipe that looks impressive but takes almost zero effort? That’s exactly what these mummy hot dogs are. They’re silly, they’re simple, and honestly? They disappear faster than any candy at the party.
Why You’ll Love This Recipe
I’ve tested this recipe about seven times over the past few Halloweens, and I can tell you with confidence—it works every single time. The first time, I used too much dough and the mummies looked like they had been overstuffed into tiny sweaters. Not cute. But after a few adjustments, I landed on the perfect ratio of dough to hot dog, and let me tell you, it makes all the difference.
- Quick & Easy: These come together in under 25 minutes, start to finish. You can make a whole tray while the kids are still picking out their costumes.
- Simple Ingredients: You only need three things—hot dogs, crescent roll dough, and mustard or ketchup for the eyes. No fancy grocery trips required.
- Perfect for Halloween Parties: They’re the star of any spooky spread. Kids love them, adults sneak them, and they look way more complicated than they actually are.
- Crowd-Pleaser: I’ve brought these to three different parties now, and every single time, someone asks for the recipe before the tray is empty.
- Unbelievably Delicious: There’s something about the flaky, buttery dough wrapped around a juicy hot dog that just works. It’s comfort food with a spooky twist.
What makes this recipe different from all the other mummy hot dogs out there? It’s the little details. I use a specific wrapping technique that keeps the dough from unraveling while baking, and I’ve figured out the perfect baking time so the dough is golden and cooked through without burning the ends. Plus, I add a tiny pinch of garlic powder to the dough strips before wrapping—trust me on this one, it takes the flavor from “cute” to “actually delicious.”
This isn’t just another Halloween snack. It’s the kind that makes you feel like a kitchen hero with almost zero effort. And honestly? That’s the best kind of recipe to have in your back pocket.
What Ingredients You Will Need
This recipe uses the simplest ingredients to deliver big flavor and maximum fun without any fuss. Most of these are probably already in your kitchen, which makes this perfect for last-minute Halloween prep.
- Hot dogs (1 package, 8-count): Use your favorite brand. I personally like beef hot dogs for their richer flavor, but turkey or chicken hot dogs work great too. Look for standard-sized hot dogs, not the jumbo ones, because they’re easier to wrap and cook more evenly.
- Crescent roll dough (1 can, 8-count): This is the shortcut that makes the recipe work. I recommend Pillsbury Original Crescent Rolls for their consistent texture and buttery flavor. The store-brand versions work fine too, but they can be a little thinner and harder to work with.
- Mustard or ketchup (for the eyes): Yellow mustard gives the best “mummy” look with its pale color, but ketchup works for a bloodshot effect. You can also use sriracha for a spicy version or even small dots of cream cheese for a milder option.
- Garlic powder (optional, 1/4 teaspoon): This is my secret touch. Just a light sprinkle on the dough strips before wrapping adds a savory depth that makes these taste less like a kids’ snack and more like something you’d actually crave.
- Everything bagel seasoning (optional): If you want to get fancy, a light sprinkle on top before baking adds texture and flavor. I tried this once on a whim and it was surprisingly good.
For the hot dogs, I’ve found that brands like Nathan’s or Hebrew National hold up best during baking. They don’t split or curl up as much as cheaper brands. If you’re using a plant-based hot dog, just check the package for baking instructions since some cook faster than traditional hot dogs.
Equipment Needed
You don’t need any fancy kitchen tools for this recipe, which is honestly one of the best things about it. Here’s what you’ll need:
- Baking sheet (standard half-sheet size, about 13×18 inches): Line it with parchment paper or a silicone baking mat for easy cleanup. I’ve used both, and parchment paper makes the bottoms crispier.
- Sharp knife or pizza cutter: You’ll need this to cut the crescent roll dough into thin strips. A pizza cutter gives you cleaner, more even strips, but a sharp knife works just fine.
- Small bowl: For the mustard or ketchup that you’ll use for the eyes. A toothpick or the tip of a knife works best for applying the dots.
- Pastry brush (optional): If you want to brush the dough with an egg wash for extra golden color, a pastry brush helps. But honestly, I skip this step most of the time and the mummies still come out beautiful.
- Cooling rack: Letting the mummy hot dogs cool on a rack for a few minutes after baking keeps the bottoms from getting soggy. If you don’t have one, just transfer them to a plate quickly.
I picked up my silicone baking mat at a discount store for about three dollars, and it’s been a lifesaver for recipes like this. No sticking, no scrubbing, and the cleanup takes about ten seconds.
Preparation Method
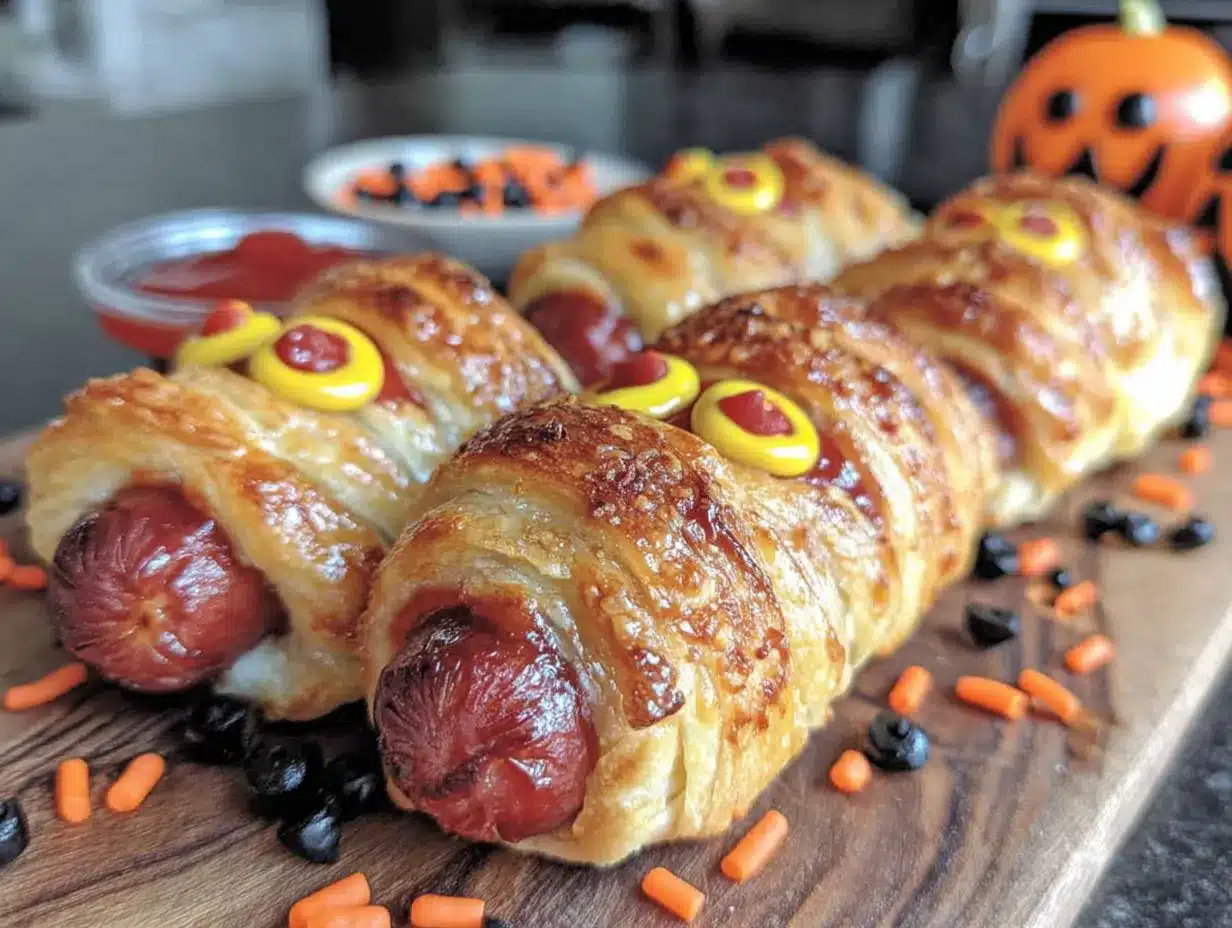
Let’s get these little mummies made! I’ve broken this down into clear steps so you can follow along easily, even if you’re multitasking with costume prep or setting up decorations.
- Preheat your oven to 375°F (190°C). While it’s heating up, line your baking sheet with parchment paper or a silicone mat. This step is important—without it, the dough can stick and tear when you try to remove the mummies.
- Unroll the crescent roll dough and separate it along the perforated lines into 8 triangles. Lay them flat on a cutting board. You’ll notice the dough is soft and a little sticky—that’s normal. If it’s too sticky to handle, pop it in the fridge for 5 minutes.
- Cut each triangle into thin strips. Using a sharp knife or pizza cutter, slice each triangle lengthwise into 4 to 5 strips, about 1/4 inch wide. The strips don’t have to be perfectly even—slight imperfections make the mummies look more rustic and fun. I’ve made these about ten times now, and the uneven strips always look better than the perfectly cut ones.
- Prepare your hot dogs. Pat them dry with a paper towel. This helps the dough stick better. If you want, you can cut a small slit in each hot dog about halfway through—this creates a little “mouth” that you can fill with more mustard or ketchup later. I started doing this after my niece asked why the mummies didn’t have mouths, and now it’s become a signature detail.
- Wrap the mummies. Take one hot dog and start wrapping a dough strip around it, leaving a small gap near the top for the “face.” Overlap the strips slightly as you go, tucking the ends underneath the hot dog to keep them from unraveling during baking. Don’t wrap too tightly—the dough needs room to expand as it bakes. I learned this the hard way when my first batch came out with dough that had split open like popped buttons.
- Place the wrapped hot dogs on the baking sheet, leaving about an inch of space between each one. They won’t spread much, but a little breathing room helps them cook evenly.
- Sprinkle with garlic powder (if using). Just a light dusting over the top of each mummy. This is optional but highly recommended—it adds a subtle savory note that balances the sweetness of the dough.
- Bake for 12 to 15 minutes, or until the dough is golden brown and cooked through. Keep an eye on them after the 12-minute mark—ovens vary, and you don’t want the ends of the dough to burn. The hot dogs should be heated through and slightly plump.
- Let them cool for 2 to 3 minutes on the baking sheet, then transfer to a cooling rack. This short rest helps the dough set so it doesn’t fall apart when you add the eyes.
- Add the eyes. Using a toothpick or the tip of a knife, dab small dots of mustard or ketchup onto the exposed part of the hot dog to create eyes. You can make them look scared, angry, or just googly-eyed—it’s up to you. I usually do a mix of expressions because it makes the platter look more alive.
And that’s it! You’ve just made a tray of the cutest, spookiest little mummies that will steal the show at any Halloween party.
Cooking Tips & Techniques
I’ve made enough batches of these to know what works and what doesn’t. Here are the tips I wish someone had told me before my first attempt.
Don’t overwork the dough. Crescent roll dough is delicate, and if you handle it too much, it becomes tough and loses its flakiness. Cut the strips quickly and wrap them gently. If the dough starts to feel warm and sticky, pop the whole thing in the fridge for 5 minutes—it makes a huge difference.
The wrapping technique matters. I used to wrap the dough strips tightly, thinking it would help them stay in place. But tight wrapping actually causes the dough to split as it bakes. Leave a tiny bit of slack, and tuck the ends securely underneath the hot dog. This keeps everything neat without the dough fighting against itself.
Watch your baking time. I once left a batch in for 16 minutes because I got distracted by a phone call, and the ends of the dough came out dark and crispy. Not ruined, but not pretty either. Set a timer for 12 minutes and check them. If they need more time, add it in 1-minute increments.
Make the eyes after baking. I tried putting the mustard eyes on before baking once, thinking it would save time. The mustard just baked into the hot dog and disappeared. Wait until they come out of the oven, and apply the eyes while the hot dogs are still warm—the mustard sticks better.
Use a toothpick for precision. Squeezing mustard straight from the bottle creates blobs, not dots. Dip a toothpick into the mustard and dab it onto the hot dog. You’ll get much cleaner, cuter eyes that actually look like they belong on a mummy.
Keep them warm for serving. These are best served warm, when the dough is still flaky and the hot dog is juicy. If you’re bringing them to a party, wrap the baking sheet in foil and put it in a warm oven (200°F) until you’re ready to leave. They’ll stay perfect for about 30 minutes this way.
Variations & Adaptations
One of the best things about this recipe is how easy it is to customize. Here are some variations I’ve tried and loved.
Cheesy Mummy Hot Dogs: Before wrapping, slice the hot dog lengthwise about three-quarters of the way through and stuff a thin strip of cheddar or mozzarella cheese inside. Wrap as usual and bake. The cheese melts out slightly during baking, creating a gooey, delicious surprise. My friend Mark tried this version and now refuses to make them any other way.
Spicy Mummy Dogs: Use spicy chorizo-style hot dogs or brush the dough with a mixture of melted butter and hot sauce before baking. Add sriracha eyes instead of mustard for an extra kick. These are great for adult parties where you want a little heat with your Halloween fun.
Veggie Mummy Dogs: Swap the hot dogs for plant-based or veggie dogs. I’ve used both the brand Field Roast and the classic MorningStar Farms option, and both work well. Just check the package for baking times since some plant-based dogs cook faster than traditional ones. You can also use carrot “hot dogs” by boiling carrots in a mixture of soy sauce, maple syrup, and liquid smoke for 15 minutes before wrapping. It sounds weird, but it’s actually amazing.
Breakfast Mummy Sausages: Use breakfast sausage links instead of hot dogs for a morning-of-Halloween treat. The smaller size means you’ll need to cut the dough into even thinner strips, but the result is adorable and perfect for a spooky breakfast before school.
Gluten-Free Version: Use gluten-free crescent roll dough. I’ve tested this with the brand Immaculate Baking’s gluten-free option, and while the dough is a bit more fragile, it works if you handle it gently and don’t over-wrap. You can also use gluten-free puff pastry sheets cut into strips for a flakier texture.
I personally love the cheesy version the most—there’s something about melted cheese inside a flaky dough wrapper that feels like a reward for making it through October.
Serving & Storage Suggestions
These mummy hot dogs are best served warm, right after the eyes have been added. The contrast between the hot, flaky dough and the cool mustard or ketchup is part of what makes them so satisfying.
Presentation ideas: Arrange them on a large platter with the eyes facing up so everyone can see the cute faces. I like to add a small bowl of extra mustard or ketchup for dipping, plus some celery sticks and carrot slices arranged like “graveyard dirt” around the edges. You can also stick little toothpick flags with spooky faces into each mummy for an extra touch.
What to serve with them: These pair perfectly with other Halloween finger foods like popcorn balls, pumpkin-shaped cheese crackers, or a bowl of warm chili for dipping. For drinks, apple cider or a simple punch with dry ice (for effect) makes the whole spread feel festive.
Storage: If you have leftovers (which honestly, rarely happens), let them cool completely, then store them in an airtight container in the refrigerator for up to 3 days. The dough will soften a bit, but they’re still tasty.
Reheating: The best way to reheat these is in the oven or air fryer. Pop them in a 350°F oven for 5 to 7 minutes, or in an air fryer at 350°F for 3 to 4 minutes. The microwave works in a pinch, but the dough will be soft rather than crispy. If you’re reheating for a party, add fresh mustard or ketchup eyes after reheating since the old ones will have faded or smeared.
Freezer instructions: You can freeze the unbaked wrapped hot dogs for up to 2 months. Arrange them on a baking sheet and freeze until solid, then transfer to a freezer bag. When you’re ready to bake, add 2 to 3 minutes to the baking time and bake directly from frozen. This is a lifesaver for last-minute Halloween gatherings.
Nutritional Information & Benefits
Let’s be real—these are a treat, not a health food. But here’s the estimated nutritional breakdown for one mummy hot dog (using standard beef hot dogs and crescent roll dough):
- Calories: Approximately 280
- Protein: 9 grams
- Carbohydrates: 18 grams
- Fat: 18 grams
- Sodium: 680 mg
If you’re looking to lighten them up a bit, try using turkey or chicken hot dogs, which have about 40 fewer calories and less saturated fat per serving. You can also use reduced-fat crescent roll dough, though the texture won’t be quite as flaky.
Dietary considerations: This recipe contains wheat and dairy (from the crescent roll dough) and may contain soy depending on the hot dog brand you choose. For a gluten-free version, use gluten-free crescent roll dough or gluten-free puff pastry. For a dairy-free version, check that your crescent roll dough is dairy-free—some brands use butter, while others use vegetable oils.
Potential allergens: Wheat, dairy, and soy are the main allergens to watch for. Always check labels if you’re serving guests with food sensitivities.
From a wellness perspective, I think of these as a fun, occasional treat that brings joy to a celebration. They’re not meant to be an everyday meal, and that’s okay. Sometimes food is about connection and laughter, not just nutrition. And honestly? A little bit of fun never hurt anyone.
Conclusion
These mummy hot dogs have become my go to Halloween recipe for a reason. They’re quick, they’re cute, and they never fail to make people smile. Whether you’re hosting a big party, bringing a dish to a school event, or just looking for a fun activity to do with your kids on a spooky October evening, these little guys deliver every single time.
I love that this recipe lets you be creative—you can make the mummies look scared, grumpy, or totally clueless. You can add cheese, spice them up, or keep them classic. There’s no wrong way to do it, and that’s what makes it so much fun.
If you make these, I’d love to hear how they turned out! Drop a comment below and tell me what expressions your mummies had, or if you tried any fun variations. And if you’re looking for more Halloween inspiration, check out my post on spooky pumpkin dip—it’s another crowd favorite that comes together in minutes.
Now go forth and make some mummies! Your Halloween party is about to get a whole lot cuter.
Frequently Asked Questions
Can I make these ahead of time?
Absolutely! You can assemble the wrapped hot dogs up to 24 hours in advance and keep them covered in the refrigerator. Bake them just before serving for the best texture. You can also freeze them unbaked for up to 2 months—just add a few extra minutes to the baking time.
What if I don’t have crescent roll dough?
No problem! You can use puff pastry sheets cut into thin strips, or even homemade pizza dough rolled out very thin. Puff pastry gives a flakier texture, while pizza dough makes them more bread-like. Both work, but crescent roll dough is the easiest and gives the best balance of flakiness and flavor.
How do I keep the dough from unraveling during baking?
The key is to tuck the ends of the dough strips securely underneath the hot dog before baking. Also, don’t wrap too tightly—leaving a tiny bit of slack helps the dough stay in place as it expands. If you’re still having trouble, you can press the ends gently against the hot dog to help them stick.
Can I use a different type of hot dog?
Yes! Turkey, chicken, beef, or plant-based hot dogs all work. Just keep in mind that different types may have slightly different cooking times. Thinner hot dogs will cook faster, so check them a minute or two early. I’ve also used smoked sausages and kielbasa for a heartier version, and they turned out great.
What’s the best way to reheat leftover mummy hot dogs?
The oven or air fryer is your best bet for restoring crispiness. Reheat in a 350°F oven for 5 to 7 minutes, or in an air fryer at 350°F for 3 to 4 minutes. The microwave works but will make the dough soft. If you’re reheating for a party, add fresh mustard or ketchup eyes after reheating since the old ones will have faded.
Pin This Recipe!
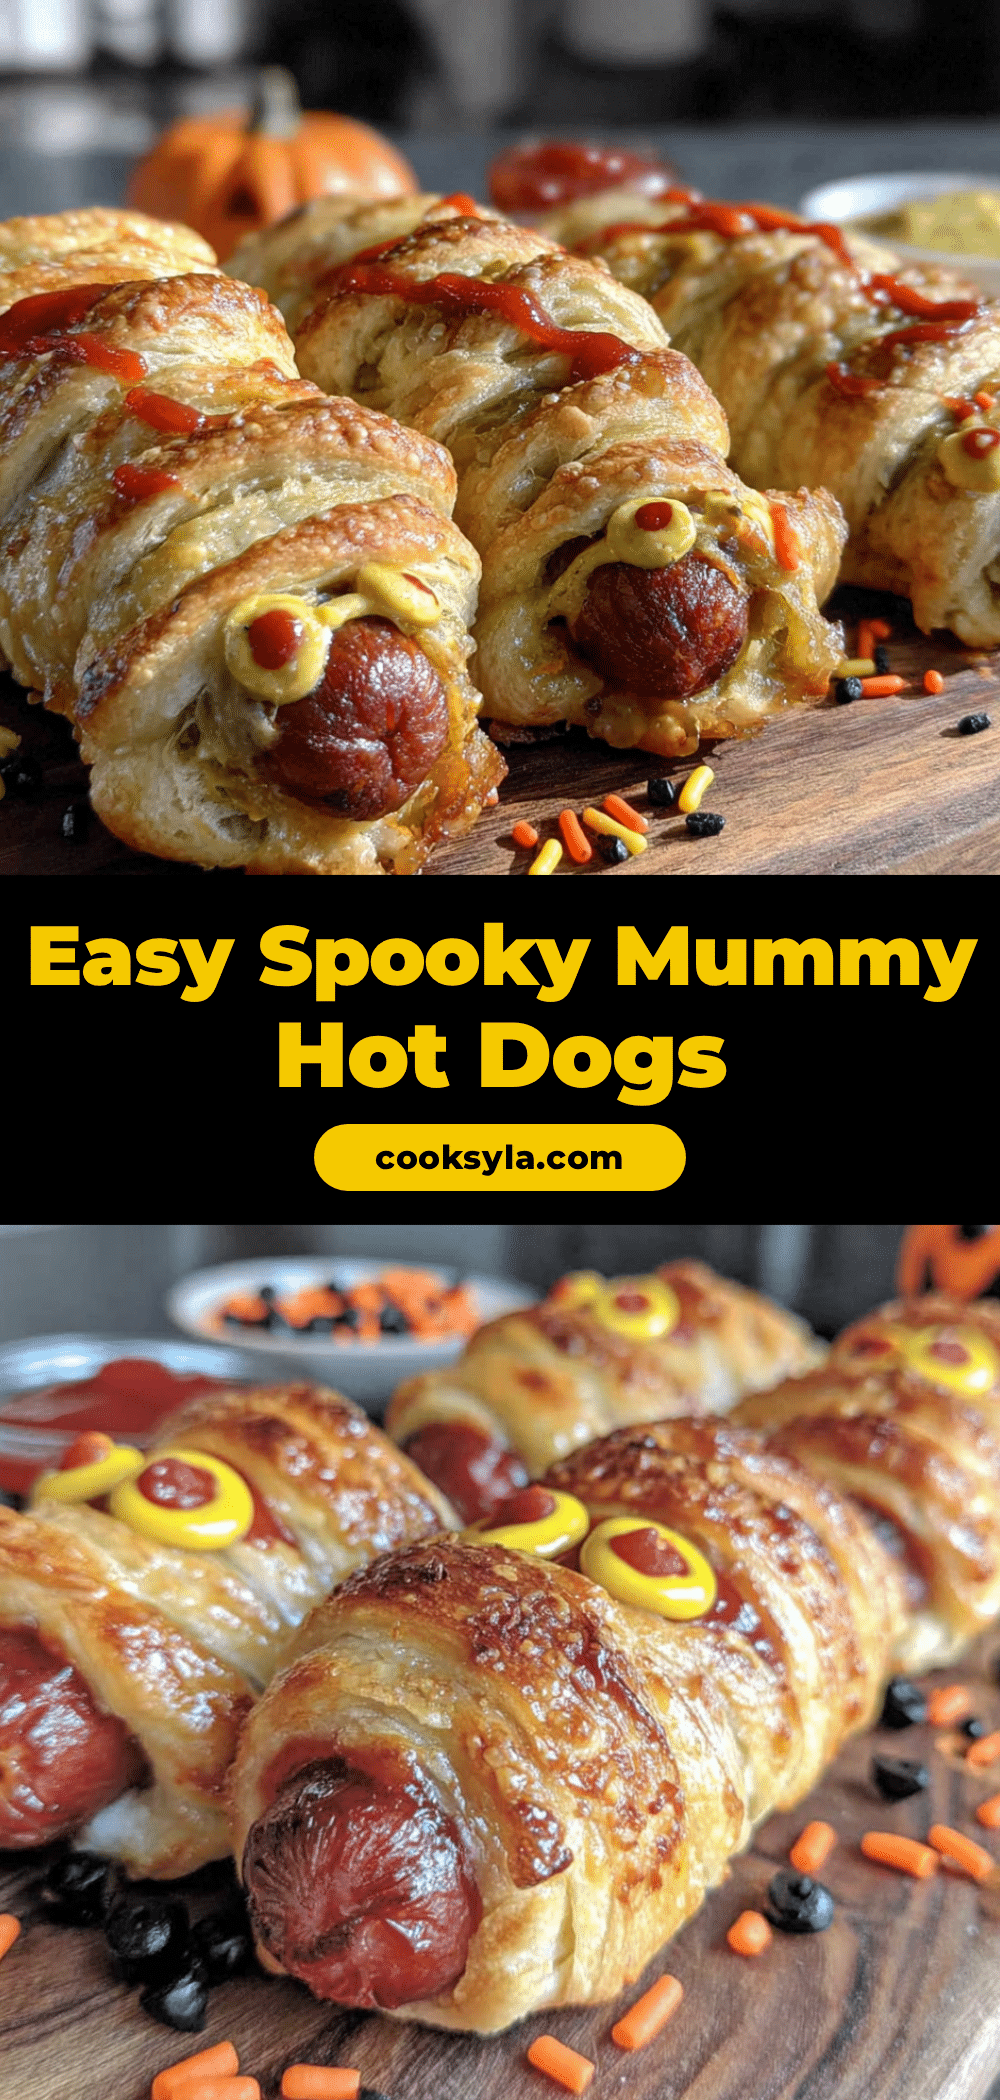
Easy Mummy Hot Dogs for a Spooky Halloween Party
These mummy hot dogs are a quick, fun, and delicious Halloween treat made with just hot dogs, crescent roll dough, and mustard or ketchup for eyes. Perfect for parties, they come together in under 25 minutes and are always a crowd-pleaser.
- Prep Time: 10 minutes
- Cook Time: 15 minutes
- Total Time: 25 minutes
- Yield: 8 servings 1x
- Category: Appetizer
- Cuisine: American
Ingredients
- 1 package (8-count) hot dogs (beef, turkey, or chicken)
- 1 can (8-count) crescent roll dough (e.g., Pillsbury Original)
- Mustard or ketchup (for the eyes)
- 1/4 teaspoon garlic powder (optional)
- Everything bagel seasoning (optional)
Instructions
- Preheat your oven to 375°F (190°C). Line a baking sheet with parchment paper or a silicone mat.
- Unroll the crescent roll dough and separate it along the perforated lines into 8 triangles. Lay them flat on a cutting board.
- Using a sharp knife or pizza cutter, slice each triangle lengthwise into 4 to 5 thin strips, about 1/4 inch wide.
- Pat the hot dogs dry with a paper towel. Optionally, cut a small slit in each hot dog about halfway through to create a ‘mouth’.
- Take one hot dog and start wrapping a dough strip around it, leaving a small gap near the top for the ‘face’. Overlap the strips slightly and tuck the ends underneath the hot dog. Don’t wrap too tightly.
- Place the wrapped hot dogs on the prepared baking sheet, leaving about an inch of space between each.
- Sprinkle with garlic powder (if using).
- Bake for 12 to 15 minutes, or until the dough is golden brown and cooked through.
- Let them cool for 2 to 3 minutes on the baking sheet, then transfer to a cooling rack.
- Using a toothpick or the tip of a knife, dab small dots of mustard or ketchup onto the exposed part of the hot dog to create eyes. Serve warm.
Notes
For best results, don’t overwork the dough. Wrap strips loosely to prevent splitting. Add eyes after baking for better adhesion. Keep warm in a 200°F oven for up to 30 minutes before serving. For a cheesy version, stuff a thin strip of cheese inside the hot dog before wrapping. For gluten-free, use gluten-free crescent roll dough.
Nutrition
- Serving Size: 1 mummy hot dog
- Calories: 280
- Sugar: 4
- Sodium: 680
- Fat: 18
- Saturated Fat: 6
- Carbohydrates: 18
- Protein: 9
Keywords: mummy hot dogs, Halloween recipe, easy Halloween snack, hot dog mummies, spooky party food, kid-friendly Halloween


