Love this? Save it for later!
Share the inspiration with your friends
Leo wasn’t trying to impress anyone with his baking skills. I’d stopped by his apartment on a rainy Tuesday to borrow a drill, and the scent of toasted nuts and caramelized sugar hit me before I even pushed the door open. It wasn’t the usual pumpkin spice syrup smell you get from coffee shops. This was deeper, richer, almost savory in a way that made my stomach growl loudly enough to echo in the hallway. Leo was standing at his counter, looking entirely unbothered as he stirred a pot of butter that had just turned the color of amber.
He didn’t have a fancy stand mixer or a marble countertop. Just a slightly chipped mixing bowl and a whisk he’d probably had for ten years. I leaned against the doorframe, waiting for him to notice me, but he was too focused on watching the milk solids brown. When he finally looked up, he just shrugged and said, “They’re just scones. They’re easy.” Easy? I had tried making pumpkin scones before and ended up with dense, dry bricks. These smelled like heaven and looked like they were about to melt in my mouth.
The casualness of it was what got me. He treated this extraordinary aroma like it was background noise while he checked his mail. I mean, honestly, how does anyone make butter smell that good without trying? I forgot about the drill entirely. I just stood there, watching the steam rise from the pan, feeling a little envious of his effortless cooking style. Maybe you’ve been there, standing in someone else’s kitchen, wishing you had their intuition for flavor.
Leo handed me a warm piece before I even took off my coat. The texture was craggy on the outside and tender on the inside, with a hint of maple sweetness that tied it all together. That first bite changed everything for me. It wasn’t just breakfast; it was comfort. I kept coming back for more, not because I needed a drill, but because I needed to learn how he did it. Now, these Best Brown Butter Pumpkin Scones with Maple Glaze are my go-to for autumn weekends, and I’m finally sharing the secret. It’s all about that brown butter, and it’s simpler than you think.
Why You’ll Love This Recipe
There is a specific kind of magic that happens when you take a simple scone and upgrade the butter. I’ve tested dozens of pumpkin scone recipes over the years, and most of them rely on canned pumpkin puree and a dash of cinnamon. While those are fine, they lack depth. This recipe is different because it starts with browning the butter. That process transforms the fat from a simple baking ingredient into a nutty, toffee-like powerhouse. It adds a layer of complexity that makes these scones feel gourmet, even though they are surprisingly easy to make.
Here is why this recipe has become a staple in my kitchen:
- Quick & Easy: Despite the brown butter step, the whole process takes less than 45 minutes. The dough comes together quickly, and the scones bake in just 18 to 20 minutes. It’s perfect for busy weeknights or a leisurely weekend brunch.
- Simple Ingredients: You don’t need a trip to a specialty store. Everything you need is likely already in your pantry or fridge. Flour, sugar, baking powder, butter, pumpkin, and maple syrup. That’s it.
- Perfect for Autumn: These scones capture the essence of fall. They are ideal for cozy dinners, holiday mornings, or just a rainy afternoon treat.
- Crowd-Pleaser: Kids usually love the sweetness, and adults appreciate the sophisticated nutty flavor of the brown butter. They disappear fast at any gathering.
- Unbelievably Delicious: The texture is the star. You get a crisp, sugary crust that gives way to a soft, moist interior. The maple glaze adds a final touch of elegance that feels restaurant-quality.
What really sets these Best Brown Butter Pumpkin Scones with Maple Glaze apart is the balance of flavors. The pumpkin provides moisture without making the scone soggy, and the brown butter adds a savory note that cuts through the sweetness. It’s not just a sweet treat; it’s a balanced, satisfying experience. I remember the first time I made this for my neighbors, they asked if I bought them from a bakery. I laughed and told them it was just home baking. They didn’t believe me. That’s the power of good technique.
What Ingredients You Will Need
This recipe uses simple, wholesome ingredients to deliver bold flavor and satisfying texture without the fuss. The key to success here is quality. Since there are only a few components, each one needs to shine. I recommend using unsalted butter so you can control the saltiness, and real maple syrup for the glaze, not pancake syrup. Here is what you will need to get started.
For the Scone Dough
- Unsalted Butter: 1 cup (2 sticks / 226g). You will need to brown this. Use a high-quality butter like Kerrygold or Plugra for the best flavor.
- All-Purpose Flour: 2 ½ cups (315g). This provides the structure. Don’t use cake flour, or they will be too tender.
- Granulated Sugar: ½ cup (100g). This helps with the crisp exterior.
- Baking Powder: 1 tablespoon. Make sure it is fresh for the best rise.
- Salt: 1 teaspoon. Balances the sweetness.
- Pumpkin Puree: ¾ cup (180g). Use 100% pure pumpkin, not pie filling. Libby’s is a reliable brand.
- Heavy Cream: ½ cup (120ml). Adds richness and tenderness.
- Egg Yolk: 1 large egg yolk. Helps bind the dough and adds color.
- Pumpkin Pie Spice: 2 teaspoons. Or make your own mix with cinnamon, ginger, nutmeg, and cloves.
For the Maple Glaze
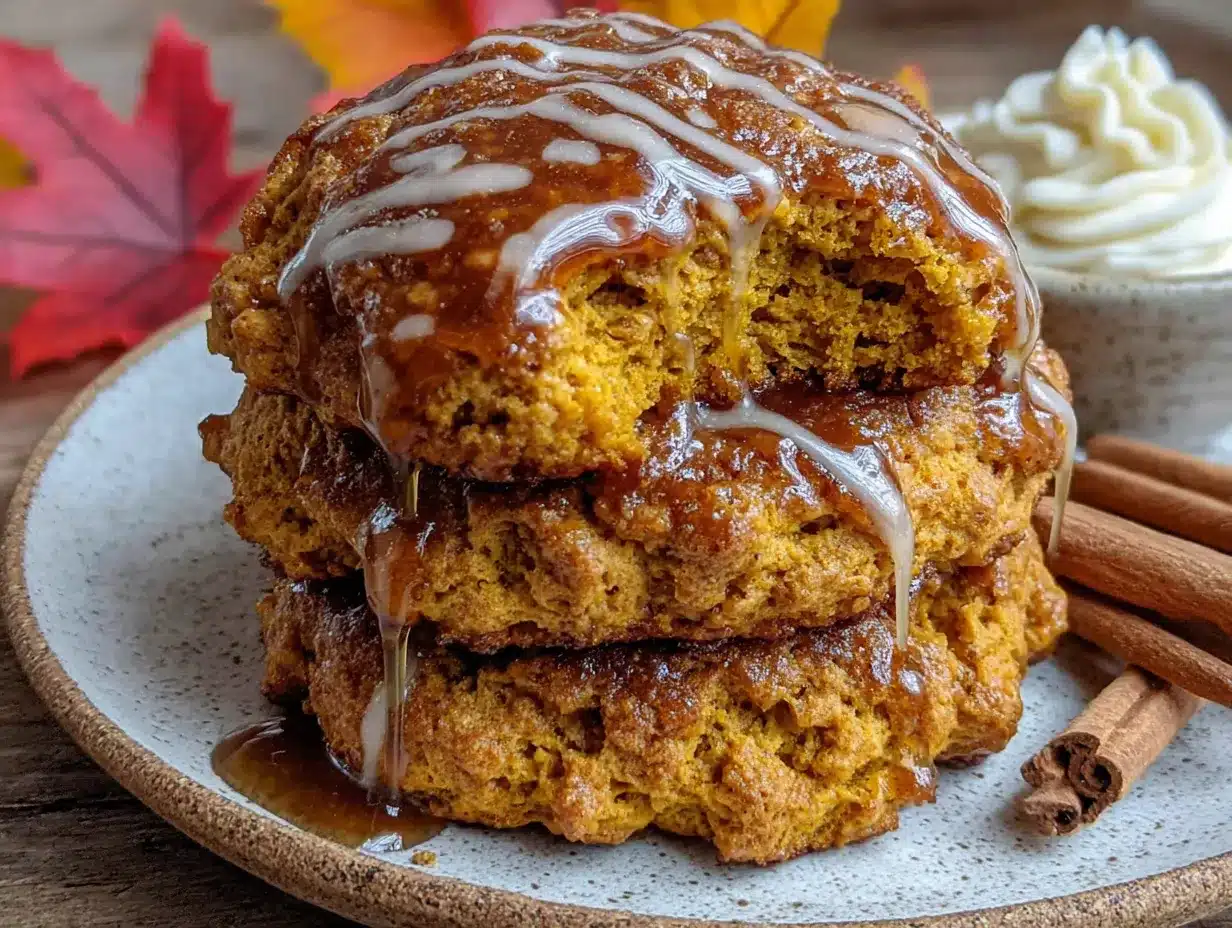
- Powdered Sugar: 1 cup (120g). Sifted to avoid lumps.
- Maple Syrup: 2-3 tablespoons. Use pure Grade B maple syrup for a stronger flavor.
- Milk: 1-2 teaspoons. Adjust for consistency.
One tip I’ve learned is to keep your ingredients cold. The cream and egg yolk should be straight from the fridge. This helps create those flaky layers in the final scone. Also, if you are using frozen pumpkin puree, make sure it is completely thawed and drained if there is excess water. Moisture control is everything in baking.
Equipment Needed
You don’t need a lot of fancy gear for this recipe. A medium saucepan is essential for browning the butter. I prefer stainless steel because it lets you see the color change clearly. A wooden spoon or heat-proof spatula is good for stirring. For mixing, a large bowl and a whisk work perfectly. I used to use a food processor, but it can overwork the dough. A simple whisk and your hands are better for this. You will also need a baking sheet lined with parchment paper. I recommend using a light-colored metal pan, as dark pans can burn the bottoms. A cooling rack is helpful for the glaze to set.
Preparation Method
Making these scones is straightforward if you take your time with the butter. Here is how to do it step-by-step.
- Brown the Butter: Start by melting the butter in a medium saucepan over medium heat. Stir constantly. It will foam up, then settle. Watch closely as the milk solids turn golden brown. This takes about 5-7 minutes. You will smell a nutty aroma. Remove from heat immediately and let it cool slightly. (Time: 10 minutes)
- Mix Dry Ingredients: In a large bowl, whisk together the flour, sugar, baking powder, salt, and pumpkin pie spice. Ensure there are no lumps of baking powder.
- Combine Wet Ingredients: In a small bowl, whisk the heavy cream, egg yolk, and the cooled brown butter. The butter should be liquid but not hot.
- Combine Wet and Dry: Pour the wet mixture into the dry ingredients. Use a spatula to fold it together. Do not overmix. Stop when there are still streaks of flour. The dough will be shaggy. (Time: 5 minutes)
- Form the Dough: Turn the dough onto a floured surface. Gently press it into a disk about 1-inch thick. Do not knead it. Just shape it. Overworking makes tough scones.
- Cut the Scones: Cut the disk into 8 equal wedges. Use a sharp knife or a bench scraper.
- Bake: Place scones on a parchment-lined baking sheet. Bake at 375°F (190°C) for 18-20 minutes, or until golden brown. (Time: 20 minutes)
- Make the Glaze: While scones bake, whisk powdered sugar, maple syrup, and milk until smooth.
- Glaze: Drizzle over warm scones.
If the dough feels too sticky, add a teaspoon more flour. If it is too dry, add a teaspoon more cream. Trust your hands.
Cooking Tips & Techniques
Browning butter can be tricky if you are not paying attention. The difference between brown and burnt is just a few seconds. If you smell burning, toss it and start over. It’s frustrating, but it saves the recipe. Another tip is to chill the dough before baking if you have time. I usually put the shaped scones in the fridge for 10 minutes. This helps them hold their shape better in the oven. Also, don’t skip the egg yolk. It adds richness and helps the scones brown evenly. I once tried making these without it, and they were pale and flat. The yolk makes a huge difference.
Variations & Adaptations
These scones are versatile. You can add chopped pecans or walnuts for crunch. If you like chai flavors, add a pinch of cardamom. For a dairy-free version, use coconut oil instead of butter, but you won’t get the brown butter flavor. You can also swap the maple glaze for a vanilla glaze. I once made these with gingerbread spice instead of pumpkin spice, and they were amazing for winter holidays. Try adding chocolate chips for a dessert version. Just be careful not to overload the dough.
Serving & Storage Suggestions
Serve these warm with a cup of coffee or tea. They pair well with roasted vegetables or a simple salad for brunch. Store leftovers in an airtight container at room temperature for up to 2 days. To reheat, warm them in the oven for 5 minutes. They freeze well too. Wrap them individually and freeze for up to 3 months. Thaw at room temperature and glaze before serving. The flavors develop over time, so they taste even better the next day.
Nutritional Information & Benefits
Each scone contains approximately 350 calories. They are a good source of carbohydrates and provide some vitamin A from the pumpkin. The brown butter adds healthy fats, though it is calorie-dense. These scones are not gluten-free, so use almond flour for a GF option. They are suitable for nut-free diets if you skip the nuts. Enjoy them as part of a balanced diet.
Conclusion
These Best Brown Butter Pumpkin Scones with Maple Glaze are worth the effort. They are simple, delicious, and impressive. I love making them because they remind me of that rainy Tuesday with Leo. They are comforting and easy to customize. Try them and let me know how they turn out. Share your photos online. Happy baking!
FAQs
Can I use canned pumpkin pie filling?
No, use pure pumpkin puree. Pie filling has added sugar and spices that will throw off the recipe.
How do I know when the butter is browned?
Look for golden brown milk solids at the bottom and smell a nutty aroma. It should take 5-7 minutes.
Can I freeze the dough?
Yes, shape the scones and freeze them on a tray. Then transfer to a bag. Bake from frozen, adding a few minutes to the time.
What is the best maple syrup to use?
Use pure Grade B maple syrup for a stronger, richer flavor.
Why are my scones dense?
You likely overmixed the dough. Handle it gently and stop mixing when streaks of flour remain.
Pin This Recipe!
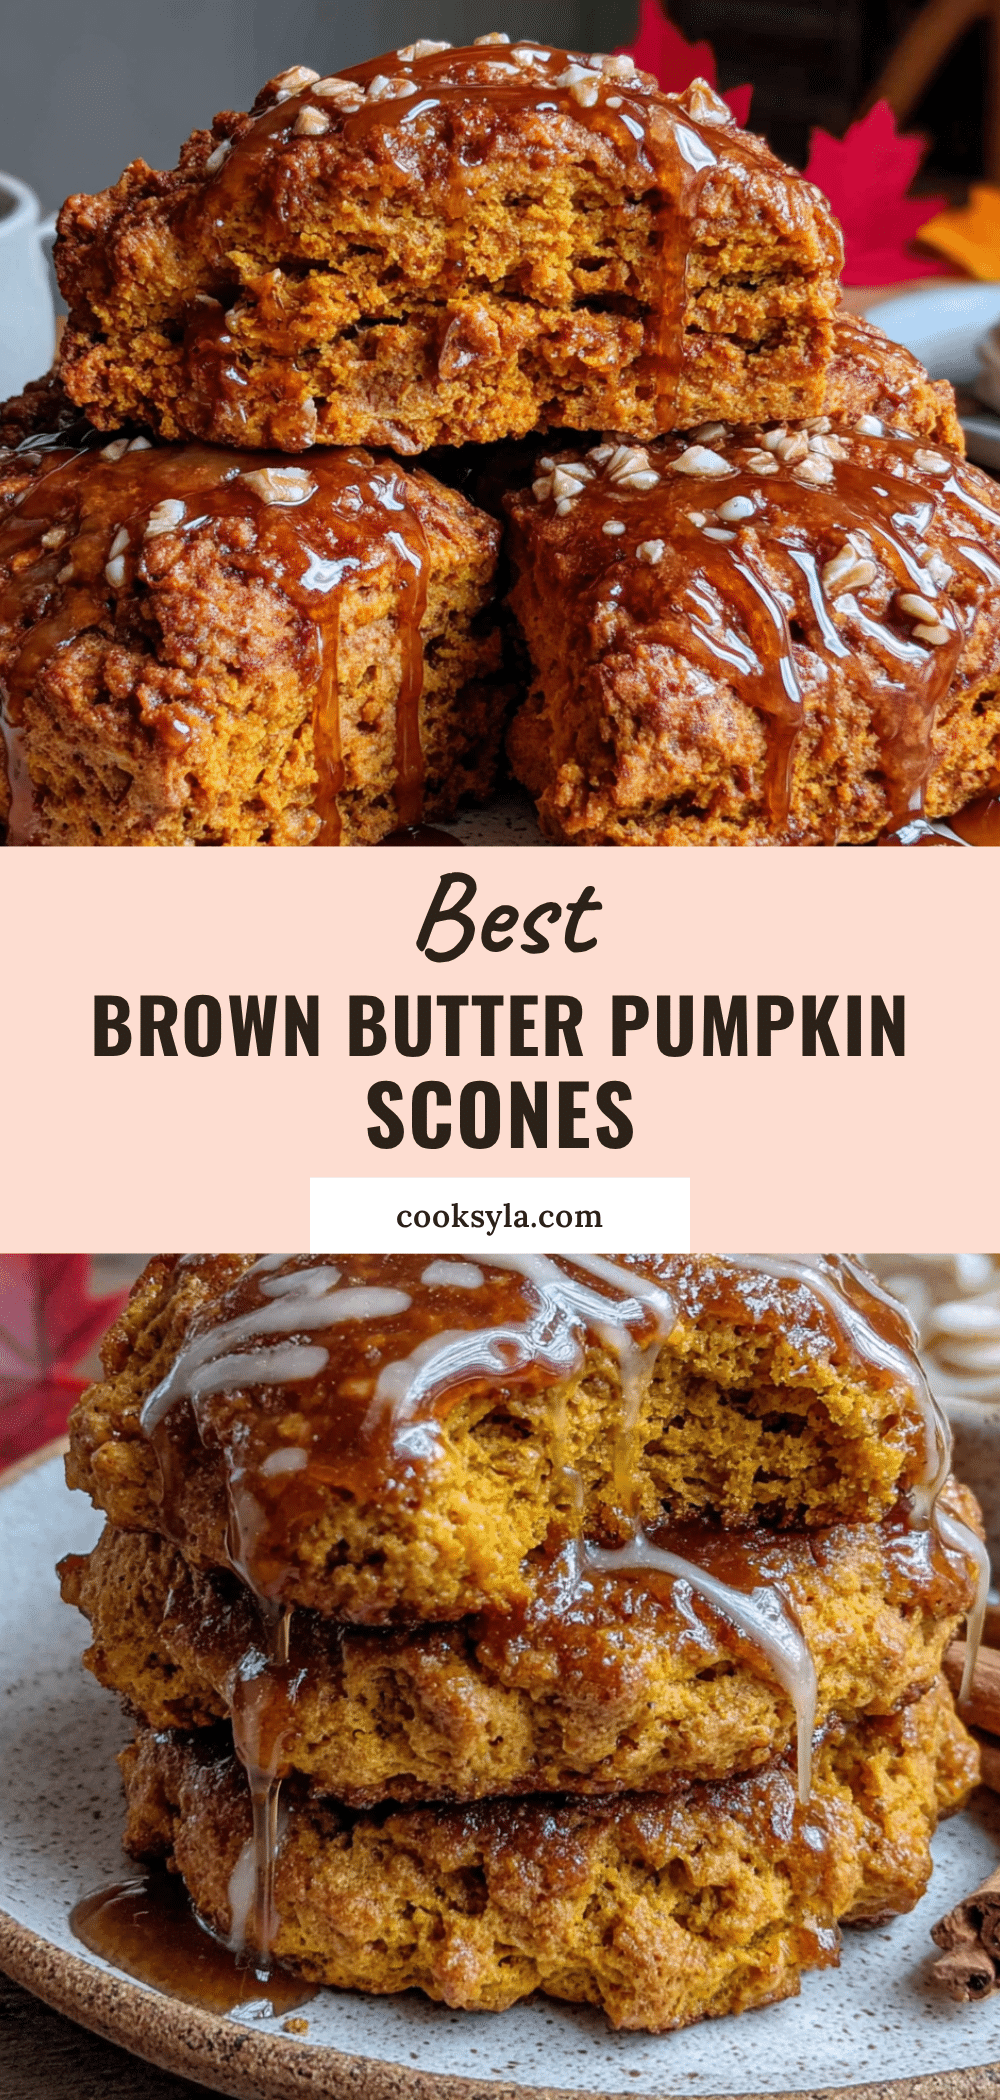
Best Brown Butter Pumpkin Scones with Maple Glaze
These scones feature nutty, caramelized brown butter and moist pumpkin puree, topped with a sweet maple glaze for a perfect autumn treat.
- Prep Time: 15 minutes
- Cook Time: 20 minutes
- Total Time: 35 minutes
- Yield: 8 servings 1x
- Category: Breakfast
- Cuisine: American
Ingredients
- 1 cup (2 sticks / 226g) unsalted butter
- 2 ½ cups (315g) all-purpose flour
- ½ cup (100g) granulated sugar
- 1 tablespoon baking powder
- 1 teaspoon salt
- ¾ cup (180g) 100% pure pumpkin puree
- ½ cup (120ml) heavy cream
- 1 large egg yolk
- 2 teaspoons pumpkin pie spice
- 1 cup (120g) powdered sugar, sifted
- 2–3 tablespoons pure maple syrup
- 1–2 teaspoons milk
Instructions
- Melt butter in a medium saucepan over medium heat, stirring constantly until milk solids turn golden brown and smell nutty (5-7 minutes). Remove from heat and let cool slightly.
- In a large bowl, whisk together flour, sugar, baking powder, salt, and pumpkin pie spice.
- In a small bowl, whisk heavy cream, egg yolk, and the cooled brown butter.
- Pour wet mixture into dry ingredients and fold with a spatula until just combined and streaks of flour remain; do not overmix.
- Turn dough onto a floured surface and gently press into a 1-inch thick disk without kneading.
- Cut the disk into 8 equal wedges using a sharp knife or bench scraper.
- Place scones on a parchment-lined baking sheet and bake at 375°F (190°C) for 18-20 minutes until golden brown.
- While scones bake, whisk powdered sugar, maple syrup, and milk until smooth to create the glaze.
- Drizzle the glaze over warm scones before serving.
Notes
Keep ingredients cold for flaky layers. Do not overmix the dough to avoid tough scones. Use pure pumpkin puree, not pie filling. For best results, use Grade B maple syrup. Scones can be frozen for up to 3 months.
Nutrition
- Serving Size: 1 scone
- Calories: 350
- Sugar: 22
- Sodium: 320
- Fat: 18
- Saturated Fat: 11
- Carbohydrates: 42
- Fiber: 2
- Protein: 5
Keywords: pumpkin scones, brown butter, maple glaze, autumn baking, fall recipes, easy scones, brunch ideas


