Love this? Save it for later!
Share the inspiration with your friends
It was 11:17 PM on a rainy Tuesday in November, and a very specific craving hit me like a freight train. I didn’t have a whole bag of flour or a fresh stick of butter, but I had three eggs, a half-empty jar of semi-sweet chips, and the idea that arrived in my sleep-deprived haze. The house was quiet, the kind of heavy, wet quiet that only comes with rain against the windowpane, and I was alone with my thoughts and a sudden, desperate need for sugar.
Let’s face it, most of my best cooking happens when no one is watching. There’s something about the late hours that loosens the usual rules of precision. You don’t worry about the mess. You don’t care if the kitchen looks like a bomb went off. You just want that taste. I grabbed two ramekins, my chipped blue mug, and started throwing things together. I wasn’t making a dozen cookies. I wasn’t making a batch for a party. I was making the Perfect Chewy Chocolate Chip Cookies for Two.
I remember cracking an egg and getting a tiny shell fragment in the bowl. Instead of fishing it out with tweezers like a normal person, I just stirred it in. Honestly? It didn’t matter. The batter was thick, sticky, and smelled like warm vanilla and caramelized sugar before it even hit the heat. I put the ramekins in the microwave for exactly 60 seconds. Not one second more. If you go over, you get rubber. If you go under, you get raw dough. It’s a delicate dance, really.
When I pulled them out, the edges were set but the centers were still wobbly, that perfect jiggly state that promises a chewy interior. I ate mine straight out of the ramekin, burning my tongue in the process. It was messy, it was impulsive, and it was absolutely delicious. That moment stuck with me. It wasn’t about perfection; it was about satisfaction. Now, whenever I have that late-night pull, I make these cookies. They are fast, they are forgiving, and they taste like comfort in a mug. You know that feeling when you just need a little treat that doesn’t involve a three-hour baking session? This is it. It’s the kind of recipe that stays with you because it meets you exactly where you are, tired and hungry and ready for something sweet.
Why You’ll Love This Recipe
I’ve tested this recipe more times than I care to admit. There was a winter where I made these almost every weekend just to see if I could tweak the texture. I’ve tried different flours, different sugars, even different microwaves. This version? It’s the winner. It’s the one that actually delivers that bakery-style chewiness without the hassle of baking a full tray.
- Quick & Easy: From start to finish, these cookies take less than five minutes. That includes prep time. If you’re standing in your kitchen at midnight wondering what to do with yourself, this is the answer. Perfect for busy weeknights or last-minute cravings when you don’t have time to preheat an oven.
- Simple Ingredients: No fancy grocery trips needed. You likely already have everything in your kitchen. Flour, sugar, butter, egg, vanilla, and chocolate chips. That’s it. No xanthan gum, no almond flour, no obscure spices. Just good, honest baking staples.
- Perfect for Cozy Nights: Great for solo dessert nights, rainy afternoons, or when you just want something warm without heating up the whole house. It’s intimate and personal, a little treat just for you.
- Crowd-Pleaser: Even though it’s for two, it often feels like a treat for one with a little extra. Kids love them because they are sweet and soft. Adults love them because they are not overly sweet and have a real chocolate flavor.
- Unbelievably Delicious: The texture and flavor combo is next-level comfort food. The edges get slightly crisp while the center stays gooey. It’s the contrast that makes it so good. Whether it is a special technique like using browned butter (which I recommend trying once) or a perfectly balanced seasoning profile, make it clear this isn’t just another version—it’s your best version.
This recipe isn’t just good—it is the kind that makes you close your eyes after the first bite. It’s comfort food reimagined—healthier, faster, but with the same soul-soothing satisfaction. Perfect for impressing guests without stress, or turning a simple meal into something memorable. You’ll make these again and again because they work every single time.
What Ingredients You Will Need
This recipe uses simple, wholesome ingredients to deliver bold flavor and satisfying texture without the fuss. The magic here is in the ratio of wet to dry ingredients. You want enough moisture to create steam for lift, but enough structure to keep it chewy. These are pantry staples, so you probably don’t need to run to the store unless you’re out of basics.
- All-Purpose Flour (1/2 cup / 60g): This is the base. Don’t use cake flour; it’s too delicate. All-purpose gives that sturdy chew. I recommend King Arthur Brand for best texture because their protein content is consistent.
- Unsalted Butter (2 tablespoons / 28g): Softened is key here. If you melt it, you risk making the cookies cakey. Softened butter creates a tender crumb. For a deeper flavor, try browning this butter in the microwave for 30 seconds until it smells nutty, then let it cool slightly.
- Granulated Sugar (2 tablespoons / 25g): This adds crispness to the edges. It’s the sugar that caramelizes and creates that slight crunch.
- Light Brown Sugar (2 tablespoons / 25g): This is the secret to chewiness. The molasses in brown sugar retains moisture. Use a light brown sugar for a milder flavor, or dark if you want a more caramel note.
- Egg Yolk (1 large): Yes, just the yolk. The yolk adds fat and richness without the extra water content of the white, which can make things tough. Discard the white or save it for another use.
- Vanilla Extract (1/2 teaspoon): Use real vanilla, not imitation. It makes a huge difference in the aroma. Pure vanilla bean paste is even better if you have it.
- Baking Soda (1/4 teaspoon): Just a pinch. This helps the cookie spread slightly and brown. Don’t skip it, but don’t add more or you’ll get a metallic taste.
- Salt (1/4 teaspoon): Essential for balancing the sweetness. It makes the chocolate taste more like chocolate.
- Semi-Sweet Chocolate Chips (2 tablespoons / 30g): I like to use a mix of chips and chopped chocolate bar for variety. Ghirardelli squares are my go-to for rich chocolate flavor. If you need dairy-free, use Enjoy Life chips.
- Flaky Sea Salt (Optional): A tiny sprinkle on top after cooking adds a gourmet touch and contrasts the sweet.
Equipment Needed
You don’t need a stand mixer or a rolling pin for this. The simplicity is part of the charm. Here is what you’ll need:
- Two 6-ounce ramekins: These are essential. They hold the batter and give you those beautiful individual portions. Ceramic is best because it distributes heat evenly. Glass works too, but watch the timing closely as glass heats up faster.
- A small mixing bowl: Any bowl will do. I use a small ceramic one that I already have out for coffee.
- A fork or small whisk: To mix the dough. You don’t need an electric mixer here. Hand mixing prevents overworking the gluten, which keeps the cookies tender.
- A microwave-safe spoon: For stirring the butter and batter.
If you don’t have ramekins, you can use two microwave-safe mugs, but the cookies will be taller and less dense. I personally prefer ramekins because the flat bottom creates a better texture. Clean your ramekins immediately after use; baked sugar is a nightmare to scrub later.
Preparation Method
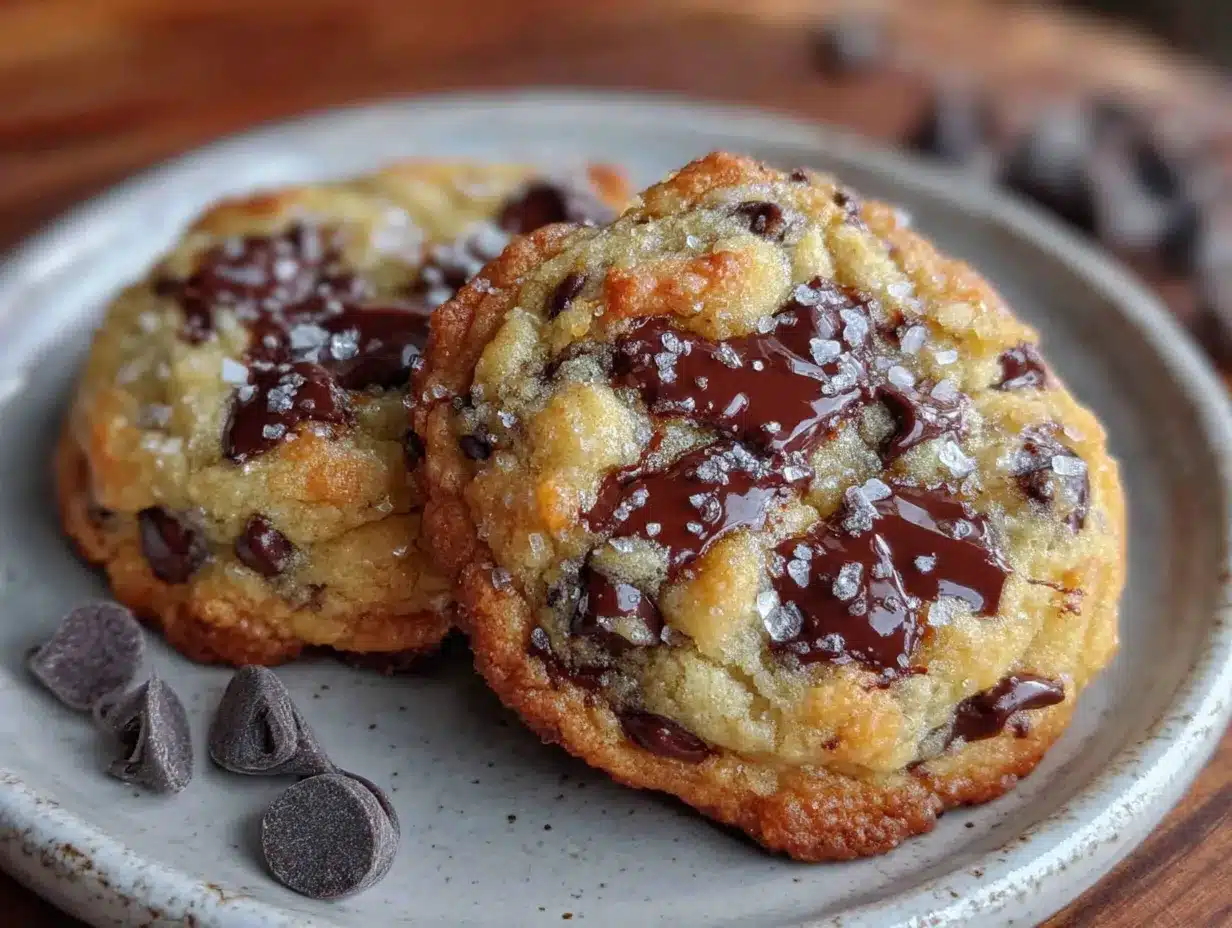
Getting these right is all about timing and temperature. Follow these steps exactly for the best results.
- Melt and Brown the Butter (1 minute): Place the butter in a microwave-safe bowl. Microwave on high for 30-45 seconds until melted. If you want extra flavor, keep microwaving in 10-second intervals until it smells nutty and turns light amber. Let it cool for 30 seconds so it doesn’t cook the egg.
- Mix Sugars and Butter (30 seconds): Add the granulated and brown sugars to the melted butter. Whisk vigorously with a fork for about 30 seconds. You want this mixture to look smooth and slightly glossy. This step helps dissolve the sugar, which contributes to chewiness.
- Add Egg Yolk and Vanilla (15 seconds): Add the egg yolk and vanilla extract. Whisk until fully combined. The mixture might look a bit separated at first, but keep whisking. It should come together into a thick, paste-like consistency.
- Incorporate Dry Ingredients (1 minute): Sift the flour, baking soda, and salt into the wet mixture. If you don’t have a sifter, just whisk the dry ingredients in a separate small bowl first, then add them. Fold the dry ingredients into the wet using a fork. Do not overmix. Stop as soon as no dry streaks remain. Overmixing leads to tough cookies.
- Fold in Chocolate Chips (15 seconds): Gently stir in the chocolate chips. Reserve a few chips to press on top later for a pretty presentation.
- Divide and Shape (2 minutes): Divide the dough evenly between the two prepared ramekins. Press the dough down with the back of a spoon to create an even layer. Press the reserved chocolate chips onto the top. This ensures every bite has chocolate.
- Microwave (60-90 seconds): Place one ramekin in the microwave. Cook on high for 60 seconds. Check the center. It should still look slightly soft and jiggly. If it looks dry or hard, stop. If it’s very raw, add 10-15 seconds. Do not overcook. The residual heat will continue to cook the center as it rests. Repeat for the second ramekin.
- Cool and Serve (5 minutes): Let the ramekins sit on the counter for 5 minutes. This is crucial. The cookies will firm up as they cool. Eating them immediately can result in a molten mess that burns your mouth. Sprinkle with flaky salt if using.
Cooking Tips & Techniques
Here are some pro tips to ensure your cookies turn out perfect every time.
Don’t Overmix: I learned this the hard way. One time, I mixed the flour in too long and ended up with a cookie that tasted like a tough biscuit. Always mix gently. The goal is just to combine, not to knead.
Watch the Microwave: Every microwave is different. My old one took 75 seconds; my new one takes 55 seconds. Start with 60 seconds and check. The center should be slightly underdone. It will look weird, but that’s what you want.
Butter Temperature: If your butter is too hot, it will cook the egg yolk. If it’s too cold, it won’t mix well with the sugars. Aim for warm but not hot. If you’re in a rush, just melt it and let it sit for a minute.
Altitude Adjustments: If you live above 3,000 feet, you might need to reduce the baking soda by half and increase the flour slightly. High altitude affects how leavening agents work.
Storage of Dough: You can actually make the dough ahead of time. Mix it up, divide it into the ramekins, cover them with plastic wrap, and refrigerate for up to 24 hours. Just add 10-15 seconds to the microwave time when cooking from cold.
Variations & Adaptations
While the classic version is my favorite, there are plenty of ways to tweak these cookies.
Gluten-Free Option: Swap the all-purpose flour for a 1:1 gluten-free flour blend. I like Bob’s Red Mill. Add a pinch of xanthan gum if your blend doesn’t include it. The texture will be slightly more tender.
Vegan Version: Use coconut oil instead of butter. Replace the egg yolk with 1 tablespoon of flax meal mixed with 3 tablespoons of water, let it sit for 5 minutes to gel. Use dairy-free chocolate chips. The result is surprisingly close to the original.
Red Velvet Twist: Add 1 teaspoon of cocoa powder and 1/4 teaspoon of red food coloring to the wet mixture. Use white chocolate chips instead of semi-sweet. It’s festive and delicious.
Peanut Butter Cup: Swirl in a teaspoon of peanut butter before microwaving. Top with mini peanut butter cups after cooking. The salty-sweet combo is addictive.
Personal Favorite: I love adding a pinch of espresso powder to the dry ingredients. It doesn’t make the cookies taste like coffee; it just makes the chocolate flavor pop. Try it if you’re a chocolate lover.
Serving & Storage Suggestions
These cookies are best served warm, straight out of the ramekin. They pair beautifully with a cold glass of milk, a hot cup of coffee, or a scoop of vanilla ice cream. The contrast of hot cookie and cold ice cream is classic for a reason.
Storage: If you have leftovers (unlikely), store the cooled cookies in an airtight container in the refrigerator for up to 3 days. Reheat in the microwave for 15-20 seconds before eating. They can also be frozen. Freeze the uncooked dough in the ramekins for up to 3 months. Just thaw in the fridge overnight and bake as directed.
Flavor Development: The flavors meld best when eaten immediately. However, if you let them sit for a few hours, the chocolate softens and the butter solidifies slightly, changing the texture to be more fudgy. Both states are good, but different.
Nutritional Information & Benefits
While these are definitely a treat, they are made in small portions, making them easier to enjoy in moderation. Each cookie (one ramekin) contains approximately 250-300 calories, depending on the specific chocolate chips and butter used.
Key Nutrients: Butter provides fat-soluble vitamins A and D. Eggs are a great source of protein and choline. Dark chocolate chips contain antioxidants like flavonoids, which are good for heart health.
Dietary Notes: This recipe contains gluten, dairy, and eggs. It is not suitable for those with celiac disease or dairy/egg allergies unless substitutions are made. The sugar content is moderate for a dessert, but if you are watching your sugar intake, consider using a sugar substitute like erythritol, though the texture will be different.
Wellness Perspective: I believe in balance. A small, high-quality treat can satisfy a craving and prevent overeating later. Enjoying these cookies mindfully, savoring each bite, is a form of self-care. It’s about enjoying the moment, not just the calories.
Conclusion
These Perfect Chewy Chocolate Chip Cookies for Two are more than just a recipe; they are a solution to the late-night hunger pangs we all experience. They are fast, easy, and incredibly satisfying. I hope you try them and find your own version of that perfect 11 PM treat. Feel free to customize them with your favorite add-ins. I’d love to hear how you tweak the recipe. Leave a comment below with your variations!
Don’t forget to share your creations on social media. Tag me so I can see your beautiful ramekins. And if you make these, please come back and let me know how they turned out. Did you add espresso powder? Did you use brown butter? I want to know. Thanks for reading, and happy baking!
Frequently Asked Questions
Can I use a mug instead of a ramekin?
Yes, you can. However, mugs are usually taller and narrower, which means the cookie will be thicker. You may need to adjust the microwave time by 10-15 seconds. Ramekins are preferred for even cooking.
Why are my cookies hard?
This usually happens if you overmix the flour or overcook them in the microwave. Remember, the center should look slightly underdone when you take them out. They will continue to cook from residual heat.
Can I make this recipe ahead of time?
Absolutely. You can mix the dough, divide it into ramekins, and refrigerate for up to 24 hours. Just add a little extra time to the microwave when you are ready to cook them.
What if I don’t have brown sugar?
You can use all granulated sugar, but the cookies will be crispier and less chewy. To mimic brown sugar, you can mix granulated sugar with a teaspoon of molasses.
How do I store leftover dough?
If you have extra dough (from making a full batch), you can freeze it in an airtight container for up to 3 months. Thaw in the fridge before using. For the two-serving version, it’s best to make it fresh.
Pin This Recipe!
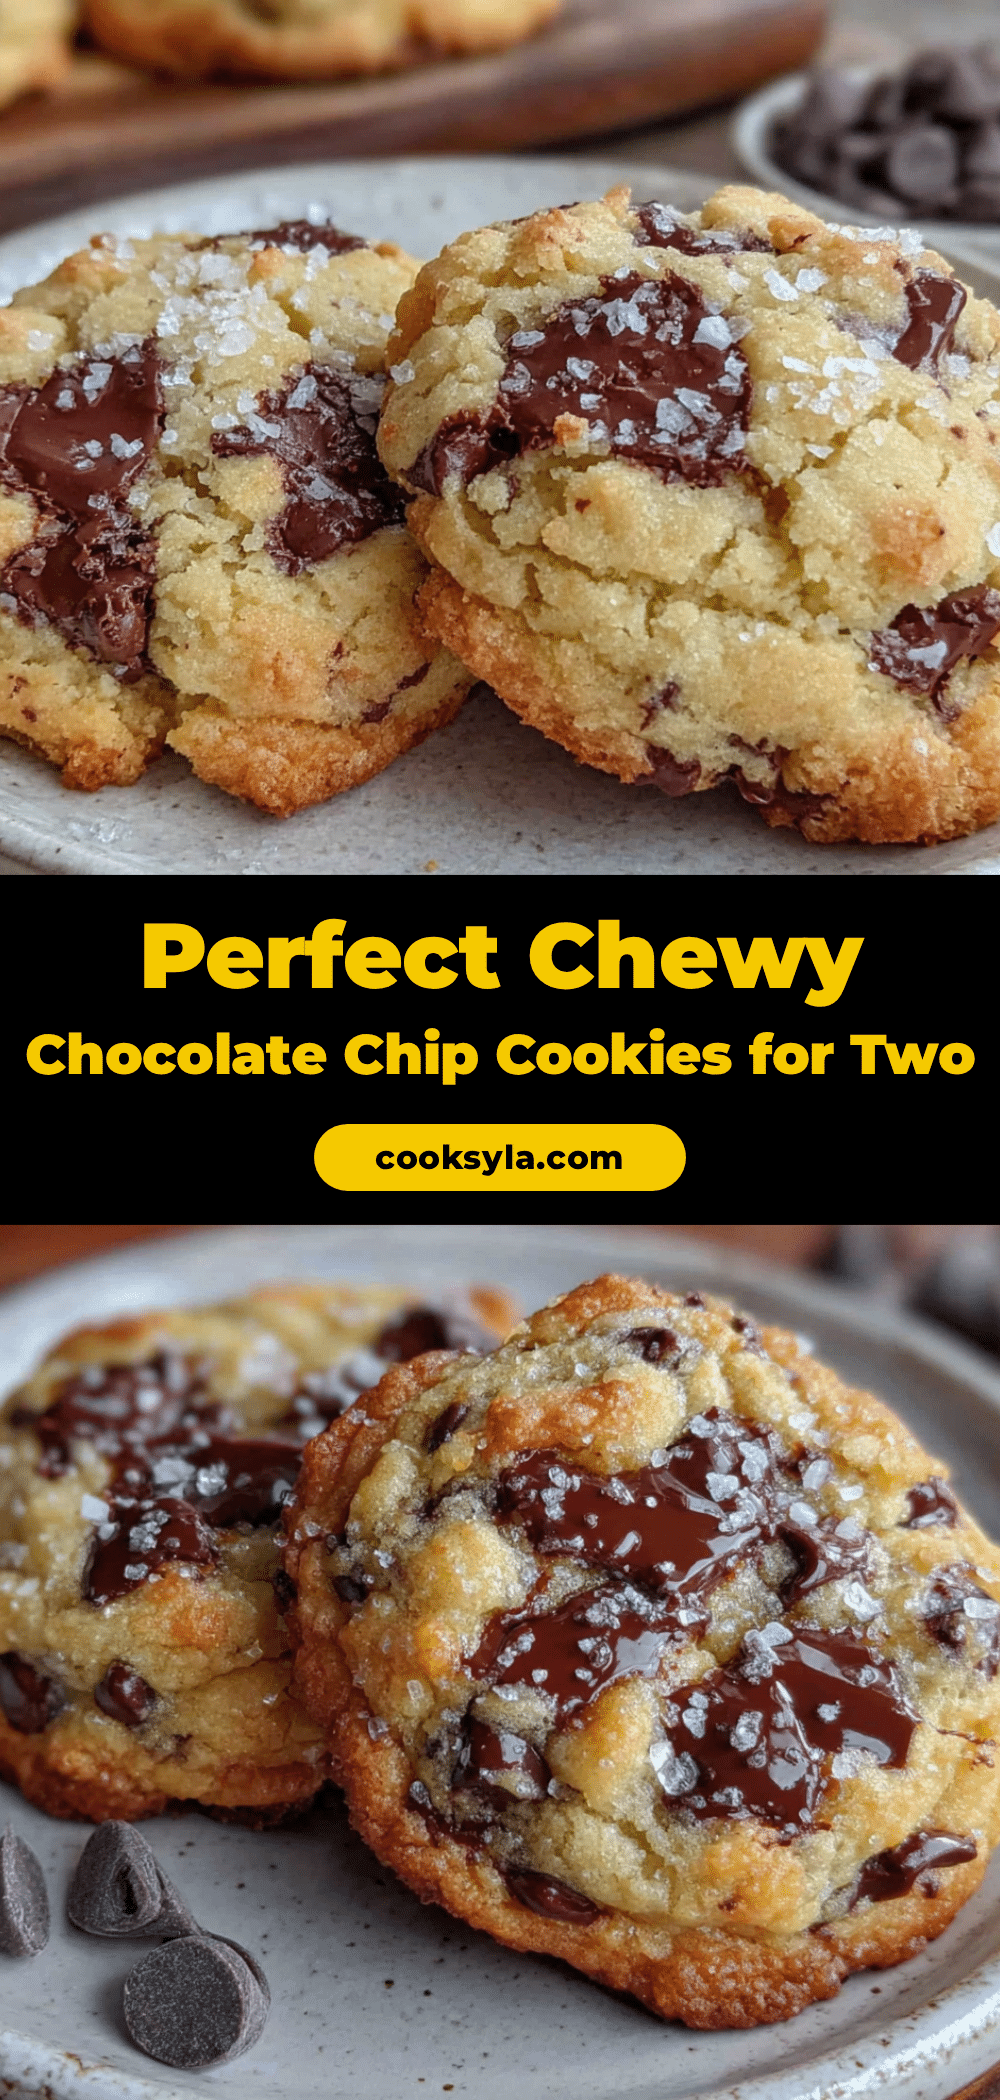
Perfect Chewy Chocolate Chip Cookies for Two

A quick, microwave-friendly dessert recipe yielding two chewy, gooey chocolate chip cookies in under five minutes using simple pantry staples.
- Prep Time: 3 minutes
- Cook Time: 2 minutes
- Total Time: 5 minutes
- Yield: 2 servings 1x
- Category: Dessert
- Cuisine: American
Ingredients
- 1/2 cup (60g) All-Purpose Flour
- 2 tablespoons (28g) Unsalted Butter, softened or melted and cooled
- 2 tablespoons (25g) Granulated Sugar
- 2 tablespoons (25g) Light Brown Sugar
- 1 large Egg Yolk
- 1/2 teaspoon Vanilla Extract
- 1/4 teaspoon Baking Soda
- 1/4 teaspoon Salt
- 2 tablespoons (30g) Semi-Sweet Chocolate Chips
- Flaky Sea Salt (Optional, for topping)
Instructions
- Melt the butter in a microwave-safe bowl for 30-45 seconds. For extra flavor, microwave in 10-second intervals until nutty and light amber, then let cool for 30 seconds.
- Add granulated and brown sugars to the melted butter. Whisk vigorously with a fork for 30 seconds until smooth and glossy.
- Add the egg yolk and vanilla extract. Whisk until fully combined into a thick, paste-like consistency.
- Sift or whisk the flour, baking soda, and salt together, then fold them into the wet mixture. Stop mixing as soon as no dry streaks remain to avoid tough cookies.
- Gently stir in the chocolate chips, reserving a few for topping.
- Divide the dough evenly between two 6-ounce ramekins. Press down with a spoon to create an even layer and press reserved chips on top.
- Microwave one ramekin on high for 60 seconds. The center should still look slightly soft and jiggly. Repeat for the second ramekin.
- Let the ramekins sit on the counter for 5 minutes to firm up before serving. Sprinkle with flaky sea salt if desired.
Notes
Do not overmix the dough to ensure a tender texture. Every microwave varies in power, so start with 60 seconds and check for a slightly underdone center, as residual heat will finish cooking the cookie. For gluten-free, use a 1:1 gluten-free flour blend. For vegan, substitute butter with coconut oil and egg yolk with a flax egg.
Nutrition
- Serving Size: 1 cookie per person
- Calories: 275
- Sugar: 24
- Sodium: 180
- Fat: 14
- Saturated Fat: 8
- Carbohydrates: 35
- Fiber: 1
- Protein: 3
Keywords: chocolate chip cookies, mug cookies, microwave dessert, quick dessert, cookies for two, chewy cookies, late night snack


