Love this? Save it for later!
Share the inspiration with your friends
The neighborhood fall potluck was in six hours and I’d completely forgotten. Not just forgotten—I’d double-booked myself that afternoon with a dentist appointment and a kid who needed a last-minute school project supply run. Everyone else would be bringing their showstopper pies from scratch, those perfectly layered pumpkin rolls that take all day, or the fancy三层 pumpkin cheesecake that looked like it belonged on a magazine cover. I had a sad half-can of pumpkin puree in the fridge, two overripe bananas on the counter, and about twenty minutes before I needed to leave. Honestly, I almost just grabbed a bag of chips from the pantry and called it a day.
But then I spotted the flour, the sugar, the baking soda—the usual suspects. And I thought, you know what, maybe I can pull something together. No mixer, no fancy equipment, just a bowl and a spoon and a prayer that it wouldn’t turn into a brick. I mean, I’d made banana bread a hundred times, and pumpkin bread maybe twice. Could it really be that hard to combine them? The answer, as it turns out, was no. It was embarrassingly easy. I threw everything into one bowl, stirred until it looked like batter, poured it into a loaf pan, and ran out the door with it cooling on the counter, asking my neighbor to pop it in the oven when she got home from work.
That night at the potluck, my humble, hastily-assembled loaf sat next to a lineup of absolute masterpieces. I was ready to apologize for it. But then people started cutting slices, and the first person took a bite, and then another, and then someone asked, “Who made this bread?” I sheepishly raised my hand. And you know that feeling when something you threw together under pressure actually works? That was this bread. It was moist, perfectly spiced, with that tender crumb you only get from the combo of banana and pumpkin. It disappeared faster than anything else on the table. The lady with the三层 cheesecake even asked for the recipe. So here it is—my accidental victory, the one-bowl wonder that proves you don’t need all day or a stand mixer to make something truly memorable. Maybe you’ve been there too, scrambling at the last minute. This one’s for you.
Why You’ll Love This Recipe
This isn’t just another pumpkin bread recipe. This is the one that solves your weeknight dessert problem, your “I have no energy to bake but I need something” crisis, and your “I want it to taste like I tried harder than I did” situation. Here’s why it works:
- Quick & Easy: From bowl to oven in under 10 minutes. No mixer required, no creaming butter and sugar, no sifting dry ingredients separately. Just one bowl, a wooden spoon, and you’re done.
- Simple Ingredients: You likely have everything in your pantry right now. Canned pumpkin, ripe bananas, flour, sugar, eggs, oil, and basic spices. No special trips to the store for buttermilk or sour cream.
- Perfect for Weeknights: This bread comes together so fast you can make it while dinner is in the oven. It’s the kind of recipe that turns a regular Tuesday into something a little special without adding stress.
- Crowd-Pleaser: Kids love the sweetness, adults love the spice, and everyone loves how moist it is. It’s the bread that gets eaten before you can even slice it properly.
- Unbelievably Delicious: The combination of banana and pumpkin creates a texture that’s almost magical—dense but tender, moist but not soggy. And the flavor? It’s like fall in a slice, but without the effort of a complicated pie.
What makes this recipe different from the rest is the technique. Most pumpkin breads require you to cream butter and sugar, or to separately mix wet and dry ingredients. This one skips all that nonsense. By mashing the banana directly into the pumpkin and oil, you create a naturally emulsified batter that bakes up perfectly every time. It’s not just another version—it’s the best version for anyone who values their time and sanity.
This is the kind of bread that makes you close your eyes after the first bite. It’s comfort food reimagined—faster, simpler, but with the same soul-soothing satisfaction. Perfect for impressing your family on a busy night, or turning a simple weekday into something memorable without breaking a sweat.
What Ingredients You Will Need
This recipe uses simple, wholesome ingredients to deliver bold flavor and satisfying texture without the fuss. Most of these are pantry staples, so you can make this bread on a whim.
- All-purpose flour – 1 ¾ cups (220g). The backbone of the bread. Spoon and level it into your measuring cup for the most accurate measurement. I prefer King Arthur Flour for consistent results, but any brand works fine.
- Granulated sugar – ¾ cup (150g). Adds sweetness and helps create that tender crumb. You can reduce it to ½ cup if you prefer a less sweet bread, or use coconut sugar for a deeper flavor.
- Light brown sugar – ¼ cup (50g), packed. Adds moisture and a hint of molasses flavor that pairs beautifully with pumpkin and banana. Dark brown sugar works too, for an even richer taste.
- Baking soda – 1 teaspoon. The main leavening agent. Make sure it’s fresh—test it by dropping a pinch into vinegar; it should fizz immediately.
- Baking powder – ½ teaspoon. Gives a little extra lift. Aluminum-free brands like Rumford are great if you’re concerned about metallic aftertaste.
- Salt – ½ teaspoon. Balances the sweetness and enhances all the flavors. I use fine sea salt.
- Ground cinnamon – 1 ½ teaspoons. The star spice of fall. Fresh cinnamon makes a noticeable difference—if yours has been in the cabinet for years, it’s time to replace it.
- Ground nutmeg – ½ teaspoon. Adds warmth and depth. Freshly grated is lovely if you have it, but pre-ground works perfectly.
- Ground ginger – ¼ teaspoon. A little kick that brightens the whole bread. You can skip it if you don’t have it, but it really rounds out the spice profile.
- Ground cloves – ⅛ teaspoon. Just a pinch for that classic pumpkin pie vibe. Go easy—cloves are potent.
- Pumpkin puree – 1 cup (240g). Not pumpkin pie filling! Make sure you grab the 100% pure pumpkin. Libby’s is my go-to because it’s consistently thick and not watery.
- Ripe bananas – 2 medium, mashed (about 1 cup or 240g). The riper the better. Those spotty brown bananas you were about to toss? They’re perfect here. They add natural sweetness and moisture.
- Large eggs – 2, at room temperature. Room temperature eggs incorporate more evenly into the batter. If you forgot to take them out, place them in a bowl of warm water for 5 minutes.
- Vegetable oil – ½ cup (120ml). Keeps the bread incredibly moist. Canola, sunflower, or any neutral oil works. You can substitute melted coconut oil for a subtle flavor.
- Vanilla extract – 1 teaspoon. Pure vanilla is best, but imitation works in a pinch. It enhances the sweetness and rounds out the spices.
- Optional mix-ins: ½ cup (85g) chocolate chips, ½ cup (60g) chopped walnuts or pecans, or ¼ cup (40g) dried cranberries. Any of these add texture and flavor.
Equipment Needed
The beauty of this recipe is that you don’t need much. Here’s what you’ll need:
- One large mixing bowl – Any bowl will do, but a wide, shallow one makes mashing and stirring easier. I use a ceramic bowl that’s about 4 quarts.
- A fork or potato masher – For mashing those bananas. A fork works perfectly fine, but a potato masher is faster and gives you a smoother mash.
- A wooden spoon or rubber spatula – For mixing the batter. A wooden spoon is sturdy and gets the job done. A rubber spatula is great for scraping the sides.
- A 9×5-inch loaf pan – Standard size. If you use an 8×4-inch pan, your bread will be taller and may need an extra 5-10 minutes of baking time. Glass or metal both work, but metal gives a nicer crust.
- Parchment paper – Not strictly necessary, but it makes lifting the bread out of the pan so much easier. Cut a strip that hangs over the long sides like handles.
- Cooling rack – Allows air to circulate around the bread so it cools evenly. If you don’t have one, you can use the grates from your oven, but let them cool first.
- Measuring cups and spoons – For accurate measurements. A kitchen scale is even better for the flour, but cups work fine if you spoon and level.
That’s it. No mixer, no sifter, no fancy gadgets. If you have these basics, you’re ready to bake.
Preparation Method
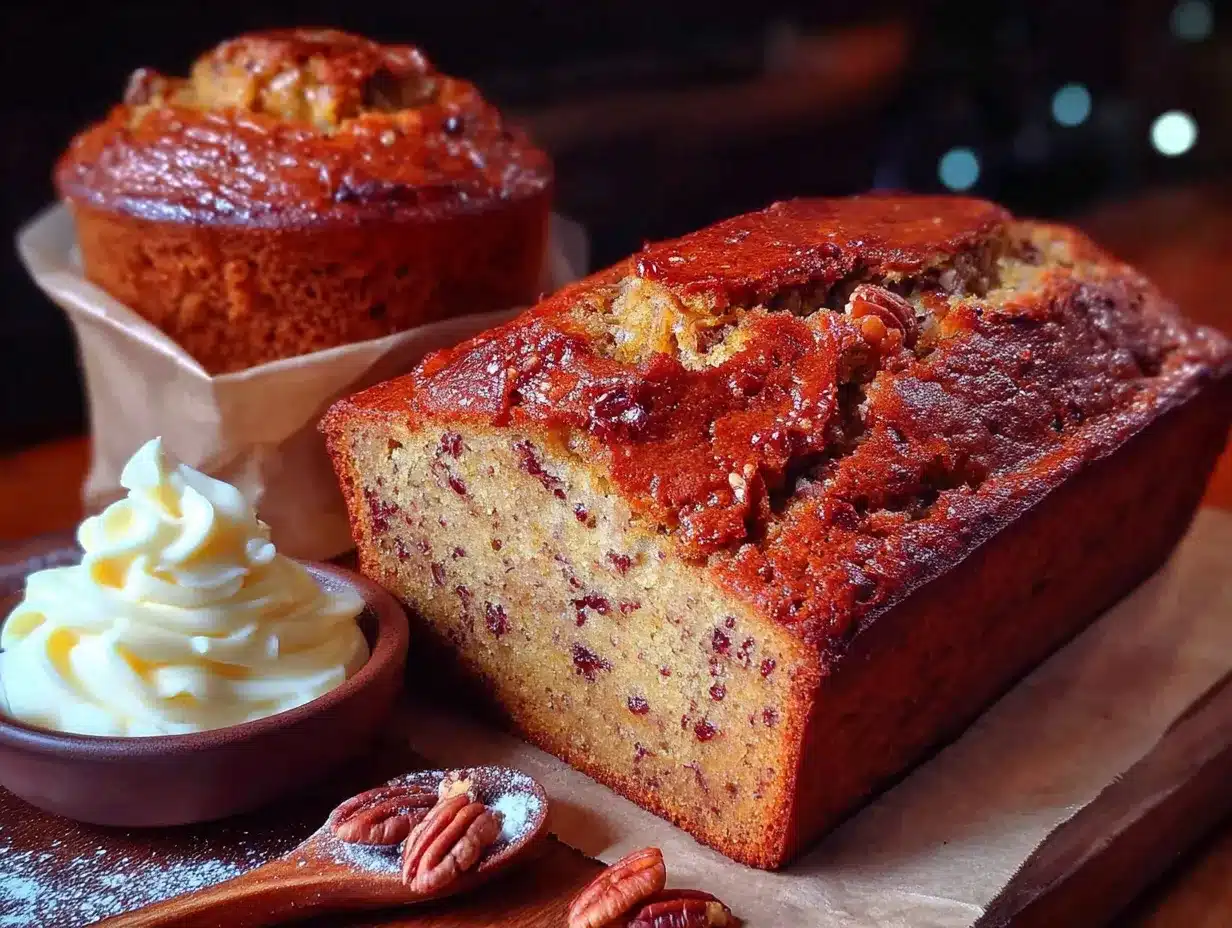
- Preheat your oven to 350°F (175°C). Do this first so it’s ready when your batter is. While it’s heating, grease your loaf pan with butter or non-stick spray, or line it with parchment paper. I prefer parchment—it guarantees the bread won’t stick and makes cleanup a breeze.
- Mash the bananas. In your large mixing bowl, add the two ripe bananas. Use a fork or potato masher to mash them until they’re mostly smooth with a few small lumps. You want some texture, but no large chunks. This should take about 30 seconds. Don’t worry if it looks a little brown—that’s normal.
- Add the wet ingredients. To the mashed bananas, add the pumpkin puree, vegetable oil, eggs, and vanilla extract. Stir with your wooden spoon or spatula until everything is well combined. The mixture will look a bit streaky at first, but keep stirring until it’s a uniform orange-tan color. This takes about 20 seconds of gentle stirring.
- Add the sugars. Pour in the granulated sugar and packed brown sugar. Stir until they’re fully dissolved into the wet mixture. You shouldn’t feel any grittiness when you rub a bit between your fingers. This step is important for a smooth, even crumb.
- Add the dry ingredients directly on top. Don’t bother with a separate bowl. Just sprinkle the flour, baking soda, baking powder, salt, and all the spices—cinnamon, nutmeg, ginger, cloves—right over the wet mixture. This is the one-bowl magic at work.
- Fold the dry ingredients in. Use a gentle folding motion—cut through the center of the batter, scrape along the bottom, and bring it up over the top. Turn the bowl a quarter turn and repeat. Keep folding until you can just barely see any streaks of flour. A few small streaks are fine; overmixing will make the bread tough. This should take about 15-20 folds, roughly 30 seconds.
- Fold in any mix-ins (optional). If you’re using chocolate chips, nuts, or dried fruit, gently fold them in now. Just a few turns to distribute them evenly. Don’t overdo it—you want them scattered throughout, not clustered in one spot.
- Pour the batter into the prepared loaf pan. Use your spatula to scrape every last bit out of the bowl. The batter will be thick but pourable. Spread it evenly in the pan, smoothing the top with the back of your spatula. Give the pan a gentle tap on the counter to release any air bubbles.
- Bake for 50-60 minutes. Place the pan on the center rack of your oven. At the 50-minute mark, start checking for doneness. Insert a toothpick or a thin knife into the center of the bread. If it comes out clean or with just a few moist crumbs, it’s done. If it’s still wet, bake for another 5 minutes and check again. The top should be a deep golden brown and cracked nicely.
- Cool in the pan for 10 minutes. Set the pan on a cooling rack. Let it rest—this helps the bread set so it doesn’t fall apart when you remove it. After 10 minutes, use the parchment paper handles to lift the bread out of the pan and transfer it to the cooling rack.
- Cool completely before slicing. I know, this is the hardest part. The smell is incredible, and you’ll be tempted to cut into it right away. But if you slice it while it’s still warm, it will be crumbly and gummy. Let it cool for at least 1 hour. If you can wait 2 hours, even better. The texture will be perfect.
Cooking Tips & Techniques
I’ve made this bread more times than I can count, and I’ve definitely learned a few things the hard way. Here are my best tips to make sure yours turns out perfect every time.
Don’t overmix the batter. This is the number one mistake people make. Once you add the flour, you want to stir just until it disappears. Overmixing develops the gluten, which makes the bread dense and tough instead of tender and soft. A few streaks of flour are better than a perfectly smooth, overworked batter.
Use a kitchen scale for the flour. If you have one, it’s the most accurate way to measure. If you’re using measuring cups, spoon the flour into the cup and level it off with a knife. Scooping directly from the bag can pack in up to 25% more flour, which will make your bread dry. I learned this lesson after a particularly sad, crumbly loaf that tasted like sawdust.
Room temperature eggs matter. Cold eggs can cause the batter to seize up, making it harder to mix evenly. If you forget to take them out of the fridge, place them in a bowl of warm water for 5 minutes. It’s a small step that makes a real difference in the final texture.
Check your baking soda’s freshness. Baking soda loses potency over time. If your bread doesn’t rise properly, it’s probably because your baking soda is old. A quick test: drop a teaspoon into a small bowl of vinegar. If it bubbles vigorously, it’s good. If it barely fizzes, get a new box.
Let the bread cool completely. I know I said this already, but it’s worth repeating. The bread continues to set as it cools. Cutting it too early releases steam and moisture, leaving you with a gummy, dense texture. Patience is the secret ingredient here.
Multitask wisely. While the bread is baking, clean up your one bowl and spoon. The whole mess takes about 2 minutes to wash. Then you can relax while your kitchen fills with that amazing pumpkin-banana aroma. It’s the perfect time to make a cup of tea or start dinner.
Variations & Adaptations
This recipe is incredibly forgiving and easy to adapt. Here are some of my favorite ways to change it up:
Gluten-Free Version: Substitute the all-purpose flour with a 1:1 gluten-free baking flour blend. I’ve had great success with Bob’s Red Mill Gluten-Free 1-to-1 Baking Flour. The texture will be slightly more tender, but it’s still delicious. Add an extra tablespoon of oil to help with moisture.
Dairy-Free Version: This recipe is already dairy-free if you use oil! Just make sure your chocolate chips (if using) are dairy-free as well. Enjoy Life brand makes great ones.
Vegan Version: Replace the two eggs with two “flax eggs” (2 tablespoons ground flaxseed mixed with 6 tablespoons water, let sit for 5 minutes to thicken). The bread will be a bit denser but still moist and flavorful. Use coconut sugar instead of granulated if you want it entirely unrefined.
Spice It Up: Add ¼ teaspoon of cardamom or allspice for a more complex flavor profile. I once added a pinch of cayenne pepper for a sweet-heat version, and it was surprisingly good—just be careful not to overdo it.
Make It Muffins: Grease a 12-cup muffin tin and divide the batter evenly. Bake at 350°F (175°C) for 18-22 minutes, until a toothpick comes out clean. Perfect for grab-and-go breakfasts or lunchbox treats.
Add a Streusel Topping: Mix ¼ cup flour, ¼ cup brown sugar, 2 tablespoons cold butter (cut into small pieces), and ½ teaspoon cinnamon. Sprinkle over the batter before baking. It adds a lovely crunchy top that makes the bread feel extra special.
Chocolate Lover’s Version: Fold in ½ cup of mini chocolate chips and swirl in 2 tablespoons of melted chocolate into the batter before baking. The chocolate and pumpkin-banana combo is absolutely divine.
Serving & Storage Suggestions
This bread is wonderful warm or at room temperature. Here’s how to serve and store it:
- Serving: Slice and serve as is, or toast a slice and spread it with butter, cream cheese, or a drizzle of honey. For an extra treat, top with a dollop of whipped cream and a sprinkle of cinnamon. It’s also fantastic with a cup of coffee or a glass of cold milk.
- Temperature: It’s best at room temperature. If you’ve stored it in the fridge, let it sit out for 15-20 minutes before serving to bring back its soft texture.
- Storage: Wrap the cooled bread tightly in plastic wrap or aluminum foil, or store it in an airtight container. It will keep at room temperature for up to 3 days. If your kitchen is warm and humid, store it in the refrigerator to prevent mold, but note that refrigeration can dry it out slightly.
- Freezing: This bread freezes beautifully. Wrap it tightly in plastic wrap, then in a layer of aluminum foil, and place it in a freezer-safe bag. It will keep for up to 3 months. To thaw, leave it on the counter for a few hours or overnight in the refrigerator. You can also freeze individual slices for quick snacks.
- Reheating: Pop a slice in the microwave for 10-15 seconds for that fresh-from-the-oven warmth. Or toast it in a toaster oven for a slightly crisp exterior and soft interior.
- Flavor Development: The flavors actually improve after a day! The spices meld together and the sweetness becomes more balanced. This is one of those rare breads that tastes even better on day two or three.
Nutritional Information & Benefits
Here’s an approximate nutritional breakdown for one slice (based on 12 slices per loaf, without mix-ins):
- Calories: 245
- Fat: 10g
- Saturated Fat: 1.5g
- Carbohydrates: 36g
- Fiber: 2g
- Sugar: 19g
- Protein: 4g
- Sodium: 280mg
This bread offers some nice nutritional perks. Pumpkin is packed with vitamin A (great for eye health) and fiber. Bananas provide potassium and vitamin B6. The oil adds healthy fats that help your body absorb the fat-soluble vitamins from the pumpkin. Plus, you can easily make it gluten-free or vegan as needed.
Potential allergens: Contains wheat (gluten) and eggs. Can be adapted for dairy-free, gluten-free, and vegan diets as noted in the variations section.
I love that this bread feels indulgent but isn’t loaded with butter or excessive sugar. It’s a treat you can feel good about enjoying for breakfast or dessert.
FAQs
Can I use fresh pumpkin instead of canned?
Yes, you can! Roast a small sugar pumpkin, puree the flesh, and drain off any excess liquid. Fresh pumpkin puree tends to be more watery than canned, so you may need to cook it down on the stove for a few minutes to thicken it. Canned pumpkin is more consistent and convenient, but fresh works beautifully.
Why did my bread sink in the middle?
This usually happens for one of three reasons: the bread was underbaked, the oven temperature was too low, or you opened the oven door too early. Make sure your oven is properly preheated to 350°F, and resist the urge to peek for the first 40 minutes. A toothpick test at the end will tell you if it’s done.
Can I use whole wheat flour?
You can substitute up to half of the all-purpose flour with whole wheat flour. Using all whole wheat will make the bread denser and heavier. For the best texture, I recommend using white whole wheat flour, which has a milder flavor. Add an extra tablespoon of milk or water to compensate for the extra absorbency of whole wheat.
How do I know when the bread is done baking?
Insert a toothpick or a thin knife into the center of the loaf. If it comes out clean or with just a few moist crumbs clinging to it, it’s done. If it’s wet with batter, bake for another 5 minutes and test again. The top should be a deep golden brown and feel firm to the touch. A digital thermometer inserted into the center should read 200-205°F (93-96°C).
Can I make this bread without eggs?
Absolutely! Use a flax egg (1 tablespoon ground flaxseed mixed with 3 tablespoons water per egg, let sit for 5 minutes) or a commercial egg replacer. The texture will be slightly denser, but it will still be delicious and moist. You can also try using ¼ cup of unsweetened applesauce per egg, which adds extra moisture and natural sweetness.
Conclusion
This Easy One-Bowl Banana Pumpkin Bread is proof that you don’t need a lot of time, fancy equipment, or complicated techniques to make something truly wonderful. It’s the recipe I turn to when I need a quick win in the kitchen—whether I’m scrambling for a potluck, craving something cozy on a busy weeknight, or just want to use up those spotty bananas sitting on the counter. It’s forgiving, it’s flexible, and it always, always delivers.
I hope you give this bread a try and make it your own. Add chocolate chips, swap in some nuts, or keep it simple—whatever you do, it’s going to be good. That’s the beauty of this recipe. It’s hard to mess up, and it’s easy to love.
If you make this, I’d love to hear about it! Leave a comment below and let me know how it turned out, or share your own twist on the recipe. Did you add something unexpected? Did you bake it as muffins? Tell me all about it. And if you’re looking for more easy, one-bowl recipes, check out my simple banana bread or my pumpkin spice muffins—they’re just as forgiving and just as delicious.
Happy baking, friends. You’ve got this.
Pin This Recipe!
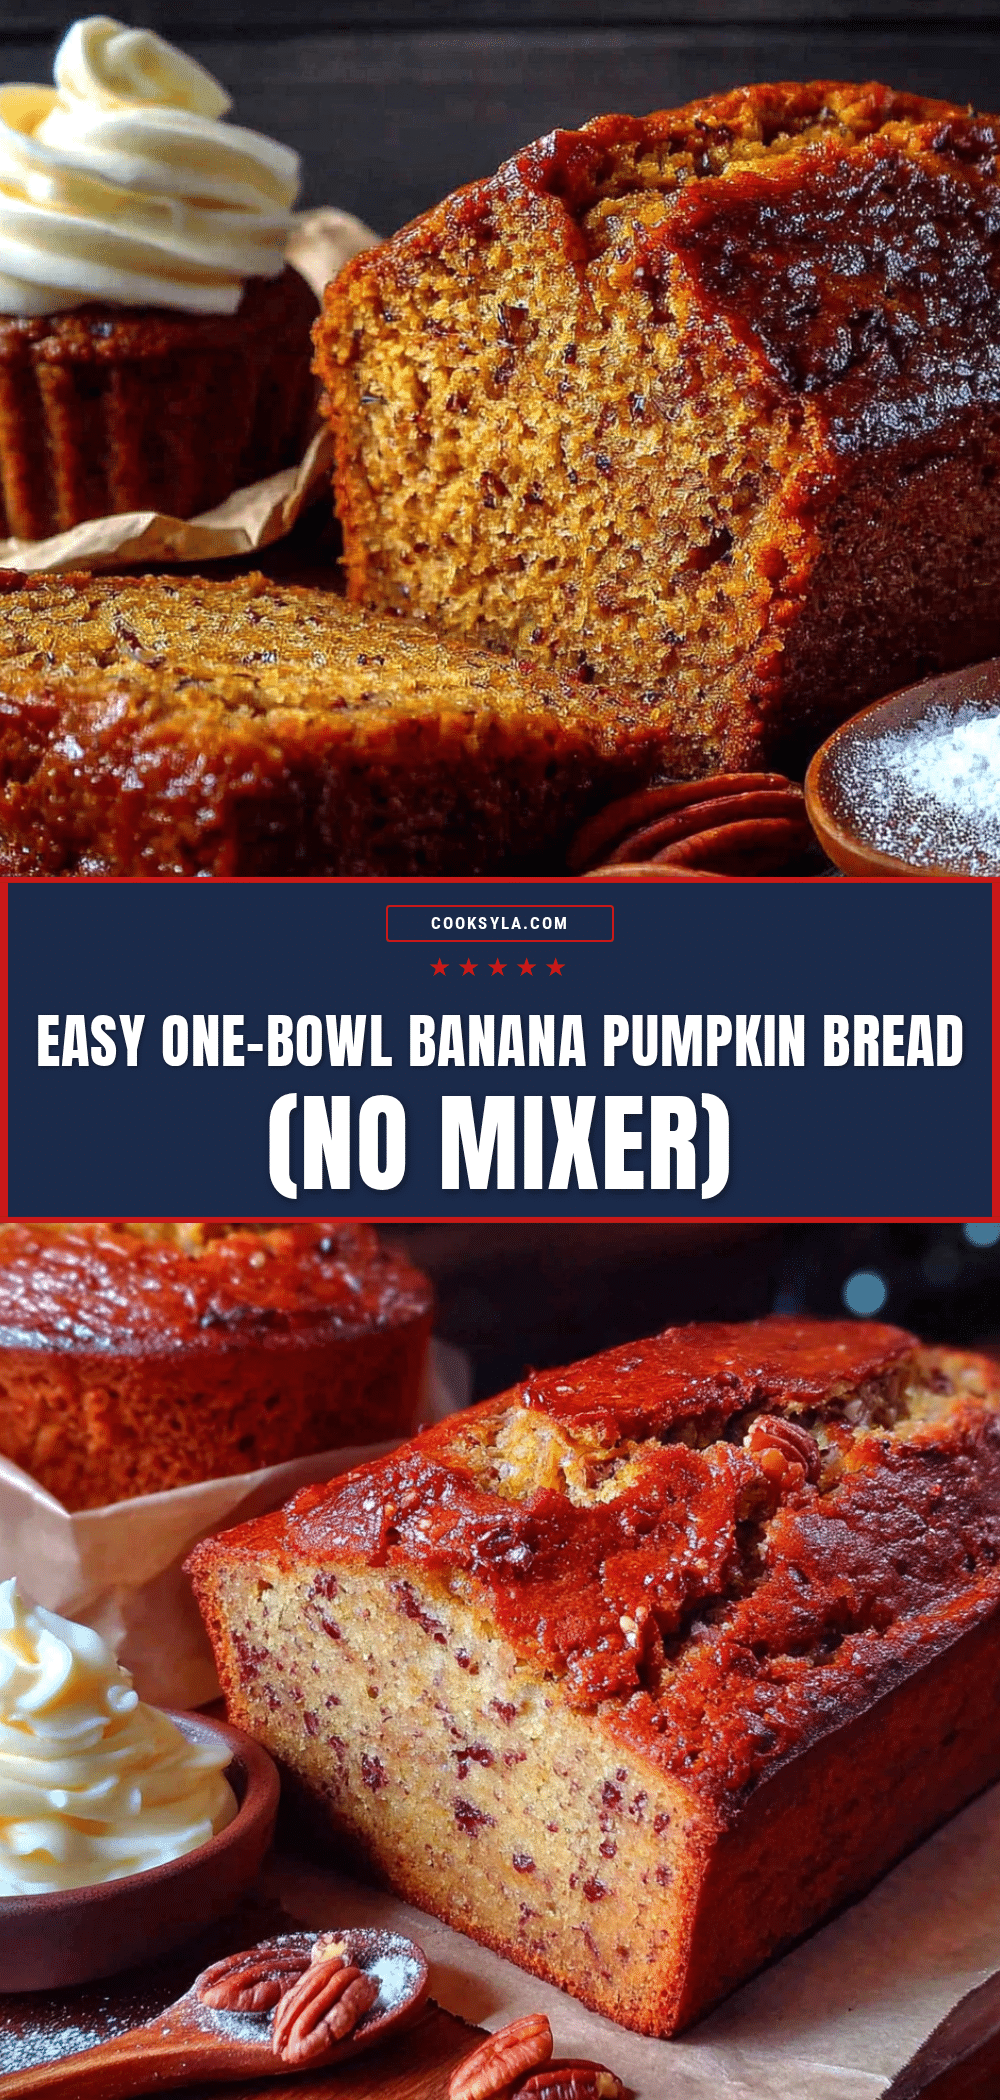
Easy One-Bowl Banana Pumpkin Bread (No Mixer)
This quick and easy banana pumpkin bread comes together in one bowl with no mixer needed. Perfect for busy weeknights or last-minute potlucks, it’s moist, perfectly spiced, and always a crowd-pleaser.
- Prep Time: 10 minutes
- Cook Time: 55 minutes
- Total Time: 1 hour 5 minutes
- Yield: 12 servings 1x
- Category: Dessert
- Cuisine: American
Ingredients
- 1 ¾ cups (220g) all-purpose flour
- ¾ cup (150g) granulated sugar
- ¼ cup (50g) light brown sugar, packed
- 1 teaspoon baking soda
- ½ teaspoon baking powder
- ½ teaspoon salt
- 1 ½ teaspoons ground cinnamon
- ½ teaspoon ground nutmeg
- ¼ teaspoon ground ginger
- ⅛ teaspoon ground cloves
- 1 cup (240g) pumpkin puree (not pumpkin pie filling)
- 2 medium ripe bananas, mashed (about 1 cup or 240g)
- 2 large eggs, at room temperature
- ½ cup (120ml) vegetable oil (or other neutral oil)
- 1 teaspoon vanilla extract
- Optional mix-ins: ½ cup (85g) chocolate chips, ½ cup (60g) chopped walnuts or pecans, or ¼ cup (40g) dried cranberries
Instructions
- Preheat your oven to 350°F (175°C). Grease a 9×5-inch loaf pan with butter or non-stick spray, or line with parchment paper.
- In a large mixing bowl, mash the bananas with a fork or potato masher until mostly smooth with a few small lumps.
- Add the pumpkin puree, vegetable oil, eggs, and vanilla extract to the mashed bananas. Stir until well combined and uniform in color.
- Add the granulated sugar and packed brown sugar. Stir until fully dissolved into the wet mixture.
- Sprinkle the flour, baking soda, baking powder, salt, cinnamon, nutmeg, ginger, and cloves directly over the wet mixture.
- Fold the dry ingredients into the wet mixture using a gentle folding motion until just combined (a few streaks of flour are okay). Do not overmix.
- If using, gently fold in any mix-ins (chocolate chips, nuts, or dried fruit).
- Pour the batter into the prepared loaf pan and spread evenly. Tap the pan gently on the counter to release air bubbles.
- Bake for 50-60 minutes, until a toothpick inserted into the center comes out clean or with a few moist crumbs. The top should be deep golden brown.
- Cool in the pan for 10 minutes, then transfer to a cooling rack using the parchment paper handles. Cool completely before slicing (at least 1 hour).
Notes
Do not overmix the batter to avoid a dense bread. Use a kitchen scale for the flour for best results. Room temperature eggs incorporate more evenly. Check baking soda freshness for proper rise. Let the bread cool completely before slicing to prevent a gummy texture. The flavors improve after a day.
Nutrition
- Serving Size: 1 slice
- Calories: 245
- Sugar: 19
- Sodium: 280
- Fat: 10
- Saturated Fat: 1.5
- Carbohydrates: 36
- Fiber: 2
- Protein: 4
Keywords: banana pumpkin bread, one bowl, no mixer, easy, fall, quick bread, pumpkin, banana


