Love this? Save it for later!
Share the inspiration with your friends
It was 11:47 PM on a random Wednesday in October, and I had a weird, specific craving for something that looked like it belonged at a goth wedding. I didn’t have black cocoa powder—the stuff that makes “black velvet” cakes actually black—but I had a half-empty bottle of black gel food coloring from a failed attempt at making galaxy cookies last summer, and the idea that maybe, just maybe, I could trick a standard chocolate cupcake into looking like it came from a haunted bakery.
Let me tell you, the lighting in my kitchen at that hour is not great. I squinted at the batter, added more black coloring, then a little more, and honestly, I thought I’d ruined it. The batter looked like something you’d find in a witch’s cauldron—if the witch was out of most of her ingredients and was just winging it. I poured it into the liners, crossed my fingers, and shoved them in the oven. When I pulled them out, they were perfect. Dark, dramatic, and begging for a swirl of bright orange buttercream on top.
These Easy Black Velvet Halloween Cupcakes with Orange Buttercream are the result of that late-night experiment. They’re not fussy, they don’t require special black cocoa powder that costs a fortune, and they come together in under an hour. Maybe you’ve been there—staring at a Pinterest board full of elaborate Halloween desserts and thinking, “I don’t have the energy for that.” I hear you. This recipe is for you. It’s the kind of thing you can make after work, while the kids are doing homework, or, you know, at nearly midnight when a very specific craving hits.
Why You’ll Love This Recipe
I’ve tested this recipe four times to get it right. The first batch was too dry. The second was too cakey. The third had the right crumb but the color was off. The fourth? Chef’s kiss. Here’s why this version is the one you’ll come back to year after year.
- Quick & Easy: From start to finish, these cupcakes are ready in about 45 minutes. That includes cooling time. Perfect for busy weeknights or last-minute Halloween party invites.
- Simple Ingredients: No hunting down specialty stores for black cocoa powder. You likely have everything in your pantry already. The “black velvet” magic comes from a smart combination of regular cocoa powder and black gel food coloring.
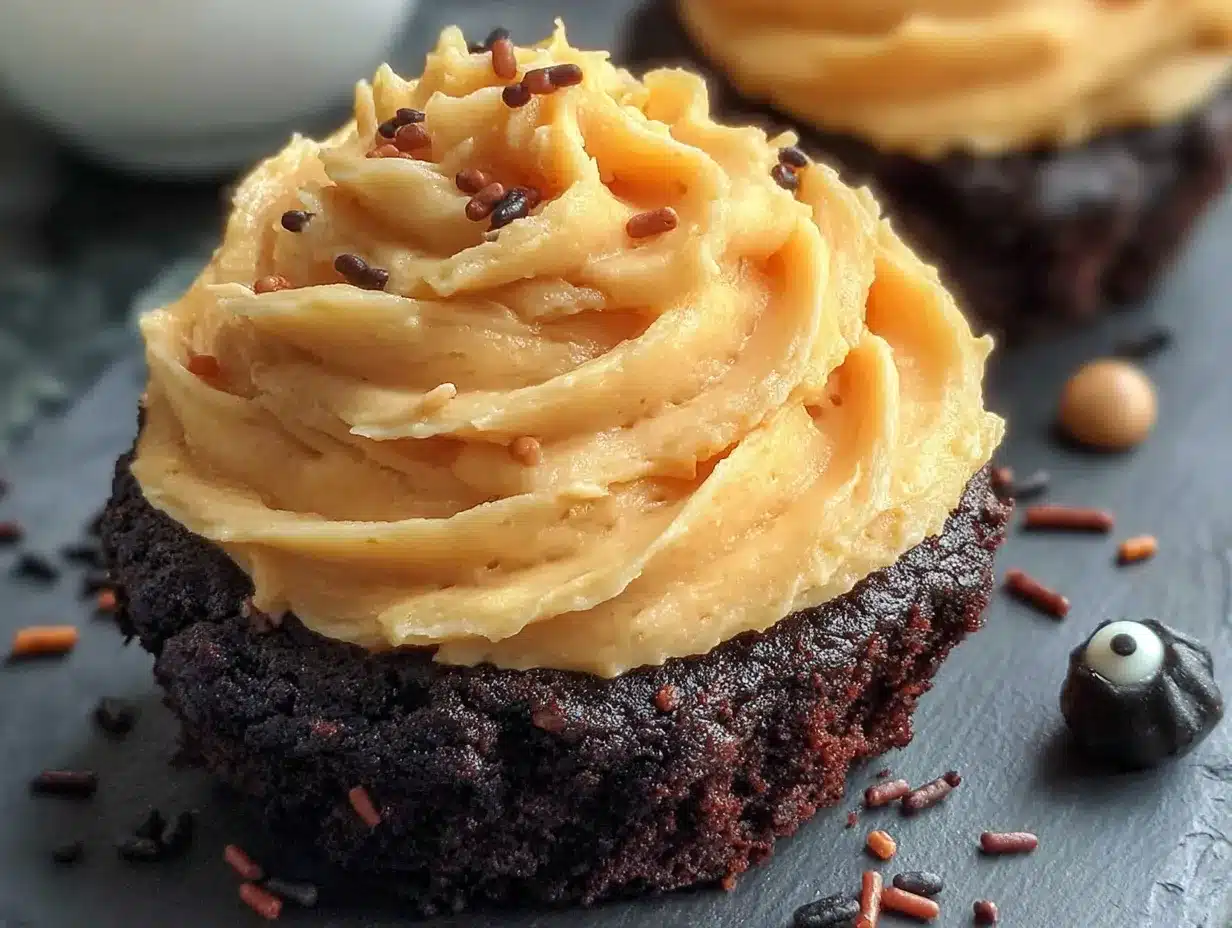
- Perfect for Halloween: These are the showstoppers of any Halloween spread. The black cake with bright orange frosting is a visual punch that screams “spooky season” without being too gory for the little ones.
- Crowd-Pleaser: I brought a batch to my neighbor’s Halloween block party, and they vanished in ten minutes. Both kids and adults went back for seconds. The chocolate flavor is familiar and comforting, but the look is totally unexpected.
- Unbelievably Delicious: The texture is what gets me every time. It’s moist without being dense, tender without being crumbly. The orange buttercream is silky and bright, cutting through the rich chocolate perfectly.
This isn’t just another chocolate cupcake with food coloring. The trick is in the balance—using just enough cocoa to give a deep chocolate flavor without making the cake dark brown, then letting the black food coloring do its job. The result is a true black cake that tastes like a classic chocolate cupcake but looks like it’s ready for a Halloween party. It’s comfort food reimagined—faster, easier, but with the same soul-soothing satisfaction of a homemade treat.
What Ingredients You Will Need
This recipe uses simple, wholesome ingredients to deliver that dramatic black velvet look and rich chocolate flavor without any fuss. Most of these are pantry staples, which makes it perfect for those “I need a Halloween dessert NOW” moments.
For the Cupcakes
- All-purpose flour, 1 ½ cups (190g) – spooned and leveled for accuracy
- Granulated sugar, 1 cup (200g) – adds sweetness and helps with structure
- Unsweetened cocoa powder, ¼ cup (21g) – use a natural cocoa powder, not Dutch-processed, for better color results
- Baking soda, 1 teaspoon – for lift and rise
- Salt, ½ teaspoon – balances the sweetness
- Buttermilk, ½ cup (120ml), room temperature – adds tenderness and activates the baking soda (you can make a quick version by adding 1 teaspoon of lemon juice to regular milk and letting it sit for 5 minutes)
- Vegetable oil, ½ cup (120ml) – keeps the cupcakes moist for days
- Large eggs, 2, room temperature – for structure and richness
- Vanilla extract, 1 teaspoon – enhances the chocolate flavor
- Black gel food coloring, 1 to 2 tablespoons – this is key! Liquid food coloring won’t give you a true black. I prefer the AmeriColor brand for the most vibrant results
- White vinegar, 1 teaspoon – reacts with the baking soda for extra lift and a tender crumb
For the Orange Buttercream
- Unsalted butter, 1 cup (226g), softened – I use Kerrygold for the best flavor, but any good-quality butter works
- Powdered sugar, 3 to 4 cups (360g to 480g) – adjust for desired consistency
- Heavy cream, 2 to 3 tablespoons – for smoothness
- Vanilla extract, 1 teaspoon
- Orange extract, 1 teaspoon – this gives a pure, bright orange flavor without the acidity of fresh juice
- Orange gel food coloring, a few drops – for that vibrant Halloween orange
- Salt, a pinch – to cut the sweetness
Ingredient Tips: I’ve tested this with both natural and Dutch-processed cocoa, and natural works better for the black color. Dutch-processed is darker on its own, which can make the final cake look more gray than black. For the food coloring, gel is non-negotiable here. Liquid coloring will thin your batter too much and won’t give you that deep, dramatic black. If you’re new to gel colors, start with 1 tablespoon and add more if needed. The color deepens as the cupcakes bake.
Equipment Needed
- Standard 12-cup muffin tin – any non-stick or light-colored metal pan works best
- Paper cupcake liners – I recommend using black or orange liners for extra Halloween flair, but white works too
- Mixing bowls – one large, one medium
- Whisk – for dry ingredients
- Hand mixer or stand mixer – for the buttercream (you can do it by hand, but your arm will thank you for using a mixer)
- Rubber spatula – for scraping down the bowl
- Cooling rack – essential for even cooling
- Piping bag with a star tip – I use a Wilton 1M tip for that classic swirl look. A zip-top bag with the corner snipped off works in a pinch
- Cookie scoop – for evenly portioning the batter (a ¼ cup measure works too)
I’ve made these with a cheap muffin tin from the grocery store and they turned out just fine. Don’t overthink the equipment. If you don’t have a piping bag, you can simply spread the frosting with a knife or offset spatula. The taste is the same, I promise.
Preparation Method
- Preheat and prep. Preheat your oven to 350°F (175°C). Line your muffin tin with 12 paper liners. This is a small step that makes a big difference—don’t skip the liners, as these cupcakes are tender and might stick to a plain pan.
- Mix the dry ingredients. In a medium bowl, whisk together the flour, sugar, cocoa powder, baking soda, and salt. Make sure there are no lumps in the cocoa powder. I like to sift the cocoa if it’s particularly clumpy. Set this aside.
- Combine the wet ingredients. In a large bowl, whisk together the buttermilk, vegetable oil, eggs, vanilla extract, and white vinegar. Whisk until smooth and well combined. The mixture will look a bit thin—that’s normal.
- Add the black food coloring. Add 1 tablespoon of black gel food coloring to the wet mixture and whisk until fully incorporated. The batter will look gray at this point. Don’t panic! Add another tablespoon if you want a deeper color. I usually end up using about 1 ½ tablespoons for a true black. The color will darken slightly as it bakes.
- Combine wet and dry. Pour the dry ingredients into the wet ingredients and fold together with a rubber spatula until just combined. Do not overmix! A few small lumps are okay. Overmixing will make the cupcakes tough. The batter should be smooth, dark, and slightly runny.
- Fill the liners. Use a cookie scoop or a ¼ cup measure to divide the batter evenly among the 12 liners. Fill each about ¾ full. This gives them room to rise without overflowing.
- Bake. Place the pan in the preheated oven and bake for 18 to 22 minutes. At 18 minutes, start checking. A toothpick inserted into the center should come out clean or with a few moist crumbs. The tops should spring back when lightly touched. My oven runs hot, so mine are perfect at 19 minutes.
- Cool completely. Let the cupcakes cool in the pan for 5 minutes, then transfer them to a wire cooling rack. Let them cool completely before frosting. This is crucial—warm cupcakes will melt your buttercream into a sad, soupy mess.
- Make the buttercream. While the cupcakes cool, make the frosting. In a large bowl, beat the softened butter with a hand mixer on medium speed until smooth and creamy, about 2 minutes. Add the vanilla extract, orange extract, and a pinch of salt. Beat to combine.
- Add powdered sugar. Gradually add the powdered sugar, 1 cup at a time, beating on low speed after each addition. The mixture will look dry and crumbly at first—that’s normal. Add the heavy cream, 1 tablespoon at a time, and beat on medium-high speed until light and fluffy. You want a consistency that holds its shape but is still soft enough to pipe. Add more cream if it’s too stiff, more powdered sugar if it’s too loose.
- Color the frosting. Add a few drops of orange gel food coloring and beat until the color is uniform. Start with a small amount—you can always add more, but you can’t take it away. I aim for a bright, almost neon orange that pops against the black cake.
- Frost the cupcakes. Fit a piping bag with a star tip and fill it with the buttercream. Pipe a generous swirl onto each cooled cupcake. If you don’t have a piping bag, use a knife to spread the frosting in a swirl pattern. Top with Halloween sprinkles if you’re feeling extra festive.
Sensory Cues: When you combine the wet and dry ingredients, the batter should be smooth and glossy, like dark chocolate pudding. When you pull the cupcakes from the oven, the tops should be slightly domed and the kitchen will smell like a chocolate factory. The buttercream should be silky and spreadable, not stiff or greasy.
Cooking Tips & Techniques
I’ve made more batches of these than I care to admit, and I’ve learned a few things the hard way. Let me save you the trouble.
Don’t overmix the batter. I did this on my second test batch, and the cupcakes came out tough and dense. Mix until the flour is just incorporated. A few streaks of flour are fine—they’ll disappear as you fill the liners.
Room temperature ingredients matter. Cold eggs and cold buttermilk will make your batter seize up. Set them out on the counter 30 minutes before you start. If you forget, place the eggs in a bowl of warm water for 5 minutes and microwave the buttermilk for 10 seconds.
The color deepens as it bakes. Don’t panic if your batter looks more gray than black. The heat of the oven will darken it. I once added way too much food coloring because I was impatient, and the cupcakes came out tasting slightly bitter. Start with 1 tablespoon and add more if needed.
Use gel, not liquid, food coloring. I cannot stress this enough. Liquid food coloring will thin your batter and give you a sad, muddy gray color. Gel coloring is concentrated and won’t affect the texture. I’ve had great results with Americolor Super Black.
Let the cupcakes cool completely. I know it’s tempting to frost them while they’re still warm, but resist. I learned this lesson when my first batch of orange buttercream melted into a puddle on top of the cupcakes. It was still delicious, but it looked like a crime scene.
Toast your sprinkles. This is a weird tip, but hear me out. If you’re using Halloween sprinkles, toast them in a dry pan over medium heat for 30 seconds. It brings out their flavor and makes them crunchier. I picked this up from a pastry chef friend, and it’s a game-changer.
Make the buttercream ahead. You can make the orange buttercream up to 3 days in advance. Store it in an airtight container in the fridge. When you’re ready to use it, let it come to room temperature and give it a quick whip with a hand mixer to bring back its fluffiness.
Variations & Adaptations
This recipe is a great base for experimentation. Here are a few ways I’ve adapted it over the years.
Gluten-Free Version
Swap the all-purpose flour with a 1:1 gluten-free baking flour blend. I’ve used Bob’s Red Mill with great results. Add an extra tablespoon of buttermilk, as gluten-free flours tend to absorb more liquid. The texture will be slightly more delicate, but the flavor is spot on.
Vegan Version
Replace the eggs with flax eggs (2 tablespoons ground flaxseed mixed with 6 tablespoons water, let sit for 5 minutes). Use a plant-based buttermilk (add 1 teaspoon lemon juice to ½ cup unsweetened almond milk). Swap the butter in the frosting with vegan butter. The cupcakes will be a bit denser, but they’re still delicious.
Spooky Spider Web Design
Instead of piping a simple swirl, make a spider web design. Pipe a circle of orange buttercream on top of each cupcake, then pipe concentric circles of black frosting on top. Drag a toothpick from the center outward to create the web effect. It’s easier than it sounds and looks incredible.
Chocolate Orange Buttercream
For a double-chocolate twist, add 2 tablespoons of unsweetened cocoa powder to the buttercream along with the powdered sugar. The chocolate-orange combination is a classic for a reason. Reduce the orange extract to ½ teaspoon so it doesn’t overpower the chocolate.
Mini Cupcakes
Use a mini muffin tin and bake for 10 to 12 minutes instead of 18 to 22. This is perfect for Halloween parties where you want guests to sample multiple treats. You’ll get about 36 mini cupcakes from this batch.
Serving & Storage Suggestions
These cupcakes are best served at room temperature. The buttercream softens slightly, and the cake is at its most tender. If you’ve refrigerated them, let them sit on the counter for 20 minutes before serving.
For a Halloween party, arrange them on a black cake stand or a platter lined with orange and purple tissue paper. Add a few plastic spiders or candy eyeballs around the base for extra spooky vibes. I once served them alongside a bowl of warm apple cider, and it was a hit.
Storage: Store unfrosted cupcakes in an airtight container at room temperature for up to 3 days. Frosted cupcakes should be stored in the refrigerator, but let them come to room temperature before serving for the best texture. The buttercream can be made up to 3 days ahead and stored in the fridge.
Freezing: You can freeze the unfrosted cupcakes for up to 3 months. Wrap each one tightly in plastic wrap, then place them in a freezer-safe bag. Thaw at room temperature for about an hour before frosting. The buttercream can also be frozen for up to 3 months. Thaw in the fridge overnight, then whip it back to life with a hand mixer.
Flavor Development: I actually think these cupcakes taste better the next day. The flavors meld together, and the cake becomes even more moist. If you’re making these for a party, bake them a day ahead and frost them the morning of the event.
Nutritional Information & Benefits
Let’s be real—these are cupcakes, not health food. But I’ve made some adjustments to make them a little more balanced than your average bakery treat.
Estimated per cupcake (with frosting):
- Calories: 385
- Fat: 22g
- Carbohydrates: 45g
- Protein: 4g
- Fiber: 1g
- Sugar: 32g
Health Highlights: The cocoa powder is rich in antioxidants called flavonoids, which can help reduce inflammation and improve heart health. The buttermilk adds calcium and probiotics for digestive health. And the vegetable oil provides healthy unsaturated fats.
Dietary Considerations: This recipe contains dairy, eggs, and gluten. For a dairy-free version, use plant-based buttermilk and vegan butter. For a gluten-free version, use a 1:1 gluten-free flour blend. The recipe is nut-free as written, making it safe for school parties.
I’m not a nutritionist, and I’m not here to pretend these are a health food. But I do believe in balance. One of these cupcakes with a glass of milk is a perfectly reasonable treat. Life is too short to skip dessert.
Conclusion
These Easy Black Velvet Halloween Cupcakes with Orange Buttercream are the kind of recipe that makes you look like a baking superstar without actually having to work that hard. They’re dramatic, delicious, and come together with ingredients you probably already have in your kitchen. I’ve made them for Halloween parties, for my kids’ classroom celebrations, and for that one time I just wanted to eat something that looked like it belonged in a Tim Burton movie.
What I love most about this recipe is how forgiving it is. You can mess up the timing, add too much food coloring, or forget to bring your eggs to room temperature, and they’ll still turn out great. That’s the kind of recipe I want in my back pocket—especially during the chaos of October.
I’d love to hear how yours turn out! Did you add sprinkles? Try the spider web design? Make them vegan? Drop a comment below and let me know. And if you’re looking for another spooky treat to round out your Halloween spread, you might love these Spider Web Cookies or this Pumpkin Patch Dip. Happy baking, and Happy Halloween!
Frequently Asked Questions
Can I use liquid food coloring instead of gel?
I don’t recommend it. Liquid food coloring will thin your batter and give you a grayish color instead of a true black. Gel food coloring is concentrated and won’t affect the texture. You can find it at most craft stores or online.
Why did my cupcakes come out gray instead of black?
This usually happens when you don’t use enough food coloring or when you use liquid coloring instead of gel. The color also deepens as the cupcakes bake, so if your batter looks dark gray, it should come out black. If you’re still not getting a true black, try adding an extra half tablespoon of gel coloring next time.
Can I make these cupcakes ahead of time?
Absolutely! You can bake the cupcakes up to 3 days ahead and store them in an airtight container at room temperature. The buttercream can be made up to 3 days ahead and stored in the fridge. Frost the cupcakes the day you plan to serve them for the best presentation.
Can I use a different flavor for the frosting?
Of course! The black velvet cupcakes are a great base for any frosting. Try cream cheese frosting for a tangy twist, or a simple vanilla buttercream if you’re not an orange fan. For a more grown-up version, add a splash of bourbon or coffee liqueur to the buttercream.
How do I get that perfect swirl on top?
Use a piping bag fitted with a star tip, like a Wilton 1M. Start piping from the center of the cupcake, applying even pressure, and work your way outward in a spiral. When you reach the edge, lift the bag straight up and release pressure. It takes a little practice, but even imperfect swirls look beautiful on these cupcakes.
Pin This Recipe!
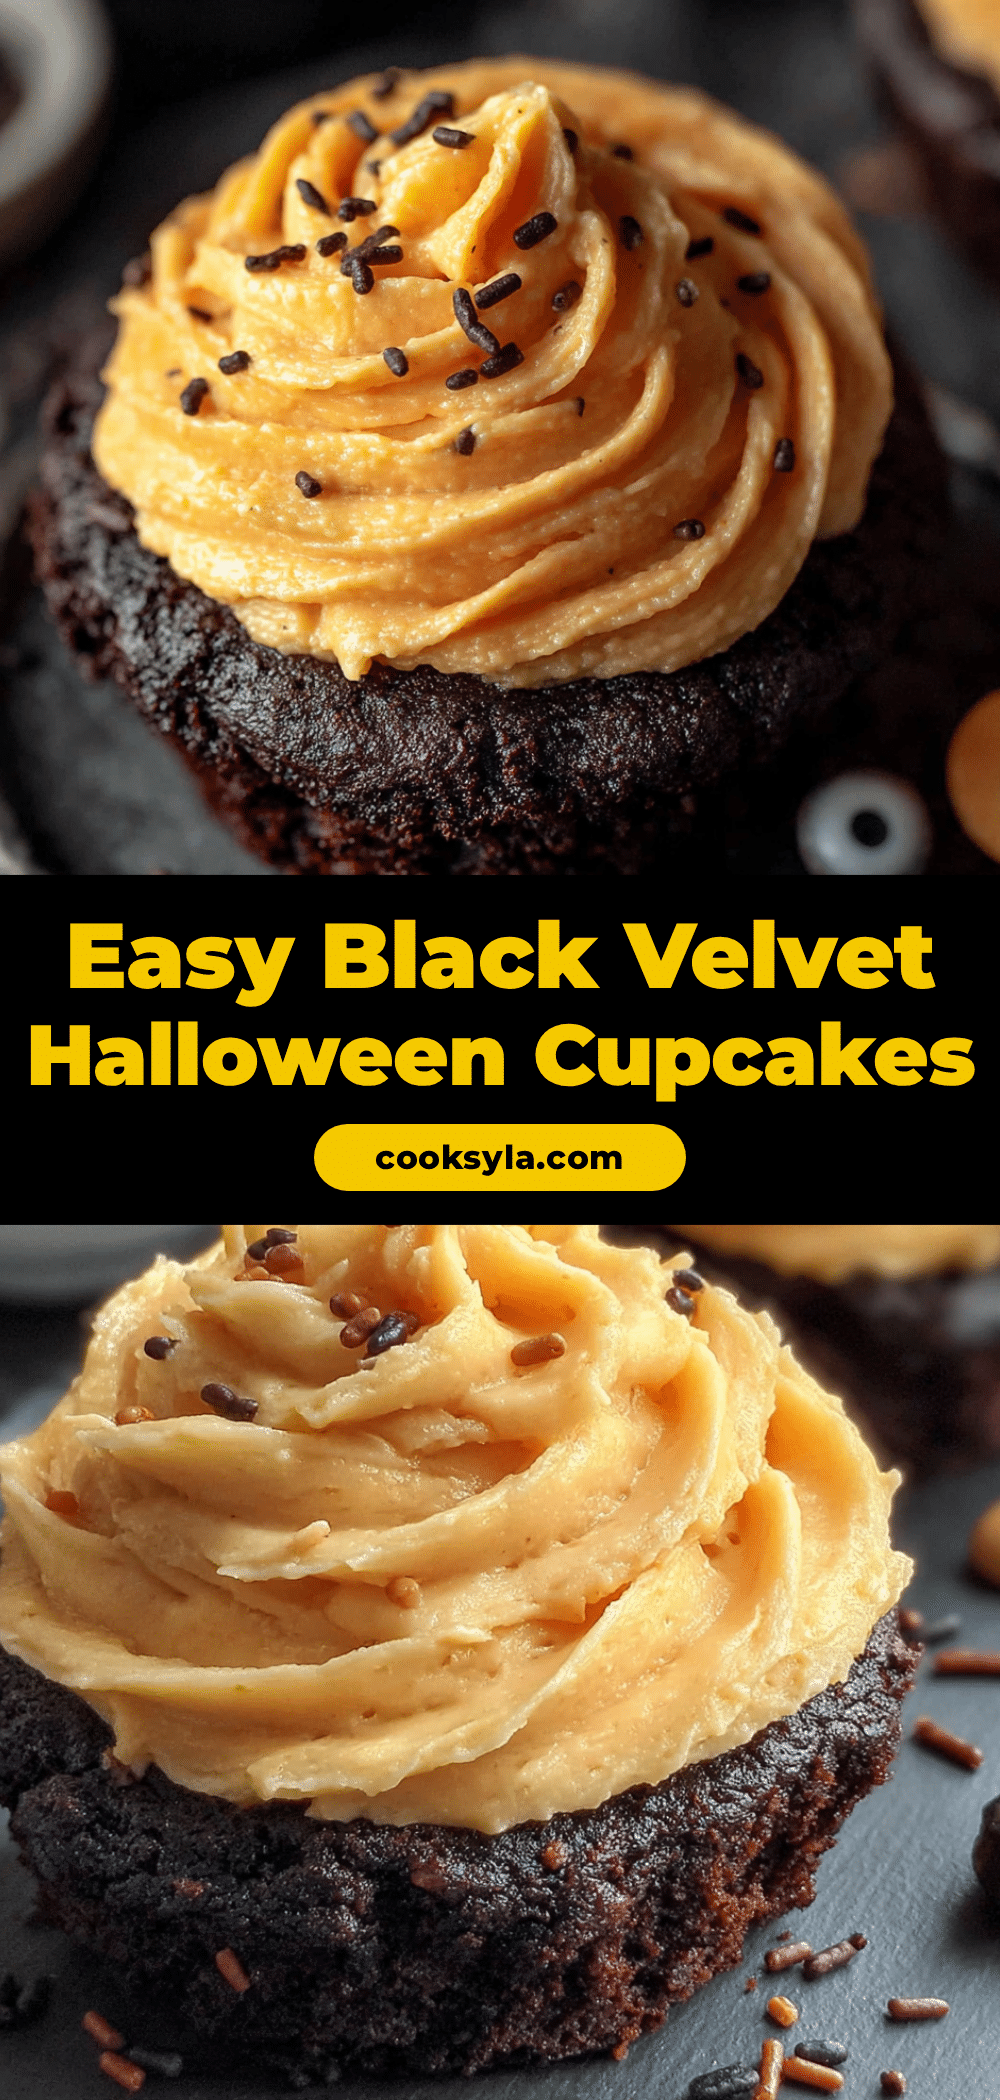
Best Easy Black Velvet Halloween Cupcakes with Orange Buttercream
These Easy Black Velvet Halloween Cupcakes with Orange Buttercream are dramatic, delicious, and come together with simple ingredients. Perfect for Halloween parties, they feature a moist black velvet cake topped with a bright orange buttercream that’s sure to impress.
- Prep Time: 15 minutes
- Cook Time: 20 minutes
- Total Time: 45 minutes
- Yield: 12 cupcakes 1x
- Category: Dessert
- Cuisine: American
Ingredients
- 1 ½ cups (190g) all-purpose flour, spooned and leveled
- 1 cup (200g) granulated sugar
- ¼ cup (21g) unsweetened cocoa powder (natural, not Dutch-processed)
- 1 teaspoon baking soda
- ½ teaspoon salt
- ½ cup (120ml) buttermilk, room temperature
- ½ cup (120ml) vegetable oil
- 2 large eggs, room temperature
- 1 teaspoon vanilla extract
- 1 to 2 tablespoons black gel food coloring
- 1 teaspoon white vinegar
- 1 cup (226g) unsalted butter, softened
- 3 to 4 cups (360g to 480g) powdered sugar
- 2 to 3 tablespoons heavy cream
- 1 teaspoon vanilla extract (for buttercream)
- 1 teaspoon orange extract
- A few drops orange gel food coloring
- A pinch of salt
Instructions
- Preheat oven to 350°F (175°C). Line a 12-cup muffin tin with paper liners.
- In a medium bowl, whisk together flour, sugar, cocoa powder, baking soda, and salt.
- In a large bowl, whisk together buttermilk, vegetable oil, eggs, vanilla extract, and white vinegar until smooth.
- Add 1 tablespoon black gel food coloring to the wet mixture and whisk until fully incorporated. Add more if desired for a deeper color.
- Pour dry ingredients into wet ingredients and fold with a rubber spatula until just combined. Do not overmix.
- Divide batter evenly among the 12 liners, filling each about ¾ full.
- Bake for 18 to 22 minutes, until a toothpick inserted in the center comes out clean or with a few moist crumbs.
- Let cupcakes cool in the pan for 5 minutes, then transfer to a wire rack to cool completely.
- For the buttercream: In a large bowl, beat softened butter with a hand mixer on medium speed until smooth and creamy, about 2 minutes.
- Add vanilla extract, orange extract, and a pinch of salt. Beat to combine.
- Gradually add powdered sugar, 1 cup at a time, beating on low speed. Add heavy cream, 1 tablespoon at a time, and beat on medium-high until light and fluffy.
- Add a few drops of orange gel food coloring and beat until uniform.
- Fit a piping bag with a star tip, fill with buttercream, and pipe a generous swirl onto each cooled cupcake.
Notes
Use gel food coloring, not liquid, for true black color. Room temperature ingredients are important for best texture. Cupcakes can be made ahead and stored unfrosted for up to 3 days. Buttercream can be made up to 3 days ahead and refrigerated.
Nutrition
- Serving Size: 1 cupcake
- Calories: 385
- Sugar: 32
- Sodium: 220
- Fat: 22
- Saturated Fat: 10
- Carbohydrates: 45
- Fiber: 1
- Protein: 4
Keywords: Halloween cupcakes, black velvet cupcakes, orange buttercream, easy Halloween dessert, black cupcakes


