Love this? Save it for later!
Share the inspiration with your friends
I was standing at the counter of my local hardware store, of all places, waiting for someone to cut a new key, when the woman behind the register—a petite, silver-haired woman named Carol who I’d only ever exchanged pleasantries with about the weather—started talking about pumpkin seeds. Not in a general, fall-decorative sort of way, but with a specific, almost conspiratorial intensity. “You know,” she said, not looking up from the key-cutting machine, “the best part of carving pumpkins isn’t the jack-o’-lantern. It’s what you do with the guts.” She paused, handed me the key, and then, as if it were the most obvious thing in the world, added, “I coat mine in cinnamon sugar and bake them until they’re like little crunchy candies. My grandson calls them Fall Crack.”
I honestly laughed out loud. Carol, the hardware store key-cutter, was my unlikely culinary muse for the day. I’d been thinking about making crispy pumpkin seeds for years, but my attempts always ended up either burnt, chewy, or tasting vaguely like cardboard. Her simple, confident pronouncement stuck with me. So, later that week, armed with the insides of a particularly large pumpkin and a healthy dose of skepticism, I tried her method. Let me tell you, it was a revelation. The seeds were crunchy, sweet, and had this warm, toasty flavor that made the whole kitchen smell like a bakery had collided with a harvest festival. I’ve tweaked her method a bit—added a pinch of salt and a whisper of vanilla—but the heart of it is all Carol. This recipe for crispy cinnamon sugar pumpkin seeds is now my favorite part of the season, and I have a feeling it’s about to become yours, too.
Why You’ll Love This Recipe
These crispy cinnamon sugar pumpkin seeds are more than just a snack. They are the perfect, crunchy, sweet-and-salty reward for the work of carving pumpkins. Honestly, they are the reason I actually look forward to scooping out the slimy pumpkin guts every October. If you’ve ever had a batch of homemade pumpkin seeds that turned out sad and chewy, this recipe is about to change your life.
- Quick & Easy : From pumpkin to bowl in under 30 minutes of active time. The oven does most of the work!
- Simple Ingredients : You only need pumpkin seeds, butter, sugar, cinnamon, and a pinch of salt. Things you probably already have in your pantry.
- Perfect for Fall : This is the ultimate seasonal snack for Halloween parties, Thanksgiving appetizers, or just cozying up with a movie on a crisp autumn evening.
- Crowd-Pleaser : My kids fight over these, and they disappear faster than any store-bought snack mix. Seriously, you’ll want to make a double batch.
- Unbelievably Delicious : The combination of crunchy, toasted seeds with a warm, buttery cinnamon coating is absolutely addictive. It’s like a healthier, more satisfying version of cinnamon toast crunch.
What makes this recipe different from the rest is the technique. Many recipes leave the seeds wet or don’t dry them properly, which leads to a tough, chewy texture. My method ensures they get perfectly crispy and crunchy every single time. This isn’t just another pumpkin seed recipe—it’s the best version. The one that makes you close your eyes after the first crunchy, sweet bite. It’s comfort food for the fall season, reimagined into a snackable, shareable treat that feels both indulgent and wholesome.
What Ingredients You Will Need
This recipe uses simple, wholesome ingredients to deliver that signature sweet, crunchy, and slightly salty flavor. The magic is in the balance and the technique, not a long list of fancy items. Here is everything you’ll need to make the best crispy cinnamon sugar pumpkin seeds of your life.
- Fresh Pumpkin Seeds (Pepitas) : You’ll need about 1 ½ cups of raw, fresh pumpkin seeds, scooped directly from a pumpkin. (about 180g). The fresher, the better for flavor. I recommend using seeds from a sugar pumpkin or a standard carving pumpkin. The seeds from larger carving pumpkins tend to be a bit bigger and more substantial.
- Unsalted Butter : 2 tablespoons (28g), melted. Using unsalted butter lets you control the salt level perfectly. It adds richness and helps the sugar and cinnamon stick to the seeds. If you only have salted butter, just reduce the added salt in the recipe.
- Granulated Sugar : 2 tablespoons (25g). This provides the primary sweetness and helps create that crackly, candy-like coating. You can also use coconut sugar for a slightly deeper, caramel-like flavor.
- Ground Cinnamon : 1 ½ teaspoons. This is the star of the show! Use a good quality cinnamon for the best flavor. I prefer Ceylon cinnamon for its milder, sweeter taste, but Cassia cinnamon works perfectly too and has a stronger punch.
- Fine Sea Salt : ½ teaspoon. This is crucial. The salt balances the sweetness and enhances the toasty flavor of the seeds. Don’t skip it!
- Vanilla Extract (Optional but Recommended) : ½ teaspoon. A tiny splash adds a warm, complex sweetness that elevates the whole snack. It’s a small addition that makes a big difference.
Ingredient Selection Tips
When picking your pumpkin, look for one that feels heavy for its size. That means the seeds are likely plump and healthy. After you scoop them out, don’t worry about getting every last bit of pumpkin string off—a little bit of pulp is fine and will actually help the coating stick. If you’re in a pinch, you can use store-bought raw, shelled pumpkin seeds (pepitas), but the texture and flavor won’t be quite as robust as fresh ones. For a dairy-free version, swap the butter for coconut oil or a good vegan butter. It will still be deliciously crisp and flavorful.
Equipment Needed
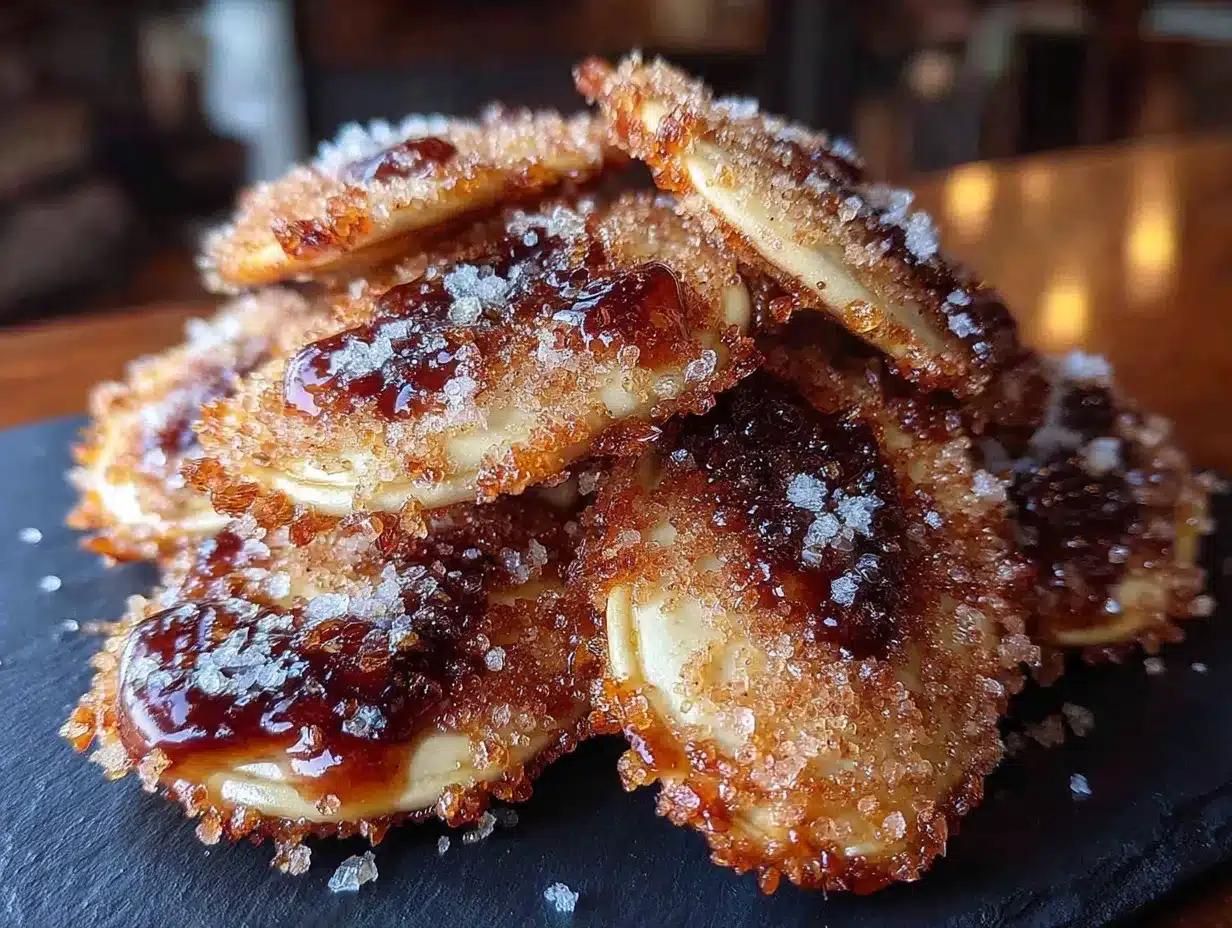
You don’t need any fancy gadgets for this recipe, which is part of its charm. Here’s what you’ll need to get the job done.
- Large Bowl : For mixing the seeds with the coating. A standard mixing bowl works perfectly.
- Colander : To rinse the seeds and separate them from the pumpkin guts.
- Baking Sheet : A rimmed baking sheet (like a half-sheet pan) is best to catch any drips and ensure even roasting. I’ve used my old, slightly warped one for years, and it works like a charm.
- Parchment Paper or Silicone Baking Mat : This makes cleanup a breeze and prevents the sugary coating from sticking to the pan. Trust me, you don’t want to be scrubbing burnt sugar off your baking sheet.
- Paper Towels or Clean Kitchen Towel : For drying the seeds thoroughly. This is the most important step for achieving crispiness.
- Spatula : For stirring the seeds on the baking sheet halfway through roasting.
If you don’t have a colander, you can use a large sieve. No parchment paper? You can lightly grease your baking sheet with butter or non-stick spray, but parchment is much easier for cleanup. A good, sturdy baking sheet is a worthwhile investment for any baker.
Preparation Method
Getting perfectly crispy cinnamon sugar pumpkin seeds is all about the prep. Follow these steps, and you’ll have a crunchy, addictive snack every time.
- Preheat and Prep : Preheat your oven to 300°F (150°C). Line a large rimmed baking sheet with parchment paper or a silicone baking mat. This lower temperature is the secret to drying the seeds out completely without burning the sugar.
- Clean the Seeds : Place your pumpkin seeds in a colander and rinse them under cool running water. Use your fingers to gently separate the seeds from the stringy pumpkin pulp. Don’t stress about getting every last bit of fiber off—a little bit is fine. (Total time: 5 minutes)
- Dry, Dry, Dry! : This is the most critical step. Spread the rinsed seeds out on a clean kitchen towel or a double layer of paper towels. Pat them very dry. Let them sit for 5-10 minutes to air-dry a bit more. If they are still damp, they will steam instead of roast, resulting in a chewy texture. I’ve made this mistake before, and the results were sad, soggy seeds.
- Mix the Coating : In a large bowl, whisk together the melted unsalted butter, granulated sugar, ground cinnamon, fine sea salt, and vanilla extract (if using). The mixture should look like a thick, sandy paste.
- Coat the Seeds : Add the dried pumpkin seeds to the bowl with the cinnamon-sugar mixture. Use a spatula to toss and stir until every seed is evenly coated. You want them to look like little, sandy nuggets.
- Spread on Baking Sheet : Pour the coated seeds onto your prepared baking sheet. Spread them out into a single, even layer. If they are piled on top of each other, they won’t get crispy. It’s okay if they are touching, but they shouldn’t be stacked.
- Bake to Perfection : Bake for 20 minutes. After 20 minutes, remove the pan from the oven and use a spatula to stir the seeds, flipping them over for even cooking. Spread them back into a single layer. Return to the oven and bake for another 15-20 minutes. The seeds are done when they are a deep, golden brown and the house smells like a cinnamon-scented dream. They will be slightly soft when hot, but they will crisp up as they cool.
- Cool Completely : This is the second most important step! Let the seeds cool completely on the baking sheet. Do not touch them! As they cool, the sugar hardens, creating that signature crackly, crunchy coating. This takes about 30 minutes. Resist the urge to sneak one—I always burn my tongue!
Cooking Tips & Techniques
After a few batches of trial and error (and a few batches that ended up in the trash), I’ve learned a few things that guarantee perfect results every time.
- Dryness is Key : I cannot stress this enough. The number one reason for chewy pumpkin seeds is not drying them thoroughly before roasting. Think of it this way: water creates steam, and steam creates a soggy texture. Pat them dry, then let them air-dry for a bit. Your future self will thank you.
- Low and Slow Wins the Race : Baking at 300°F (150°C) might seem low, but it’s the perfect temperature. A higher heat will burn the sugar before the seeds have a chance to dry out and become crispy. Patience is a virtue here.
- Don’t Skip the Stir : Stirring the seeds halfway through baking ensures they cook evenly. The seeds on the edges of the pan cook faster than those in the middle. A quick stir fixes that right up.
- The Cool-Down is Crucial : I once tried to speed up the process and moved the hot seeds to a bowl. They turned into a sticky, clumpy mess. The sugar coating needs that undisturbed time on the hot baking sheet to harden. Let them be!
- My Biggest Failure : I once tried to make a huge batch and crowded the baking sheet. The seeds were piled so high that they basically steamed. They came out soft, pale, and sad. It was a total waste of a good pumpkin. So, if you are making a big batch, use two baking sheets or work in batches.
Variations & Adaptations
This basic recipe is a fantastic canvas for your own creativity. Here are a few ways I’ve played with it over the years.
- Spicy-Sweet : Add ¼ teaspoon of cayenne pepper or a pinch of chili powder to the sugar mixture. The heat from the cayenne plays beautifully with the sweet cinnamon. It’s my husband’s favorite variation.
- Maple Pecan : Swap the granulated sugar for 2 tablespoons of pure maple syrup. Toss in ¼ cup of chopped pecans with the seeds before baking. The maple syrup will create a slightly chewier, but incredibly flavorful, coating.
- Pumpkin Pie Spice : Replace the 1 ½ teaspoons of cinnamon with 2 teaspoons of pumpkin pie spice. This gives you all the warm, cozy flavors of fall in one bite. It’s perfect for a Thanksgiving snack table.
- Vegan & Dairy-Free : Use melted coconut oil or a high-quality vegan butter in place of the regular butter. The flavor will be slightly different, but they will still be perfectly crispy and delicious.
- Savory Twist : If you’re not in the mood for sweet, you can omit the sugar and cinnamon entirely. Toss the dried seeds with melted butter, ½ teaspoon of garlic powder, ½ teaspoon of smoked paprika, and ¼ teaspoon of salt. Bake as directed for a savory, crunchy snack.
Serving & Storage Suggestions
These crispy cinnamon sugar pumpkin seeds are incredibly versatile. Here’s how to serve and store them to keep them at their best.
- Serving : Serve them at room temperature. They are perfect straight from the baking sheet, but they also make a fantastic topping for fall salads, a crunchy garnish for pumpkin soup, or a fun addition to a trail mix. I love putting a bowl of them out at parties—they disappear fast!
- Storage : Once completely cool, store the seeds in an airtight container at room temperature. A glass jar or a zip-top bag works well. Do not refrigerate them, as the moisture in the fridge can make them lose their crunch.
- How Long They Last : Properly stored, these seeds will stay crispy and delicious for up to 2 weeks. In my house, they are lucky to last 2 days.
- Re-crisping : If they do happen to lose a bit of their crunch over time, don’t worry! Spread them out on a baking sheet and pop them in a 300°F (150°C) oven for 3-5 minutes. Let them cool completely, and they will be as good as new.
- Flavor Development : Honestly, I think these seeds are even better the next day. The flavors have a chance to meld together, and the sugar coating gets even harder and crunchier. So, don’t be afraid to make them a day ahead.
Nutritional Information & Benefits
While these are a treat, they also offer some surprising nutritional perks thanks to the star ingredient: the pumpkin seed itself.
Estimated Nutritional Values (per ¼ cup serving):
- Calories: ~180
- Fat: 12g
- Carbohydrates: 14g
- Fiber: 2g
- Protein: 8g
Pumpkin seeds are a fantastic source of magnesium, zinc, and healthy fats. They are also packed with antioxidants and fiber, which is great for digestion. The cinnamon adds its own set of benefits, including anti-inflammatory properties and helping to regulate blood sugar. While the butter and sugar add calories, the overall snack is a much more nutritious choice than a bag of potato chips or a candy bar. I love that I can feel good about giving these to my kids as a satisfying after-school snack during the fall season. They are a perfect example of how a little bit of indulgence can be part of a balanced, healthy diet.
FAQs
Can I use store-bought raw pumpkin seeds instead of fresh ones?
Yes, you can! Look for raw, unsalted, shelled pumpkin seeds (also called pepitas). The process is exactly the same, but you can skip the cleaning and drying step. Just toss them straight into the coating mixture. The flavor will be slightly less robust than fresh seeds, but they will still be deliciously crispy.
Why are my pumpkin seeds chewy and not crispy?
This is the most common problem, and it usually comes down to one of two things: they weren’t dried properly before baking, or the baking sheet was too crowded. Make sure you pat the seeds bone-dry after rinsing them. Also, spread them in a single, even layer on the baking sheet so they can roast, not steam.
Can I use brown sugar instead of granulated sugar?
Absolutely! Brown sugar will give the seeds a deeper, more caramel-like flavor and a slightly softer, chewier texture. If you use brown sugar, keep a close eye on them in the oven, as it can burn a little faster than white sugar. I’ve used it before for a richer taste, and it’s wonderful.
How do I get the pumpkin seeds out of the pumpkin easily?
The easiest way is to use a large, sturdy metal spoon. Cut the top off your pumpkin, then scoop out the seeds and stringy pulp into a bowl. Fill the bowl with water. The seeds will float to the top, making them much easier to separate from the heavier pulp. It’s a game-changer for the messy job.
Can I make this recipe in an air fryer?
Yes, you can! Preheat your air fryer to 300°F (150°C). Toss the dried seeds with the coating, then spread them in a single layer in the air fryer basket. Cook for 10-12 minutes, shaking the basket halfway through, until they are golden and fragrant. Let them cool completely before eating. The air fryer method is even faster!
Conclusion
So, there you have it. The best, easiest, and most addictive crispy cinnamon sugar pumpkin seeds you will ever make. They are the perfect way to celebrate the fall season, turning something you might otherwise throw away into a truly special treat. I love that this recipe is so forgiving and easy to adapt to whatever you have on hand. Whether you stick to the classic cinnamon sugar version or try one of the fun variations, I promise you won’t be disappointed.
I would love to hear how yours turn out! Did you add a pinch of cayenne for heat? Did you use maple syrup instead of sugar? Please leave a comment below and tell me all about your creations. And don’t forget to share this recipe with your friends and family—they’ll thank you for it, especially when they are staring at a pile of pumpkin guts and wondering what to do next. Happy baking, and have a wonderful, cozy fall season!
Pin This Recipe!
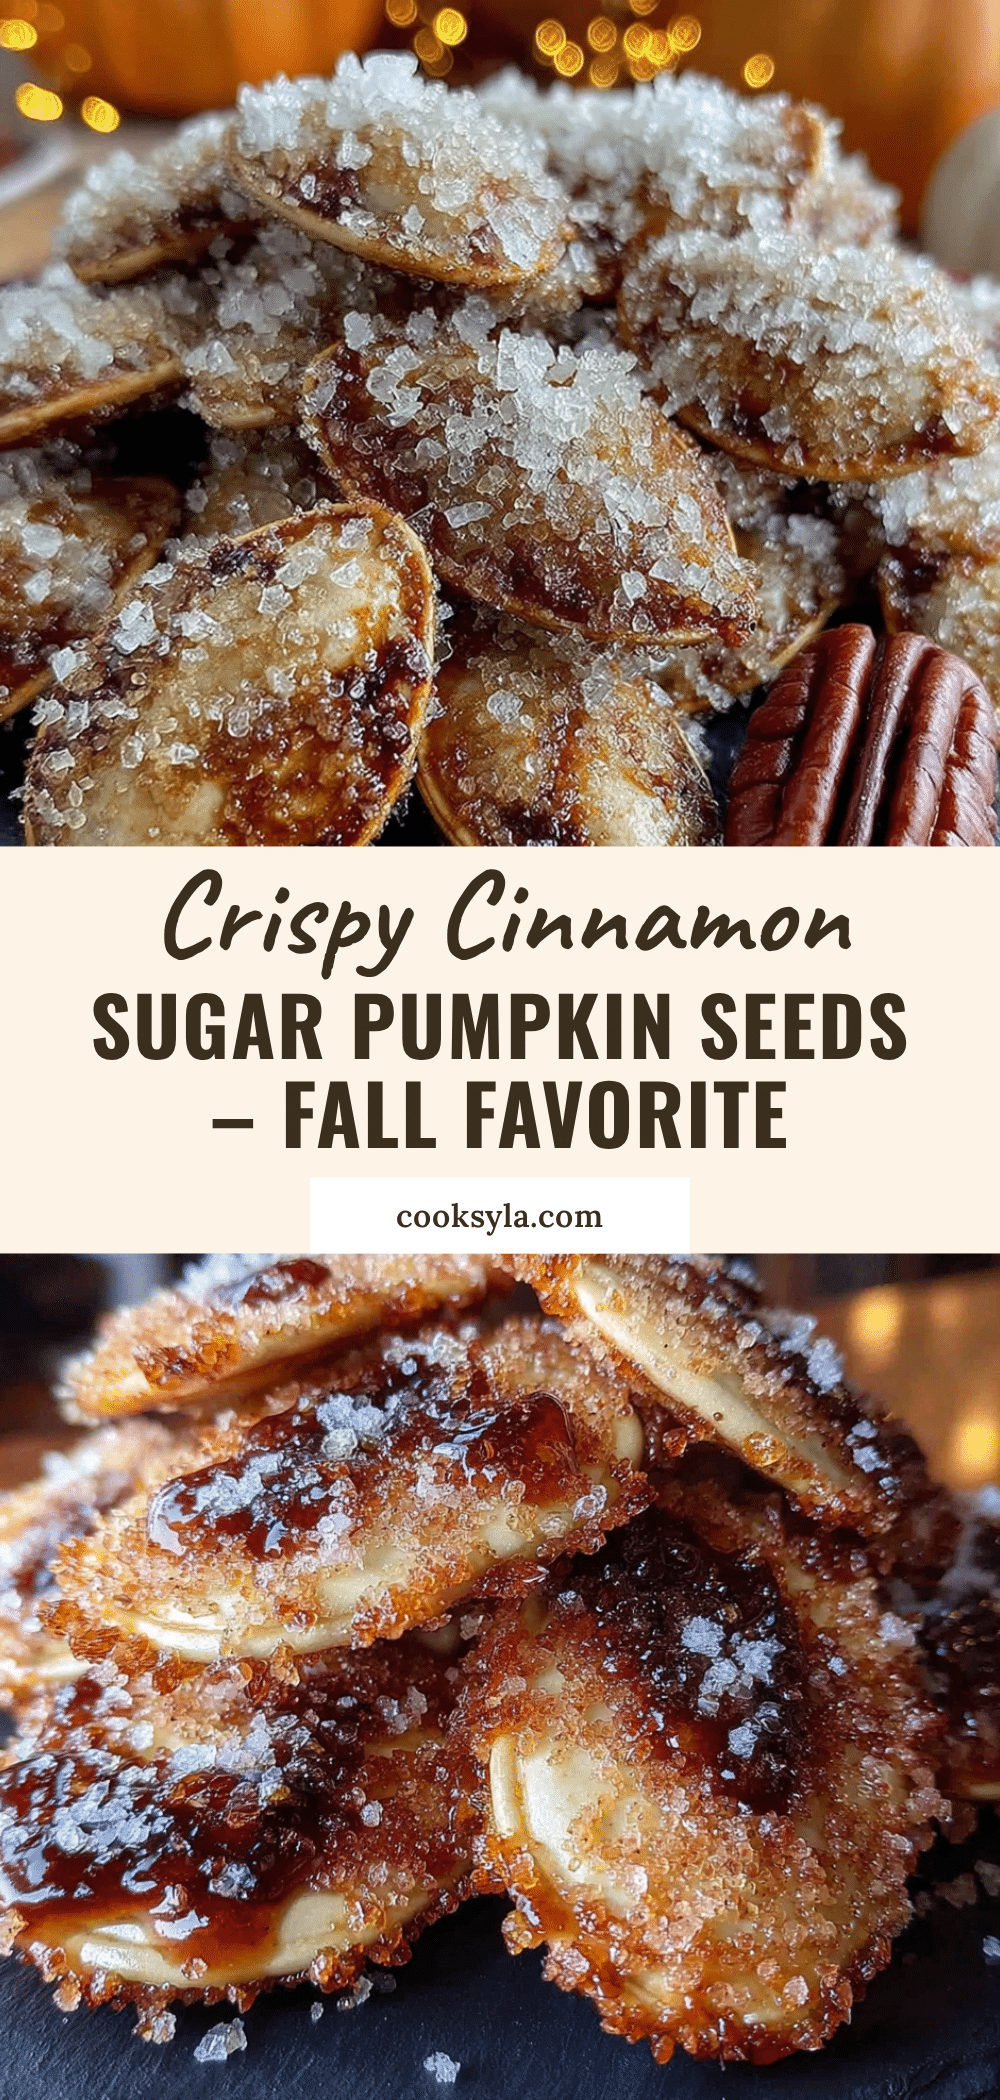
Best Easy Crispy Cinnamon Sugar Pumpkin Seeds Recipe
These crispy cinnamon sugar pumpkin seeds are the perfect crunchy, sweet-and-salty reward for carving pumpkins. With a warm, buttery cinnamon coating, they’re an addictive fall snack that’s quick and easy to make.
- Prep Time: 15 minutes
- Cook Time: 35-40 minutes
- Total Time: 50-55 minutes
- Yield: 4 servings 1x
- Category: Snack
- Cuisine: American
Ingredients
- 1 ½ cups fresh pumpkin seeds (pepitas), about 180g
- 2 tablespoons unsalted butter, melted (28g)
- 2 tablespoons granulated sugar (25g)
- 1 ½ teaspoons ground cinnamon
- ½ teaspoon fine sea salt
- ½ teaspoon vanilla extract (optional but recommended)
Instructions
- Preheat your oven to 300°F (150°C). Line a large rimmed baking sheet with parchment paper or a silicone baking mat.
- Place pumpkin seeds in a colander and rinse under cool running water. Use your fingers to gently separate seeds from stringy pumpkin pulp. (Total time: 5 minutes)
- Spread rinsed seeds on a clean kitchen towel or double layer of paper towels. Pat them very dry. Let them sit for 5-10 minutes to air-dry more.
- In a large bowl, whisk together melted unsalted butter, granulated sugar, ground cinnamon, fine sea salt, and vanilla extract (if using) until it forms a thick, sandy paste.
- Add dried pumpkin seeds to the bowl with the cinnamon-sugar mixture. Use a spatula to toss and stir until every seed is evenly coated.
- Pour coated seeds onto prepared baking sheet and spread into a single, even layer.
- Bake for 20 minutes. Remove pan from oven, stir seeds with a spatula, flip them over, and spread back into a single layer. Return to oven and bake for another 15-20 minutes until deep golden brown.
- Let seeds cool completely on the baking sheet (about 30 minutes). Do not touch them while cooling.
Notes
Dryness is key for crispiness. Pat seeds bone-dry before coating. Bake at low temperature (300°F) to avoid burning sugar. Let seeds cool completely on baking sheet for the sugar coating to harden. For a dairy-free version, use melted coconut oil or vegan butter. Store in an airtight container at room temperature for up to 2 weeks. To re-crisp, bake at 300°F for 3-5 minutes and cool completely.
Nutrition
- Serving Size: ¼ cup
- Calories: 180
- Sugar: 8
- Sodium: 150
- Fat: 12
- Saturated Fat: 3
- Carbohydrates: 14
- Fiber: 2
- Protein: 8
Keywords: pumpkin seeds, cinnamon sugar, fall snack, Halloween, Thanksgiving, crispy, easy, roasted pumpkin seeds


