Love this? Save it for later!
Share the inspiration with your friends
I was wandering through the farmers’ market last October, honestly just there for apples, when a vendor called out to me. She was an older woman with dirt under her fingernails and a knowing smile, holding up what looked like a tiny, wrinkled pumpkin. “You haven’t lived until you’ve tried these,” she said, and handed me a honeynut squash like it was a secret. I almost walked past—I mean, I’d never even heard of them. But she started telling me about how she’d been growing them for years, how they were sweeter than butternut but didn’t take forever to cook. I bought a bagful, mostly out of guilt, and honestly forgot about them for a few days.
Then came a Tuesday night when I had zero energy, a fridge full of nothing, and a serious craving for something that felt like fall. I spotted those little squashes on the counter and figured, why not? I cut one open, and the smell alone—like honey and earth—made me pause. I tossed them with oil, salt, and pepper, and roasted them while I made brown butter on the stove (because let’s face it, brown butter makes everything better). The whole thing took maybe 35 minutes, and when I took that first bite, I actually laughed. It was that good. Sweet, nutty, caramelized edges, and that brown butter drizzled on top? Pure magic.
Maybe you’ve been there—staring at a new ingredient, not sure what to do, but willing to give it a shot. That’s how this recipe was born. It’s not fancy or fussy. It’s just a conversation between a farmer, a tired cook, and a tiny squash that turned out to be a weeknight hero. I keep making it because it reminds me that the best things often come from a simple exchange and a little bit of curiosity.
Why You’ll Love This Recipe
Let me tell you why this easy roasted honeynut squash with brown butter has become my go-to side dish for busy weeknights. It’s one of those recipes that looks impressive but takes almost no effort, and that’s a win in my book.
- Quick & Easy: This comes together in under 40 minutes, start to finish. No peeling, no complicated steps—just slice, season, roast, and drizzle. Perfect for those nights when you’re hangry and need food fast.
- Simple Ingredients: You only need a handful of pantry staples. Honeynut squash, butter, olive oil, salt, pepper, and maybe some sage if you’re feeling fancy. No special trips to the store required.
- Perfect for Weeknights: This is the kind of side dish that pairs with almost anything—roasted chicken, pork chops, a simple salad, or even a grain bowl. It’s versatile and forgiving.
- Crowd-Pleaser: I’ve served this to kids, picky eaters, and serious food lovers, and it always gets devoured. The natural sweetness of the squash plus that nutty brown butter is basically irresistible.
- Unbelievably Delicious: The texture is what gets me every time. The edges get all caramelized and crispy, while the inside stays creamy and tender. Then that brown butter soaks into every bite—it’s comfort food at its finest.
What makes this recipe different from the rest? It’s the brown butter, honestly. Most roasted squash recipes just use oil or regular butter, but taking those extra few minutes to brown the butter adds a deep, toasty flavor that transforms the whole dish. It’s not just another roasted vegetable recipe—it’s the one you’ll actually crave.
This recipe isn’t just good—it’s the kind that makes you close your eyes after the first bite. It’s fall on a plate, but without the hours of prep. Perfect for impressing guests without stress, or turning a simple Tuesday dinner into something memorable.
What Ingredients You Will Need
This easy roasted honeynut squash with brown butter uses simple, wholesome ingredients to deliver bold flavor and satisfying texture without the fuss. Most of these are pantry staples, which makes this recipe perfect for last-minute cooking.
For the Roasted Squash
- 2 to 3 honeynut squashes (about 1.5 to 2 pounds total) — Look for ones that feel heavy for their size and have a deep orange color. The skin is thin and edible, so no peeling needed!
- 2 tablespoons olive oil — Use a good-quality extra virgin olive oil for better flavor, but regular works fine too.
- ½ teaspoon salt — I prefer kosher salt for its clean taste and easy pinch-ability.
- ¼ teaspoon black pepper — Freshly ground is always better, but pre-ground works in a pinch.
- Optional: ¼ teaspoon cayenne pepper or red pepper flakes — Adds a tiny kick that balances the sweetness beautifully.
For the Brown Butter Sauce
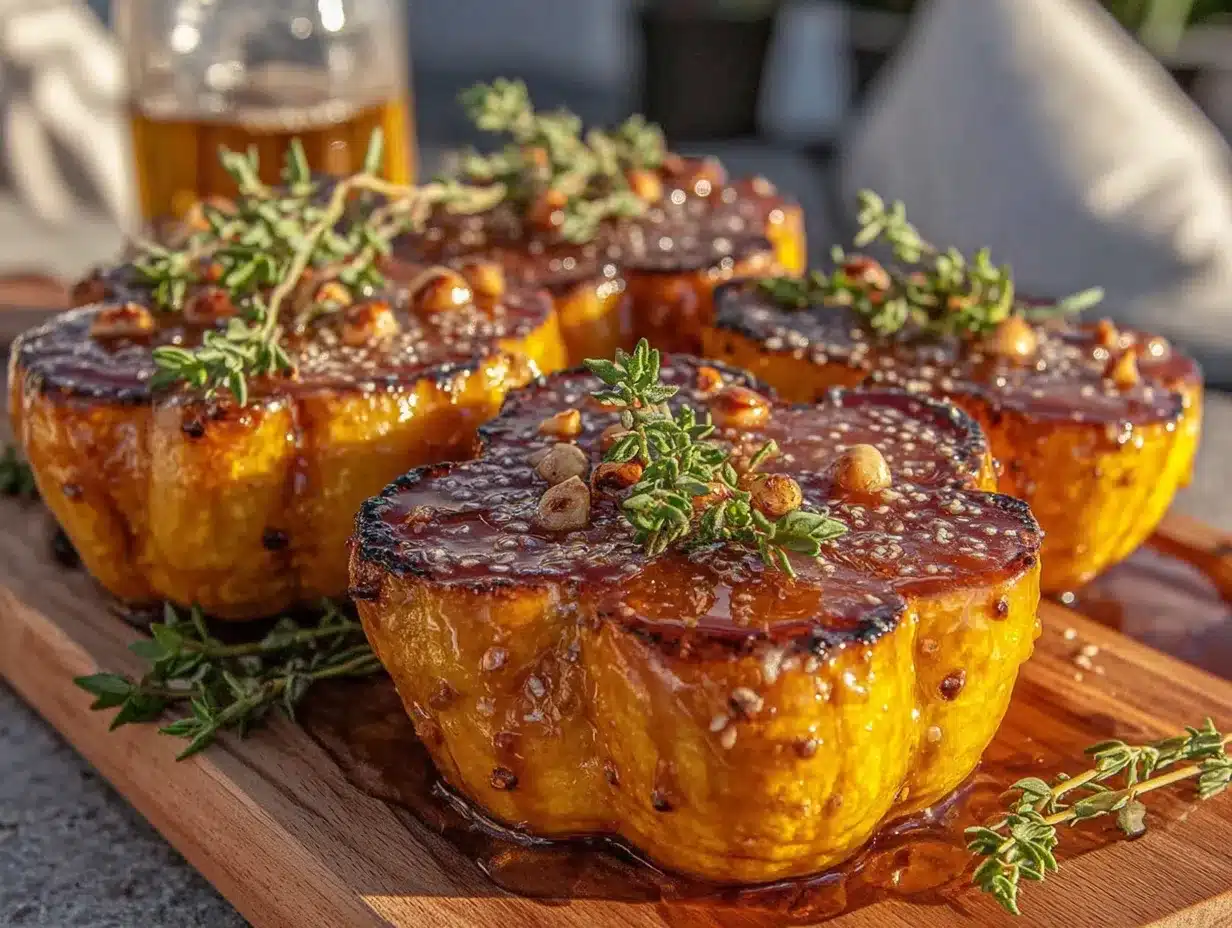
- 3 tablespoons unsalted butter — I recommend using a good brand like Kerrygold or Plugrà for the richest flavor. Salted butter works too, just reduce the added salt slightly.
- 6 to 8 fresh sage leaves (optional but highly recommended) — They get crispy in the butter and add an earthy, aromatic note. Dried sage can work in a pinch, but fresh is better.
- 1 tablespoon maple syrup or honey — Just a touch to enhance the natural sweetness of the squash. Use maple syrup for a more complex flavor.
- Flaky sea salt for finishing (like Maldon) — This is optional but makes a huge difference in texture and flavor.
Ingredient Selection Tips: When choosing honeynut squash, look for ones that are firm with no soft spots. The skin should be a deep tan-orange color. If you can’t find honeynut squash, you can substitute butternut squash—just peel it and cut it into smaller cubes, and increase the roasting time by about 10 minutes.
Substitution Guidance: For a dairy-free version, use vegan butter or coconut oil for roasting, and skip the brown butter sauce (or use a dairy-free butter alternative for browning). For a lower-sugar option, omit the maple syrup entirely—the squash is naturally sweet enough.
Equipment Needed
You don’t need a lot of fancy tools for this easy roasted honeynut squash with brown butter, which is part of what makes it so great for weeknights.
- Sharp chef’s knife — Honeynut squashes are small but dense, so a good knife makes cutting them safer and easier. I use my 8-inch Wüsthof and it works perfectly.
- Cutting board — A sturdy wooden or plastic board with a non-slip grip is ideal.
- Large baking sheet — A rimmed baking sheet is best to catch any juices. I prefer half-sheet pans for even roasting. Avoid using a pan that’s too small, or the squash will steam instead of caramelizing.
- Parchment paper or aluminum foil — For easy cleanup. Trust me, you’ll thank yourself later.
- Small skillet or saucepan — For browning the butter. A light-colored pan helps you see the color change. I use a stainless steel skillet for this.
- Mixing bowl — For tossing the squash with oil and seasonings.
- Spatula or tongs — For flipping the squash halfway through roasting.
Budget-Friendly Options: If you don’t have a baking sheet, you can use any oven-safe dish. No parchment paper? Just oil the pan well. No skillet for brown butter? You can melt the butter in a microwave-safe bowl and watch it carefully, though stovetop is easier to control.
Preparation Method
Follow these steps carefully, and you’ll have the most delicious easy roasted honeynut squash with brown butter on your table in no time.
- Preheat your oven to 400°F (200°C). Place a rack in the middle position. Getting the oven hot before you start is key for that caramelization.
- Prepare the squash. Using a sharp chef’s knife, carefully cut each honeynut squash in half lengthwise. Be slow and steady—these little guys are dense. Use a spoon to scoop out the seeds and stringy pulp, just like you would with a pumpkin. You can save the seeds to roast later if you want!
- Slice the squash. Cut each half into 1-inch thick half-moons or wedges. The thinner you slice them, the faster they’ll cook and the crispier the edges will get. Aim for uniform thickness so they cook evenly.
- Season the squash. In a large mixing bowl, toss the squash wedges with olive oil, salt, pepper, and cayenne (if using). Use your hands to make sure every piece is coated. The oil helps the squash get golden and crispy, so don’t skimp.
- Arrange on the baking sheet. Spread the squash pieces in a single layer on your prepared baking sheet. Make sure they’re not touching or overlapping—crowding the pan will cause them to steam instead of roast. If needed, use two baking sheets.
- Roast for 20 minutes. Place the baking sheet in the preheated oven and roast for 20 minutes. The squash should be starting to brown on the bottom edges.
- Flip the squash. Using a spatula or tongs, carefully flip each piece over. This ensures even browning. Don’t skip this step—the bottom side will be paler and needs its turn in the heat.
- Roast for another 10-15 minutes. Continue roasting until the squash is tender when pierced with a fork and the edges are deep golden brown and caramelized. The total roasting time should be 30-35 minutes.
- Make the brown butter while the squash roasts. In a small skillet or saucepan over medium heat, melt the butter. Swirl the pan occasionally. The butter will foam up, then subside, and you’ll see brown specks forming at the bottom. This takes about 3-5 minutes. Watch carefully—it can go from brown to burnt very quickly!
- Add the sage and maple syrup. Once the butter is golden brown and smells nutty, add the sage leaves and cook for about 30 seconds until they’re fragrant and crispy. Remove the pan from heat and stir in the maple syrup or honey. Be careful—the mixture will bubble up.
- Finish and serve. Transfer the roasted squash to a serving platter. Drizzle the brown butter sauce over the top, making sure to distribute the crispy sage leaves. Sprinkle with flaky sea salt for that final touch. Serve immediately while warm.
Sensory Cues: At step 9, the brown butter should smell like toasted nuts and caramel. It should be a deep amber color, not dark brown. If it smells burnt, start over—burnt butter is bitter and will ruin the dish. The squash at step 8 should be easily pierced with a fork but still hold its shape, with crispy, caramelized edges that are almost sticky.
Cooking Tips & Techniques
After making this easy roasted honeynut squash with brown butter more times than I can count, I’ve learned a few tricks that make a real difference.
Don’t skip the flipping. I know, it’s tempting to just leave the squash alone and let it roast. But flipping halfway through ensures even browning. I once forgot to flip, and the bottom was pale while the top was almost burnt. Lesson learned.
Watch the brown butter like a hawk. This is one of those things where you can’t walk away. The butter will foam, then the foam will subside, and then you’ll see little brown specks forming. That’s your window. It happens fast—like, 30 seconds fast. I’ve ruined more batches than I’d like to admit by getting distracted. Set a timer for 3 minutes and watch from there.
Use a light-colored pan for browning butter. Dark pans make it hard to see the color change. I use a stainless steel skillet and it’s a game-changer. If you only have dark nonstick, just be extra careful.
Room temperature squash roasts better. If you have time, let the cut squash sit at room temperature for 10-15 minutes before roasting. It helps them cook more evenly. Cold squash straight from the fridge takes longer to caramelize.
Make extra brown butter. Honestly, you’ll want more. Double the brown butter recipe and save half for drizzling over roasted vegetables, pasta, or even popcorn. It keeps in the fridge for a week.
Timing tip: Start the brown butter when you flip the squash. That way, everything finishes at the same time. Multitasking is your friend here.
Variations & Adaptations
This easy roasted honeynut squash with brown butter is wonderfully adaptable. Here are some variations I’ve tried and loved.
Savory Herb Version: Skip the maple syrup and add fresh thyme or rosemary sprigs to the roasting pan. The herbs infuse the squash with an earthy flavor that pairs beautifully with the brown butter. I did this for Thanksgiving one year and it was a hit.
Spicy Maple Glaze: Add an extra pinch of cayenne or a drizzle of sriracha to the brown butter for a sweet-heat combo. The spice cuts through the richness and keeps you coming back for more. My husband loves this version.
Vegan Adaptation: Use coconut oil or a high-quality vegan butter for roasting. For the sauce, melt the vegan butter with a splash of coconut cream and maple syrup. It won’t brown exactly like dairy butter, but it’s still delicious. I’ve made this for vegan friends and they raved about it.
Balsamic Glaze Finish: Instead of brown butter, drizzle the roasted squash with a good balsamic reduction and some toasted walnuts. The tangy sweetness complements the caramelized squash perfectly. This is my go-to for dinner parties.
Air Fryer Method: If you’re short on time, cook the seasoned squash in an air fryer at 375°F (190°C) for 12-15 minutes, shaking halfway through. The results are even crispier! Just make sure not to overcrowd the basket.
Personal Variation: One time I added a handful of pomegranate seeds and crumbled feta cheese on top of the finished dish. The bright, tart seeds and salty cheese against the sweet, buttery squash was absolutely incredible. It’s now my favorite way to serve it during the holidays.
Serving & Storage Suggestions
This easy roasted honeynut squash with brown butter is best served warm, right after you drizzle that glorious sauce on top. The contrast between the hot, caramelized squash and the warm brown butter is pure magic.
Serving Temperature: Serve immediately while the squash is still warm and the brown butter is liquid. It will still be good at room temperature, but the butter will start to solidify, so don’t wait too long.
Presentation: Arrange the squash wedges on a platter in a single layer, slightly overlapping. Drizzle the brown butter and sage leaves over the top. A sprinkle of flaky sea salt right before serving adds a beautiful crunch and visual appeal. For a pop of color, add some fresh parsley or thyme sprigs.
Complementary Dishes: This squash pairs beautifully with roasted chicken, pork tenderloin, grilled steak, or even a simple lentil soup. It’s also fantastic alongside a grain bowl with quinoa, roasted chickpeas, and tahini dressing. For a holiday meal, serve it next to garlic herb roasted turkey breast for a complete feast.
Storage: Store any leftovers in an airtight container in the refrigerator for up to 4 days. The squash will soften but still be delicious. I like to eat leftovers cold straight from the fridge—don’t judge me.
Reheating: The best way to reheat is in a 350°F (175°C) oven for 5-7 minutes, or until warmed through. You can also use an air fryer at 350°F for 3-4 minutes. Avoid the microwave if possible—it makes the squash mushy.
Flavor Development: Interestingly, the flavors meld together even more after a day in the fridge. The brown butter soaks into the squash, making it even more flavorful. It’s a great make-ahead side dish for busy nights.
Nutritional Information & Benefits
This easy roasted honeynut squash with brown butter isn’t just delicious—it’s also packed with nutrients that make you feel good about eating it.
Estimated Nutritional Values (per serving, based on 4 servings):
- Calories: 180-220
- Fat: 12-15g
- Carbohydrates: 18-22g
- Fiber: 4-5g
- Sugar: 8-10g (natural)
- Protein: 2-3g
- Vitamin A: Over 200% of daily value
- Vitamin C: 20-25% of daily value
Health Benefits: Honeynut squash is a powerhouse of vitamin A, which is essential for eye health and immune function. It’s also rich in antioxidants like beta-carotene, which gives it that gorgeous orange color. The fiber content helps with digestion and keeps you feeling full longer. Brown butter, while indulgent, contains healthy fats that help your body absorb fat-soluble vitamins from the squash.
Dietary Considerations: This recipe is naturally gluten-free and vegetarian. For a vegan version, simply use coconut oil and a plant-based butter alternative. It’s also low in added sugar—most of the sweetness comes from the squash itself. If you’re watching your sodium, use less salt and skip the flaky sea salt finish.
Potential Allergens: This recipe contains dairy (butter). For a dairy-free version, use vegan butter or coconut oil. It’s free from common allergens like nuts, eggs, and soy.
I love that this recipe feels indulgent but is actually pretty healthy. It’s the kind of side dish that makes you feel like you’re treating yourself while still nourishing your body. That’s a win in my book.
Conclusion
This easy roasted honeynut squash with brown butter has honestly become a staple in my kitchen. It’s one of those recipes that proves you don’t need complicated techniques or fancy ingredients to make something truly special. The natural sweetness of the squash, the nutty depth of the brown butter, and that little pop of flaky salt—it’s simple perfection.
I hope you give this recipe a try, especially on those busy weeknights when you want something that feels special but doesn’t take forever. Feel free to customize it to your taste—add more spice, swap in different herbs, or top it with cheese and pomegranate seeds. The beauty of this dish is that it’s forgiving and adaptable.
I’d love to hear how it turns out for you! Drop a comment below and let me know if you tried any variations or if this became a new favorite in your home. Don’t forget to share this recipe with a friend who needs a quick, delicious side dish in their life. Happy cooking, and remember—the best meals often come from the simplest ingredients and a little bit of curiosity.
Frequently Asked Questions
Can I use butternut squash instead of honeynut squash?
Yes, absolutely! Butternut squash is a great substitute. Just peel it, remove the seeds, and cut it into 1-inch cubes. Increase the roasting time by about 10-15 minutes since butternut squash is denser. The flavor will be slightly less sweet, but still delicious with the brown butter.
How do I know when the brown butter is done?
The brown butter is ready when it turns a golden-amber color and smells nutty and toasty. You’ll see small brown specks forming at the bottom of the pan. This usually takes 3-5 minutes over medium heat. Watch carefully—it can go from perfect to burnt in seconds. If it smells burnt or looks dark brown, start over.
Can I make this recipe ahead of time?
Yes, you can roast the squash up to a day ahead and store it in the refrigerator. When you’re ready to serve, reheat it in a 350°F oven for 5-7 minutes, then make the brown butter fresh and drizzle it on top. The brown butter is best made fresh, as it loses its nutty flavor when stored.
Do I need to peel honeynut squash?
No! One of the best things about honeynut squash is that the skin is thin, tender, and completely edible. It softens during roasting and adds a nice texture. Plus, it saves you the hassle of peeling. Just wash the squash well before cutting.
What can I serve with roasted honeynut squash?
This squash pairs beautifully with so many dishes! Try it alongside honey garlic pork tenderloin, roasted chicken, grilled steak, or even a simple salad with goat cheese and walnuts. It’s also fantastic in grain bowls with quinoa, roasted chickpeas, and a tahini dressing. For a cozy weeknight meal, serve it with a warm bowl of soup and crusty bread.
Pin This Recipe!
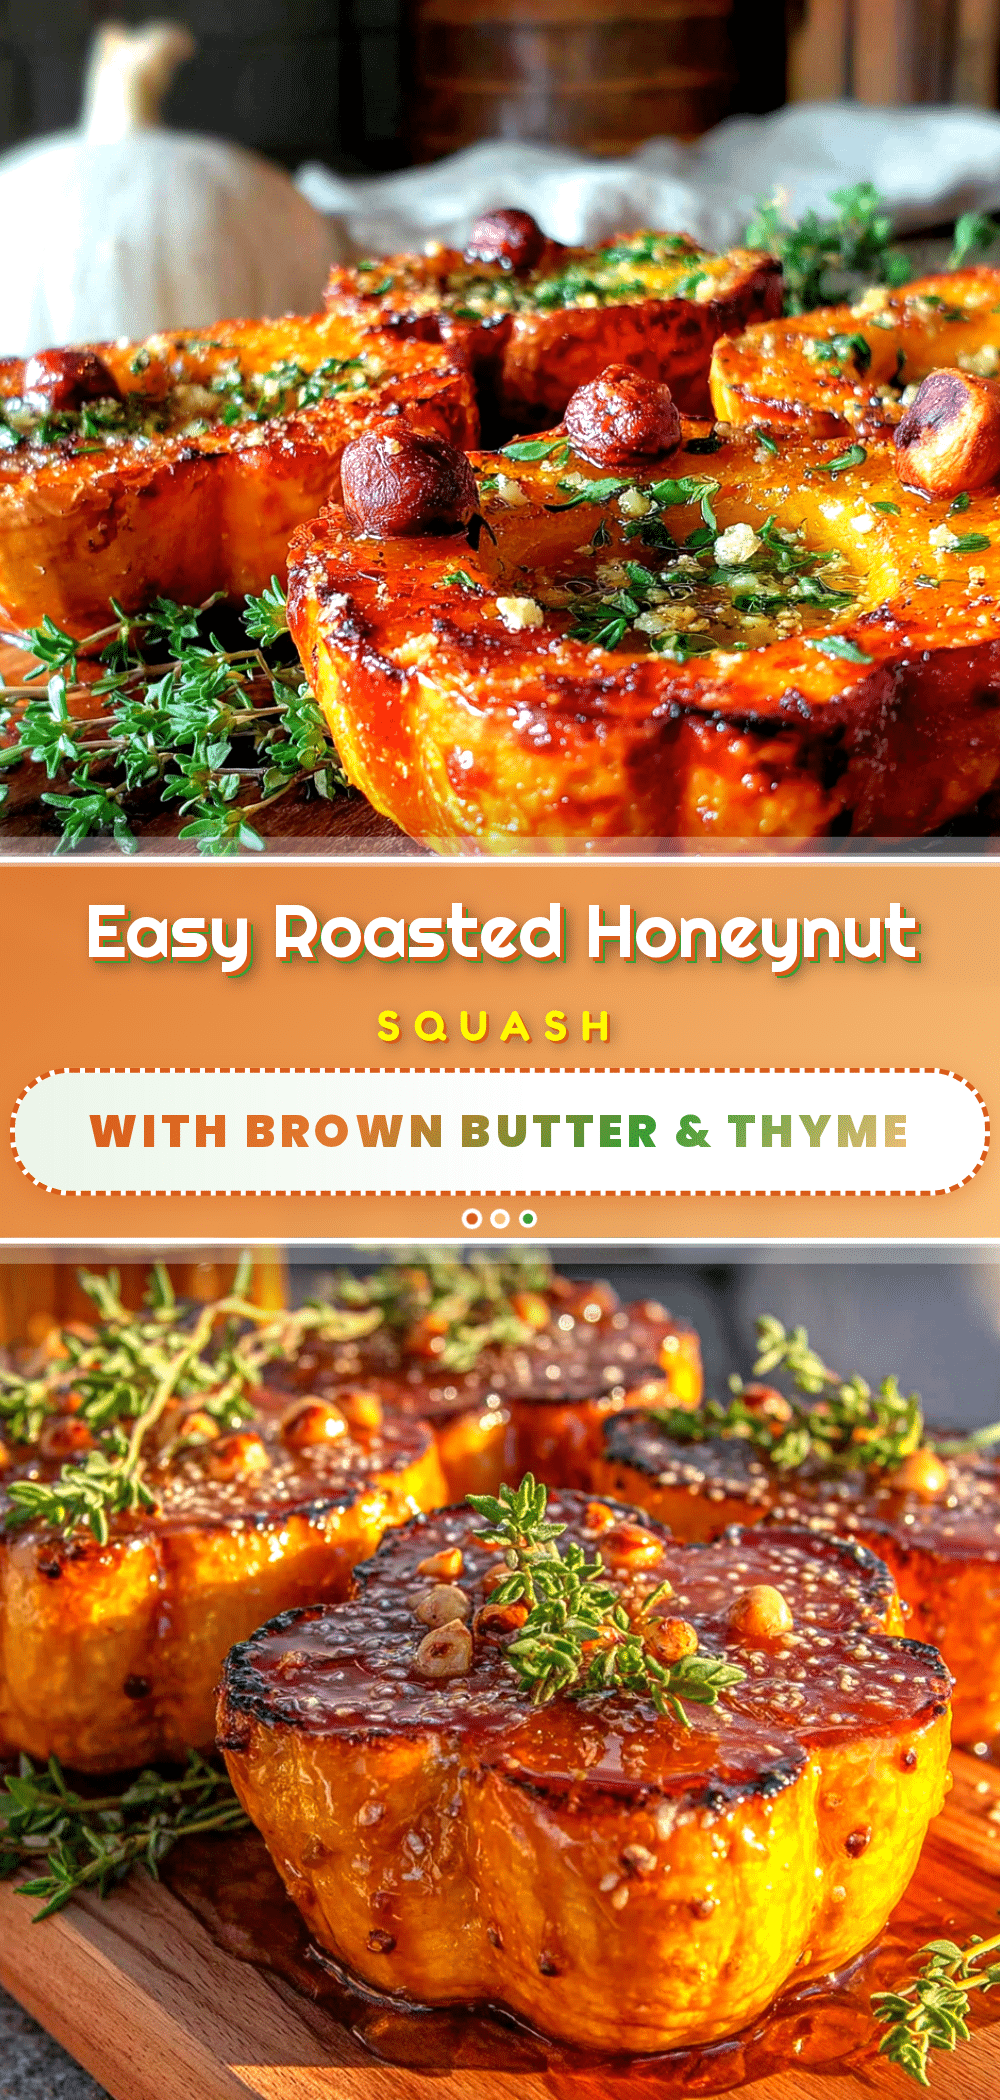
Easy Roasted Honeynut Squash with Brown Butter

This easy roasted honeynut squash with brown butter is a quick and delicious side dish that comes together in under 40 minutes. The natural sweetness of the squash pairs perfectly with nutty brown butter and crispy sage for a fall-inspired treat.
- Prep Time: 10 minutes
- Cook Time: 30 minutes
- Total Time: 40 minutes
- Yield: 4 servings 1x
- Category: Side Dish
- Cuisine: American
Ingredients
- 2 to 3 honeynut squashes (about 1.5 to 2 pounds total)
- 2 tablespoons olive oil
- ½ teaspoon kosher salt
- ¼ teaspoon black pepper, freshly ground
- ¼ teaspoon cayenne pepper or red pepper flakes (optional)
- 3 tablespoons unsalted butter
- 6 to 8 fresh sage leaves (optional)
- 1 tablespoon maple syrup or honey
- Flaky sea salt for finishing (optional)
Instructions
- Preheat your oven to 400°F (200°C). Place a rack in the middle position.
- Using a sharp chef’s knife, carefully cut each honeynut squash in half lengthwise. Scoop out the seeds and stringy pulp with a spoon.
- Cut each half into 1-inch thick half-moons or wedges.
- In a large mixing bowl, toss the squash wedges with olive oil, salt, pepper, and cayenne (if using) until evenly coated.
- Spread the squash pieces in a single layer on a rimmed baking sheet lined with parchment paper or aluminum foil, ensuring they are not touching or overlapping.
- Roast for 20 minutes, then flip each piece using a spatula or tongs.
- Continue roasting for another 10-15 minutes, until the squash is tender when pierced with a fork and the edges are deep golden brown and caramelized.
- While the squash roasts, make the brown butter: In a small skillet or saucepan over medium heat, melt the butter. Swirl the pan occasionally. The butter will foam, then subside, and brown specks will form at the bottom (about 3-5 minutes). Watch carefully to avoid burning.
- Once the butter is golden brown and smells nutty, add the sage leaves and cook for about 30 seconds until fragrant and crispy. Remove from heat and stir in the maple syrup or honey (the mixture will bubble).
- Transfer the roasted squash to a serving platter. Drizzle the brown butter sauce over the top, distributing the crispy sage leaves. Sprinkle with flaky sea salt if desired. Serve immediately while warm.
Notes
Don’t skip flipping the squash halfway through for even browning. Watch the brown butter carefully—it can go from perfect to burnt in seconds. For a dairy-free version, use vegan butter or coconut oil. The squash skin is edible and becomes tender when roasted.
Nutrition
- Serving Size: 1 serving
- Calories: 200
- Sugar: 9
- Sodium: 300
- Fat: 14
- Saturated Fat: 6
- Carbohydrates: 20
- Fiber: 4
- Protein: 2
Keywords: roasted honeynut squash, brown butter, fall side dish, easy roasted squash, honeynut squash recipe


