Love this? Save it for later!
Share the inspiration with your friends
This was supposed to be a completely different kind of banana bread. I had it all planned out in my head, you know? A fancy, layered loaf with a streusel topping and a cream cheese swirl running through the middle. I had the recipe bookmarked for weeks, waiting for the perfect moment when the bananas on my counter finally turned that speckled, perfect-for-baking brown. That moment came on a rainy Tuesday afternoon. My three-year-old was napping, the baby was content with a toy, and I had a rare, solid forty-five minutes of quiet. I pulled out the mixer, the flour, the sugar, and then… I grabbed the wrong bowl.
Honestly, I’m not even sure what I was thinking. I was so focused on not waking the toddler that I just grabbed the first big mixing bowl I saw—the one I use for salads. I dumped in the butter and sugar before I realized my mistake. By then, the butter was already clinging to the sides of the wrong bowl, and the baby started fussing. The idea of transferring everything and washing another dish felt like a monumental task. So I just… kept going. I tossed in the eggs, the bananas, the flour. I forgot the streusel entirely. I didn’t even bother with the mixer, just grabbed a wooden spoon and stirred until it looked right. I poured the batter into the pan, slid it into the oven, and braced myself for a disaster.
What came out of the oven was nothing like my original plan. It was humble. It was a little lopsided. The top was a bit cracked in that rustic, imperfect way. But when I cut into it, the crumb was so tender and moist it practically melted. My toddler woke up from his nap, toddled into the kitchen, and ate two slices before I could even get a plate for myself. And that’s the thing—this happy accident, born from a distracted moment and the wrong bowl, turned into the only banana bread recipe I’ve made since. It’s the one my kids call “the good bread,” and it has saved me more times than I can count on chaotic mornings. Maybe you’ve been there, standing in your kitchen with a crying kid and a mess of ingredients, just needing something to work. This one works.
Why You’ll Love This Recipe
Let’s be real for a second. There are a million banana bread recipes out there. Some are fussy. Some require a stand mixer and a degree in baking science. Some have you creaming butter and sugar for ten minutes before you even think about the bananas. This one is not that. This is the recipe you make when you have fifteen minutes, a hungry family, and a deep need for something that tastes like a hug.
- One Bowl, No Mixer: I mean it. You just need one bowl and a wooden spoon or spatula. Less cleanup means more time to actually sit down and enjoy a slice with your coffee.
- Kid-Approved (and Tested): This bread is not too sweet, not too dense, and has that perfect, tender crumb that little hands love. My kids devour it, and I’ve had friends tell me the same about their picky eaters.
- Pantry-Friendly Ingredients: You likely have everything you need right now. Butter, sugar, eggs, flour, baking soda, salt, and those sad, brown bananas sitting on your counter.
- Budget-Conscious: No expensive mix-ins like macadamia nuts or fancy extracts. This is honest, simple baking that stretches your dollar and fills bellies.
- Perfect for Busy Weeknights: It comes together in under 15 minutes of active prep time. The oven does the rest of the work, filling your house with that amazing, cozy smell.
What makes this recipe different from all the others? It’s the technique—or rather, the lack of it. By not over-mixing the batter and using melted butter instead of creaming it, you get a loaf that is incredibly moist and tender without being gummy. It’s foolproof. I’ve made it with my toddler “helping” (which means half the flour ended up on the floor), and it still turned out perfect. This is the recipe that makes you close your eyes after the first bite, not because it’s fancy, but because it tastes like home.
What Ingredients You Will Need
This recipe relies on simple, wholesome ingredients that you probably already have in your pantry. The magic is in the proportions and the state of the bananas—the riper, the better. Each ingredient plays a specific role in creating that soft, moist texture we’re after.
- Ripe Bananas (about 3 medium, mashed): This is non-negotiable. You want bananas that are heavily speckled with brown spots, or even completely black. The riper they are, the sweeter and more flavorful your bread will be. (Pro tip: if your bananas aren’t ripe enough, you can roast them in their skins at 300°F for 15-20 minutes to soften and sweeten them.)
- Unsalted Butter (1/2 cup, melted and slightly cooled): I prefer unsalted butter so I can control the salt level. Melting the butter instead of creaming it is the secret to the “no mixer” part of this recipe and gives the bread a denser, more tender crumb.
- Granulated Sugar (3/4 cup): Just enough to sweeten the bread without making it cloying. You can reduce this to 1/2 cup if your bananas are super ripe and you prefer a less sweet loaf.
- Large Eggs (2, at room temperature): Eggs bind everything together and add structure. Room temperature eggs incorporate more easily into the melted butter, creating a smoother batter. (If you forgot to take them out, place them in a bowl of warm water for 5 minutes.)
- Vanilla Extract (1 teaspoon): A good quality vanilla extract enhances the banana flavor. I personally like Nielsen-Massey, but any pure vanilla will do.
- All-Purpose Flour (1 and 1/2 cups): Standard all-purpose flour gives the bread the perfect structure. Don’t over-measure! Spoon the flour into your measuring cup and level it off with a knife for accuracy.
- Baking Soda (1 teaspoon): This is our leavening agent. It reacts with the acidity of the bananas and the brown sugar (if you use it) to help the bread rise. Make sure it’s fresh—test it by dropping a little in vinegar; it should fizz.
- Salt (1/2 teaspoon): Salt is not just for flavor; it balances the sweetness and strengthens the gluten structure, giving the bread a better texture.
- Optional Mix-Ins (1/2 cup): Chocolate chips are a family favorite in my house. You can also use chopped walnuts, pecans, or even dried cranberries. If you’re adding them, fold them in gently at the very end.
Equipment Needed
One of the best things about this recipe is how little equipment you need. It’s designed for the minimalist baker who doesn’t want to wash a sink full of dishes.
- A Large Mixing Bowl: Any large bowl will do. I use a standard ceramic mixing bowl, but a metal or glass one works just as well.
- A Wooden Spoon or Silicone Spatula: You don’t need an electric mixer. A simple spoon is all you need to get the job done. A silicone spatula is great for scraping down the sides of the bowl and getting every last bit of batter into the pan.
- A 9×5-Inch Loaf Pan: This is the standard size for banana bread. If you use a smaller pan, your bread will take longer to bake and may have a domed top. If you use a larger pan, it will be shallower and bake faster. (I’ve used a disposable aluminum pan in a pinch, and it works fine—just keep an eye on the baking time.)
- Parchment Paper (Optional but Helpful): Lining your loaf pan with parchment paper makes lifting the bread out a breeze and ensures zero sticking. I leave an overhang on two sides for easy handles.
- Measuring Cups and Spoons: For accuracy, use dry measuring cups for flour and sugar, and liquid measuring cups for the melted butter.
- A Fork or Potato Masher: For mashing the bananas. A fork works perfectly, but a potato masher is even faster.
Preparation Method
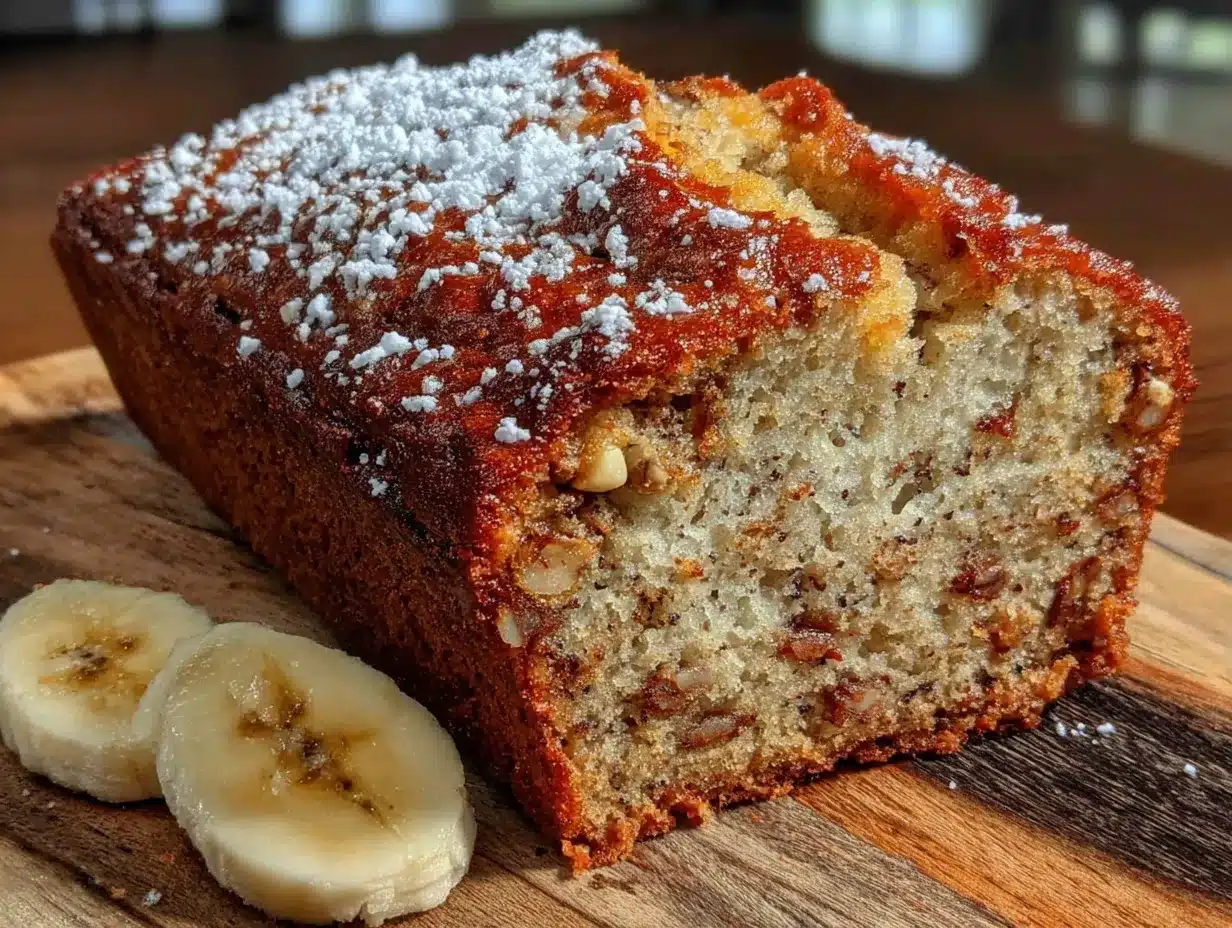
Alright, let’s get to it. This is the part where the magic happens. Remember, we are going for simplicity here. No stress, no fuss. Just good, honest banana bread.
- Preheat and Prep: First things first, preheat your oven to 350°F (175°C). While it’s heating up, grease your 9×5-inch loaf pan with a little butter or non-stick spray. If you’re using parchment paper, line the pan now, leaving an overhang on the long sides.
- Mash the Bananas: In your large mixing bowl, add the three ripe bananas. Use a fork or a potato masher to mash them until they are mostly smooth, with just a few small lumps remaining. You want a bit of texture, not a complete puree. It should look like a chunky, baby-food-like consistency.
- Add the Wet Ingredients: To the mashed bananas, add the 1/2 cup of melted (and slightly cooled) butter, 3/4 cup of granulated sugar, 2 room-temperature eggs, and 1 teaspoon of vanilla extract. Stir everything together with your wooden spoon until it’s well combined. Don’t worry if it looks a little separated at first—that’s normal. Just keep stirring until it comes together into a uniform, slightly glossy mixture.
- Add the Dry Ingredients: Now, add the 1 and 1/2 cups of all-purpose flour, 1 teaspoon of baking soda, and 1/2 teaspoon of salt directly into the bowl on top of the wet mixture. Here’s the most important step: stir the dry ingredients into the wet ingredients using a gentle hand. Mix only until you no longer see streaks of flour. A few small lumps are perfectly fine. Over-mixing at this stage will develop the gluten too much and make your bread tough and dense. (I learned this the hard way after making a few bricks in my early baking days.)
- Fold in Mix-Ins (Optional): If you are using chocolate chips, nuts, or any other add-ins, gently fold them into the batter with your spatula. Use just a few strokes to distribute them evenly.
- Bake: Pour the batter into your prepared loaf pan and spread it out evenly. Bake at 350°F for 50-60 minutes. The bread is done when a toothpick inserted into the center comes out clean or with just a few moist crumbs attached. The top should be a deep golden brown and feel springy to the touch. If the top is browning too quickly (around the 40-minute mark), tent the pan loosely with aluminum foil.
- Cool and Enjoy: Let the bread cool in the pan on a wire rack for about 10-15 minutes. Then, use the parchment paper overhang to lift it out of the pan and transfer it to the wire rack to cool completely. I know it’s tempting to slice into it right away, but letting it cool fully allows the crumb to set properly. If you cut it too early, it will be gummy. Trust me on this one—I’ve been impatient more times than I can count.
Cooking Tips & Techniques
Over the years, I’ve made this banana bread dozens of times. I’ve had triumphs and I’ve had a few flops. Here are the things I’ve learned that make the difference between a good loaf and a great one.
- The Banana Ripeness Rule: This is the number one mistake people make. If your bananas are still yellow with green tips, your bread will be bland and dry. Wait until they are practically begging to be thrown away. The blacker the peel, the sweeter and more flavorful the inside. I’ve even used bananas that were completely black on the outside and had a fermented smell—the resulting bread was the best I’ve ever made.
- Don’t Over-Mix the Batter: I cannot stress this enough. Stir the flour in until it just disappears. A few streaks of flour are okay. Over-mixing activates the gluten, and you’ll end up with a tough, rubbery loaf instead of a tender, cake-like one.
- Use Room Temperature Ingredients: Cold eggs can seize the melted butter, causing the batter to become lumpy. If you’re in a rush, place the eggs in a bowl of warm water for 5 minutes. It makes a real difference in how smoothly the batter comes together.
- The Toothpick Test: Don’t rely on the timer alone. Ovens vary wildly. Start checking your bread at the 50-minute mark. Insert a toothpick or a thin skewer into the very center of the loaf. If it comes out with wet batter, it needs more time. If it comes out clean or with a few moist crumbs, it’s done.
- Cooling is Crucial: I know the smell is intoxicating. I know you want a slice with butter immediately. But if you cut into it while it’s still warm, the inside will be gummy and may even collapse. Give it at least an hour on the wire rack. This patience pays off with a perfect, sliceable texture.
Variations & Adaptations
This recipe is a fantastic base for experimentation. Once you’ve mastered the basic loaf, feel free to play around with it. Here are a few of my favorite variations.
- Chocolate Chip Banana Bread: This is the most popular version in my house. Simply fold in 1/2 cup of semi-sweet or dark chocolate chips at the end. The melted pockets of chocolate are pure joy.
- Vegan Banana Bread: To make this dairy-free and egg-free, substitute the butter with 1/2 cup of melted coconut oil or a neutral vegetable oil. For the eggs, use two “flax eggs” (2 tablespoons of ground flaxseed mixed with 6 tablespoons of water, let sit for 5 minutes to gel). The texture will be slightly denser but still incredibly moist and delicious.
- Gluten-Free Banana Bread: You can swap the all-purpose flour for a 1:1 gluten-free baking blend (I like Bob’s Red Mill). Add 1/4 teaspoon of xanthan gum if your blend doesn’t already include it. The bread will be a little more crumbly, but the flavor is spot on.
- Spiced Banana Bread: For a warmer flavor profile, add 1 teaspoon of ground cinnamon, 1/2 teaspoon of ground nutmeg, and a pinch of ground cloves to the flour mixture. This version is perfect for fall mornings.
- Banana Nut Bread: Toast 1/2 cup of chopped walnuts or pecans in a dry skillet over medium heat for 3-4 minutes until fragrant. Fold them into the batter. The toasting step is key—it brings out their oils and prevents them from becoming soggy in the bread.
Serving & Storage Suggestions
This banana bread is wonderful on its own, but there are a few ways to make it even more special. And because it makes a large loaf, knowing how to store it properly is key to enjoying it all week.
Serving: This bread is best served at room temperature. For a real treat, toast a slice and spread it with a pat of salted butter. The warmth makes the banana flavor bloom. It’s also fantastic with a smear of cream cheese or a dollop of Greek yogurt and a drizzle of honey. For a dessert-like presentation, serve it with a scoop of vanilla ice cream and a drizzle of caramel sauce.
Storage: Store the banana bread tightly wrapped in plastic wrap or in an airtight container at room temperature. It will stay moist and delicious for up to 4 days. Do not refrigerate it—the cold air will dry it out and make the crumb stale.
Freezing: This bread freezes beautifully. You can freeze the whole loaf, or slice it first for easy grab-and-go treats. Wrap the loaf or individual slices tightly in plastic wrap, then place them in a freezer-safe zip-top bag. They will keep for up to 3 months. To thaw, simply leave a slice on the counter for 30 minutes, or pop it in the toaster directly from frozen.
Nutritional Information & Benefits
While this is definitely a treat, it does have some redeeming qualities thanks to the star ingredient. Please note that these values are estimates and will vary based on specific ingredients and mix-ins used. This information is based on a standard loaf with no mix-ins, cut into 10 slices.
| Nutrient | Amount Per Serving (1 slice) |
|---|---|
| Calories | 245 |
| Total Fat | 11g |
| Saturated Fat | 6g |
| Cholesterol | 55mg |
| Sodium | 280mg |
| Total Carbohydrates | 34g |
| Dietary Fiber | 1.5g |
| Sugars | 18g |
| Protein | 4g |
Health Benefits: Bananas are a fantastic source of potassium, which is essential for heart health and muscle function. They also contain vitamin B6 and vitamin C. Using whole wheat pastry flour in place of all-purpose flour would boost the fiber content, making this an even more filling snack. For a lower-sugar option, you can reduce the granulated sugar to 1/2 cup, especially if your bananas are very ripe and sweet.
Conclusion
This one-bowl banana bread has become a staple in my kitchen for a reason. It is the recipe that works when nothing else does. It is the recipe that turns a handful of overripe bananas into something that makes my family smile. It is forgiving, it is simple, and it is undeniably delicious. Whether you are a seasoned baker or someone who has never turned on an oven, I truly believe you can make this bread and be proud of it.
I encourage you to make it your own. Throw in some chocolate chips if that’s your thing. Add a handful of nuts. Sprinkle some cinnamon sugar on top before baking. The base is solid, and it welcomes your personal touch. When you make it, I would love to hear how it turned out. Leave a comment below and tell me about your own happy accident in the kitchen, or tag me in your photos on social media. Happy baking, friends—you’ve got this.
Frequently Asked Questions
Can I use frozen bananas for this recipe?
Absolutely! Frozen bananas are actually perfect for banana bread. Thaw them completely at room temperature or in the microwave. They will release a lot of liquid—do not discard it! That liquid is full of banana flavor. Just pour it into the bowl with the bananas and mash everything together.
Why did my banana bread sink in the middle?
This usually happens for one of two reasons: the bread was underbaked, or the oven temperature was too low. Make sure your oven is fully preheated to 350°F. Also, avoid opening the oven door too often during baking, as the temperature fluctuation can cause the center to collapse.
Can I make this into muffins instead of a loaf?
Yes, you can! This batter works wonderfully for muffins. Line a 12-cup muffin tin with paper liners. Fill each cup about 3/4 full. Bake at 350°F for 18-22 minutes, or until a toothpick inserted into the center comes out clean. You will get about 12-14 muffins.
How do I make my banana bread extra moist?
The key to an extra moist banana bread is using very ripe bananas and not over-mixing the batter. You can also add a tablespoon of plain yogurt or sour cream to the wet ingredients for an extra boost of moisture. Lastly, do not over-bake it—take it out as soon as the toothpick test shows a few moist crumbs.
Can I substitute the sugar with a sugar alternative?
Yes, you can use coconut sugar or a granulated monk fruit sweetener as a 1:1 substitute. Keep in mind that coconut sugar will make the bread darker in color and give it a slight caramel flavor. Liquid sweeteners like honey or maple syrup are not recommended as a direct substitute because they will change the liquid ratio of the batter.
Pin This Recipe!
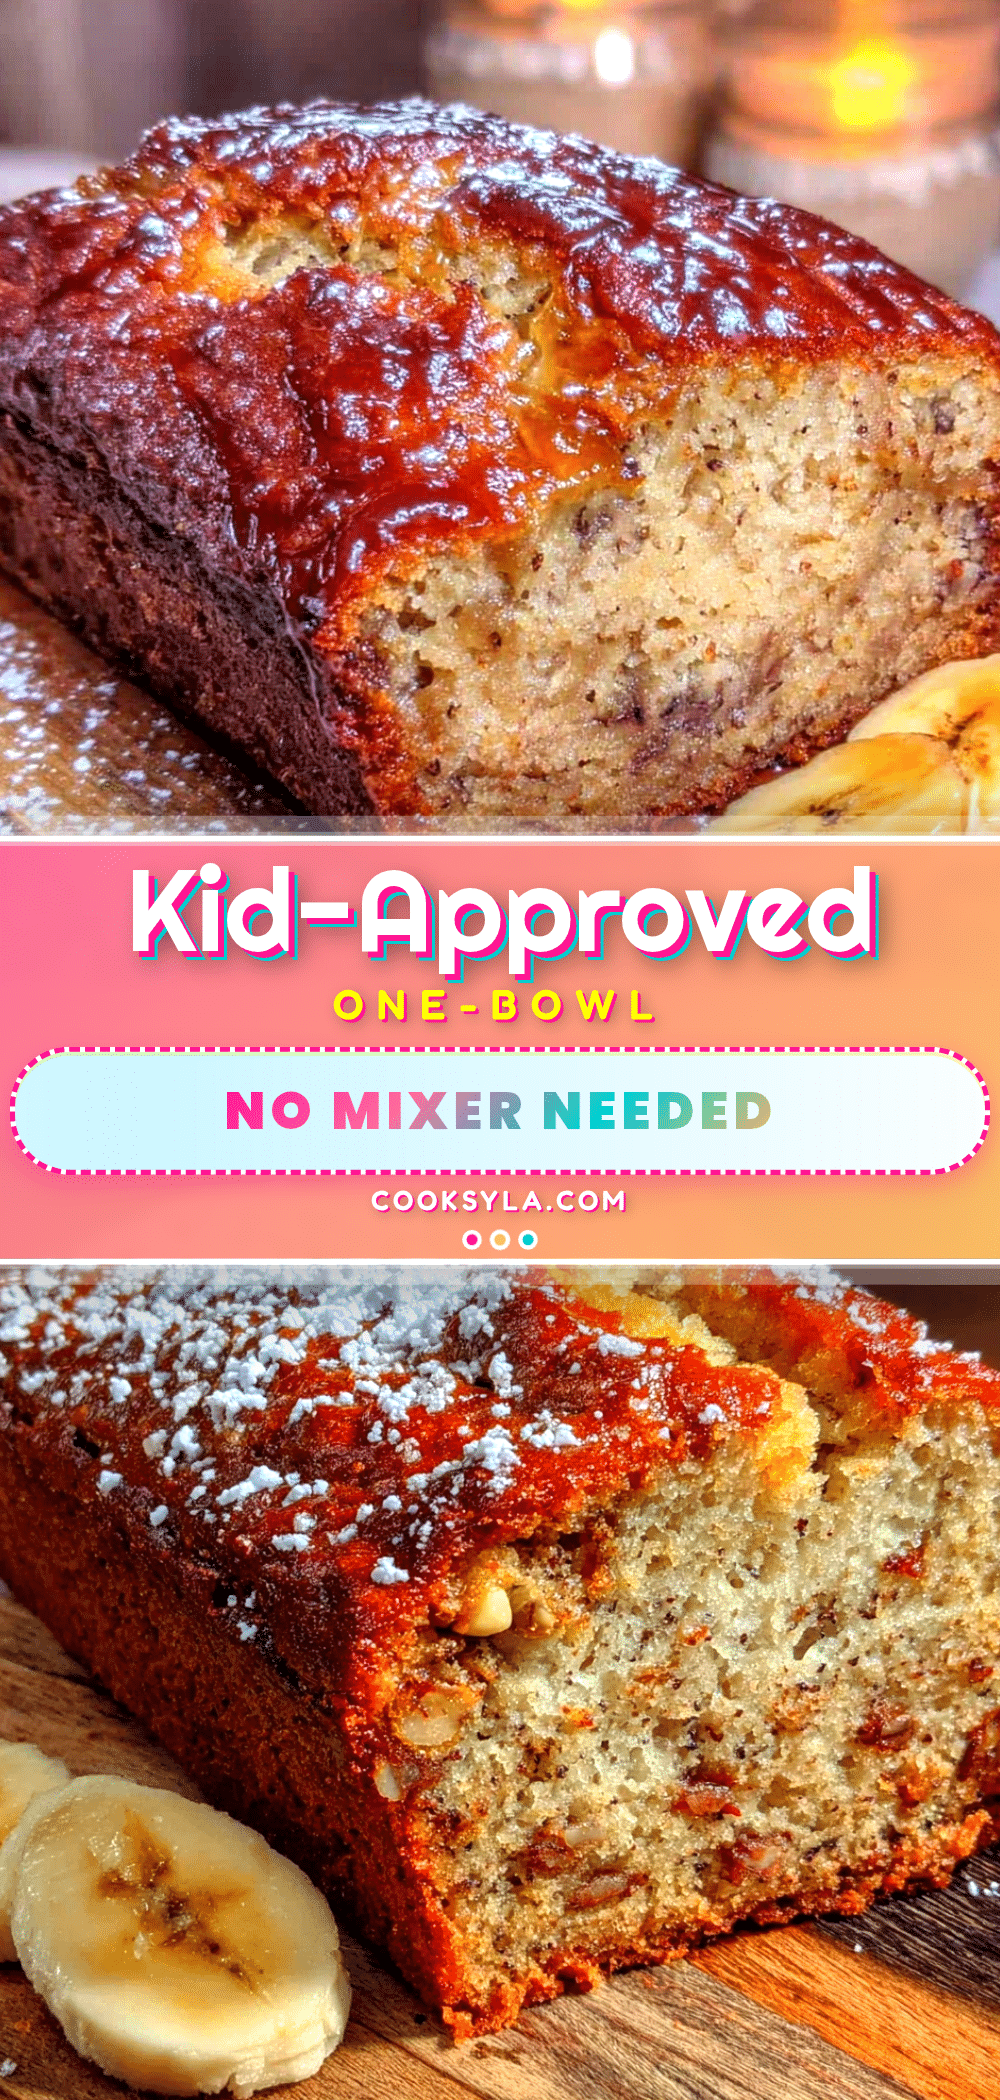
Easy One-Bowl Banana Bread Recipe (Kid Approved)
This one-bowl banana bread is a happy accident turned family favorite. It’s incredibly moist, tender, and made with simple pantry ingredients—no mixer required. Perfect for busy weeknights and loved by kids.
- Prep Time: 15 minutes
- Cook Time: 55 minutes
- Total Time: 1 hour 10 minutes
- Yield: 10 servings 1x
- Category: Dessert
- Cuisine: American
Ingredients
- 3 ripe bananas, mashed (about 1 1/2 cups)
- 1/2 cup unsalted butter, melted and slightly cooled
- 3/4 cup granulated sugar
- 2 large eggs, at room temperature
- 1 teaspoon vanilla extract
- 1 1/2 cups all-purpose flour
- 1 teaspoon baking soda
- 1/2 teaspoon salt
- 1/2 cup chocolate chips (optional)
Instructions
- Preheat oven to 350°F (175°C). Grease a 9×5-inch loaf pan or line with parchment paper, leaving an overhang on the long sides.
- In a large mixing bowl, mash the bananas with a fork or potato masher until mostly smooth with a few small lumps.
- Add melted butter, sugar, eggs, and vanilla extract to the mashed bananas. Stir with a wooden spoon until well combined.
- Add flour, baking soda, and salt on top of the wet mixture. Stir gently until just combined—do not over-mix. A few small lumps are fine.
- If using, fold in chocolate chips or other mix-ins gently.
- Pour batter into the prepared loaf pan and spread evenly.
- Bake for 50-60 minutes, or until a toothpick inserted into the center comes out clean or with a few moist crumbs. If top browns too quickly, tent with foil after 40 minutes.
- Let bread cool in the pan on a wire rack for 10-15 minutes, then lift out using parchment overhang and cool completely on the rack before slicing.
Notes
Use very ripe bananas (heavily speckled or black) for best sweetness and flavor. Do not over-mix the batter to avoid a tough loaf. Let the bread cool completely before slicing to prevent a gummy texture. Store tightly wrapped at room temperature for up to 4 days, or freeze for up to 3 months.
Nutrition
- Serving Size: 1 slice
- Calories: 245
- Sugar: 18
- Sodium: 280
- Fat: 11
- Saturated Fat: 6
- Carbohydrates: 34
- Fiber: 1.5
- Protein: 4
Keywords: banana bread, easy banana bread, one bowl banana bread, kid friendly banana bread, moist banana bread, simple banana bread


