Love this? Save it for later!
Share the inspiration with your friends
I was standing in the checkout line at the grocery store last October when a bag of candy corn caught the fluorescent light just right, and suddenly I was seven years old at my Aunt Carol’s kitchen table. She had this way of making everything feel special without ever saying a word about it. Her hands were always moving, always busy, and that afternoon they were pressing candy corn into a pan of something warm and buttery that I’d never seen before. The smell of brown sugar and vanilla filled her tiny apartment, mixing with the sound of the old radiator hissing in the corner. I remember thinking, “This is what fall feels like.” She passed me a square still warm from the oven, and I bit into something chewy and soft and sweet in a way that made me close my eyes. I didn’t know to call them blondies back then. I just knew I wanted to stay at that table forever.
Aunt Carol’s been gone almost ten years now, and I still can’t walk past a bag of candy corn without feeling that same tug in my chest. Honestly, I used to buy them every fall and just let them sit in the cupboard because nothing I made ever tasted like hers. But last year, I finally stopped trying to recreate her exact recipe and started making my own version — one that uses ingredients I already have and comes together in under thirty minutes. Because let’s face it, when you’ve got kids asking for a treat every single day after school, you need something quick that doesn’t break the bank.
These candy corn blondies are that recipe for me now. They’re buttery and dense with that perfect chewy edge, and the candy corn gets all soft and jammy in the oven — nothing like the crunchy version straight from the bag. My kids go absolutely wild for them, and I love that I can throw them together with stuff from my pantry without a special trip to the store. Maybe you’ve been there, standing in your kitchen at three in the afternoon wondering what to make that feels special but doesn’t require a whole production. These blondies are your answer. They’re simple, they’re affordable, and they taste like the kind of memory you want your own kids to carry with them.
Why You’ll Love This Recipe
I’ve tested this recipe about six times to get it just right — too many times, honestly, if you ask my husband who had to eat all the “almost there” batches. But that’s exactly why I can tell you with total confidence that this version works. Here’s what makes these candy corn blondies worth every single minute in the kitchen:
- Budget-Friendly Ingredients: You probably have butter, sugar, flour, and vanilla in your kitchen right now. The only thing you might need to pick up is a bag of candy corn, and those go on sale for a dollar or two around Halloween. No fancy extracts or specialty flours required.
- Ready in Under 30 Minutes: From the moment you start measuring ingredients to the moment you pull the pan out of the oven, you’re looking at about 25 minutes total. That’s faster than a trip to the bakery and way more satisfying.
- Kid-Approved and Picky-Eater Tested: I brought these to a playdate and three different moms texted me for the recipe. Even the kids who “don’t like candy corn” ate them because the texture changes completely when baked — it gets soft and almost caramel-like.
- Perfect for Fall Gatherings: Whether it’s a Halloween party, a Thanksgiving potluck, or just a regular Tuesday afternoon, these blondies fit right in. They’re sturdy enough to pack in lunchboxes too.
- No Special Equipment Needed: One bowl, one spatula, one 8×8 pan. That’s it. You don’t even need a mixer if your arm works well enough.
What makes this recipe different from every other blondie recipe out there is the way the candy corn melts into the batter. Most recipes just sprinkle the candy on top, but I fold half of it right into the dough so every bite has that soft, sticky-sweet pocket of candy corn goodness. The top gets a sprinkle of flaky salt too — trust me on this one, it makes all the difference. It’s the kind of treat that makes you close your eyes after the first bite, and isn’t that exactly what fall baking should feel like?
What Ingredients You Will Need
This recipe uses simple, everyday ingredients to deliver that classic blondie texture — chewy edges, soft center, and just the right amount of sweetness. Nothing here is complicated, and you can find everything at your regular grocery store without spending more than a few dollars.
- Unsalted butter, melted — ½ cup (1 stick / 113g). I use unsalted so I can control the salt level myself. If you only have salted butter, just skip the extra pinch of salt in the recipe.
- Light brown sugar, packed — 1 cup (200g). This is what gives blondies their deep, caramel-like flavor. Dark brown sugar works too if that’s what you have, but it will make the blondies slightly darker and more molasses-y.
- Granulated sugar — ¼ cup (50g). Just a little bit to balance the brown sugar and help with that crispy top.
- Large egg — 1, at room temperature. If you forget to take it out of the fridge, just place it in a bowl of warm water for five minutes.
- Vanilla extract — 1 teaspoon. Pure vanilla is nice, but imitation works perfectly fine for this recipe. I’ve used both and honestly couldn’t tell the difference once the candy corn goes in.
- All-purpose flour — 1 cup (120g). Spoon and level it into your measuring cup — don’t scoop directly or you’ll pack in too much flour and end up with dry blondies.
- Baking powder — ½ teaspoon. Helps them rise just a little without being cakey.
- Salt — ¼ teaspoon. Plus extra flaky sea salt for sprinkling on top. This is non-negotiable in my house now.
- Candy corn — 1 cup (about 180g), divided. I use the classic Brach’s brand because that’s what my aunt always bought. The seasonal autumn mix with the little pumpkins works great too, just chop the pumpkins into smaller pieces so they distribute evenly.
A quick note about the candy corn — fresh candy corn works best here. If your bag has been sitting in the pantry since last Halloween, it might be hard and stale. Fresh candy corn bakes up soft and almost jammy, while older candy stays chewy in a not-so-pleasant way. I’ve also tried this with the autumn candy corn mix that has the chocolate-flavored pieces, and honestly, those chocolate bits get a little weird in the oven. Stick with plain candy corn for the best texture.
Equipment Needed
You don’t need a fancy kitchen to make these candy corn blondies, and I love that about this recipe. Here’s what you’ll need:
- 8×8-inch baking pan — Glass, metal, or ceramic all work fine. I use a metal pan because it gives the edges a slightly crispier texture. If you use glass, you might need to add two or three extra minutes to the baking time.
- Mixing bowl — One medium-sized bowl is all you need. I use a plain ceramic bowl that my mom gave me years ago.
- Whisk or spatula — A wooden spoon works too. I actually prefer a silicone spatula because it gets every last bit of batter out of the bowl.
- Parchment paper — This is optional but highly recommended. It makes lifting the blondies out of the pan so much easier, and cleanup is basically nonexistent. If you don’t have parchment, just grease the pan really well with butter or nonstick spray.
- Measuring cups and spoons — Standard set, nothing fancy. Just make sure you’re using dry measuring cups for the flour and sugar, not liquid ones.
- Cooling rack — Also optional, but it helps the blondies cool evenly so the center doesn’t get soggy. A wire rack from the toaster oven works in a pinch.
That’s genuinely it. No stand mixer, no food processor, no special pans. If you’ve got these basics, you’re ready to go.
Preparation Method
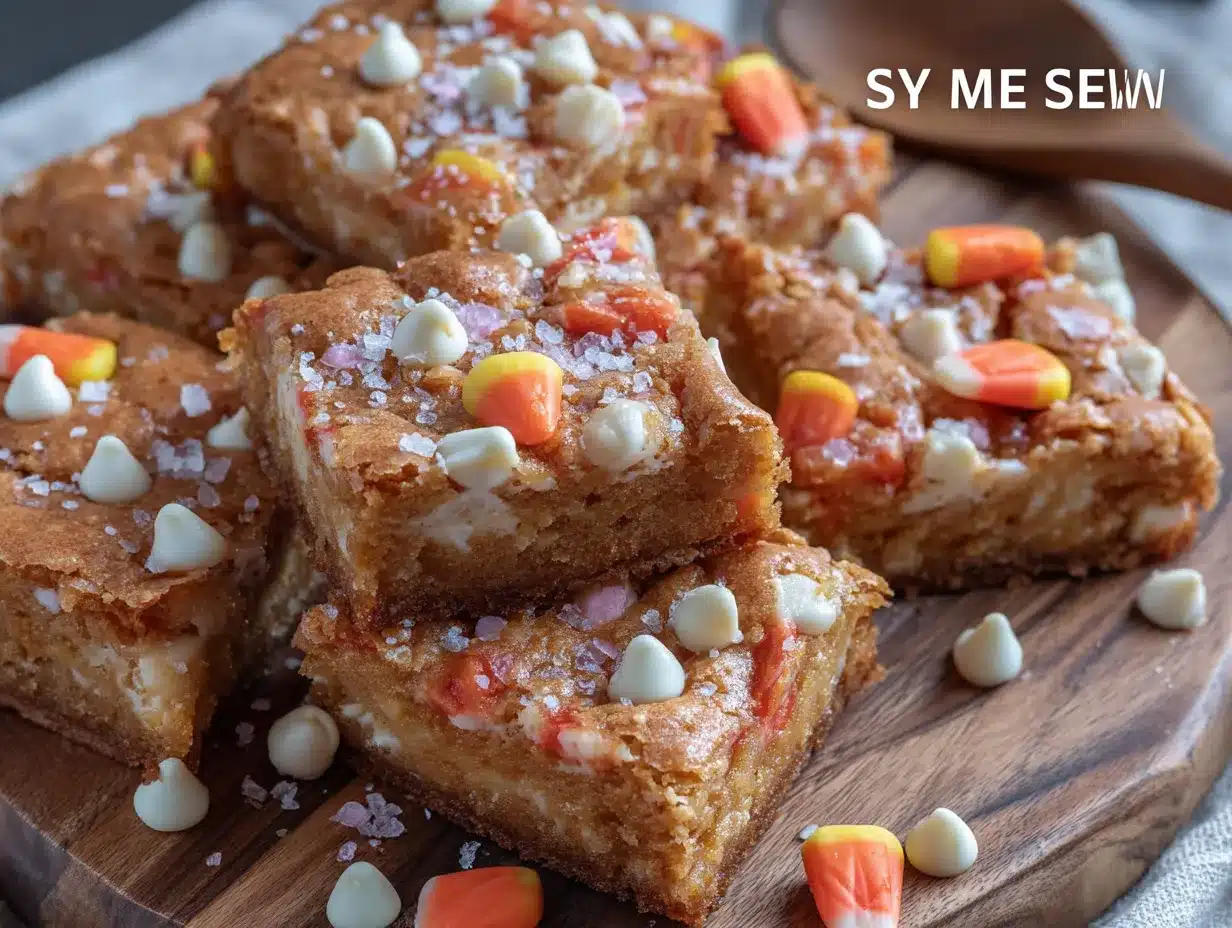
Preheat your oven to 350°F (175°C) and line your 8×8 pan with parchment paper, leaving a little overhang on two sides. This makes lifting the blondies out later a total breeze. If you don’t have parchment, just grease the pan well with butter.
- Melt the butter — Place ½ cup of unsalted butter in a microwave-safe bowl and heat in 20-second bursts until fully melted. Let it cool for a minute or two — you don’t want it hot enough to cook the egg when you add it later. While it cools, measure out your other ingredients so everything is ready to go.
- Mix the sugars and butter — In your medium mixing bowl, whisk together the melted butter, 1 cup packed light brown sugar, and ¼ cup granulated sugar. Whisk until everything looks smooth and there are no lumps of brown sugar hiding at the bottom. This should take about 30 seconds.
- Add the egg and vanilla — Crack the room-temperature egg into the bowl and add 1 teaspoon of vanilla extract. Whisk vigorously until the mixture looks thick and glossy, about one full minute. You’ll notice it lightens in color slightly — that’s a good sign that everything is combining properly.
- Fold in the dry ingredients — Add 1 cup of all-purpose flour, ½ teaspoon baking powder, and ¼ teaspoon salt directly to the wet mixture. Use your spatula to fold everything together gently. Stop as soon as you no longer see streaks of flour — overmixing will make your blondies tough instead of tender.
- Add half the candy corn — Reserve about ¼ cup of candy corn for the top. Fold the remaining ¾ cup into the batter gently. The batter will be thick and slightly sticky — that’s exactly what you want. If it seems too stiff, don’t worry, it will spread out in the pan as it bakes.
- Transfer to the pan — Scrape the batter into your prepared pan and spread it into an even layer. It’s thick, so you’ll need to use your spatula to push it into the corners. Don’t worry if it doesn’t look perfectly smooth on top.
- Top with remaining candy corn — Press the reserved ¼ cup of candy corn gently into the top of the batter. Space them out so every blondie square gets at least a few pieces. Sprinkle a pinch of flaky sea salt over the whole thing — this is the step that makes people ask what your secret is.
- Bake — Place the pan in the preheated oven and bake for 20-23 minutes. At 20 minutes, check for doneness: the edges should be golden brown and pulling away from the sides of the pan slightly. The center will look soft and puffed up — that’s fine. A toothpick inserted into the center should come out with a few moist crumbs attached, not wet batter. If it’s still very wet, give it two more minutes and check again.
- Cool completely — This is the hardest part, I know. Let the blondies cool in the pan on a wire rack for at least 30 minutes before lifting them out and cutting into squares. If you cut them while they’re still warm, they’ll fall apart. Trust me, I learned this the hard way after serving what looked like blondie crumble to my kids.
A quick note about the baking time: ovens vary a lot. My friend’s oven runs hot and her blondies are done at 19 minutes. Mine takes the full 23. Start checking at 18 minutes if you have a smaller or older oven, and go from there.
Cooking Tips & Techniques
I’ve made this recipe enough times to know exactly where things can go sideways, so let me save you some trouble. First, don’t overbake these blondies. They might look underdone in the center when you pull them out, but they continue cooking in the hot pan as they cool. Overbaked blondies turn into hard, crumbly squares that nobody wants. You want them soft and chewy, so err on the side of slightly underdone.
Second, use fresh candy corn. I made the mistake of using a bag that had been sitting in my pantry since last October, and the candy corn stayed rock hard even after baking. My kids picked them out and left little holes in the blondies — not my finest baking moment. Fresh candy corn from this season’s stock melts beautifully and gets that soft, almost caramel-like texture that makes these so special.
Third, don’t skip the flaky salt on top. I know it sounds weird to put salt on something sweet, but it balances the sugar and makes the candy corn flavor pop in a way that plain blondies just can’t match. My neighbor tried these without the salt and said they were good. She tried them with the salt and asked for the recipe immediately. That’s all the proof I need.
One more thing — if you’re making these for a classroom party or a bake sale, double the recipe and bake in a 9×13 pan. Increase the baking time to about 28-30 minutes and check with a toothpick. I’ve done this twice now and it works perfectly.
Variations & Adaptations
This recipe is super forgiving, so feel free to play around with it depending on what you have or what your family likes. Here are a few variations I’ve tried and loved:
- Chocolate Chip Candy Corn Blondies: Swap ¼ cup of the candy corn for ¼ cup of semi-sweet chocolate chips. The chocolate and candy corn combination sounds weird but tastes surprisingly good — like a salty-sweet Halloween candy bar in blondie form.
- Gluten-Free Version: Use a 1:1 gluten-free baking flour blend instead of all-purpose flour. I’ve tested this with Bob’s Red Mill 1:1 Baking Flour and it worked perfectly. Just make sure your blend contains xanthan gum for structure.
- Dairy-Free Option: Substitute the butter with melted coconut oil or a plant-based butter stick. I’ve used both and prefer the coconut oil version because it adds a subtle flavor that pairs nicely with the candy corn.
- Autumn Mix Variation: Use the Brach’s Autumn Mix that has the little pumpkins and the Indian corn pieces. Just chop the pumpkins into quarters so they distribute evenly through the batter. The Indian corn pieces don’t need chopping since they’re already small.
- Extra Chewy Blondies: Add one extra egg yolk to the batter. This adds fat and richness without thinning the batter too much. The blondies come out denser and chewier — my husband’s preferred version.
I’ve also tried adding a teaspoon of pumpkin pie spice to the dry ingredients for a more fall-flavored version. It’s good, but it kind of masks the candy corn flavor, so I only do that when I’m using the autumn mix candy. Just something to keep in mind if you want the candy corn to shine.
Serving & Storage Suggestions
These candy corn blondies are best served at room temperature, but honestly, they’re pretty amazing warm too. If you want that just-baked experience, pop a blondie square in the microwave for about 10 seconds. The candy corn gets soft again and the butter flavor really comes through. I like to serve them with a glass of cold milk — my kids insist on it, and honestly, I don’t argue.
For storage, place any leftover blondies in an airtight container at room temperature. They’ll stay fresh for up to 4 days, though I’ve never had them last that long in my house. If you stack them, put a piece of parchment paper between layers to keep the candy corn from sticking together. After about day two, the blondies actually get even chewier and more flavorful — the flavors sort of meld together overnight.
You can also freeze these blondies for up to 3 months. Wrap each square individually in plastic wrap, then place them all in a freezer-safe bag. When you want one, just let it thaw on the counter for about 30 minutes or microwave for 15 seconds. I do this for school lunch treats sometimes, and my kids act like I’m the best mom ever.
If you’re taking these to a party, arrange them on a platter with a few extra candy corn scattered around for decoration. It looks festive and costs basically nothing. My sister-in-law served them at her Halloween party last year and people kept coming back for seconds.
Nutritional Information & Benefits
Let’s be real — these are a treat, not a health food. But here’s the estimated nutritional breakdown per blondie square (based on 16 squares from one 8×8 pan):
- Calories: Approximately 180
- Total Fat: 8g
- Saturated Fat: 5g
- Carbohydrates: 28g
- Sugar: 20g
- Protein: 2g
- Sodium: 95mg
On the positive side, the butter does contain some vitamin A, and the egg provides a little protein. Candy corn is basically just sugar and corn syrup, so there’s not much nutritional value there — but sometimes food is about joy, not vitamins. I think we all need a little more joy in our lives, especially during the busy fall season.
If you’re watching your sugar intake, you could try reducing the granulated sugar to 2 tablespoons instead of ¼ cup, but honestly, the texture changes and they’re not as good. I’d rather make a smaller batch and enjoy them fully than compromise on taste. Moderation is the real key here, right?
These blondies are nut-free as written, which makes them a safe option for school bake sales or classroom parties. They do contain gluten (from the flour), dairy (from the butter), and eggs, so keep that in mind if you’re baking for someone with allergies.
Conclusion
These candy corn blondies are exactly what fall baking should be — simple, affordable, and absolutely delicious. They don’t require fancy ingredients or complicated techniques, and they come together in less time than it takes to watch a single episode of your favorite show. My kids ask for them every single weekend from September through November, and I never get tired of making them because the whole house smells like butter and vanilla while they bake.
What I love most about this recipe is how it brings people together. My aunt used to say that the best recipes aren’t the ones that impress people — they’re the ones that make people feel something. And every time I pull a pan of these blondies out of the oven, I feel like she’s right there in the kitchen with me, smiling at the mess I’ve made and telling me I did good.
I’d love to know how these turn out for you! Leave a comment below and let me know if your kids approved, or if you tried one of the variations I mentioned. And if you come up with your own twist, please share it — I’m always looking for new ideas to test out in my kitchen. Happy baking, friends!
Frequently Asked Questions
Can I use salted butter instead of unsalted?
Yes, absolutely. Just skip the ¼ teaspoon of salt that the recipe calls for. The blondies will still taste great — they might just be slightly saltier, which honestly pairs really well with the sweet candy corn.
Why did my candy corn sink to the bottom?
This usually happens if the batter is too thin or if the candy corn pieces are too heavy. Make sure your butter isn’t too warm when you mix everything together, and try coating the candy corn in a tablespoon of flour before folding it into the batter. That little trick helps the pieces stay suspended.
Can I make these ahead of time for a party?
Definitely! These blondies actually taste better the next day after the flavors have had time to meld together. Bake them the night before, let them cool completely, store them in an airtight container, and they’ll be perfect for your party. Just bring them to room temperature before serving.
How do I know when the blondies are done baking?
The edges should be golden brown and starting to pull away from the sides of the pan. The center will look puffed and slightly soft — that’s normal. A toothpick inserted into the center should come out with a few moist crumbs, not wet batter. If the toothpick comes out clean, you’ve overbaked them.
Can I use white chocolate chips instead of candy corn?
You can, but then they’re just regular blondies with white chocolate chips, not candy corn blondies. If you want a similar look without using candy corn, try using chopped white chocolate and adding a few drops of yellow and orange food coloring to the batter. It won’t taste the same, but it’ll look festive for fall.
Pin This Recipe!
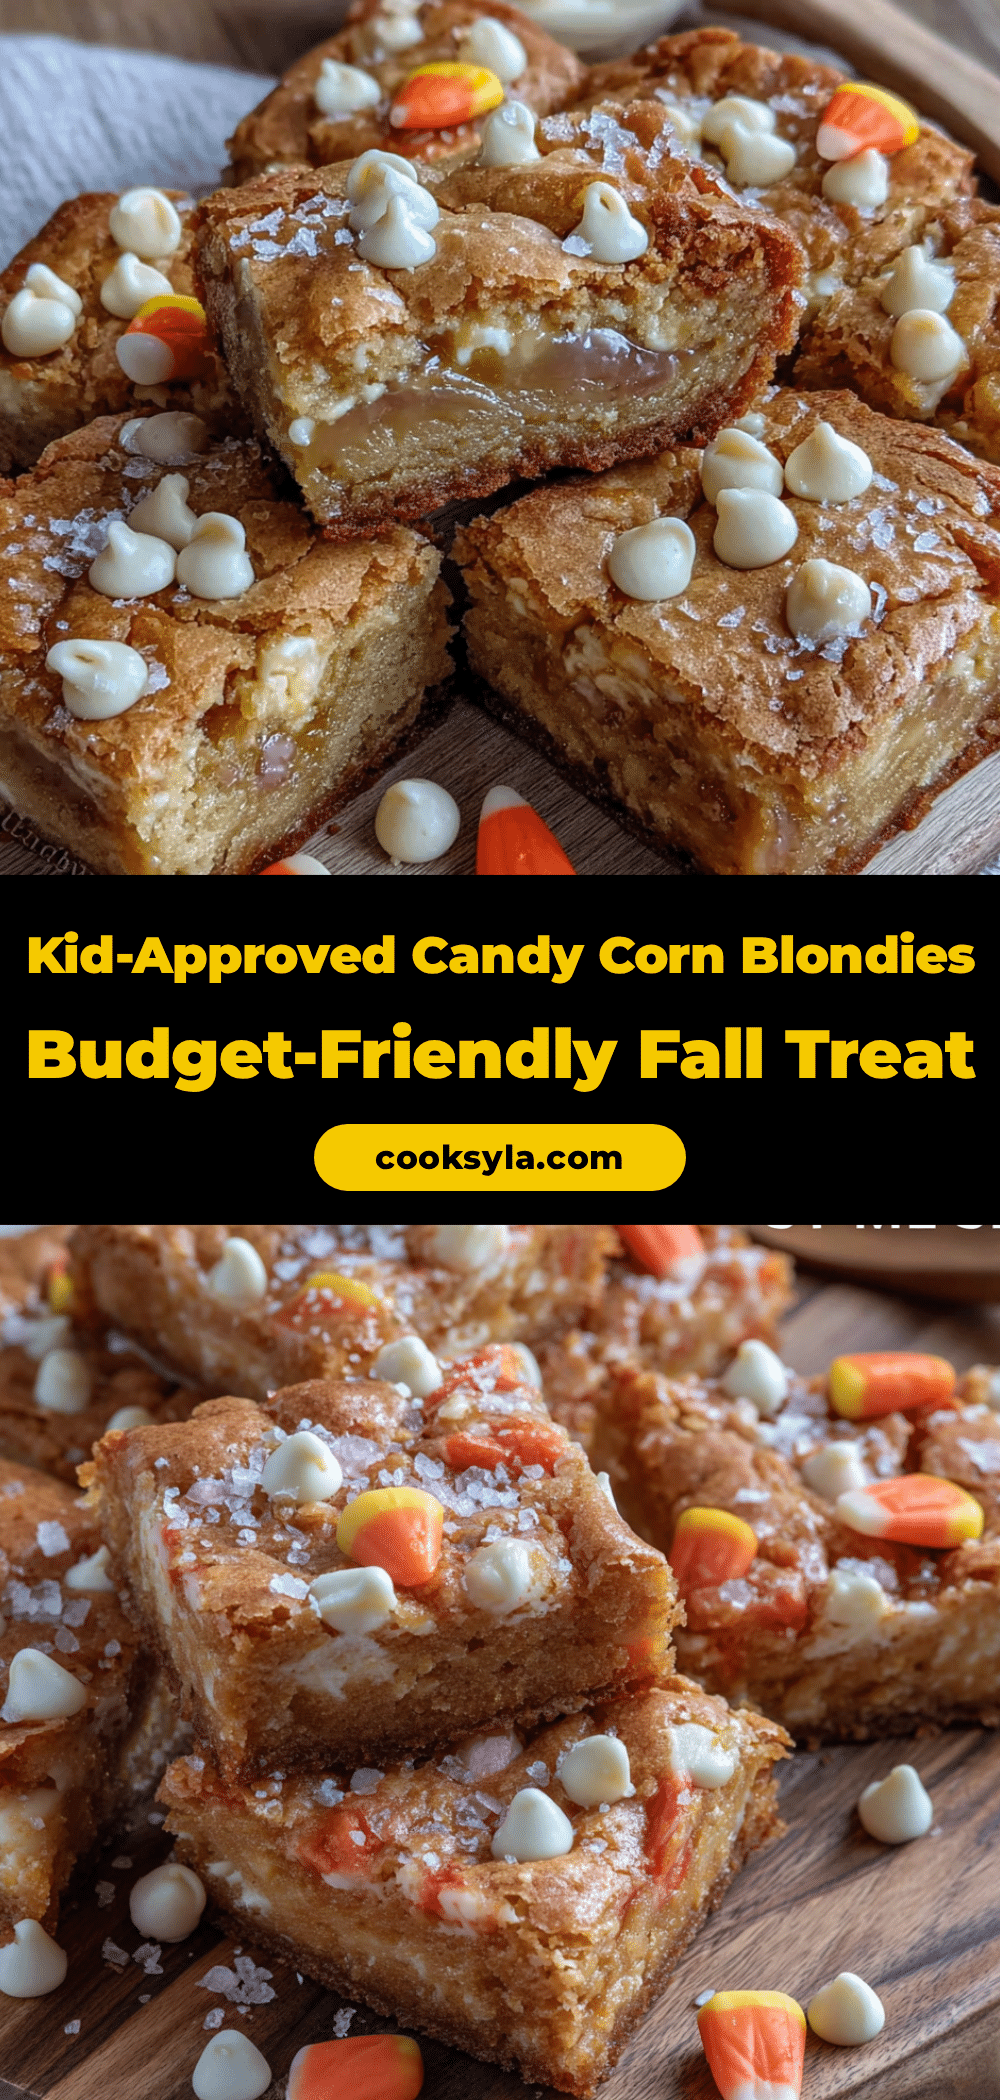
Easy Candy Corn Blondies: Budget-Friendly Fall Dessert
These buttery, chewy blondies are packed with candy corn that melts into soft, jammy pockets of sweetness. Ready in under 30 minutes with simple pantry ingredients, they’re the perfect fall treat for kids and adults alike.
- Prep Time: 10 minutes
- Cook Time: 20-23 minutes
- Total Time: 30-33 minutes
- Yield: 16 servings 1x
- Category: Dessert
- Cuisine: American
Ingredients
- ½ cup (1 stick / 113g) unsalted butter, melted
- 1 cup (200g) light brown sugar, packed
- ¼ cup (50g) granulated sugar
- 1 large egg, at room temperature
- 1 teaspoon vanilla extract
- 1 cup (120g) all-purpose flour, spooned and leveled
- ½ teaspoon baking powder
- ¼ teaspoon salt
- 1 cup (about 180g) candy corn, divided
- Flaky sea salt, for sprinkling
Instructions
- Preheat oven to 350°F (175°C). Line an 8×8-inch baking pan with parchment paper, leaving overhang on two sides. Alternatively, grease the pan well with butter.
- Melt the butter in a microwave-safe bowl in 20-second bursts. Let cool for 1-2 minutes.
- In a medium mixing bowl, whisk together the melted butter, brown sugar, and granulated sugar until smooth, about 30 seconds.
- Add the egg and vanilla extract. Whisk vigorously until the mixture is thick and glossy, about 1 minute.
- Fold in the flour, baking powder, and salt with a spatula until just combined. Do not overmix.
- Reserve ¼ cup of candy corn for the top. Fold the remaining ¾ cup into the batter gently.
- Scrape the batter into the prepared pan and spread into an even layer.
- Press the reserved candy corn gently into the top of the batter. Sprinkle with a pinch of flaky sea salt.
- Bake for 20-23 minutes, until the edges are golden brown and pulling away from the pan. The center should look soft and puffed. A toothpick inserted into the center should come out with a few moist crumbs.
- Cool in the pan on a wire rack for at least 30 minutes before lifting out and cutting into squares.
Notes
Use fresh candy corn for best texture; stale candy corn stays hard. Do not overbake—blondies continue cooking as they cool. Flaky salt on top is highly recommended. For a 9×13 pan, double the recipe and bake for 28-30 minutes.
Nutrition
- Serving Size: 1 blondie square
- Calories: 180
- Sugar: 20
- Sodium: 95
- Fat: 8
- Saturated Fat: 5
- Carbohydrates: 28
- Protein: 2
Keywords: candy corn blondies, fall dessert, easy blondie recipe, budget-friendly dessert, Halloween treat, kid-friendly dessert


