Love this? Save it for later!
Share the inspiration with your friends
It was 11:47 PM on a random Tuesday in late September, and I had this sudden, undeniable need for something salty-sweet with a crunch. I didn’t have the usual bag of pretzels or the specific cereal blend that a traditional party mix calls for, but I had a box of Corn Chex, a bottle of maple syrup I’d bought on a whim at the farmer’s market, and a vague memory of a cinnamon toast crunch. Honestly, I was too tired to think straight, but something about the late hour made me reckless. I just started tossing things into a bowl—a little butter, a lot of cinnamon, a splash of vanilla, and that maple syrup. I wasn’t following a recipe; I was following a craving.
I poured it all onto a sheet pan, slid it into the oven, and sat on the kitchen floor scrolling my phone while the house filled with this warm, spiced smell. When the timer went off, I pulled out a batch of the most dangerously addictive snack I’d ever made. The maple had caramelized into little clusters around the cereal, and the cinnamon gave it this cozy, fall feeling that made me forget it was almost midnight. I burned my tongue on the first handful—worth it. You know that feeling when you stumble onto something so good you can’t believe you didn’t plan it? That was this mix.
I brought it to a friend’s potluck the next weekend, and the bowl was empty in twenty minutes. People kept asking for the recipe, and I had to scribble it down on a napkin. Now it’s my go-to for every gathering. It’s the kind of snack that makes you look like you put in way more effort than you actually did, which is my favorite kind of trick to have up my sleeve.
Why You’ll Love This Recipe
Let me tell you, I’ve tested this mix at least a dozen times to get it just right. I’ve burned batches, made them too sweet, and once forgot the butter entirely (dry Chex is a sad thing). But this version? It’s the one. Here’s why it works:
- Quick & Easy : You’re looking at about 10 minutes of prep and 30 minutes in the oven. Perfect for when you remember at 8 PM that you need a snack for tomorrow’s brunch.
- Simple Ingredients : I bet you have most of this stuff in your pantry right now. No trips to a specialty store for obscure seeds or fancy spices.
- Perfect for Hosting : This is the ultimate party snack. It’s not fussy, it doesn’t need to be kept warm, and it feeds a crowd without any last-minute assembly. Set it out in a big bowl and watch it disappear.
- Crowd-Pleaser : I’ve served this to kids, grandparents, and my picky friend who claims she doesn’t like sweets. Everyone goes back for seconds.
- Unbelievably Delicious : The magic is in the maple glaze. It bakes into these crunchy, slightly sticky clusters that are pure comfort. The cinnamon isn’t shy, but it doesn’t overpower the cereal either. It’s balanced.
What makes this different from every other Chex mix recipe out there is the technique. Most recipes just toss everything in butter and call it a day. I take the extra step of making a quick maple-cinnamon syrup that coats every piece evenly. It’s a small thing, but it makes a huge difference in texture and flavor. This isn’t just another snack mix—it’s the one that will get requested for every holiday party from now on. I promise.
What Ingredients You Will Need
This recipe leans on pantry staples, but the quality of your maple syrup and cinnamon really matters here. Don’t use the imitation stuff—it’s watery and won’t caramelize properly. Here’s your shopping list:
- 9 cups Corn Chex cereal (or Rice Chex; I prefer Corn for the texture, but both work)
- 1/2 cup unsalted butter (cut into cubes; salted butter will make it too salty, so stick with unsalted)
- 1/2 cup pure maple syrup (Grade A dark amber is my go-to—it has a stronger maple flavor that stands up to the baking)
- 1/4 cup packed light brown sugar (adds depth and helps the glaze set)
- 2 teaspoons ground cinnamon (I like Saigon cinnamon for its warmth, but any good cinnamon works)
- 1 teaspoon vanilla extract (pure, not imitation—trust me on this)
- 1/2 teaspoon salt (a flaky sea salt like Maldon is great for finishing, but regular table salt works for the glaze)
- 1/2 teaspoon baking soda (this is the secret ingredient—it helps the glaze foam up and coat the cereal evenly)
- 1 cup raw pecans or walnuts (optional, but I love the crunch they add; use a mix if you’re feeling fancy)
- 1 cup dried cranberries or chopped dried apples (optional, for a pop of tartness and color)
I’ve tested this with gluten-free Chex, and it works perfectly, so this recipe is naturally gluten-free if you use that variety. If you’re out of brown sugar, you can substitute coconut sugar, but the texture will be slightly less crunchy. And if you don’t have maple syrup, honey works in a pinch—though you’ll lose that distinct fall flavor. For the nuts, feel free to omit them if you’re serving a nut-free crowd, or swap in pumpkin seeds for a similar crunch.
Equipment Needed
You don’t need anything fancy for this recipe, which is part of its charm. Here’s what you’ll want on hand:
- Large mixing bowl (big enough to toss 9 cups of cereal without spilling—I use a stainless steel one)
- Small saucepan (for making the maple glaze)
- Whisk (to keep the glaze smooth)
- Rubber spatula (for scraping every last drop of glaze into the bowl)
- Large rimmed baking sheet (a half-sheet pan is ideal; if you don’t have one, use two smaller pans to avoid overcrowding)
- Parchment paper or silicone baking mat (makes cleanup a breeze—I’ve forgotten this before and regretted it)
- Cooling rack (optional, but helps the mix cool faster and stay crunchy)
I’ve made this in a toaster oven when I was testing a smaller batch, and it worked fine—just watch it closely because toaster ovens run hot. If you don’t have a whisk, a fork will do in a pinch, but you’ll get more lumps. And honestly, if you don’t own a large mixing bowl, just use a stockpot. I’ve done it. No judgment.
Preparation Method
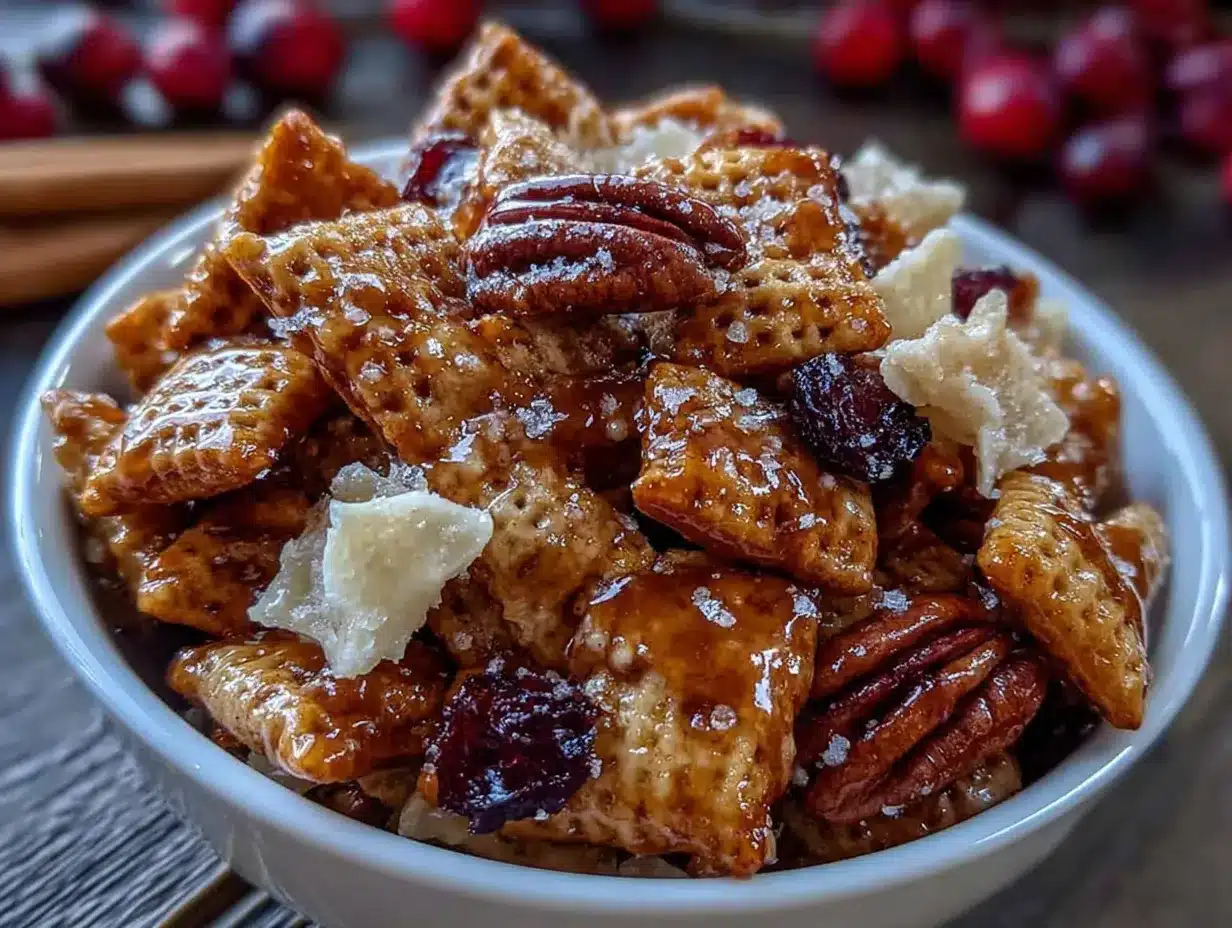
Alright, let’s get to it. This is straightforward, but I’ll walk you through every step so you don’t end up with a soggy mess like my first attempt.
- Preheat your oven to 250°F (120°C). Line a large rimmed baking sheet with parchment paper. This low temperature is key—it dries the glaze slowly so it gets crunchy without burning the cereal.
- Pour the 9 cups of Corn Chex into your large mixing bowl. If you’re using nuts, toss them in now. Give the bowl a gentle shake to distribute everything evenly. Set it aside.
- In a small saucepan over medium heat, melt the 1/2 cup unsalted butter. Once it’s fully melted, add the 1/2 cup maple syrup, 1/4 cup brown sugar, 2 teaspoons cinnamon, and 1/2 teaspoon salt. Whisk constantly until the sugar dissolves and the mixture is smooth—about 2 minutes. You’ll see it start to bubble gently.
- Remove the saucepan from the heat. Stir in the 1 teaspoon vanilla extract and 1/2 teaspoon baking soda. The baking soda will make the mixture foam up—this is good! It helps the glaze coat every piece of cereal evenly. Whisk until the foam subsides, about 10 seconds.
- Pour the hot glaze over the cereal mixture. Use your rubber spatula to scrape every last drop out of the pan. Now, fold the glaze into the cereal gently but thoroughly. I use a folding motion—lift from the bottom, turn it over, repeat. You want every piece to have a thin, even coating without crushing the cereal. This takes about 2 minutes of patient folding.
- Spread the coated cereal onto your prepared baking sheet in an even layer. Try not to pile it up too high—if it’s too thick, the pieces in the middle won’t get crunchy. If you’re using dried fruit, don’t add it yet; it will burn if you bake it.
- Bake for 30 minutes, stirring every 10 minutes. Set a timer. At the 10-minute mark, use a spatula to flip the mix gently. At 20 minutes, stir again. This ensures even baking and prevents the edges from burning. The mix will look slightly wet when it comes out—that’s normal. It will crisp up as it cools.
- Let the mix cool completely on the baking sheet, about 20-30 minutes. Don’t rush this step. If you try to store it while it’s still warm, it will turn soft and lose its crunch. Once it’s cool, transfer it to a large bowl and toss in the dried cranberries or apples if you’re using them.
Your kitchen should smell like a fall candle at this point. The mix will be crunchy, slightly sticky in the best way, and absolutely irresistible. I usually end up eating a handful before it even makes it into a serving bowl.
Cooking Tips & Techniques
I’ve made this recipe at least fifteen times, and I’ve learned a few things the hard way. Here’s what I wish someone had told me:
- Don’t skip the baking soda. I know it sounds weird in a sweet glaze, but it’s what makes the coating light and airy instead of heavy and greasy. Without it, you get a sticky mess.
- Low and slow is your friend. I once tried to speed this up by baking at 350°F. The edges burned, and the center was still soft. 250°F for 30 minutes is non-negotiable for that perfect crunch.
- Stir from the edges. When you’re stirring the mix during baking, focus on the edges of the pan. They cook faster and can burn if you ignore them. Scrape the outer pieces toward the center and bring the center pieces out to the edges.
- Let it cool completely. I’m guilty of digging in while it’s still warm, but it’s always a mistake. The crunch doesn’t fully develop until it’s cooled. Patience pays off here.
- Double the batch for a crowd. This recipe makes about 9 cups, which sounds like a lot, but trust me—it goes fast. If you’re hosting a party, make a double batch. Just use two baking sheets and rotate them halfway through.
One time, I forgot to stir at the 10-minute mark, and the bottom layer turned into a hard, caramelized sheet. It was still tasty, but I had to chip it apart with a knife. Learn from my mistakes.
Variations & Adaptations
This recipe is a great base, but I love playing around with it. Here are some variations I’ve tried and loved:
- Spiced Chai Version : Swap the cinnamon for 1 teaspoon chai spice blend (cardamom, ginger, cloves, and black pepper). It gives the mix a warm, aromatic kick that’s perfect for winter parties.
- Savory-Sweet Twist : Add 1/2 teaspoon cayenne pepper or smoked paprika to the glaze. The heat balances the maple sweetness beautifully. I served this at a game night, and it was a hit.
- Chocolate Drizzle : Once the mix has cooled, melt 1/2 cup dark chocolate chips and drizzle it over the top. Let it set before serving. This turns it into a dessert snack that feels extra indulgent.
- Nut-Free Option : Skip the pecans and add 1 cup of toasted pumpkin seeds or sunflower seeds. They add the same crunch without the allergens.
- Vegan Adaptation : Use vegan butter or coconut oil in place of the butter. I’ve tested it with both, and coconut oil gives a subtle tropical note that works surprisingly well with the maple.
My personal favorite variation is the chai version. I made it for a Friendsgiving last year, and someone asked me if I’d bought it at a fancy bakery. I just smiled and said, “Nope, made it at 11 PM on a Tuesday.”
Serving & Storage Suggestions
This snack is best served at room temperature, straight out of a big bowl. It’s perfect for setting out on a coffee table during a party, or portioning into small cups for a buffet. I like to garnish the bowl with a few extra cinnamon sticks and star anise for a festive look—it’s a small touch that makes it feel special.
For storage, let the mix cool completely, then transfer it to an airtight container. It will stay crunchy for up to 2 weeks at room temperature. I’ve kept it in a glass jar on my counter, and it’s still good after 10 days (if it lasts that long). Do not refrigerate it—the moisture will make it soft.
If you want to freeze it, place the cooled mix in a freezer-safe bag or container and freeze for up to 3 months. Thaw it at room temperature for about an hour before serving. The texture might be slightly less crunchy, but it’s still delicious. I’ve also found that the flavors actually deepen after a day or two, so making it ahead of time is a great strategy for hosting.
Nutritional Information & Benefits
Here’s an estimated breakdown per serving (about 1 cup):
- Calories: 220
- Fat: 10g
- Carbohydrates: 32g
- Fiber: 2g
- Sugar: 18g
- Protein: 3g
While this isn’t a health food, it does have some redeeming qualities. The cinnamon is packed with antioxidants and can help regulate blood sugar. The maple syrup provides small amounts of zinc and manganese. And if you add nuts, you’re getting healthy fats and protein that make this snack more satisfying than a bag of chips.
For dietary considerations: This recipe is naturally gluten-free if you use gluten-free Chex. It can be made vegan with a butter substitute. It contains dairy (butter) and nuts (if added). I personally love that I can offer a snack that feels indulgent but isn’t loaded with artificial ingredients or preservatives.
Conclusion
This Maple Cinnamon Chex Mix has become my signature party snack, and I think it deserves a spot in your hosting rotation too. It’s the kind of recipe that looks impressive but takes almost no effort—the perfect combination for anyone who loves to entertain without the stress. The maple glaze is the star, but the cinnamon and salt balance it all out so every handful is satisfying.
I encourage you to make it your own. Throw in some chocolate chips, add a pinch of cayenne, or double the cinnamon if you’re a spice lover. The base is forgiving, and the results are always crowd-pleasing. Honestly, I’ve never had a batch last more than a day in my house.
So go ahead—give it a try. And when you do, come back and tell me how it turned out. Did you add your own twist? Did it disappear at your party? I’d love to hear your stories. Happy snacking!
Frequently Asked Questions
Can I use a different cereal?
Absolutely. Rice Chex, Wheat Chex, or even a mix of all three works great. Just avoid anything too small or fragile, like bran flakes, because they’ll break apart during stirring.
Why did my mix turn out soft?
It likely wasn’t baked long enough, or it was stored before it cooled completely. Make sure you bake for the full 30 minutes and let it cool on the pan for at least 20 minutes before storing.
Can I make this in a slow cooker?
Yes! Cook on low for 2 hours, stirring every 30 minutes. Leave the lid slightly cracked to let steam escape. It’s a great option if you don’t want to heat up your oven.
How do I make it less sweet?
Reduce the brown sugar to 2 tablespoons and add an extra 1/4 teaspoon of salt. The salt will balance the sweetness without sacrificing the maple flavor.
Can I double this recipe?
Yes, but use two baking sheets and bake them on separate racks. Swap their positions halfway through to ensure even baking. Don’t try to cram it all onto one pan—it won’t get crunchy.
Pin This Recipe!
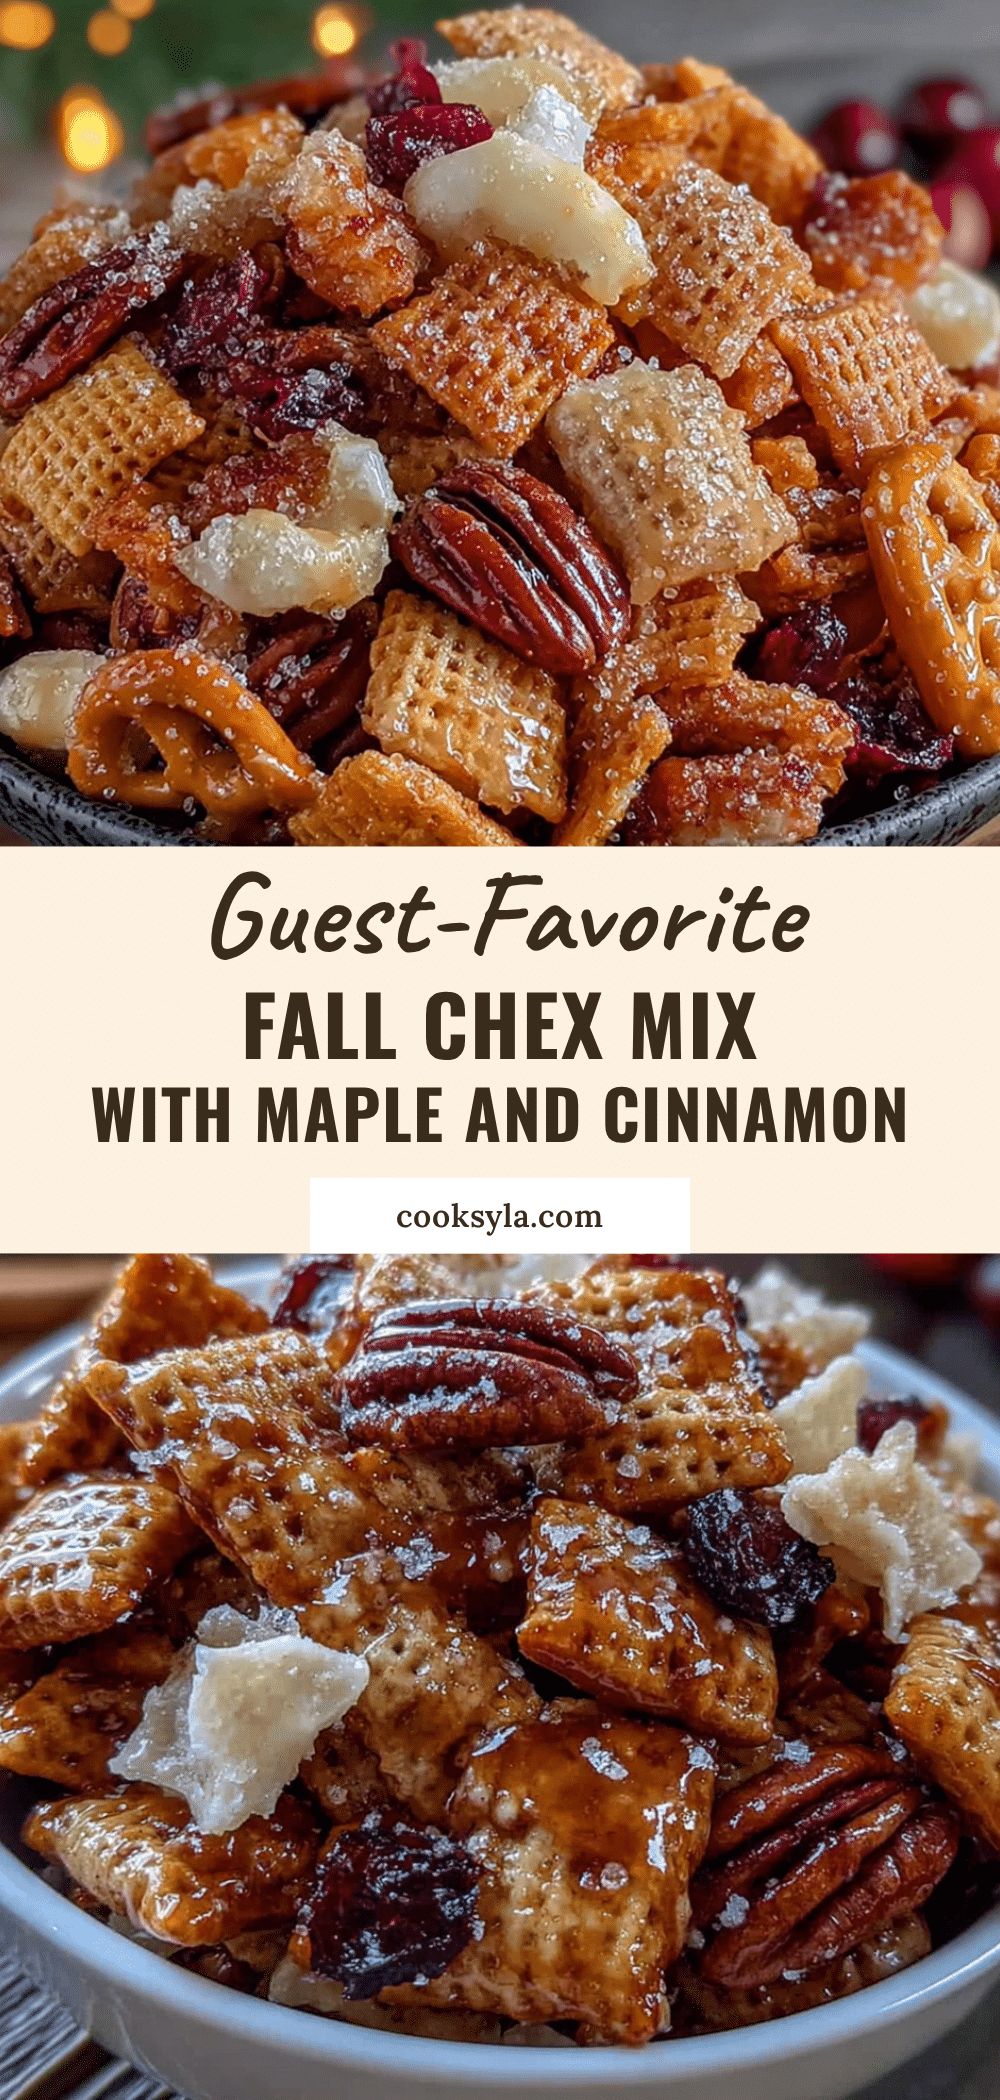
Maple Cinnamon Chex Mix: The Best Fall Party Snack

This Maple Cinnamon Chex Mix is a quick and easy party snack with a crunchy, caramelized maple glaze and warm cinnamon flavor. Perfect for fall gatherings, it’s made with simple pantry ingredients and is naturally gluten-free.
- Prep Time: 10 minutes
- Cook Time: 30 minutes
- Total Time: 40 minutes
- Yield: 9 cups (about 9 servings) 1x
- Category: Snack
- Cuisine: American
Ingredients
- 9 cups Corn Chex cereal (or Rice Chex)
- 1/2 cup unsalted butter, cut into cubes
- 1/2 cup pure maple syrup (Grade A dark amber preferred)
- 1/4 cup packed light brown sugar
- 2 teaspoons ground cinnamon (Saigon cinnamon preferred)
- 1 teaspoon vanilla extract (pure)
- 1/2 teaspoon salt (flaky sea salt for finishing, or table salt for glaze)
- 1/2 teaspoon baking soda
- 1 cup raw pecans or walnuts (optional)
- 1 cup dried cranberries or chopped dried apples (optional)
Instructions
- Preheat oven to 250°F (120°C). Line a large rimmed baking sheet with parchment paper.
- Pour 9 cups Corn Chex into a large mixing bowl. If using nuts, add them now and gently shake to distribute.
- In a small saucepan over medium heat, melt 1/2 cup unsalted butter. Add 1/2 cup maple syrup, 1/4 cup brown sugar, 2 teaspoons cinnamon, and 1/2 teaspoon salt. Whisk constantly until sugar dissolves and mixture is smooth, about 2 minutes.
- Remove saucepan from heat. Stir in 1 teaspoon vanilla extract and 1/2 teaspoon baking soda. The mixture will foam; whisk until foam subsides, about 10 seconds.
- Pour hot glaze over cereal mixture. Use a rubber spatula to fold gently but thoroughly until every piece is evenly coated, about 2 minutes.
- Spread coated cereal onto prepared baking sheet in an even layer. Do not add dried fruit yet.
- Bake for 30 minutes, stirring every 10 minutes. At 10 minutes, flip gently; at 20 minutes, stir again.
- Let mix cool completely on baking sheet, about 20-30 minutes. Once cool, transfer to a large bowl and toss in dried cranberries or apples if using.
Notes
Don’t skip the baking soda—it helps the glaze coat evenly. Bake at 250°F for the full 30 minutes for best crunch. Stir from the edges to prevent burning. Let cool completely before storing to maintain crunchiness. For a crowd, double the batch and use two baking sheets.
Nutrition
- Serving Size: 1 cup
- Calories: 220
- Sugar: 18
- Fat: 10
- Carbohydrates: 32
- Fiber: 2
- Protein: 3
Keywords: maple cinnamon chex mix, fall party snack, easy snack mix, gluten-free snack, maple glaze, cinnamon chex mix


