Love this? Save it for later!
Share the inspiration with your friends
This was supposed to be a slow-braised thing. I had this whole plan for a sticky, honey-garlic sauce that would simmer on the stove for an hour, filling the house with that sweet-savory smell that makes everyone wander into the kitchen asking “what’s for dinner?” But then Tuesday happened. I got home late from picking up my son from soccer practice, the chicken thighs were already thawed on the counter, and I had exactly 30 minutes before the hangry meltdowns started. I grabbed the wrong bottle of soy sauce—the dark kind instead of the regular—and I was already annoyed at myself. The oven was preheating for no reason because I didn’t have time for that either. So I just threw everything in a cold skillet, cranked the heat, and hoped for the best. What came out was nothing like the plan. The sauce was thinner, stickier, and somehow more concentrated in flavor. The chicken had this crackly, caramelized edge that the slow version never gets. My kid ate three pieces before I even sat down. That’s when I knew I’d accidentally stumbled onto something better.
Why You’ll Love This Recipe
Let me tell you, this isn’t just another chicken thigh recipe. This is the one that gets requested. The one that makes your kids ask for seconds before they’ve finished their firsts. And the best part? You don’t need a culinary degree or a pantry full of exotic ingredients to pull it off.
- Quick & Easy: From fridge to table in 30 minutes flat. No marinating, no complicated steps, no stress. Perfect for those nights when you walk in the door and everyone’s already hungry.
- Simple Ingredients: You likely have everything in your kitchen right now. Honey, soy sauce, garlic, chicken thighs—that’s basically it. No special grocery runs required.
- Perfect for Family Dinners: This is the kind of meal that pleases picky eaters and foodies alike. The sauce is sweet enough for kids but savory enough for adults. It’s a crowd-pleaser in the truest sense.
- Crowd-Pleaser: I’ve served this at family gatherings, potlucks, and even a casual dinner party. Every single time, someone asks for the recipe. It’s that good.
- Unbelievably Delicious: The texture is what gets me. That sticky, caramelized exterior with juicy, tender meat underneath. It’s comfort food that comes together in half the time you’d expect.
What makes this recipe different from all the other honey garlic chicken recipes out there? It’s the technique. Most recipes tell you to bake it or simmer it low and slow. But by cooking it quickly in a hot skillet, you get that beautiful caramelization without drying out the meat. The sauce reduces fast, clinging to each piece like a glossy glaze. I’ve tested this method a dozen times, and it works every single time. Honestly, I was skeptical at first too. But now I never make it any other way.
This recipe isn’t just good—it’s the kind that makes you close your eyes after the first bite. It’s the meal you’ll turn to on busy weeknights when you need something reliable, something that feels special without the fuss. It’s comfort food reimagined: faster, simpler, but with the same soul-soothing satisfaction that makes everyone around the table happy.
What Ingredients You Will Need
This recipe uses simple, wholesome ingredients that work together to create something truly special. Most of these are pantry staples, which means you can make this on a whim without a trip to the store. Here’s what you’ll need and why each one matters:
- Boneless, skinless chicken thighs (about 1.5 lbs or 680g) – I prefer thighs over breasts for this recipe because they stay juicier and don’t dry out during the quick cooking process. The higher fat content also means more flavor. Look for thighs that are roughly the same size so they cook evenly. If you can only find bone-in thighs, just increase the cooking time by about 5-7 minutes.
- Honey (1/3 cup or 110g) – This is the star of the show. Use a good-quality honey that’s not too thick. The honey provides sweetness and helps create that beautiful caramelized coating. I’ve tried this with local wildflower honey and it’s amazing, but any regular honey works fine.
- Soy sauce (1/4 cup or 60ml) – This adds the savory, umami balance to the sweet honey. I recommend low-sodium soy sauce so you can control the salt level. If you’re gluten-free, use tamari or coconut aminos instead. The dark soy sauce I accidentally used that first time actually works great too—it gives a deeper color and richer flavor.
- Garlic (4-5 cloves, minced) – Fresh garlic is non-negotiable here. The jarred stuff just doesn’t have the same punch. You want that sharp, aromatic flavor that mellows as it cooks. I usually use 5 cloves because I’m a garlic fanatic, but 4 works if you’re more moderate.
- Rice vinegar (2 tablespoons or 30ml) – This brightens up the sauce and cuts through the sweetness. Don’t skip it. If you don’t have rice vinegar, apple cider vinegar or even white wine vinegar work as substitutes.
- Sesame oil (1 tablespoon or 15ml) – Just a little bit adds a nutty, toasty flavor that makes the sauce taste more complex. It’s optional but highly recommended. I use toasted sesame oil for maximum flavor.
- Cornstarch (1 tablespoon) – This helps thicken the sauce and gives it that glossy, sticky texture that clings to the chicken. If you’re keto or low-carb, you can use arrowroot powder instead.
- Vegetable oil (2 tablespoons) – For searing the chicken. Use something with a high smoke point like avocado oil or canola oil. Olive oil can burn at high heat.
- Green onions (for garnish) – Adds a fresh, mild onion flavor and makes the dish look restaurant-worthy. Plus, kids like the little green rings.
- Sesame seeds (for garnish, optional) – A sprinkle of these adds a nice visual touch and a tiny crunch.
Equipment Needed
You don’t need a fancy kitchen to make this recipe work. Here’s what you’ll need:
- Large skillet or frying pan (12-inch or 30cm) – A non-stick skillet works best for easy cleanup, but a stainless steel or cast iron pan works too. Just make sure it’s large enough to hold the chicken in a single layer without overcrowding.
- Cutting board and sharp knife – For mincing the garlic and trimming any excess fat from the chicken thighs. A good chef’s knife makes this job so much easier.
- Small bowl – For mixing the sauce ingredients together before cooking. I use a small glass measuring cup for this.
- Tongs – For flipping the chicken without piercing it and losing those precious juices. Tongs are your best friend here.
- Whisk or fork – For mixing the sauce until the cornstarch is fully dissolved. A fork works in a pinch.
- Measuring cups and spoons – For accurate measurements. I know some people eyeball it, but for this recipe, the ratios matter.
If you don’t have a large skillet, you can use a Dutch oven or even a large saucepan. The key is having enough surface area for the chicken to brown properly. I’ve also made this in a cast iron skillet and the crust was incredible—just be careful not to burn the sauce since cast iron retains heat so well.
Preparation Method
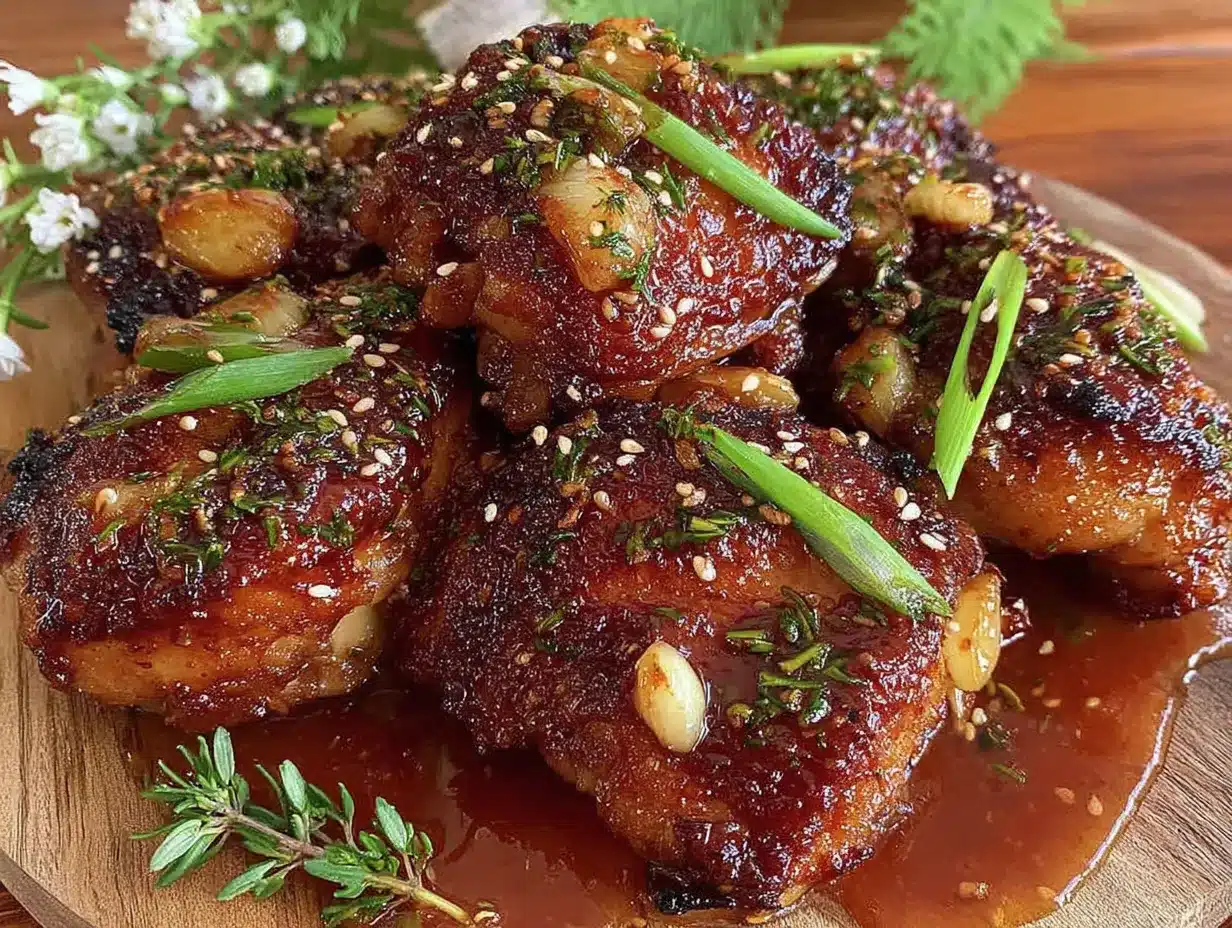
Alright, let’s get cooking. This comes together fast, so I like to have everything prepped and ready before I turn on the heat. Trust me, you don’t want to be scrambling for ingredients while the chicken is sizzling away.
- Prep the chicken (5 minutes): Pat the chicken thighs dry with paper towels. This is crucial for getting a good sear. If they’re wet, they’ll steam instead of brown. Trim off any excess fat or skin if needed. Season both sides lightly with salt and pepper. Don’t go overboard on the salt since the soy sauce adds plenty.
- Make the sauce (2 minutes): In a small bowl, whisk together the honey, soy sauce, minced garlic, rice vinegar, sesame oil, and cornstarch. Make sure the cornstarch is fully dissolved—you don’t want any lumps. Set this aside near the stove so it’s ready to go.
- Heat the skillet (2 minutes): Place your large skillet over medium-high heat and add the vegetable oil. Let it heat up until it shimmers—about 2 minutes. You can test if it’s ready by flicking a drop of water into the pan; if it sizzles immediately, you’re good to go.
- Sear the chicken (10-12 minutes): Carefully place the chicken thighs in the hot skillet in a single layer. Don’t crowd the pan—work in batches if necessary. Let them cook undisturbed for 5-6 minutes until the bottom is golden brown and crispy. Flip using tongs and cook for another 4-5 minutes on the other side. The internal temperature should reach 165°F (74°C). Remove the chicken to a plate and tent loosely with foil to keep warm.
- Make the glaze (3-4 minutes): Reduce the heat to medium. Give the sauce mixture a quick stir (the cornstarch settles) and pour it into the hot skillet. It will bubble up immediately—that’s good. Stir constantly with a wooden spoon or spatula, scraping up any browned bits from the bottom of the pan. The sauce will thicken in about 2-3 minutes. You’re looking for a syrupy consistency that coats the back of a spoon.
- Combine and coat (2 minutes): Return the chicken thighs to the skillet, turning them in the glaze to coat each piece thoroughly. Let them simmer in the sauce for about 1-2 minutes, spooning the glaze over the tops. This is where the magic happens—the sauce clings to every nook and cranny.
- Rest and serve (2 minutes): Transfer the chicken to a serving platter and let it rest for 2 minutes. This allows the juices to redistribute. Spoon any remaining glaze from the pan over the top. Garnish with sliced green onions and a sprinkle of sesame seeds if you’re feeling fancy.
And that’s it. From start to finish, you’re looking at about 25-30 minutes. The active cooking time is even less—most of it is just waiting for the chicken to brown. The smell at this point is absolutely intoxicating. Sweet, savory, garlicky—your kitchen will smell like a restaurant.
Cooking Tips & Techniques
I’ve made this recipe more times than I can count, and I’ve learned a few things along the way. Here are my best tips to make sure yours turns out perfect every time:
- Don’t skip drying the chicken. This is the number one mistake I see people make. Wet chicken won’t brown properly. It’ll steam and release water, which prevents that beautiful caramelized crust from forming. Pat those thighs dry like your dinner depends on it—because it kind of does.
- Let the chicken come to room temperature. If your chicken is straight from the fridge, it will cool down the pan and take longer to brown. Let it sit on the counter for 15-20 minutes before cooking. I know this sounds like a small thing, but it makes a real difference in cooking time and texture.
- Watch the heat. Medium-high is perfect for searing, but when you add the sauce, reduce it to medium. The honey can burn quickly if the heat is too high. I learned this the hard way when I made a bitter, scorched mess of my first attempt. Burnt honey is not a flavor you want.
- Don’t overcook the sauce. The glaze will continue to thicken as it cools, so take it off the heat when it’s still slightly thinner than you want. If you cook it until it’s thick in the pan, it’ll turn into a sticky, almost candy-like coating that’s hard to work with.
- Taste and adjust. Everyone’s honey and soy sauce are different. Taste the sauce before you add the chicken back in. Need more sweetness? Add a little more honey. Want it saltier? A splash more soy sauce. This is your dinner—make it exactly how you like it.
- Make extra sauce. I often double the sauce ingredients because everyone wants extra to drizzle over rice or vegetables. It keeps well in the fridge for a few days, and you can reheat it to use as a dipping sauce.
Variations & Adaptations
One of the things I love about this recipe is how flexible it is. Here are some ways to make it your own:
- Spicy Honey Garlic Chicken: Add 1-2 teaspoons of sriracha or red pepper flakes to the sauce for a kick of heat. My husband loves this version, and it’s great for adults who want a little more excitement. Just be careful if you’re serving it to kids—start with less spice and add more to taste.
- Baked Version: If you prefer not to stand over the stove, you can bake this. Sear the chicken in an oven-safe skillet, then pour the sauce over the top and bake at 400°F (200°C) for 15-20 minutes. The sauce will caramelize beautifully in the oven. I’ve done this when I’m multitasking and it works great.
- Gluten-Free Adaptation: Use tamari or coconut aminos instead of soy sauce, and make sure your cornstarch is certified gluten-free. Everything else in the recipe is naturally gluten-free, so it’s an easy swap.
- Chicken Breast Version: If your family prefers white meat, you can use boneless, skinless chicken breasts. Just adjust the cooking time—they’ll cook faster, about 4-5 minutes per side. Be careful not to overcook them or they’ll dry out. I recommend pounding the breasts to even thickness first.
- Vegetable Add-Ins: Add broccoli florets, bell pepper strips, or snap peas to the skillet after removing the chicken. Sauté them in the sauce for 2-3 minutes before adding the chicken back in. This turns it into a complete one-pan meal that’s even more budget-friendly.
Serving & Storage Suggestions
This honey garlic chicken is incredibly versatile when it comes to serving. Here’s how I like to enjoy it:
Serving: Serve the chicken hot, right off the stove. The glaze is at its best when it’s warm and glossy. I usually serve it over steamed white rice or jasmine rice to soak up all that extra sauce. For a low-carb option, cauliflower rice works beautifully. A simple side of steamed broccoli or green beans rounds out the meal perfectly. My kids love it with buttered noodles—the sauce clings to them in the most delicious way.
Presentation: Arrange the chicken thighs on a platter, drizzle any remaining glaze over the top, and garnish with sliced green onions and sesame seeds. It looks like something from a restaurant, but it took you 30 minutes. If you’re serving it for a special occasion, a sprinkle of red pepper flakes adds a nice pop of color.
Storage: Leftovers keep well in an airtight container in the refrigerator for up to 4 days. The flavors actually meld together overnight and get even better. I love making a double batch just so we can have leftovers for lunch the next day.
Reheating: The best way to reheat this is in a skillet over medium heat with a splash of water or chicken broth to loosen the sauce. Microwave works in a pinch, but the chicken can get rubbery. If you’re using the microwave, cover the dish and heat in 30-second intervals, stirring the sauce between each.
Freezing: This freezes beautifully. Let the chicken cool completely, then transfer to a freezer-safe container or bag. It will keep for up to 3 months. To thaw, move it to the refrigerator overnight, then reheat in a skillet. The sauce might need a little water to thin it out after freezing.
Nutritional Information & Benefits
Here’s a rough estimate of the nutritional content per serving (based on 4 servings, using boneless skinless chicken thighs):
- Calories: 380-420
- Protein: 28-32g
- Fat: 18-22g
- Carbohydrates: 20-24g
- Sugar: 16-18g (from honey)
- Sodium: 600-700mg
Chicken thighs are a great source of protein, iron, and B vitamins, especially B12 which is important for energy production. The garlic in this recipe is known for its immune-boosting properties—something we all need during cold and flu season. Honey provides natural sweetness and contains antioxidants, though it’s still sugar, so moderation is key.
This recipe is naturally dairy-free and can easily be made gluten-free with the right substitutions. It’s also relatively low in carbs compared to many comfort food dishes, making it suitable for those watching their carbohydrate intake. Just be mindful of the sugar content if you’re on a strict keto diet—you might want to reduce the honey slightly.
Conclusion
This honey garlic chicken has become a staple in my kitchen for good reason. It’s fast, it’s forgiving, and it delivers every single time. Whether you’re a busy parent trying to get dinner on the table, a beginner cook looking for a confidence boost, or just someone who wants a delicious meal without the hassle, this recipe is for you.
I love that it started as a mistake. It reminds me that the best things in life often come from happy accidents. And honestly, it’s taught me to relax in the kitchen. You don’t have to follow every recipe perfectly. Sometimes, the detours lead you somewhere better.
I’d love to hear how yours turns out. Did your kids ask for seconds? Did you add your own twist? Drop a comment below and let me know. And if you tried this recipe, share a photo—I love seeing your creations. Happy cooking, friends!
Frequently Asked Questions
Can I use chicken breasts instead of thighs?
Absolutely! Just adjust the cooking time. Chicken breasts cook faster, so sear them for about 4-5 minutes per side until they reach 165°F (74°C) internally. I recommend pounding them to an even thickness first so they cook evenly.
Can I make this in an air fryer?
Yes! Cook the chicken thighs in the air fryer at 375°F (190°C) for 12-15 minutes, flipping halfway through. While they cook, prepare the sauce on the stovetop. Toss the cooked chicken in the sauce and serve. It’s a great hands-off method.
How do I prevent the sauce from burning?
The key is heat management. When you add the sauce to the skillet, reduce the heat to medium and stir constantly. Honey burns quickly at high temperatures. If you see the sauce getting too dark too fast, take the pan off the heat for a moment.
Can I use frozen chicken thighs?
You can, but I don’t recommend it for this recipe. Frozen chicken releases too much water, which prevents proper browning. If you’re in a pinch, thaw the chicken completely in the refrigerator, pat it very dry, and proceed as usual. The texture won’t be quite as good, but it’ll still taste delicious.
How can I make this recipe less sweet?
Reduce the honey to 1/4 cup and add an extra tablespoon of soy sauce or a splash of chicken broth. You can also add a squeeze of fresh lemon juice at the end to balance the sweetness with acidity. Taste as you go and adjust to your preference.
Pin This Recipe!
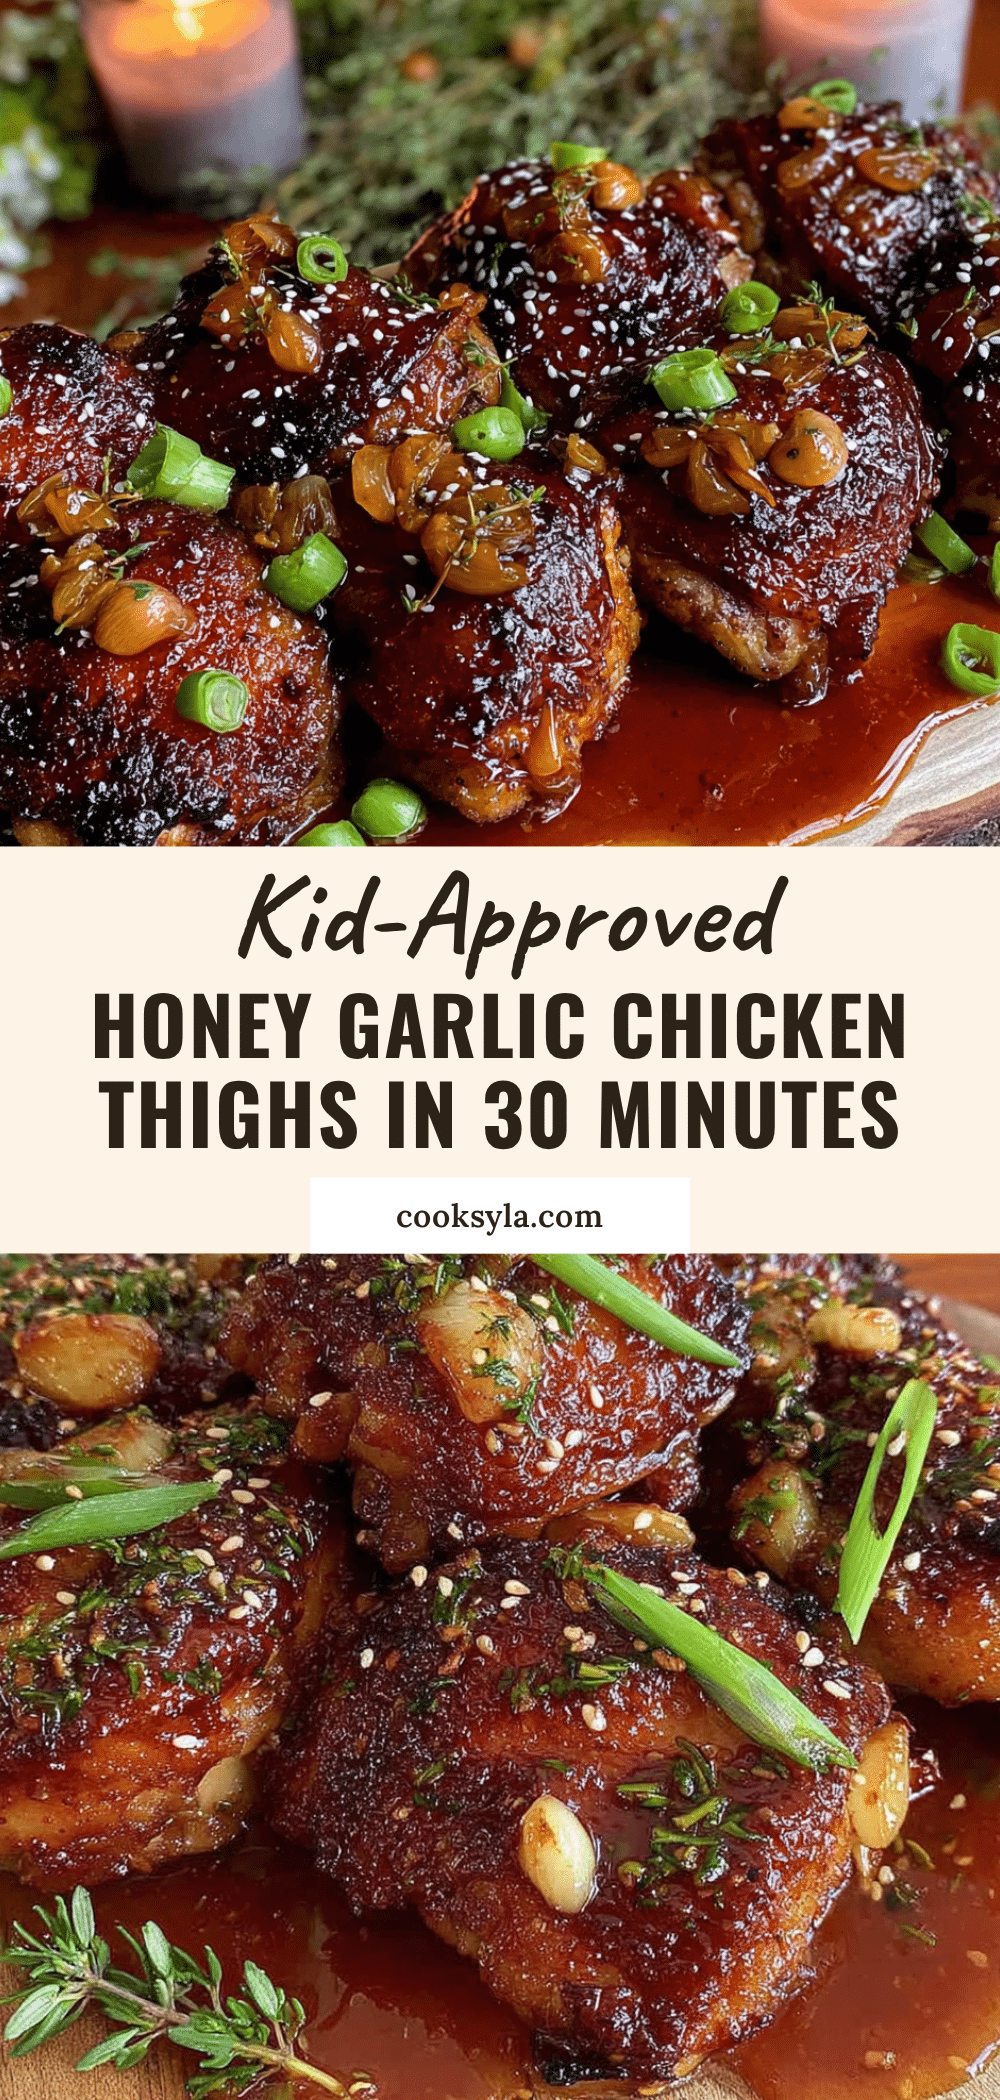
Kid-Approved Honey Garlic Chicken Thighs – Ready in 30 Minutes
This honey garlic chicken is a quick and easy weeknight dinner that comes together in just 30 minutes. With a sticky, caramelized glaze and juicy chicken thighs, it’s a crowd-pleaser that even picky eaters love.
- Prep Time: 10 minutes
- Cook Time: 20 minutes
- Total Time: 30 minutes
- Yield: 4 servings 1x
- Category: Main Course
- Cuisine: Asian-inspired
Ingredients
- 1.5 lbs (680g) boneless, skinless chicken thighs
- 1/3 cup (110g) honey
- 1/4 cup (60ml) low-sodium soy sauce
- 4–5 cloves garlic, minced
- 2 tablespoons (30ml) rice vinegar
- 1 tablespoon (15ml) toasted sesame oil
- 1 tablespoon cornstarch
- 2 tablespoons vegetable oil (such as avocado or canola oil)
- Salt and pepper to taste
- Green onions, sliced (for garnish)
- Sesame seeds (for garnish, optional)
Instructions
- Pat the chicken thighs dry with paper towels. Trim excess fat if needed. Season both sides lightly with salt and pepper.
- In a small bowl, whisk together honey, soy sauce, minced garlic, rice vinegar, sesame oil, and cornstarch until cornstarch is fully dissolved.
- Heat a large skillet over medium-high heat and add vegetable oil. Let it heat until shimmering, about 2 minutes.
- Place chicken thighs in the hot skillet in a single layer (work in batches if needed). Cook undisturbed for 5-6 minutes until golden brown and crispy. Flip and cook for another 4-5 minutes until internal temperature reaches 165°F (74°C). Remove chicken to a plate and tent with foil.
- Reduce heat to medium. Stir the sauce mixture and pour into the hot skillet. Stir constantly, scraping up browned bits, until sauce thickens to a syrupy consistency, about 2-3 minutes.
- Return chicken to the skillet, turning to coat in the glaze. Simmer for 1-2 minutes, spooning glaze over the tops.
- Transfer chicken to a serving platter and let rest for 2 minutes. Spoon remaining glaze over the top. Garnish with sliced green onions and sesame seeds if desired.
Notes
Don’t skip drying the chicken for a good sear. Let chicken come to room temperature before cooking. Watch heat to prevent burning the honey sauce. Taste and adjust sweetness or saltiness as needed. Double the sauce for extra to serve over rice or vegetables.
Nutrition
- Serving Size: 1 serving (about 2 c
- Calories: 400
- Sugar: 17
- Sodium: 650
- Fat: 20
- Saturated Fat: 5
- Carbohydrates: 22
- Protein: 30
Keywords: honey garlic chicken, chicken thighs, quick dinner, weeknight meal, family dinner, easy recipe, 30-minute meal


