Love this? Save it for later!
Share the inspiration with your friends
I was at the hardware store last November—picking up a new snow shovel, of all things—when the cashier, a guy named Pete with sawdust on his apron, started telling me about his wife’s pumpkin muffins. “She puts maple syrup in ’em,” he said, handing me my change. “And chocolate chips. They’re gone before I get one, honest.” I laughed, thanked him, and figured that was the end of it. But the idea stuck. Maple and pumpkin? With chocolate? It sounded like a collision of fall flavors I hadn’t thought to try.
So I went home, dug out my favorite muffin recipe, and started tinkering. The first batch was a little too sweet—I’d gone heavy on the maple syrup. The second batch? The chocolate chips sank to the bottom like little stones. But the third time? That was the magic moment. The kitchen smelled like a cozy cabin in the woods, and when I bit into one, warm and tender, with melted chocolate in every bite… well, let me tell you, I almost called Pete to thank him. You know that feeling when a recipe just clicks?
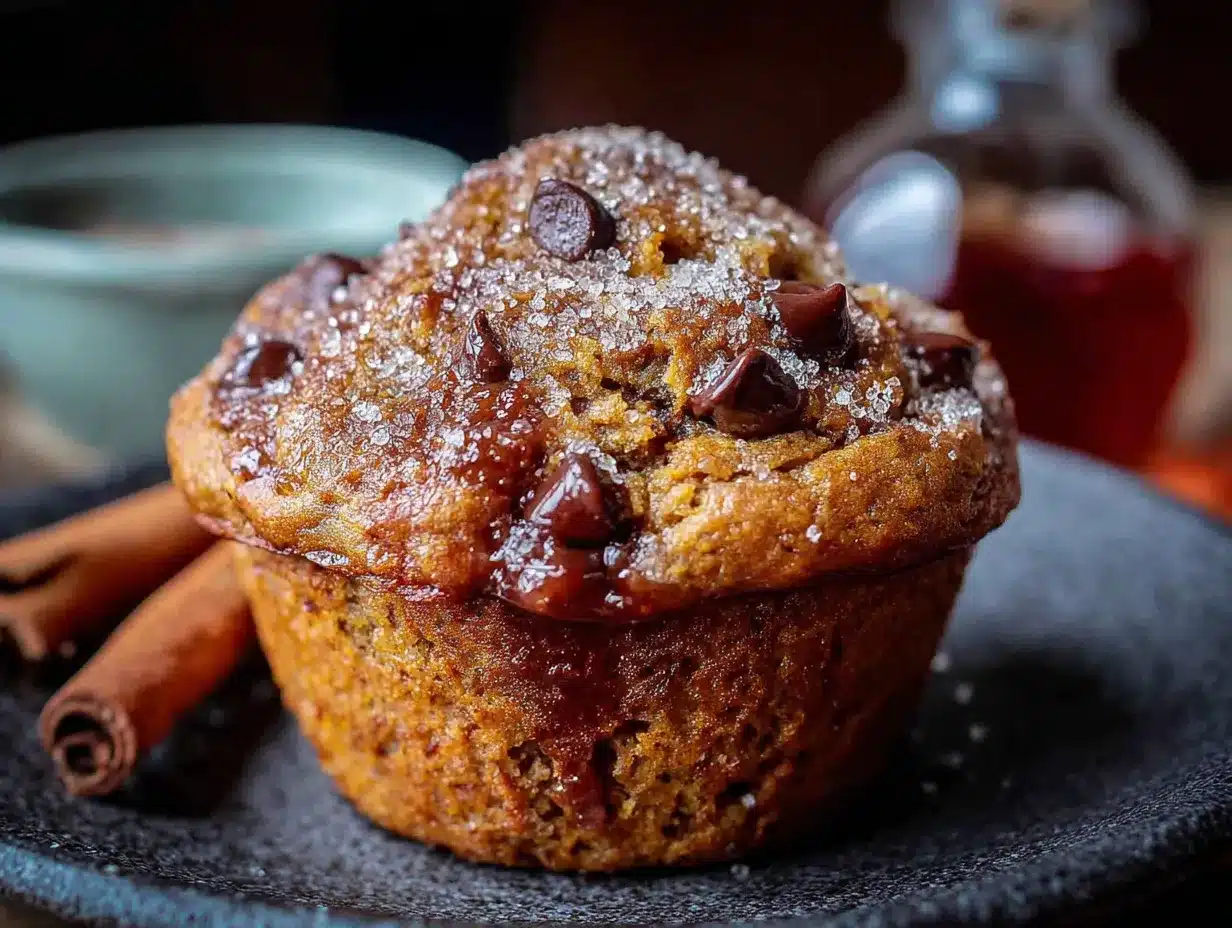
These Perfect Maple Pumpkin Chocolate Chip Muffins are now my go-to for fall gatherings. They’re not too dense, not too sweet, and that maple flavor is subtle but unmistakable. Honestly, they’re the kind of muffin that makes people close their eyes on the first bite. If you’ve been hunting for a pumpkin muffin that actually stands out, this is it. Let me walk you through how they came together—and how you can make them for your next get-together.
Why You’ll Love This Recipe
I’ve tested this recipe more times than I care to count (my neighbors have become very willing taste-testers). Here’s why I keep coming back to it—and why your guests will too.
- Quick & Easy: From start to finish, these muffins are ready in about 35 minutes. Perfect for when you need a last-minute treat for a potluck or brunch.
- Simple Ingredients: No weird extracts or hard-to-find spices. You probably have most of these in your pantry already.
- Perfect for Fall Gatherings: Whether it’s a Friendsgiving, a cozy game night, or a Halloween party, these muffins fit right in. They’re impressive without being fussy.
- Crowd-Pleaser: Kids love the chocolate chips. Adults appreciate the sophisticated maple note. Everyone wins.
- Unbelievably Delicious: The texture is soft and moist, the chocolate is melty, and that maple-pumpkin combo is pure comfort. I mean, I’ve watched people eat three in a row without blinking.
What makes this recipe different from the dozens of other pumpkin muffin recipes out there? It’s the way the maple syrup works with the pumpkin puree to create a depth of flavor that’s almost caramel-like. Plus, I use a trick with the chocolate chips—tossing them in a little flour before folding them in—so they stay suspended throughout the batter instead of sinking. No more chocolate-free tops! This isn’t just another pumpkin muffin. It’s the one you’ll make year after year.
There’s something about the smell of maple and pumpkin baking together that feels like a hug. These muffins are comfort food, reimagined—a little healthier than a bakery muffin, but with all the soul-soothing satisfaction. And when you’re hosting, that’s exactly what you want: something that feels special but doesn’t keep you stuck in the kitchen while your guests are having fun.
What Ingredients You Will Need
This recipe uses simple, wholesome ingredients to deliver that cozy fall flavor. Most of these are pantry staples, but a few deserve a little extra attention.
For the Muffins
- All-purpose flour, 2 cups (240g) — spooned and leveled. Don’t scoop directly from the bag, or you’ll end up with dense muffins.
- Baking soda, 1 teaspoon — helps the muffins rise and gives them a tender crumb.
- Baking powder, 1 teaspoon — for that extra lift.
- Salt, ½ teaspoon — balances the sweetness. Trust me, don’t skip it.
- Pumpkin pie spice, 2 teaspoons — or make your own with cinnamon, nutmeg, ginger, and cloves. I prefer the blend from homemade pumpkin pie spice because it’s fresher.
- Cinnamon, 1 teaspoon — because you can never have too much.
- Unsalted butter, ½ cup (1 stick, 113g), melted and slightly cooled — use good quality butter here; it makes a difference.
- Granulated sugar, ½ cup (100g) — just enough to complement the maple.
- Light brown sugar, ½ cup (100g), packed — adds moisture and a hint of molasses.
- Pure maple syrup, ⅓ cup (80ml) — please, please use real maple syrup, not pancake syrup. Grade A dark amber is my go-to for the strongest flavor.
- Large eggs, 2, at room temperature — room-temperature eggs blend more evenly into the batter.
- Pumpkin puree, 1 cup (245g) — not pumpkin pie filling. I like Libby’s brand for consistent results.
- Milk, ¼ cup (60ml) — whole milk gives the best texture, but any milk works.
- Vanilla extract, 1 teaspoon — pure, not imitation.
- Semi-sweet chocolate chips, 1 cup (175g) — I prefer Ghirardelli for their rich flavor and good melt. Toss them in 1 tablespoon of flour before adding to the batter to prevent sinking.
For the Maple Glaze (Optional but Recommended)
- Powdered sugar, 1 cup (120g)
- Pure maple syrup, 2 tablespoons (30ml)
- Milk, 1-2 tablespoons (15-30ml), to thin
- Pinch of salt — to cut the sweetness
Ingredient Selection Tips: When picking pumpkin puree, look for cans that say “100% pure pumpkin.” Avoid anything labeled “pumpkin pie mix,” which has added sugar and spices. For the maple syrup, I’ve found that the darker grades (like Grade A Dark Amber or Grade B) have a more robust flavor that holds up better against the pumpkin and chocolate. And for the chocolate chips, feel free to use dark chocolate or even white chocolate chips if you want to switch things up.
Substitution Guidance: If you’re gluten-free, swap the all-purpose flour for a 1:1 gluten-free baking blend. For a dairy-free version, use vegan butter and oat milk. You can also replace the chocolate chips with chopped pecans or walnuts for a nutty twist.
Equipment Needed
- 12-cup muffin tin — standard size works best. I’ve used non-stick and regular; both work, but I always line them with paper liners for easy cleanup.
- Paper liners — parchment liners are my favorite; they don’t stick and look pretty.
- Two mixing bowls — one large, one medium. Nothing fancy; I’ve used the same scratched-up metal bowls for years.
- Whisk — for combining dry ingredients.
- Rubber spatula — for folding in the chocolate chips gently.
- Cooling rack — essential for even cooling. If you don’t have one, a wire oven rack works in a pinch.
- Measuring cups and spoons — dry and liquid measures are best for accuracy.
- Ice cream scoop or cookie scoop — for evenly filling the muffin cups. This is my secret to uniform muffins that bake evenly.
Budget-Friendly Options: If you don’t have a cooling rack, let the muffins cool in the pan for 5 minutes, then transfer them to a clean kitchen towel. A regular tablespoon works fine instead of a cookie scoop—just be consistent with the amount.
Maintenance Tip: If your muffin tin is looking a little sad, a paste of baking soda and water can help remove stubborn baked-on residue. Just scrub gently with a non-abrasive sponge.
Preparation Method
- Preheat your oven to 375°F (190°C). Line a 12-cup muffin tin with paper liners. This step seems basic, but getting the oven fully preheated ensures the muffins rise properly.
- Mix the dry ingredients. In a medium bowl, whisk together the all-purpose flour, baking soda, baking powder, salt, pumpkin pie spice, and cinnamon. Set aside. This evenly distributes the leavening agents and spices so you don’t get a pocket of baking soda in one muffin (yes, I’ve done that—it’s not pleasant).
- Combine the wet ingredients. In a large bowl, whisk together the melted butter, granulated sugar, and brown sugar until smooth. Add the maple syrup, eggs, pumpkin puree, milk, and vanilla extract. Whisk until fully combined. The mixture will be thick and glossy—that’s normal.
- Fold the dry ingredients into the wet. Add the dry mixture to the wet mixture in two batches, using a rubber spatula to fold gently. Mix just until you no longer see streaks of flour. Overmixing at this stage will make your muffins tough, so stop as soon as it comes together. A few lumps are okay.
- Prepare the chocolate chips. In a small bowl, toss the chocolate chips with 1 tablespoon of flour. This simple trick keeps them suspended in the batter instead of sinking to the bottom. Fold the coated chips into the batter with a few gentle strokes.
- Fill the muffin cups. Using your ice cream scoop or a spoon, divide the batter evenly among the 12 liners. Fill each cup about ¾ full—no more, or they’ll spill over. The batter will be thick; that’s perfect.
- Bake for 18-22 minutes. Place the muffin tin on the middle rack. Bake until a toothpick inserted into the center of a muffin comes out clean or with a few moist crumbs. The tops should be golden and spring back when lightly touched. My oven runs hot, so I check at 18 minutes—yours might need the full 22.
- Cool in the pan for 5 minutes. This allows the muffins to set without sticking. Then transfer them to a wire rack to cool completely. If you’re adding the glaze, wait until they’re fully cool, or the glaze will melt right off.
- Make the glaze (optional). In a small bowl, whisk together the powdered sugar, maple syrup, and 1 tablespoon of milk. Add more milk, 1 teaspoon at a time, until you reach a drizzling consistency. Drizzle over the cooled muffins and let set for about 10 minutes.
Sensory Cues: When the batter is ready, it should look like a thick, glossy cake batter with visible flecks of chocolate. During baking, your kitchen will smell like a fall candle—maple, pumpkin, and warm spices. When the muffins are done, the tops will be domed and slightly cracked, and a gentle press will feel springy.
Troubleshooting: If your muffins are browning too quickly on top but are still raw inside, tent them loosely with aluminum foil for the last 5 minutes of baking. If they come out flat and dense, your baking powder or soda might be old—replace them every 6 months.
Cooking Tips & Techniques
After making these muffins more times than I’ll admit, I’ve picked up a few tricks that make a real difference.
Room Temperature Ingredients Matter: I know it’s tempting to use cold eggs straight from the fridge, but room-temperature ingredients blend more evenly into the batter. If you’re in a hurry, place the eggs in a bowl of warm water for 5 minutes. The milk can sit on the counter while you prep the dry ingredients.
Don’t Overmix: This is the number one mistake I see. Once you add the dry ingredients, mix just until the flour disappears. Overmixing develops the gluten and makes muffins tough and rubbery. I learned this the hard way after a batch that could’ve doubled as hockey pucks.
The Flour Trick for Chocolate Chips: I already mentioned this, but it’s worth repeating. Tossing the chocolate chips in flour before folding them in is a game-changer. No more muffins with all the chocolate at the bottom. It’s a small step that makes a huge difference in presentation and taste.
Use a Cookie Scoop for Even Muffins: A cookie scoop ensures every muffin cup gets the same amount of batter. This means they’ll bake evenly—no tiny ones that dry out and giant ones that stay raw in the middle. I bought a scoop for cookies and now use it for muffins, meatballs, and even portioning soup.
Let Them Cool Completely Before Glazing: I’m impatient, so I’ve definitely tried to drizzle glaze over warm muffins. It turns into a sticky mess that pools at the bottom. Wait until they’re cool to the touch—about 20 minutes on a rack—and the glaze will set beautifully.
Timing and Multitasking: While the muffins are baking, clean up your workspace and make the glaze. That way, by the time they’re cool, you’re ready to go. I also like to set out my serving platter while they bake, so everything’s ready when guests arrive.
Variations & Adaptations
One of the best things about this recipe is how flexible it is. Here are a few variations I’ve tried and loved.
Vegan Version: Replace the butter with melted coconut oil or vegan butter. Use two flax eggs (2 tablespoons ground flaxseed mixed with 5 tablespoons water, let sit for 5 minutes) instead of regular eggs. Swap the milk for almond or oat milk. The texture will be slightly denser but still delicious.
Gluten-Free Option: Use a 1:1 gluten-free baking flour blend. I’ve had good results with Bob’s Red Mill. Add an extra tablespoon of milk to compensate for the drier flour. The muffins won’t rise quite as high, but they’ll still be tender and flavorful.
Nutty Twist: Swap half the chocolate chips for chopped pecans or walnuts. Toast the nuts first for extra flavor—just spread them on a baking sheet at 350°F for 5-7 minutes until fragrant. The crunch is a lovely contrast to the soft muffin.
Spice It Up: Add ¼ teaspoon of ground cardamom or a pinch of cloves along with the pumpkin pie spice. It gives the muffins a warm, almost floral note that’s unexpected and wonderful.
Mini Muffins: Use a mini muffin tin and bake for 10-12 minutes instead of 18-22. Perfect for parties or for packing in lunchboxes. You’ll get about 36 mini muffins from this recipe.
My Personal Favorite Variation: I once made these with white chocolate chips and a handful of dried cranberries. The tartness of the cranberries against the sweet maple and creamy white chocolate was incredible. It’s become my go-to for holiday brunches.
Serving & Storage Suggestions
These muffins are wonderful warm from the oven, but they’re just as good at room temperature. Here’s how to serve and store them.
Serving Temperature and Presentation: I like to serve them slightly warm—just pop them in a 300°F oven for 5 minutes before guests arrive. Arrange them on a wooden board or a cake stand, with the glazed ones in the center and plain ones around the edges. A sprinkle of flaky sea salt on top of the glazed muffins adds a lovely touch.
What to Serve Alongside: These muffins pair beautifully with a hot cup of coffee or chai tea. For a brunch spread, I serve them alongside a creamy pumpkin latte or a simple fruit salad. They also work well as a dessert with a scoop of vanilla ice cream.
Storage Instructions: Store unglazed muffins in an airtight container at room temperature for up to 3 days. Glazed muffins should be stored in a single layer in an airtight container, with parchment paper between layers, for up to 2 days. The glaze can get sticky if stacked.
Freezer Instructions: These muffins freeze beautifully. Wrap each muffin individually in plastic wrap, then place them in a freezer-safe bag. They’ll keep for up to 3 months. To thaw, leave them at room temperature for about an hour, or microwave for 20-30 seconds.
Reheating Tips: For that just-baked texture, reheat muffins in a 300°F oven for 5-7 minutes. The microwave works too, but it can make them a little soggy. If you’re reheating glazed muffins, do it before adding the glaze, or the glaze will melt.
How Flavors Develop Over Time: Honestly, these muffins are even better the next day. The maple flavor deepens as it sits, and the spices meld together beautifully. So don’t be afraid to make them a day ahead.
Nutritional Information & Benefits
Here’s the approximate nutritional breakdown for one muffin (without glaze):
| Nutrient | Amount Per Muffin |
|---|---|
| Calories | 285 |
| Total Fat | 12g |
| Saturated Fat | 7g |
| Cholesterol | 45mg |
| Sodium | 280mg |
| Total Carbohydrates | 40g |
| Dietary Fiber | 2g |
| Sugars | 24g |
| Protein | 4g |
Health Benefits of Key Ingredients: Pumpkin is packed with vitamin A (great for eye health) and fiber. Maple syrup contains antioxidants and minerals like zinc and manganese. Dark chocolate (if you use it) is rich in flavonoids that support heart health. These muffins aren’t health food, but they’re made with real ingredients that offer more than empty calories.
Dietary Considerations: This recipe contains gluten, dairy, and eggs. For gluten-free or vegan options, see the variations section above. The muffins are nut-free as written, but watch for cross-contamination if you’re serving someone with severe allergies.
Personal Wellness Perspective: I believe in balance. These muffins are a treat, and they should be enjoyed as such. I make them for special occasions and savor every bite. Life’s too short to skip dessert, right?
Conclusion
These Perfect Maple Pumpkin Chocolate Chip Muffins have become a staple in my fall baking rotation, and I think they’ll become one in yours too. They’re easy enough for a weekday treat but special enough for a gathering. The combination of maple, pumpkin, and chocolate is unexpected in the best way—it’s the kind of flavor that makes people ask for the recipe.
I love that this recipe came from a random conversation at a hardware store. It reminds me that the best recipes often come from the most surprising places. So go ahead, give these a try. Customize them with your favorite add-ins, serve them at your next get-together, and watch them disappear.
Have you made these muffins? I’d love to hear how they turned out! Drop a comment below and let me know if you tried any variations. And if you share them on social media, tag me—I can’t wait to see your beautiful bakes. Happy baking, friends!
Frequently Asked Questions
Can I use canned pumpkin pie filling instead of pumpkin puree?
No, I wouldn’t recommend it. Pumpkin pie filling has added sugar and spices, which will throw off the balance of this recipe. Stick with 100% pure pumpkin puree for the best results.
Why did my chocolate chips sink to the bottom?
This happens when the batter is too thin or the chips aren’t coated. Make sure to toss the chocolate chips in a tablespoon of flour before folding them in. Also, avoid overmixing the batter, which can make it too thin.
Can I make these muffins ahead of time for a party?
Absolutely! These muffins taste even better the next day. Bake them a day ahead, store them in an airtight container, and add the glaze just before serving for the freshest look.
How do I know when the muffins are done baking?
Insert a toothpick into the center of a muffin. If it comes out clean or with a few moist crumbs, they’re done. The tops should be golden and spring back when lightly pressed.
Can I freeze the muffin batter instead of baked muffins?
I don’t recommend it. The leavening agents start reacting as soon as they’re mixed, so frozen batter won’t rise as well. It’s better to bake the muffins first, then freeze them for up to 3 months.
Pin This Recipe!
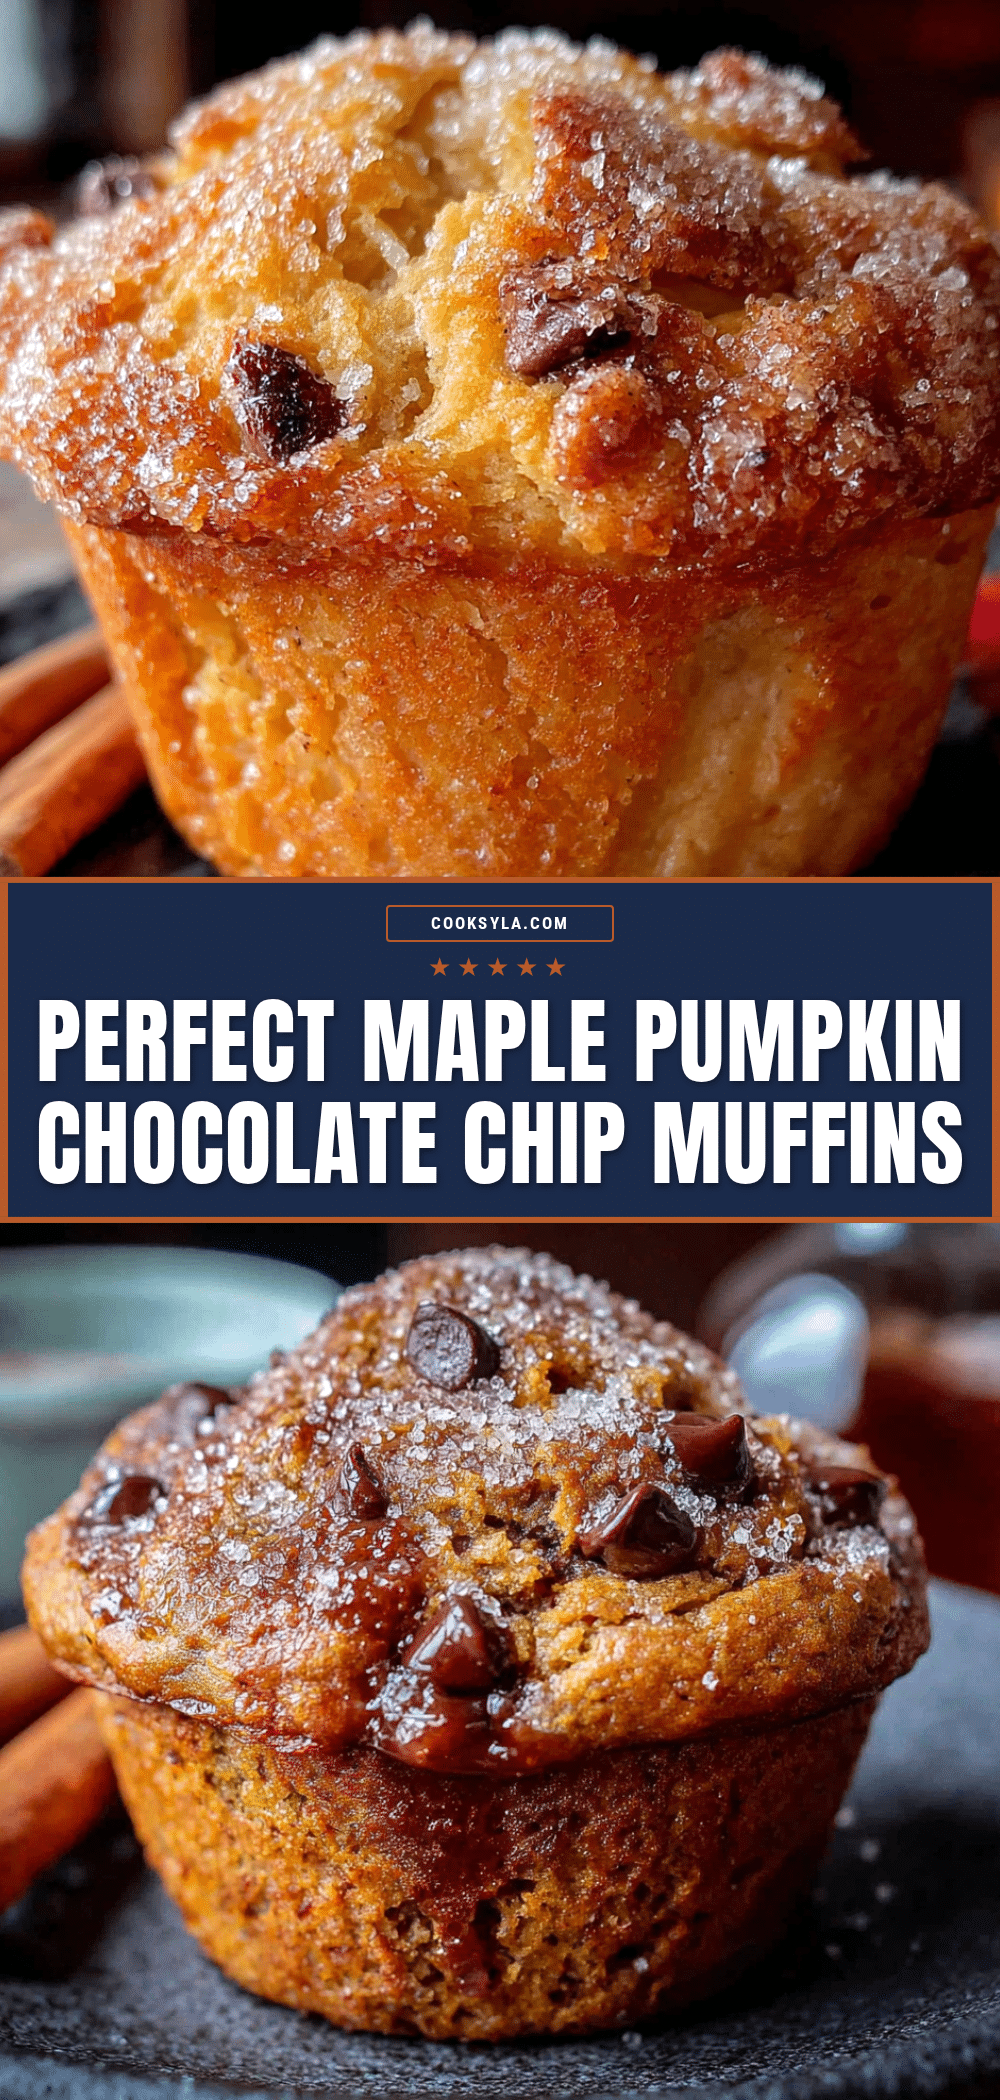
Best Easy Maple Pumpkin Chocolate Chip Muffins
These Perfect Maple Pumpkin Chocolate Chip Muffins are soft, moist, and packed with melty chocolate chips and a subtle maple flavor. They’re quick to make, use simple ingredients, and are perfect for fall gatherings.
- Prep Time: 15 minutes
- Cook Time: 20 minutes
- Total Time: 35 minutes
- Yield: 12 muffins 1x
- Category: Dessert
- Cuisine: American
Ingredients
- 2 cups (240g) all-purpose flour, spooned and leveled
- 1 teaspoon baking soda
- 1 teaspoon baking powder
- ½ teaspoon salt
- 2 teaspoons pumpkin pie spice
- 1 teaspoon cinnamon
- ½ cup (1 stick, 113g) unsalted butter, melted and slightly cooled
- ½ cup (100g) granulated sugar
- ½ cup (100g) light brown sugar, packed
- ⅓ cup (80ml) pure maple syrup
- 2 large eggs, at room temperature
- 1 cup (245g) pumpkin puree (not pumpkin pie filling)
- ¼ cup (60ml) milk (whole milk preferred)
- 1 teaspoon vanilla extract
- 1 cup (175g) semi-sweet chocolate chips
- 1 tablespoon all-purpose flour (for coating chocolate chips)
- For the Maple Glaze (optional):
- 1 cup (120g) powdered sugar
- 2 tablespoons (30ml) pure maple syrup
- 1–2 tablespoons (15-30ml) milk
- Pinch of salt
Instructions
- Preheat your oven to 375°F (190°C). Line a 12-cup muffin tin with paper liners.
- In a medium bowl, whisk together the all-purpose flour, baking soda, baking powder, salt, pumpkin pie spice, and cinnamon. Set aside.
- In a large bowl, whisk together the melted butter, granulated sugar, and brown sugar until smooth. Add the maple syrup, eggs, pumpkin puree, milk, and vanilla extract. Whisk until fully combined.
- Add the dry mixture to the wet mixture in two batches, using a rubber spatula to fold gently. Mix just until no streaks of flour remain. Do not overmix.
- In a small bowl, toss the chocolate chips with 1 tablespoon of flour. Fold the coated chips into the batter with a few gentle strokes.
- Divide the batter evenly among the 12 liners, filling each cup about ¾ full.
- Bake for 18-22 minutes, until a toothpick inserted into the center comes out clean or with a few moist crumbs. The tops should be golden and spring back when lightly touched.
- Cool in the pan for 5 minutes, then transfer to a wire rack to cool completely.
- For the glaze (optional): In a small bowl, whisk together the powdered sugar, maple syrup, and 1 tablespoon of milk. Add more milk, 1 teaspoon at a time, until drizzling consistency. Drizzle over cooled muffins and let set for about 10 minutes.
Notes
For best results, use room-temperature ingredients. Tossing chocolate chips in flour prevents them from sinking. Do not overmix the batter. Muffins can be stored in an airtight container at room temperature for up to 3 days (unglazed) or frozen for up to 3 months.
Nutrition
- Serving Size: 1 muffin
- Calories: 285
- Sugar: 24
- Sodium: 280
- Fat: 12
- Saturated Fat: 7
- Carbohydrates: 40
- Fiber: 2
- Protein: 4
Keywords: pumpkin muffins, maple muffins, chocolate chip muffins, fall muffins, easy muffin recipe


