Love this? Save it for later!
Share the inspiration with your friends
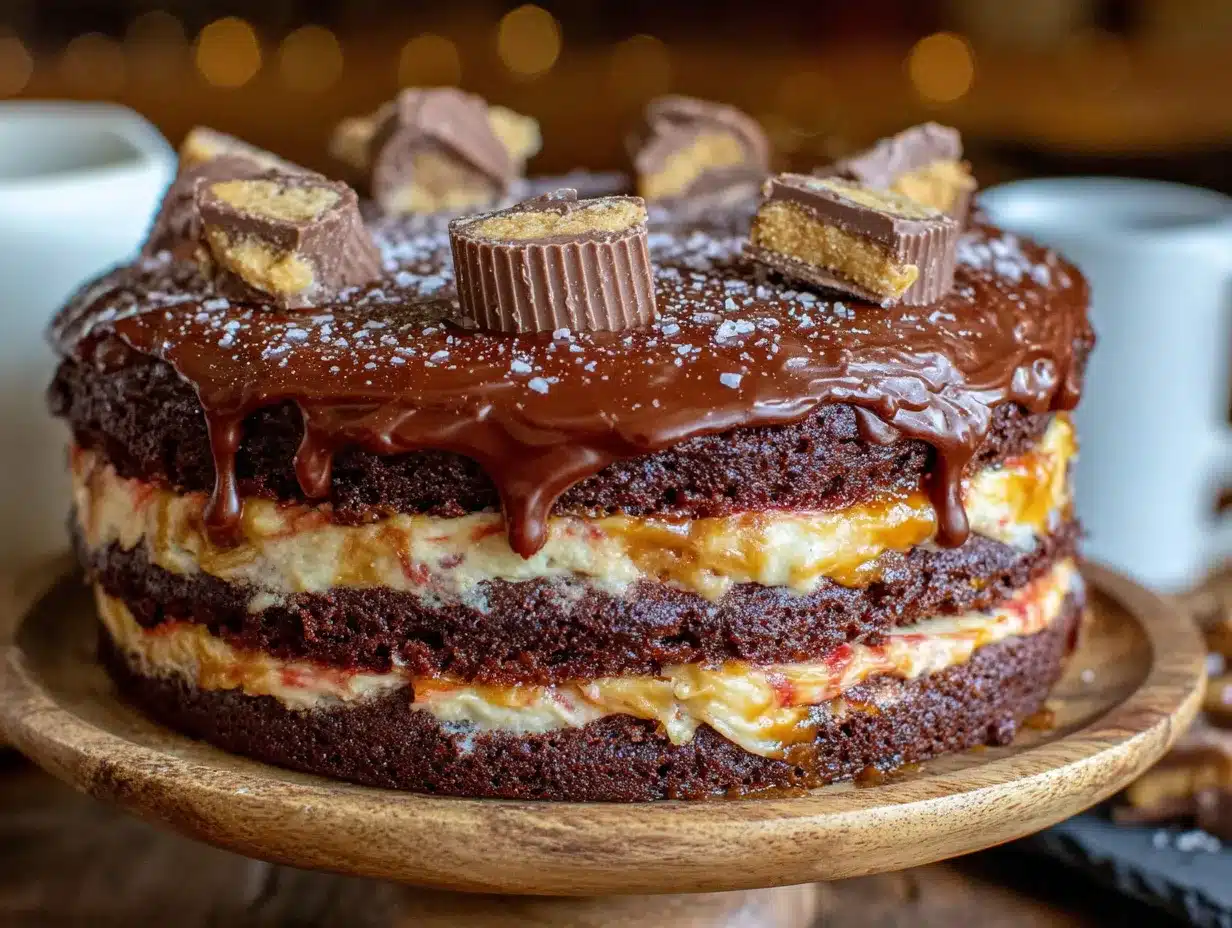
I was standing in the checkout line at Target last Tuesday when I caught it—that unmistakable scent of chocolate and peanut butter wafting from someone’s shopping cart. And just like that, I was nine years old again, sitting on my Aunt Carol’s worn linoleum kitchen floor, watching her pull a perfectly frosted chocolate cake out of the oven. She’d always hide a few Reese’s cups in her apron pocket, handing them to me while the cake cooled. She passed away four years ago, and I still haven’t found a cake that captures that exact feeling—until now. This Ultimate Reese’s Peanut Butter Cup Layer Cake isn’t just a recipe I developed after dozens of trials (and a few spectacular failures, let me tell you). It’s the one that finally made me stop and close my eyes after the first bite. Honestly, I almost cried. Maybe you’ve been there—chasing a taste from your past that you can’t quite put into words but you know the second you’ve found it. This is that cake.
The layers are impossibly moist, the peanut butter frosting is silky without being cloying, and there are chopped Reese’s cups tucked into every single bite. I made this cake for my neighbor’s birthday last month, and she texted me at 11 PM asking for the recipe. That’s when I knew I had to share it.
Why You’ll Love This Recipe
Let me be real with you—I’ve tested this cake six times before I got it just right. The first version was too dry. The second had frosting that slid right off. The third? Let’s just say I learned that too much peanut butter can actually break a buttercream. But this version? This is the one.
Here’s what makes it special:
- Incredibly Moist Layers: The secret is buttermilk and a touch of hot coffee—it deepens the chocolate flavor without tasting like coffee at all.
- Perfect Peanut Butter Frosting: Not too thick, not too runny. It pipes like a dream and holds its shape for days.
- Loaded with Reese’s: We’re not just topping the cake with candy—there are chopped cups in the batter and between every layer.
- Make-Ahead Friendly: The cake layers freeze beautifully, so you can prep this in stages for stress-free entertaining.
- Crowd-Pleasing Magic: I’ve served this at parties, potlucks, and family dinners. It disappears every single time.
This isn’t just another chocolate peanut butter cake recipe. It’s the one where the frosting actually tastes like a Reese’s cup—not just sweet butter with a hint of peanut butter. The texture is soft and tender, and the combination of creamy frosting with crunchy candy bits is pure comfort food heaven.
What Ingredients You Will Need
This recipe uses mostly pantry staples, but a few key ingredients make all the difference. Here’s what you’ll need and why each one matters.
For the Chocolate Cake Layers
- All-purpose flour (2 ½ cups, 315g) — Spoon and level it for accuracy. Too much flour makes the cake dry.
- Unsweetened cocoa powder (¾ cup, 75g) — I prefer Hershey’s Special Dark for a richer chocolate flavor, but regular works great too.
- Granulated sugar (2 cups, 400g) — Don’t reduce the sugar; it’s essential for texture and moisture.
- Baking powder (1 ½ tsp) and baking soda (1 tsp) — Both are needed for the right rise.
- Salt (1 tsp) — Balances the sweetness and enhances the chocolate.
- Buttermilk (1 cup, 240ml) — Makes the cake incredibly tender. No buttermilk? Add 1 tbsp of lemon juice to regular milk and let it sit for 5 minutes.
- Vegetable oil (½ cup, 120ml) — Keeps the cake moist longer than butter alone.
- Large eggs (2, room temperature) — Room temp eggs incorporate better into the batter.
- Vanilla extract (2 tsp) — Pure vanilla, not imitation.
- Hot coffee (1 cup, 240ml) — Sounds weird, I know. But coffee intensifies chocolate flavor without tasting like coffee. Trust me on this.
- Mini Reese’s cups (1 cup, chopped) — Folded into the batter for surprise pockets of peanut butter.
For the Peanut Butter Frosting
- Unsalted butter (1 cup, 226g, softened) — Let it sit out for an hour. Cold butter creates lumpy frosting.
- Creamy peanut butter (1 cup, 250g) — Use a brand like Jif or Skippy. Natural peanut butter that separates will make the frosting grainy.
- Powdered sugar (3 ½ cups, 440g) — Sift it if you want silky-smooth frosting. I don’t always bother, and it’s fine.
- Heavy cream (¼ cup, 60ml) — Adds richness and helps achieve the perfect piping consistency.
- Vanilla extract (1 tsp)
- Salt (¼ tsp) — Just a pinch to cut the sweetness.
For Decoration
- Mini Reese’s cups (about 20, halved) — For the top border.
- Regular Reese’s cups (4-5, chopped) — For the top and sides.
- Chocolate shavings or sprinkles (optional, for extra flair)
I’ve tested this with different peanut butters, and honestly, the processed stuff works best here. The stabilizers in brands like Jif keep the frosting from separating, especially if you’re making it ahead.
Equipment Needed
You don’t need a professional bakery setup, but a few tools will make your life easier.
- Three 8-inch round cake pans — I love my Fat Daddio’s anodized aluminum pans. They conduct heat evenly and never rust. If you only have two pans, bake in batches and let the batter sit at room temperature.
- Stand mixer or hand mixer — A stand mixer makes the frosting a breeze, but a hand mixer works perfectly. You’ll just need to scrape the bowl more often.
- Parchment paper rounds — Cut circles to line the bottom of your pans. This guarantees your cakes release cleanly.
- Cooling rack — Wire racks let air circulate so your cakes cool evenly. No soggy bottoms here.
- Offset spatula — Worth the $8 investment for smooth frosting. A butter knife works, but it’s more frustrating.
- Cake turntable — Nice to have, not essential. I used a lazy Susan for years.
- Serrated knife — For leveling the cake tops if they domed.
Pro tip: Wash your cake pans by hand. Dishwasher detergent can leave a residue that affects how cakes release. Learned that one the hard way.
Preparation Method
Let’s walk through this step by step. I’ve included all the little details I wish someone had told me when I started baking layer cakes.
Step 1: Prep Your Pans and Preheat
Preheat your oven to 350°F (175°C). Grease three 8-inch round cake pans with butter or non-stick spray, then line the bottoms with parchment paper circles. Dust the sides lightly with cocoa powder instead of flour—it prevents white streaks on your dark chocolate cake. Set the pans aside.
Step 2: Mix the Dry Ingredients
In a large bowl, whisk together 2 ½ cups flour, ¾ cup cocoa powder, 2 cups sugar, 1 ½ tsp baking powder, 1 tsp baking soda, and 1 tsp salt. Whisk for about 30 seconds to aerate everything evenly. Don’t skip this—lumps in your dry mix mean lumps in your cake.
Step 3: Combine the Wet Ingredients
In a separate bowl or large measuring cup, whisk together 1 cup buttermilk, ½ cup vegetable oil, 2 eggs, and 2 tsp vanilla. Make sure your eggs are room temperature, or they’ll seize up when you add them to the batter.
Step 4: Make the Batter
Pour the wet ingredients into the dry ingredients and mix on low speed until just combined. The batter will be thick—that’s normal. Slowly stream in 1 cup of hot coffee while mixing on low. The batter will thin out and become silky. Scrape the bottom of the bowl with a spatula to catch any hidden flour pockets. Fold in 1 cup of chopped mini Reese’s cups gently.
Step 5: Bake the Layers
Divide the batter evenly among the three pans (about 1 ½ cups per pan). Bake for 22-28 minutes, rotating the pans halfway through. The cakes are done when a toothpick inserted in the center comes out with a few moist crumbs—not wet batter. Let them cool in the pans for 10 minutes, then run a knife around the edges and turn them out onto a wire rack. Peel off the parchment and let them cool completely. This takes about an hour. Don’t rush it, or your frosting will melt.
Step 6: Make the Peanut Butter Frosting
In the bowl of a stand mixer fitted with the paddle attachment, beat 1 cup of softened butter on medium speed for 2 minutes until creamy. Add 1 cup of peanut butter and beat for another minute until smooth. Reduce speed to low and gradually add 3 ½ cups of powdered sugar, about ½ cup at a time. Add ¼ cup heavy cream, 1 tsp vanilla, and ¼ tsp salt. Increase speed to medium-high and beat for 3 minutes until light and fluffy. If the frosting seems too thick, add another tablespoon of cream. Too thin? Add a few tablespoons of powdered sugar.
Step 7: Assemble the Cake
Place one cake layer on your serving plate or cake board. Use a serrated knife to level the top if it domed. Spread about ¾ cup of frosting evenly over the top. Sprinkle a handful of chopped Reese’s cups over the frosting. Repeat with the second layer. Place the third layer on top, flat side up. Apply a thin crumb coat—a thin layer of frosting that traps all the crumbs. Refrigerate for 20 minutes to set the crumb coat.
Step 8: Frost and Decorate
Apply the remaining frosting to the top and sides of the cake. Use your offset spatula to create swirls or smooth it out—your call. Press halved mini Reese’s cups around the bottom edge. Pile chopped regular Reese’s cups on top. Add chocolate shavings if you’re feeling fancy. Refrigerate for at least 30 minutes before slicing to let the frosting set.
Cooking Tips & Techniques
After testing this cake half a dozen times, here’s what I learned the hard way so you don’t have to.
Room temperature ingredients matter. I know, I know—every recipe says this. But cold eggs and cold buttermilk can make your batter curdle, and cold butter won’t cream properly. Set everything out an hour before you start baking.
Don’t overmix the batter. Once you add the coffee, mix just until it’s incorporated. Overmixing develops gluten and makes the cake tough. You want tender, not chewy.
Weigh your ingredients if you can. Measuring flour by volume is wildly inconsistent. One cup can range from 120g to 150g depending on how you scoop. A $15 kitchen scale is the best investment for consistent results.
Chill the cake before slicing. This cake is so moist that slicing it at room temperature can make the layers slide. Pop it in the fridge for 30 minutes before you cut. Use a sharp serrated knife and wipe it clean between slices for picture-perfect pieces.
My biggest failure? The time I used natural peanut butter in the frosting. It separated into an oily, grainy mess that looked like something from a horror movie. Stick with processed peanut butter for this one.
Variations & Adaptations
This cake is pretty perfect as written, but here are a few ways to make it your own.
- Gluten-Free Version: Swap the all-purpose flour for a 1:1 gluten-free baking flour blend (I like King Arthur’s). Add 1 tsp of xanthan gum if your blend doesn’t include it. The texture will be slightly more delicate, but it works beautifully.
- Chocolate Ganache Drip: Instead of a fully frosted top, make a quick ganache with ½ cup heavy cream and 1 cup chocolate chips. Pour it over the chilled cake and let it drip down the sides. Top with Reese’s cups and sea salt.
- Peanut Butter Lover’s Extreme: Add ½ cup of peanut butter chips to the batter along with the chopped Reese’s. Swirl extra peanut butter into the frosting before frosting the cake.
- Smaller Batch: Halve the recipe and bake two 6-inch layers for a smaller, two-layer cake. Reduce baking time to 18-22 minutes.
- Dairy-Free Option: Use a dairy-free butter substitute (like Miyoko’s), oat milk mixed with lemon juice instead of buttermilk, and a dairy-free heavy cream alternative. The frosting will be slightly softer, so chill it well before serving.
I tried a version with chopped pretzels mixed into the frosting for a salty crunch. It was good, but honestly, the original is better. Sometimes simple wins.
Serving & Storage Suggestions
This cake tastes best at room temperature, so take it out of the fridge about 30 minutes before serving. The flavors are more pronounced, and the texture is softer. Slice with a warm, sharp knife for clean cuts.
Pair it with a tall glass of cold milk, a scoop of vanilla ice cream, or a hot coffee. For a dessert board, arrange slices alongside fresh strawberries and chocolate-covered pretzels.
Storage: Leftover cake keeps in an airtight container in the refrigerator for up to 5 days. The flavors actually get better on day two—the peanut butter and chocolate meld together beautifully. Let slices sit at room temperature for 10 minutes before eating.
Freezing: You can freeze the unfrosted cake layers for up to 3 months. Wrap each cooled layer tightly in plastic wrap, then foil. Thaw at room temperature before frosting. The frosted cake can also be frozen for up to 1 month. Place it in the freezer uncovered for an hour to set the frosting, then wrap it in plastic wrap and foil. Thaw in the refrigerator overnight.
Nutritional Information & Benefits
Let’s be honest—this is a celebration cake, not a health food. But here’s the estimated breakdown per slice (based on 12 servings):
- Calories: ~620
- Fat: 36g
- Saturated Fat: 16g
- Carbohydrates: 72g
- Sugar: 52g
- Protein: 11g
- Fiber: 3g
The peanut butter adds a decent amount of protein and healthy monounsaturated fats, and the cocoa powder is rich in antioxidants. But really, this cake is about joy, not nutrition. It’s the kind of dessert you make for birthdays, holidays, and those days when you just need something spectacular. One slice is plenty—but I won’t judge if you go back for seconds.
Conclusion
This Ultimate Reese’s Peanut Butter Cup Layer Cake is everything I wanted it to be—moist, rich, loaded with peanut butter and chocolate in every single bite, and just nostalgic enough to make you smile. It’s the cake I wish I’d had at my last birthday, and the one I’ll be making for every celebration from now on.
I’d love to hear how yours turns out. Did you add the extra Reese’s cups on top? Did you try the gluten-free version? Drop a comment below and let me know—I read every single one. And if you share a photo on Pinterest, tag me so I can see your beautiful creation.
Happy baking, friend. This one’s a keeper.
Frequently Asked Questions
Can I use natural peanut butter in the frosting?
I don’t recommend it. Natural peanut butter that separates can make the frosting grainy and oily. Stick with processed brands like Jif or Skippy for the best texture.
Can I make this cake ahead of time?
Absolutely. You can bake the cake layers up to 3 days ahead and store them wrapped tightly at room temperature. The frosting can be made 2 days ahead and refrigerated—just let it come to room temperature and re-whip before using.
Why did my cake layers dome in the middle?
Doming happens when the oven temperature is too high or the batter is overmixed. Try lowering your oven by 25°F and mixing just until combined. You can also use cake strips around your pans for flat layers.
Can I use milk instead of buttermilk?
Yes, but the cake won’t be as tender. Make a quick buttermilk substitute by adding 1 tablespoon of lemon juice or white vinegar to 1 cup of milk. Let it sit for 5 minutes before using.
How do I get clean slices?
Chill the cake for at least 30 minutes before slicing. Use a long, sharp serrated knife and wipe it clean between each cut. Run the knife under hot water and dry it for the cleanest slices.
Pin This Recipe!
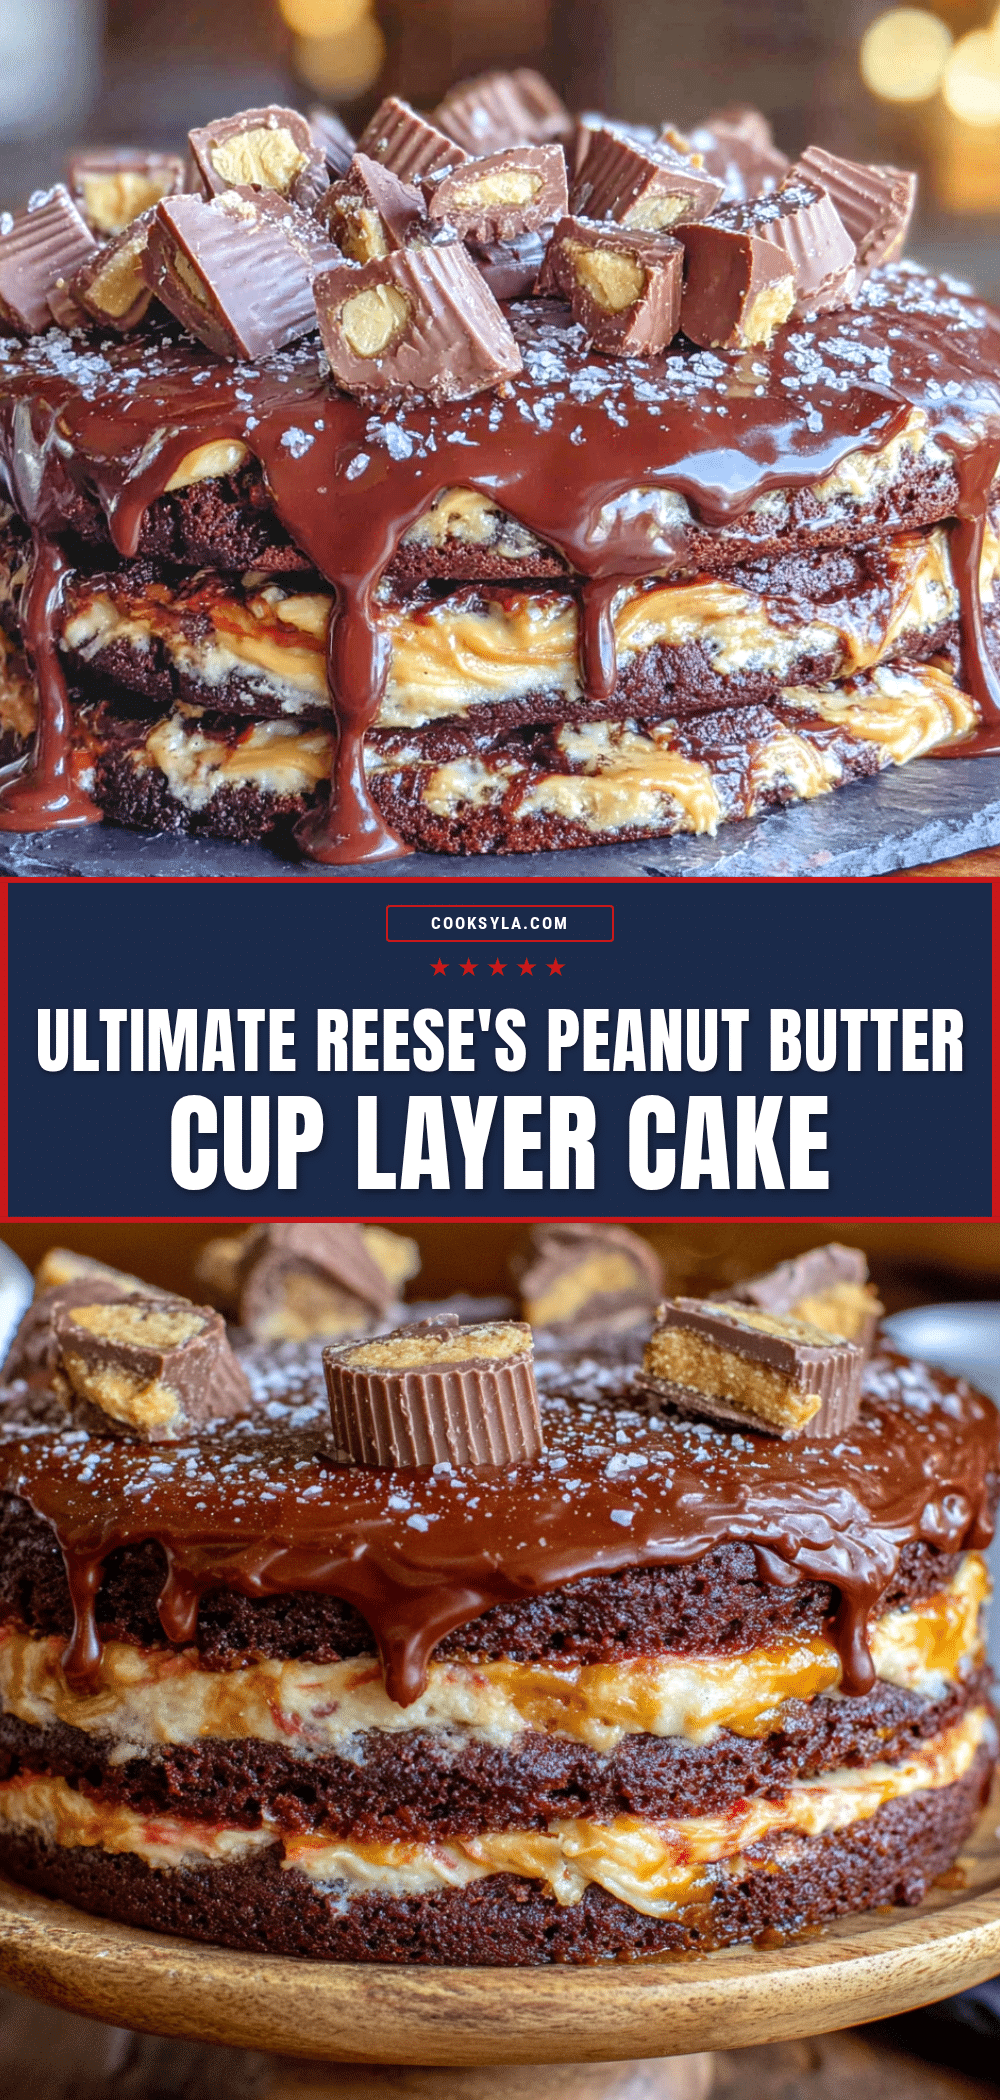
Best Homemade Reese’s Peanut Butter Cup Cake
This Ultimate Reese’s Peanut Butter Cup Layer Cake is moist, rich, and loaded with peanut butter and chocolate in every bite. It’s the nostalgic cake you’ve been searching for, perfect for birthdays and celebrations.
- Prep Time: 30 minutes
- Cook Time: 25 minutes
- Total Time: 1 hour 55 minutes
- Yield: 12 servings 1x
- Category: Dessert
- Cuisine: American
Ingredients
- 2 ½ cups (315g) all-purpose flour
- ¾ cup (75g) unsweetened cocoa powder
- 2 cups (400g) granulated sugar
- 1 ½ tsp baking powder
- 1 tsp baking soda
- 1 tsp salt
- 1 cup (240ml) buttermilk
- ½ cup (120ml) vegetable oil
- 2 large eggs, room temperature
- 2 tsp vanilla extract
- 1 cup (240ml) hot coffee
- 1 cup chopped mini Reese’s cups
- 1 cup (226g) unsalted butter, softened
- 1 cup (250g) creamy peanut butter (e.g., Jif or Skippy)
- 3 ½ cups (440g) powdered sugar
- ¼ cup (60ml) heavy cream
- 1 tsp vanilla extract
- ¼ tsp salt
- About 20 mini Reese’s cups, halved (for decoration)
- 4–5 regular Reese’s cups, chopped (for decoration)
- Chocolate shavings or sprinkles (optional)
Instructions
- Preheat oven to 350°F (175°C). Grease three 8-inch round cake pans, line bottoms with parchment paper, and dust sides with cocoa powder.
- In a large bowl, whisk together flour, cocoa powder, sugar, baking powder, baking soda, and salt for 30 seconds.
- In a separate bowl, whisk together buttermilk, vegetable oil, eggs, and vanilla extract.
- Pour wet ingredients into dry ingredients and mix on low speed until just combined. Slowly stream in hot coffee while mixing on low until batter is smooth. Fold in chopped mini Reese’s cups.
- Divide batter evenly among prepared pans (about 1 ½ cups per pan). Bake for 22-28 minutes, rotating pans halfway through, until a toothpick inserted in center comes out with moist crumbs.
- Let cakes cool in pans for 10 minutes, then run a knife around edges and turn out onto a wire rack. Peel off parchment and cool completely (about 1 hour).
- For frosting: In a stand mixer with paddle attachment, beat softened butter on medium speed for 2 minutes until creamy. Add peanut butter and beat 1 minute. Gradually add powdered sugar on low speed, then add heavy cream, vanilla, and salt. Beat on medium-high for 3 minutes until light and fluffy.
- Level cake tops with a serrated knife if domed. Place one layer on serving plate, spread about ¾ cup frosting, and sprinkle with chopped Reese’s cups. Repeat with second layer. Place third layer on top, flat side up.
- Apply a thin crumb coat of frosting over entire cake. Refrigerate for 20 minutes to set.
- Apply remaining frosting to top and sides. Decorate with halved mini Reese’s cups around bottom edge and chopped regular Reese’s cups on top. Add chocolate shavings if desired.
- Refrigerate for at least 30 minutes before slicing. Serve at room temperature.
Notes
Room temperature ingredients are crucial. Do not use natural peanut butter in the frosting; processed brands like Jif or Skippy work best. Chill the cake before slicing for clean cuts. The cake layers can be frozen for up to 3 months.
Nutrition
- Serving Size: 1 slice
- Calories: 620
- Sugar: 52
- Fat: 36
- Saturated Fat: 16
- Carbohydrates: 72
- Fiber: 3
- Protein: 11
Keywords: Reese's peanut butter cup cake, chocolate peanut butter cake, layer cake, birthday cake, peanut butter frosting


