Love this? Save it for later!
Share the inspiration with your friends
I was standing in the spice aisle of our local grocery store last October, a Tuesday afternoon if I remember right, when someone walked past me carrying a paper bag of cinnamon sticks. The smell hit me like a freight train—sharp and sweet and warm all at once—and suddenly I was seven years old at my aunt Linda’s kitchen table, her hands dusted with flour, the radio playing something scratchy in the background. She was pulling a tray of cookies out of the oven, and the whole room went hazy with that cinnamon-sugar cloud. I can still feel the way the table wobbled because one of the legs was shorter than the others, and how she always used a cracked ceramic bowl that she refused to throw away. She passed away about six years ago, and I’ve spent every fall since trying to get those cookies right. The thing is, I kept failing. They were either too dry or too flat or the pumpkin flavor just disappeared into the sugar. Honestly, I almost gave up. But then I started messing around with the ratios, added a little something extra, and landed on these pumpkin snickerdoodle cookies that finally made me close my eyes after the first bite. Maybe you’ve had that moment where you’re chasing a taste from your past, and when you finally get close, it feels like you’ve brought a little piece of that person back. That’s what these are for me. And now they’re what I bring to every gathering, because nothing says “I’m glad you’re here” like a soft, pillowy cookie that tastes like fall in the best way possible.
Why You’ll Love This Recipe
Let me tell you straight up—I tested this recipe six times before I felt good about sharing it. Six times. My neighbors started texting me asking if I was running a bakery out of my kitchen. But that’s the kind of thing you do when you want a recipe to actually work for real people in real kitchens, not just in some test kitchen with fancy equipment. So here’s what makes these pumpkin snickerdoodle cookies different from every other version you’ve seen:
- Perfectly Soft Texture: These cookies stay soft for days, not dry and crumbly like some pumpkin recipes tend to be. The secret is in how we handle the moisture from the pumpkin puree.
- Simple Ingredients: You probably have most of this stuff in your pantry right now. No weird extracts or hard-to-find spices. Just real, honest baking ingredients.
- Made for Sharing: These are the cookies you bring to a Friendsgiving, a potluck, or a holiday cookie swap. They disappear fast, and people always ask for the recipe.
- Pumpkin Flavor That Actually Comes Through: I hate when pumpkin desserts taste like cinnamon sugar with a vague pumpkin afterthought. These cookies have real pumpkin flavor that lingers.
- No Chilling Required: I know, I know—most snickerdoodle recipes make you chill the dough. Not this one. You can go from mixing bowl to oven in under 20 minutes.
I brought a batch to my friend Maria’s annual fall dinner party last year, and her husband, who swears he doesn’t like pumpkin anything, ate four before anyone else got a turn. That’s when I knew I had something worth keeping. These cookies have that thing—you know, that quality where people take one bite and their eyebrows go up and they say “wait, these are really good” with actual surprise in their voice. It’s the kind of recipe that makes you look like you spent way more effort than you actually did, which is honestly the best kind of recipe to have in your back pocket when you’re hosting.
What Ingredients You Will Need
This recipe uses simple, pantry-friendly ingredients to create cookies that taste like they came from a fancy bakery. The combination of pumpkin puree and classic snickerdoodle spices creates something truly special. Here’s what you’ll need:
For the Cookies
- 2 ¾ cups (345g) all-purpose flour – I prefer King Arthur Flour for consistent results, but any brand works. Spoon and level your flour for best texture.
- 1 teaspoon baking soda – Make sure it’s fresh; old baking soda won’t give you the right rise.
- ½ teaspoon baking powder – This helps the cookies puff up nicely.
- 1 teaspoon ground cinnamon – Use a good quality cinnamon; it makes a difference.
- ½ teaspoon ground nutmeg – Freshly grated if you have it, but pre-ground works perfectly fine.
- ½ teaspoon ground ginger – Adds warmth without being overpowering.
- ¼ teaspoon ground cloves – Just a pinch for depth.
- ½ teaspoon salt – Regular table salt is fine.
- ½ cup (113g) unsalted butter, softened – Let it sit out for about 30 minutes before starting. Don’t microwave it.
- ½ cup (100g) granulated sugar – Regular white sugar.
- ½ cup (100g) packed light brown sugar – This adds moisture and a hint of molasses flavor.
- ½ cup (120g) pumpkin puree – Not pumpkin pie filling. I use Libby’s brand. Drain off any excess liquid before using.
- 1 large egg, room temperature – Let it sit out with the butter.
- 1 teaspoon vanilla extract – Pure vanilla, not imitation.
For the Cinnamon Sugar Coating
- ⅓ cup (67g) granulated sugar
- 2 teaspoons ground cinnamon
- ½ teaspoon pumpkin pie spice – Optional but highly recommended for extra warmth.
A quick note on the pumpkin puree: I always blot mine with a paper towel before adding it to the dough. Pumpkin has a lot of water, and if you don’t remove some of that moisture, your cookies can turn out flat and gummy. Just spread the puree on a plate, press a paper towel on top, and let it sit for a minute. You’ll be amazed at the difference it makes.
Equipment Needed
You don’t need anything fancy to make these pumpkin snickerdoodle cookies, which is part of why I love this recipe so much. Here’s what you’ll want to have on hand:
- Large mixing bowl – Any bowl works, but I prefer a wide one for easier mixing.
- Medium mixing bowl – For combining dry ingredients.
- Electric hand mixer or stand mixer – A hand mixer is totally fine. You can do this by hand with a wooden spoon, but your arm will get tired.
- Measuring cups and spoons – For accuracy, especially with the flour.
- Kitchen scale (optional but helpful) – If you have one, use it for the flour. It’s more precise.
- Baking sheets – Two standard half-sheet pans work great.
- Parchment paper or silicone baking mats – Parchment is cheaper and works just as well.
- Cooling rack – Essential for getting that perfect texture.
- Small shallow bowl – For the cinnamon sugar coating.
- Cookie scoop (about 1.5 tablespoons) – Not required, but it makes uniform cookies that bake evenly. I use my #40 scoop.
If you don’t have a cookie scoop, just use two spoons to portion the dough. It’s not as pretty, but the cookies will taste exactly the same. I actually ruined my first batch of these by using a dark non-stick baking sheet—they browned too fast on the bottom. Stick with light-colored aluminum pans if you can.
Preparation Method
Alright, let’s get to the good part. I’ve broken this down step by step so you don’t miss anything. Trust me, I’ve made every mistake possible with these cookies so you don’t have to.
- Preheat your oven to 350°F (175°C). Line two baking sheets with parchment paper or silicone mats. Don’t skip the parchment—it prevents the bottoms from over-browning.
- Whisk the dry ingredients together. In a medium bowl, combine the flour, baking soda, baking powder, cinnamon, nutmeg, ginger, cloves, and salt. Whisk until everything is evenly distributed. Set this aside.
- Cream the butter and sugars. In a large bowl, beat the softened butter, granulated sugar, and brown sugar together on medium speed for about 2-3 minutes until light and fluffy. Scrape down the sides of the bowl halfway through. You want it to look pale and airy.
- Add the pumpkin, egg, and vanilla. Beat in the pumpkin puree, egg, and vanilla extract on medium speed until combined. The mixture might look slightly curdled at this point—don’t panic, that’s normal. It’ll come together once you add the flour.
- Mix in the dry ingredients gradually. Add the flour mixture to the wet ingredients in two additions, mixing on low speed after each addition just until incorporated. Stop as soon as you don’t see any more flour streaks. Overmixing will make tough cookies, and nobody wants that.
- Make the cinnamon sugar coating. In a small shallow bowl, stir together the ⅓ cup sugar, 2 teaspoons cinnamon, and ½ teaspoon pumpkin pie spice if you’re using it.
- Shape the cookies. Using a cookie scoop or your hands, portion out rounded tablespoons of dough (about 1.5 tablespoons each). Roll each portion into a smooth ball between your palms. The dough will be slightly sticky—that’s okay.
- Coat each ball generously. Roll each dough ball in the cinnamon sugar mixture, making sure it’s completely covered. Place them on the prepared baking sheets about 2 inches apart. They spread a bit, so give them room.
- Bake for 10-12 minutes. Bake one sheet at a time in the center of the oven. The cookies should look puffed and cracked on top, with slightly golden edges. The centers will look soft and underdone—that’s exactly what you want. They’ll continue baking from residual heat on the pan.
- Cool on the baking sheet for 5 minutes. This is crucial. Let them sit on the hot pan for exactly 5 minutes. This allows them to set up properly without overbaking. Then transfer them to a wire rack to cool completely.
Here’s something I learned the hard way: if you try to move them too soon, they’ll fall apart. If you leave them on the pan too long, they’ll overcook and get dry. Set a timer for 5 minutes and stick to it. I once got distracted by a phone call and came back to cookies that were practically glued to the pan. Not my finest moment.
Cooking Tips & Techniques
After making these pumpkin snickerdoodle cookies more times than I care to count, I’ve picked up a few tricks that make a real difference. Let me share the ones that matter most.
The pumpkin blotting trick: I mentioned this earlier, but it bears repeating. Pumpkin puree is watery, and excess moisture is the enemy of a good cookie. After you measure out your ½ cup, spread it on a paper towel-lined plate, put another paper towel on top, and press gently. Let it sit while you prep everything else. You’ll remove about a tablespoon of liquid, and your cookies will be infinitely better for it.
Don’t overbake, seriously: These cookies are meant to be soft. When they come out of the oven, they should look slightly puffy and the edges should just be starting to turn golden. The centers will look almost doughy. That’s the sweet spot. If you wait until they look fully baked, they’ll be dry by the time they cool. I’ve made that mistake more times than I want to admit.
Room temperature ingredients matter: I know it’s tempting to use cold butter straight from the fridge, but take the extra 30 minutes to let it soften. Room temperature butter creams better with the sugar, which means more air in your dough and softer cookies. Same goes for the egg. Cold ingredients don’t emulsify properly, and you’ll end up with a denser cookie.
Use a light-colored baking sheet: Dark pans absorb more heat and will brown the bottoms of your cookies faster. If you only have dark pans, reduce your oven temperature by 25°F and check them a minute or two earlier. I learned this after my first batch came out with burnt bottoms and underdone centers. Not cute.
Bake one sheet at a time: I know it takes longer, but it’s worth it. When you put two sheets in the oven, they block heat from circulating properly, and your cookies bake unevenly. Trust me, your guests will appreciate the extra 10 minutes it takes to bake in batches.
Variations & Adaptations
One of the best things about this recipe is how flexible it is. Here are some ways I’ve adapted it for different needs and occasions:
Gluten-Free Version: I swapped the all-purpose flour for a 1:1 gluten-free baking flour blend (I like Bob’s Red Mill) and it worked beautifully. No one at my dinner party even noticed the difference. Just make sure your blend contains xanthan gum for structure.
Dairy-Free Option: Use vegan butter sticks (not the spreadable kind in a tub) in place of regular butter. I’ve tried this with Miyoko’s brand and the texture was spot-on. The flavor was slightly different but still delicious.
Spice It Up: If you’re like my friend Dave who thinks there’s no such thing as too much spice, add an extra ½ teaspoon of cinnamon and a pinch of cardamom to the dough. It gives the cookies a warm, almost chai-like flavor that’s incredible with coffee.
Add Some Crunch: For texture contrast, fold in ½ cup of chopped pecans or walnuts after the flour is incorporated. Toast them first for extra flavor. I did this for a Thanksgiving gathering and they were a huge hit.
Make Them Ahead: You can freeze the unbaked dough balls (coated in cinnamon sugar) on a baking sheet, then transfer them to a freezer bag. Bake directly from frozen, adding 2-3 minutes to the baking time. This is my secret weapon for unexpected guests.
White Chocolate Drizzle: For a more decadent version, melt ½ cup of white chocolate chips and drizzle it over the cooled cookies. It sounds fancy but takes about 2 minutes. I did this for a cookie exchange and people lost their minds.
Serving & Storage Suggestions
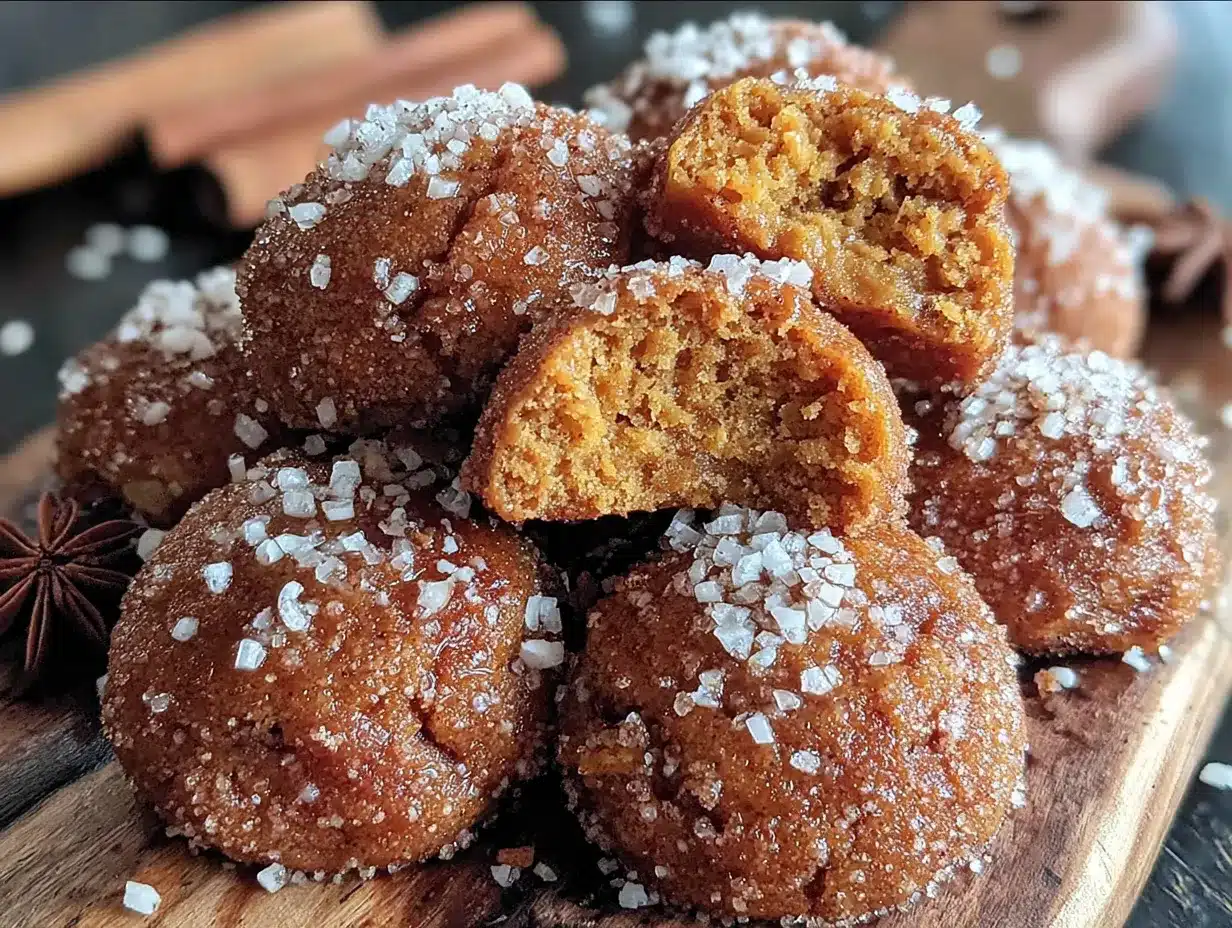
These pumpkin snickerdoodle cookies are best served slightly warm, when the centers are still soft and the cinnamon sugar coating is perfectly set. If you’re hosting, here’s how I like to present them: arrange them on a simple white platter or a wooden board, slightly overlapping, with a small ramekin of extra cinnamon sugar on the side for dipping. It looks effortless but impressive.
For drinks, these cookies pair beautifully with a hot cup of chai tea, a pumpkin spice latte, or even a cold glass of milk. If you’re serving them at a fall gathering, try them alongside a warm apple cider—the combination is absolutely perfect.
To store leftovers (if there are any, which is rare), keep them in an airtight container at room temperature for up to 5 days. Place a piece of bread in the container to help maintain moisture—the cookies will absorb the bread’s moisture instead of drying out. Change the bread every other day if they last that long.
You can also freeze the baked cookies for up to 3 months. Layer them between sheets of parchment paper in a freezer-safe container. Thaw at room temperature for about 30 minutes before serving. Honestly, I think they taste even better after a day or two—the flavors have time to meld together and the texture becomes almost fudgy.
For reheating, pop them in a 300°F oven for about 5 minutes, or microwave for 10-15 seconds. Just don’t overdo it, or they’ll lose that soft texture you worked so hard to achieve.
Nutritional Information & Benefits
Let’s be real—these are cookies, not health food. But I do appreciate that they have a few redeeming qualities. Here’s the estimated nutrition per cookie (based on 24 cookies):
- Calories: 165
- Total Fat: 7g
- Saturated Fat: 4g
- Carbohydrates: 24g
- Sugar: 14g
- Fiber: 1g
- Protein: 2g
- Vitamin A: 15% of daily value (from the pumpkin)
The pumpkin puree actually adds a decent amount of vitamin A, which is good for eye health and immune function. The cinnamon has anti-inflammatory properties, and the ginger can help with digestion. But honestly? I eat these because they make me happy, and there’s something to be said for that kind of nourishment too.
If you’re watching your sugar intake, you can reduce the sugar in the dough by ¼ cup without affecting the texture too much. The coating needs to stay as is, though—that’s what makes them snickerdoodles.
Conclusion
I’ve made a lot of cookies in my life, but these pumpkin snickerdoodle cookies are the ones I keep coming back to. They’re the recipe I turn to when I want to impress people without stressing myself out, when I want to fill my kitchen with that cozy fall smell, and when I want to feel connected to that memory of my aunt Linda and her wobbly kitchen table. Food has a way of doing that, doesn’t it? It ties us to people and places and moments we don’t want to forget.
I hope you make these cookies and they bring you the same kind of joy they’ve brought me. Maybe you’ll tweak the spices to suit your taste, or add your own little twist, and that’s exactly what you should do. Recipes are meant to be lived in, not just followed. So go ahead—make a mess, lick the spoon, and share them with people you love. That’s what they’re for.
If you try these, I’d love to hear about it. Drop a comment below and let me know how they turned out, or tag me in your photos if you share them online. Happy baking, friend!
Frequently Asked Questions
Can I use pumpkin pie filling instead of pumpkin puree?
No, please don’t. Pumpkin pie filling has added sugar and spices that will throw off the entire recipe. Stick with 100% pure pumpkin puree. Libby’s is my go-to brand.
Why did my cookies turn out flat?
This usually happens for one of three reasons: your butter was too soft or melted, you didn’t blot the pumpkin puree, or your baking soda is old. Check your baking soda by dropping a little into vinegar—if it fizzes vigorously, it’s still good.
Can I make these cookies without an electric mixer?
Absolutely. You can cream the butter and sugar by hand with a wooden spoon—it just takes a little more elbow grease. Make sure your butter is very soft before you start, and be patient. It’ll come together.
How do I know when the cookies are done baking?
Look for puffed centers with cracked tops and slightly golden edges. The centers will look soft and underdone when you pull them out. That’s perfect. They’ll continue baking on the hot pan for the 5 minutes you let them rest.
Can I double this recipe for a crowd?
Yes, and I do it all the time for parties. The recipe doubles beautifully. Just make sure your mixer bowl is big enough, and bake in batches. Don’t try to cram more than 12 cookies on a sheet—they need room to spread.
Pin This Recipe!
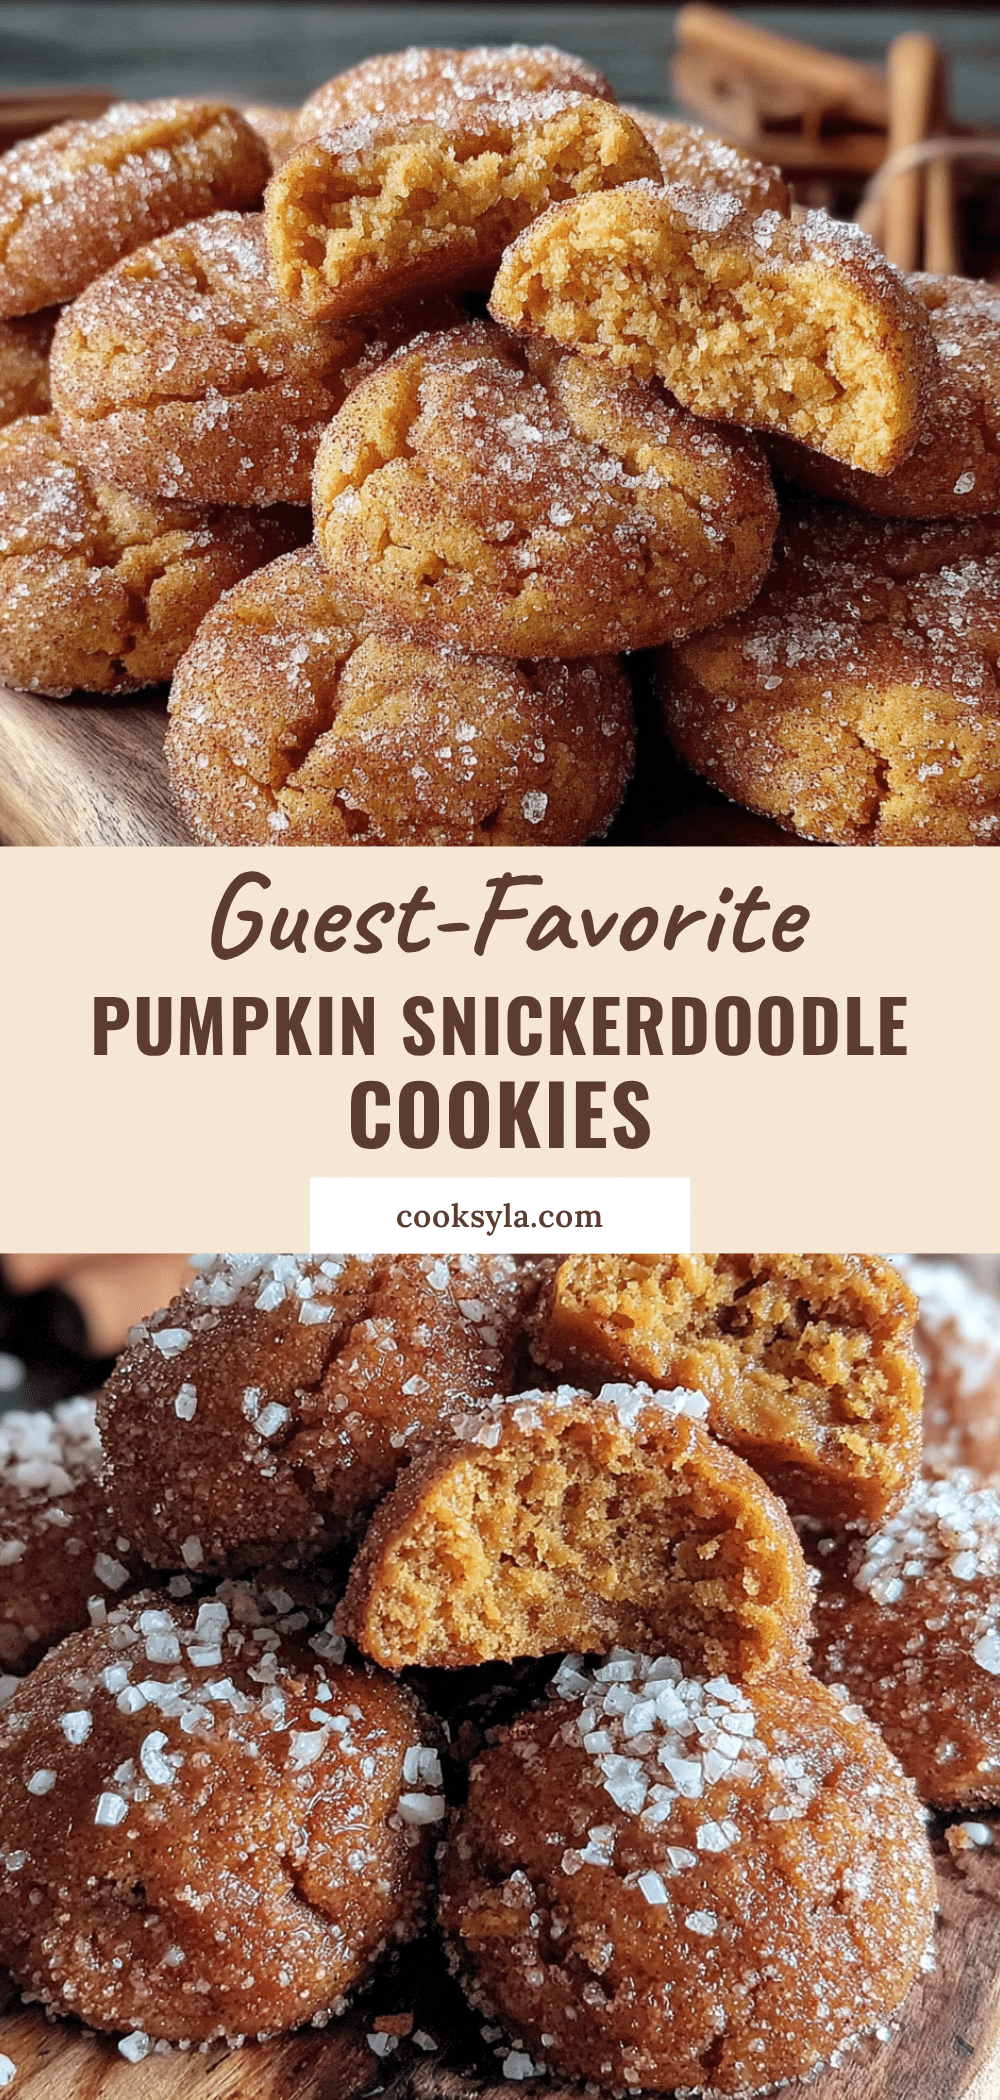
Best Pumpkin Snickerdoodle Cookies – Easy & Guest-Favorite Recipe
These soft, pillowy pumpkin snickerdoodle cookies are packed with real pumpkin flavor and warm spices. They stay soft for days, require no chilling, and are perfect for fall gatherings, potlucks, or holiday cookie swaps.
- Prep Time: 20 minutes
- Cook Time: 12 minutes
- Total Time: 32 minutes
- Yield: 24 cookies 1x
- Category: Dessert
- Cuisine: American
Ingredients
- 2 ¾ cups (345g) all-purpose flour
- 1 teaspoon baking soda
- ½ teaspoon baking powder
- 1 teaspoon ground cinnamon
- ½ teaspoon ground nutmeg
- ½ teaspoon ground ginger
- ¼ teaspoon ground cloves
- ½ teaspoon salt
- ½ cup (113g) unsalted butter, softened
- ½ cup (100g) granulated sugar
- ½ cup (100g) packed light brown sugar
- ½ cup (120g) pumpkin puree (blotted dry)
- 1 large egg, room temperature
- 1 teaspoon vanilla extract
- ⅓ cup (67g) granulated sugar (for coating)
- 2 teaspoons ground cinnamon (for coating)
- ½ teaspoon pumpkin pie spice (optional, for coating)
Instructions
- Preheat your oven to 350°F (175°C). Line two baking sheets with parchment paper or silicone mats.
- In a medium bowl, whisk together the flour, baking soda, baking powder, cinnamon, nutmeg, ginger, cloves, and salt until evenly distributed. Set aside.
- In a large bowl, beat the softened butter, granulated sugar, and brown sugar together on medium speed for 2-3 minutes until light and fluffy. Scrape down the sides halfway through.
- Beat in the pumpkin puree, egg, and vanilla extract on medium speed until combined. The mixture may look slightly curdled—this is normal.
- Add the flour mixture to the wet ingredients in two additions, mixing on low speed after each addition just until incorporated. Do not overmix.
- In a small shallow bowl, stir together the ⅓ cup sugar, 2 teaspoons cinnamon, and ½ teaspoon pumpkin pie spice (if using).
- Using a cookie scoop or your hands, portion out rounded tablespoons of dough (about 1.5 tablespoons each). Roll each portion into a smooth ball.
- Roll each dough ball in the cinnamon sugar mixture until completely coated. Place on prepared baking sheets about 2 inches apart.
- Bake one sheet at a time in the center of the oven for 10-12 minutes. The cookies should look puffed and cracked on top with slightly golden edges; centers will look soft and underdone.
- Cool on the baking sheet for exactly 5 minutes, then transfer to a wire rack to cool completely.
Notes
Blot the pumpkin puree with a paper towel to remove excess moisture. Use room temperature butter and egg for best results. Bake one sheet at a time for even baking. Do not overbake; cookies should look slightly underdone when removed from the oven. For gluten-free, use a 1:1 gluten-free flour blend with xanthan gum. For dairy-free, use vegan butter sticks. Store in an airtight container at room temperature for up to 5 days; place a piece of bread in the container to maintain moisture. Freeze unbaked dough balls for up to 3 months.
Nutrition
- Serving Size: 1 cookie
- Calories: 165
- Sugar: 14
- Sodium: 120
- Fat: 7
- Saturated Fat: 4
- Carbohydrates: 24
- Fiber: 1
- Protein: 2
Keywords: pumpkin snickerdoodle cookies, pumpkin cookies, snickerdoodle recipe, fall cookies, easy pumpkin cookies, soft pumpkin cookies, no chill cookies


