Love this? Save it for later!
Share the inspiration with your friends
The PTA bake sale was in twelve hours and I’d completely forgotten. I mean, it was on the calendar—written in blue pen and everything—but somehow I’d skimmed right past it. Everyone else would be bringing those perfect Pinterest-tier cookies and elaborate bundt cakes. I had a half-stick of butter, three eggs that were technically still good, a bag of flour, and a deep sense of panic. My neighbor Carmen, who is always calm in a crisis, saw me staring into my pantry like it had personally betrayed me. “You’re overthinking it,” she said, handing me a zester. “Make bread. The one with the orange.” She meant pan de muerto. I’d never made it before, not even close. But I had oranges, I had anise, and I had no time to argue.
So I started mixing, and honestly, it was a mess at first. I forgot to bloom the yeast properly—had to start over. The dough was too sticky, then too dry, then I spilled orange zest all over the counter. At one point I was kneading with one hand and texting my sister for moral support with the other. But something happened around the second rise. The kitchen smelled like a warm hug. The dough felt soft and alive under my hands. I shaped the little bone decorations and placed them on top, thinking, “Well, this is going to be a lumpy disaster.”
It wasn’t. That rustic, golden loaf—dusted with sugar and smelling like orange blossom and cinnamon—was the first thing to sell out at the bake sale. A little girl picked it up by the “bone” and her mom bought two. I stood there, flour still under my nails, feeling like I’d accidentally won something. Maybe you’ve been there—when the simplest thing you throw together in a panic turns out to be the one people remember. That’s this bread. It’s not fancy. It’s not fussy. It’s just honest, homemade, and full of the kind of flavor that makes you close your eyes for a second. That’s why I keep making it, every single year.
Why You’ll Love This Classic Pan de Muerto Recipe
Let me tell you why this particular recipe has earned a permanent spot in my fall baking rotation. I’ve tested a lot of pan de muerto recipes over the years—some were too dry, some were too sweet, some required a trip to a specialty grocery store for ingredients I couldn’t even pronounce. This one is different. It’s the one I keep coming back to, and I think you will too.
- Family-Friendly & Budget-Conscious : This recipe uses basic pantry staples—flour, sugar, butter, eggs, yeast. No expensive extracts, no hard-to-find flours. You can feed your whole family for under five dollars. That’s a win in my book.
- Simple Enough for a Weeknight : While it does require rising time, the active work is only about 20 minutes. You can start the dough after dinner, let it rise while you clean up, and bake it before bed. Fresh bread for breakfast? Yes, please.
- Picky Eater Approved : The subtle orange and anise flavor is gentle—not overpowering. My own kids, who usually turn up their noses at anything “spicy,” devour this bread. It’s sweet but not dessert-sweet, which makes it perfect for breakfast or an afternoon snack.
- Perfect for Dia de Muertos (or Any Day) : While this bread is traditional for Day of the Dead celebrations, it’s also wonderful for fall gatherings, Thanksgiving morning, or just a cozy Sunday at home. You don’t need a special occasion to enjoy it.
- Leftovers That Reheat Beautifully : This bread stays moist for days. If you have any left (which is rare in my house), it toasts up beautifully with butter and a drizzle of honey.
What makes this version different from all the others? It’s the combination of fresh orange zest and a touch of anise seed. That little bit of licorice-like warmth adds a depth that plain orange bread just doesn’t have. Plus, I’ve tweaked the hydration ratio so the dough is forgiving—even if you’re a beginner bread baker, you’ll get a soft, fluffy loaf. It’s comfort food reimagined: traditional enough to honor the holiday, simple enough for a Tuesday night.
What Ingredients You Will Need
This recipe uses simple, wholesome ingredients to deliver that signature pan de muerto flavor and texture. Most of these are probably in your kitchen right now, which is exactly how I like it.
For the Dough
- 4 cups (500g) all-purpose flour – I prefer Gold Medal or King Arthur for consistent results. Spoon and level your flour—don’t scoop directly from the bag or you’ll end up with dry dough.
- 1/2 cup (100g) granulated sugar – Regular white sugar works perfectly. You can reduce this to 1/3 cup if you prefer a less sweet bread.
- 1 packet (2 1/4 tsp) active dry yeast – I use Fleischmann’s. Make sure your yeast isn’t expired—check the date on the packet.
- 1/2 cup (120ml) whole milk, warm – About 110°F. Too hot will kill the yeast; too cold won’t activate it. (adds richness)
- 1/4 cup (60ml) water, warm – Same temperature as the milk.
- 1/4 cup (60g) unsalted butter, softened – Let it sit out for 30 minutes. If you only have salted butter, reduce the added salt to 1/4 teaspoon.
- 2 large eggs, room temperature – Cold eggs will shock the dough. Set them in a bowl of warm water for 5 minutes if you’re in a hurry.
- 1 tbsp orange zest – From about one large orange. Use a microplane—it makes a difference. (adds bright flavor)
- 1 tsp anise seed – This is the secret ingredient. You can find it in the spice aisle. If you don’t like anise, substitute 1/2 tsp vanilla extract.
- 1/2 tsp salt – Fine sea salt or table salt.
For the Topping & Glaze
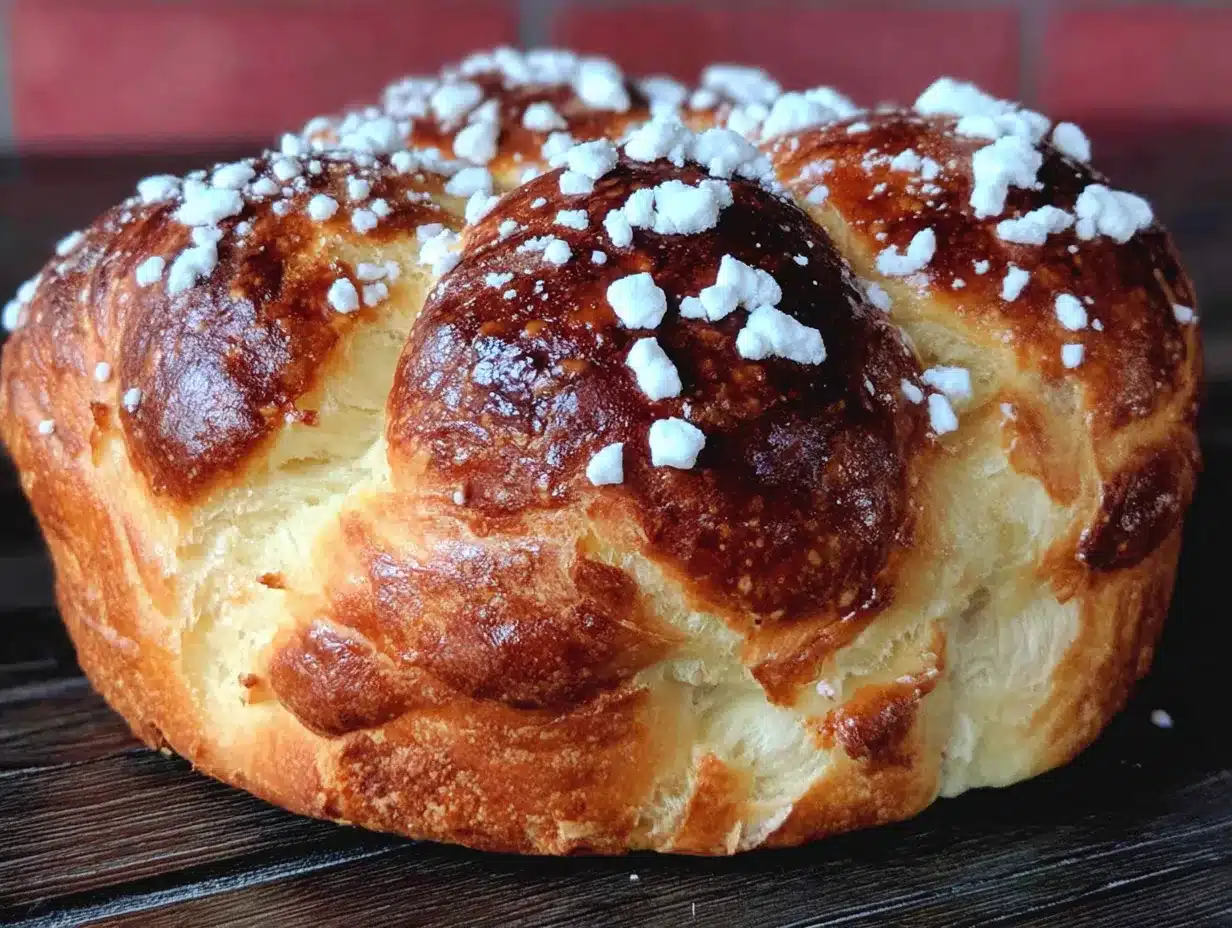
- 2 tbsp unsalted butter, melted – For brushing after baking.
- 2 tbsp granulated sugar – Mixed with 1/2 tsp cinnamon for dusting.
- 1 tbsp orange juice – Optional, for a light glaze. Mix with 1/2 cup powdered sugar if you want a drizzle.
Ingredient Tips: For the best flavor, use a fresh orange—not bottled juice. The zest is where the magic happens. If anise isn’t your thing, you can skip it or swap in a pinch of nutmeg. I’ve also made this with gluten-free 1-to-1 flour (Bob’s Red Mill works well), and while the texture is slightly denser, it’s still delicious.
Equipment Needed
You don’t need a fancy kitchen to make this bread. Here’s what you’ll need:
- Large mixing bowl – Glass or stainless steel works best. Plastic can retain odors.
- Measuring cups and spoons – For dry and wet ingredients.
- Kitchen scale (optional but helpful) – Weighing your flour ensures accuracy. I use a simple OXO scale.
- Microplane or fine grater – For zesting the orange. A box grater works too, but microplane is easier.
- Stand mixer with dough hook (optional) – You can absolutely knead by hand—it takes about 8–10 minutes. The mixer just saves your arms.
- Baking sheet – A standard half-sheet pan lined with parchment paper.
- Pastry brush – For the butter glaze. A silicone one is easiest to clean.
- Clean kitchen towel – For covering the dough while it rises.
Budget-Friendly Tip: Don’t have a stand mixer? No problem. Hand kneading is actually better for this dough—you get a feel for the texture. I learned to make this bread in a tiny apartment with a wooden spoon and a lot of patience.
Preparation Method
Step 1: Activate the Yeast (5 minutes)
In a small bowl, combine the warm milk and warm water. Sprinkle the yeast and 1 tablespoon of the sugar on top. Let it sit for 5 minutes until it’s foamy and smells like bread. If it doesn’t foam, your yeast is dead—start over with fresh yeast. I learned this the hard way on a Tuesday night and ended up with hockey pucks.
Step 2: Mix the Dough (10 minutes)
In your large bowl, whisk together the flour, remaining sugar, anise seed, and salt. Make a well in the center. Add the yeast mixture, softened butter, eggs, and orange zest. Stir with a wooden spoon until a shaggy dough forms. It will look rough—that’s okay.
Step 3: Knead the Dough (8–10 minutes)
Turn the dough out onto a lightly floured surface. Knead by pushing the dough away from you with the heel of your hand, folding it over, and repeating. The dough should be smooth and elastic—like a baby’s bottom, my grandma used to say. If it’s too sticky, add flour 1 tablespoon at a time. If it’s too dry, add water 1 teaspoon at a time. You’re aiming for a dough that’s soft but not tacky.
Step 4: First Rise (1–1.5 hours)
Place the dough in a lightly greased bowl. Cover with a clean kitchen towel and let it rise in a warm, draft-free spot. I put mine in the microwave (turned off) with a cup of hot water. It should double in size—this usually takes about 60–90 minutes depending on your kitchen temperature.
Step 5: Shape the Bread (15 minutes)
Punch the dough down gently. Divide it into two pieces: one large piece (about 2/3 of the dough) for the base, and one smaller piece (1/3) for the decorations. Shape the large piece into a round loaf and place it on your parchment-lined baking sheet. From the smaller piece, roll four “bones” (long ropes about 4 inches each) and one small ball for the top center. Place the bones in an X pattern on top of the loaf, with the ball in the center. This represents the circle of life and death—a beautiful tradition.
Step 6: Second Rise (45 minutes–1 hour)
Cover the shaped loaf with the towel and let it rise again until puffy, about 45 minutes. It won’t double this time, but it should look noticeably bigger and feel soft when you gently poke it.
Step 7: Bake (25–30 minutes)
Preheat your oven to 350°F (175°C). Bake the bread on the middle rack for 25–30 minutes, until the top is deep golden brown and the bottom sounds hollow when tapped. If the top is browning too fast, tent it loosely with foil after 15 minutes.
Step 8: Glaze & Serve (5 minutes)
Let the bread cool on the pan for 5 minutes. Brush generously with melted butter, then sprinkle with the cinnamon-sugar mixture. If you want an orange glaze, whisk the orange juice with powdered sugar and drizzle over the top. Serve warm or at room temperature.
Cooking Tips & Techniques
I’ve made this bread at least twenty times, and I’ve messed it up in almost every way possible. Here’s what I’ve learned:
Don’t rush the yeast. That 5-minute foam test is non-negotiable. I once skipped it because I was in a hurry, and the bread came out dense and sad. Take the time.
Temperature matters. Cold ingredients will make your dough stubborn. Warm your milk, soften your butter, and let your eggs sit out. Your dough will thank you by rising beautifully.
Trust your hands. The dough should feel soft and slightly tacky—like a sticky note that’s lost its stick. If it’s sticking to your fingers like gum, add a little more flour. If it feels dry and tight, add a splash of water.
Shape with confidence. The bone decorations are supposed to look rustic. Don’t stress about perfection. I’ve made bones that looked like twisted pretzels and they still tasted amazing. The imperfections are part of the charm.
Multitask wisely. While the dough is rising, clean your kitchen, set the table, or prep other dishes. The first rise is a great time to make a quick dinner or help the kids with homework.
Watch the oven. Every oven runs differently. Start checking at 20 minutes. If your bread is getting too dark, cover it with foil. I burned my first loaf because I got distracted folding laundry.
Variations & Adaptations
One of the best things about this classic pan de muerto bread is how adaptable it is. Here are some variations I’ve tried and loved:
Dairy-Free Version: Substitute the milk with oat milk or almond milk, and use vegan butter (I like Miyoko’s). The texture is slightly less tender but still very good. My dairy-sensitive nephew loves this version.
Gluten-Free Adaptation: Use a 1-to-1 gluten-free flour blend. Add an extra tablespoon of water since gluten-free flours absorb more liquid. The bread will be a bit denser, but the flavor is spot-on. I’ve made this for a friend with celiac and she said it was the best gluten-free bread she’d ever had.
Flavor Twists: Swap the orange zest for lemon or grapefruit zest. Replace the anise seed with cardamom (1/2 tsp) for a warmer, spicier note. Add 1/4 cup of dried cranberries or chopped candied ginger to the dough for a festive touch.
Savory Version: Reduce the sugar to 2 tablespoons, omit the anise, and add 1 teaspoon of dried rosemary and 1/2 cup of shredded cheddar cheese. Skip the sweet glaze and brush with olive oil instead. This makes an amazing bread for soup or chili.
Mini Loaves: Divide the dough into 6–8 smaller pieces and shape them into mini rounds. Reduce the baking time to 15–18 minutes. These are perfect for lunchboxes or as gifts.
Serving & Storage Suggestions
This bread is best served warm, right after the butter glaze has soaked in. I like to pull it apart at the table—the “bones” are the most popular pieces in my house. Serve it alongside a cup of Mexican hot chocolate, coffee, or a warm glass of horchata. For Dia de Muertos, I arrange it on a simple platter with marigolds and a few sugar skulls for a beautiful presentation.
Storage: Keep leftover bread in an airtight container at room temperature for up to 3 days. Do not refrigerate—it will dry out the bread. If your kitchen is very warm, you can store it in a bread box.
Freezing: This bread freezes beautifully. Wrap the cooled, unglazed loaf tightly in plastic wrap, then in foil. Freeze for up to 3 months. To serve, thaw overnight in the fridge, then reheat in a 300°F oven for 10 minutes. Glaze after reheating.
Reheating: For a single slice, pop it in the toaster or microwave for 10 seconds. For the whole loaf, wrap in foil and warm in a 300°F oven for 10–15 minutes. The flavors actually deepen overnight—I sometimes think day-old pan de muerto is even better.
Nutritional Information & Benefits
Here’s an approximate nutritional breakdown per serving (1/8 of the loaf):
- Calories: 285
- Fat: 9g
- Carbohydrates: 45g
- Protein: 6g
- Fiber: 1g
- Sugar: 16g
Health Highlights: While this is a treat, it does offer some nutritional benefits. The orange zest provides vitamin C and antioxidants. The anise seed has been used traditionally to aid digestion. And because it’s homemade, you control the ingredients—no preservatives, no artificial flavors, no high-fructose corn syrup.
Dietary Considerations: This recipe contains gluten, dairy, and eggs. For allergen-friendly versions, see the variations section above. If you’re watching your sugar intake, you can reduce the sugar in the dough to 1/3 cup without affecting the texture too much.
My Personal Perspective: I believe in balance. This bread is a celebration food, meant to be enjoyed with family. It’s not an everyday breakfast, but it’s also not something to feel guilty about. Share it, savor it, and maybe take a walk afterward. That’s my approach.
Conclusion
This classic pan de muerto bread is more than a recipe—it’s a tradition you can start in your own kitchen. It’s the bread that accidentally won a bake sale, the bread that fills your home with the smell of orange and cinnamon, the bread that brings people together. Whether you’re celebrating Dia de Muertos or just want a beautiful, delicious loaf for your family, this recipe delivers.
I love that this bread doesn’t demand perfection. The rustic shapes, the slightly uneven glaze, the way the “bones” always look a little different—that’s what makes it real. That’s what makes it yours.
So go ahead, give it a try. Make a mess. Forget the time. Let the dough rise while you live your life. And then pull that golden, fragrant loaf out of the oven and watch your family’s faces light up. When you do, come back and tell me about it in the comments. I’d love to hear how your pan de muerto turned out, what variations you tried, and who ate the bone decorations first. Happy baking, friends.
Frequently Asked Questions
Can I make pan de muerto ahead of time?
Absolutely. You can make the dough through the first rise, punch it down, and refrigerate it overnight. The next day, let it come to room temperature for about 30 minutes, then shape, rise, and bake as directed. The cold fermentation actually adds more flavor.
Why didn’t my dough rise?
This usually happens for one of three reasons: your yeast was expired or dead, your liquids were too hot (killed the yeast), or your kitchen was too cold. Check your yeast date, use a thermometer for your liquids, and find a warm spot for rising. I use the microwave trick with a cup of hot water.
Can I use bread flour instead of all-purpose?
Yes, bread flour will give you a chewier, slightly denser texture. I actually prefer all-purpose for this recipe because it makes a softer, more tender bread that’s closer to the traditional version. But if bread flour is what you have, it will work fine.
What does anise seed taste like? Can I skip it?
Anise seed has a mild licorice-like flavor that’s subtle and warm. If you don’t like licorice, don’t worry—it’s very gentle in this bread. You can skip it entirely or substitute with 1/2 teaspoon of vanilla extract or cardamom. The bread will still be delicious.
How do I know when the bread is done baking?
The bread should be deep golden brown on top and sound hollow when you tap the bottom. You can also use an instant-read thermometer—the internal temperature should be 190°F (88°C). If the top is browning too fast, tent it with foil for the last 10 minutes of baking.
Pin This Recipe!
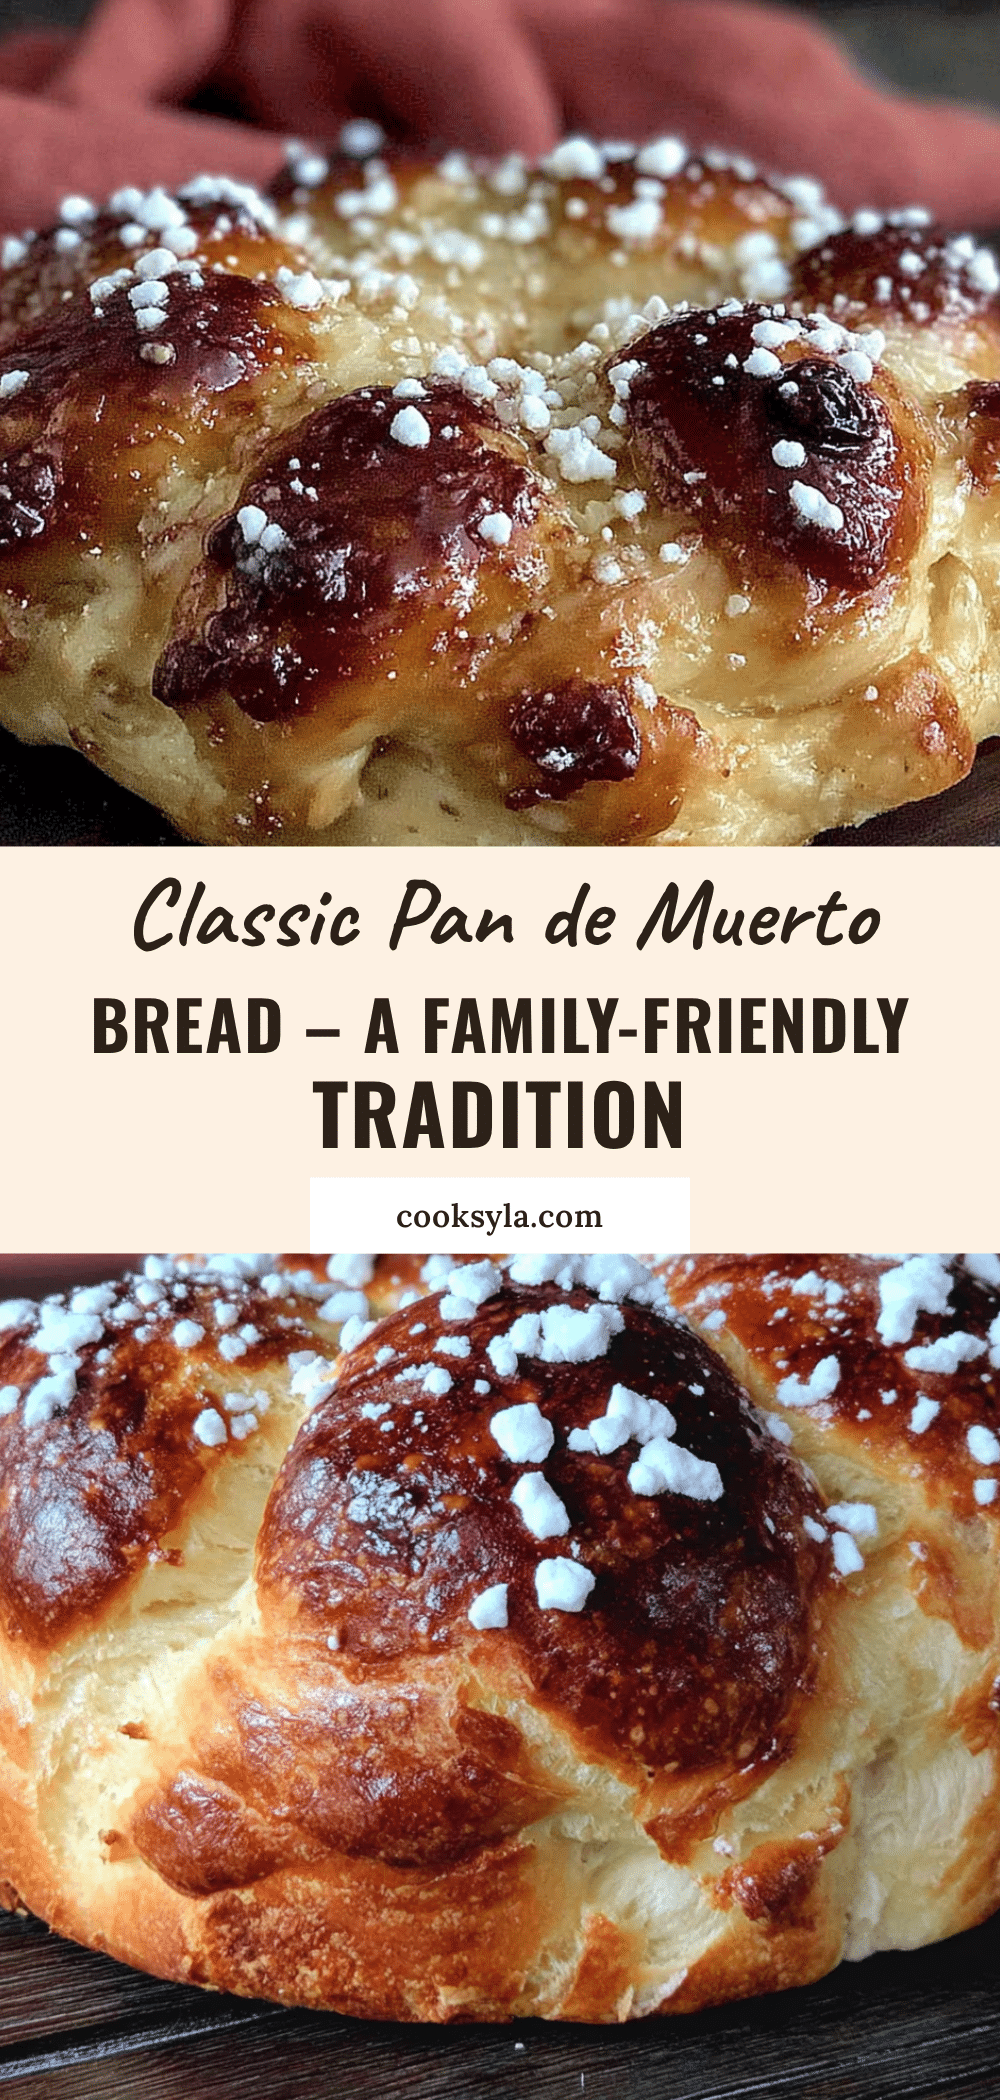
Classic Pan de Muerto Recipe: Easy Homemade Bread for Dia de Muertos

This classic pan de muerto bread is a soft, golden loaf infused with orange zest and a touch of anise, perfect for Day of the Dead celebrations or any cozy fall day. It’s a simple, budget-friendly recipe that yields a beautifully rustic bread with a sweet cinnamon-sugar topping.
- Prep Time: 20 minutes
- Cook Time: 25-30 minutes
- Total Time: 2 hours 30 minutes (including rising time)
- Yield: 8 servings 1x
- Category: Bread
- Cuisine: Mexican
Ingredients
- 4 cups (500g) all-purpose flour
- 1/2 cup (100g) granulated sugar
- 1 packet (2 1/4 tsp) active dry yeast
- 1/2 cup (120ml) whole milk, warm (about 110°F)
- 1/4 cup (60ml) water, warm (about 110°F)
- 1/4 cup (60g) unsalted butter, softened
- 2 large eggs, room temperature
- 1 tbsp orange zest
- 1 tsp anise seed
- 1/2 tsp salt
- 2 tbsp unsalted butter, melted (for topping)
- 2 tbsp granulated sugar (for topping)
- 1/2 tsp cinnamon (for topping)
- 1 tbsp orange juice (optional, for glaze)
- 1/2 cup powdered sugar (optional, for glaze)
Instructions
- Activate the yeast: In a small bowl, combine warm milk and warm water. Sprinkle yeast and 1 tablespoon of sugar on top. Let sit for 5 minutes until foamy.
- Mix the dough: In a large bowl, whisk together flour, remaining sugar, anise seed, and salt. Make a well in the center. Add yeast mixture, softened butter, eggs, and orange zest. Stir with a wooden spoon until a shaggy dough forms.
- Knead the dough: Turn dough onto a lightly floured surface. Knead for 8-10 minutes until smooth and elastic. Add flour 1 tablespoon at a time if too sticky, or water 1 teaspoon at a time if too dry.
- First rise: Place dough in a lightly greased bowl, cover with a clean kitchen towel, and let rise in a warm, draft-free spot for 1-1.5 hours until doubled in size.
- Shape the bread: Punch down dough. Divide into two pieces: 2/3 for the base, 1/3 for decorations. Shape the large piece into a round loaf on a parchment-lined baking sheet. From the smaller piece, roll four ‘bones’ (4-inch ropes) and one small ball. Place bones in an X pattern on top of the loaf with the ball in the center.
- Second rise: Cover shaped loaf with towel and let rise for 45 minutes to 1 hour until puffy.
- Bake: Preheat oven to 350°F (175°C). Bake on middle rack for 25-30 minutes until deep golden brown and bottom sounds hollow when tapped. Tent with foil after 15 minutes if browning too fast.
- Glaze and serve: Let bread cool on pan for 5 minutes. Brush with melted butter, then sprinkle with cinnamon-sugar mixture. For an orange glaze, whisk orange juice with powdered sugar and drizzle over top. Serve warm or at room temperature.
Notes
Don’t rush the yeast activation. Use room temperature ingredients for best results. The bone decorations are meant to look rustic. For a dairy-free version, substitute oat milk and vegan butter. For gluten-free, use a 1-to-1 gluten-free flour blend and add an extra tablespoon of water. Leftovers can be stored at room temperature for up to 3 days or frozen for up to 3 months.
Nutrition
- Serving Size: 1/8 of loaf
- Calories: 285
- Sugar: 16
- Sodium: 150
- Fat: 9
- Saturated Fat: 5
- Carbohydrates: 45
- Fiber: 1
- Protein: 6
Keywords: pan de muerto, Day of the Dead bread, Mexican sweet bread, orange bread, anise bread, homemade bread, fall baking


