Love this? Save it for later!
Share the inspiration with your friends
There used to be a little French-inspired café tucked into a converted garage on a side street in Portland that made the most incredible baked apples I have ever tasted. When they closed—suddenly, with a handwritten sign taped to the door one rainy Tuesday—I genuinely felt a little pang of loss. I mean, it sounds dramatic to say you mourned a dessert, but honestly, I had dreams about those apples. After twelve tries—some burnt, some mushy, one that I accidentally dropped on the floor—I finally got it. These Cozy Slow-Roasted Cinnamon Vanilla Bean Apples are the exact recreation of that memory, and let me tell you, the journey was worth every single sticky, cinnamon-covered failure.
The first time I attempted them, I was too impatient. I cranked the oven high, thinking I could speed things up. Nope. The apples split open and turned into something resembling apple sauce with a sad, leathery skin. The second time, I used the wrong variety of apple, and they just turned to mush. My kitchen smelled amazing, but the texture was all wrong. It wasn’t until I grabbed a vanilla bean on a whim—something I usually reserve for fancy custards—that everything clicked. The tiny black specks swirling through the warm, syrupy juices changed everything.
Maybe you’ve been there. You find a dish somewhere that just hits different, and no matter what you do, you can’t quite capture it at home. It becomes this little culinary white whale. Well, I caught mine. These apples are tender but not falling apart, swimming in a buttery, honey-kissed sauce with real vanilla flavor that no extract can mimic. They make your whole house smell like a fall candle, but better. I keep making them because they remind me that good things are worth the mess—and because they taste like the coziest hug you’ve ever had in dessert form.
Why You’ll Love This Recipe
Let’s be honest—finding a dessert that feels both special and incredibly simple is like finding gold. These Cozy Slow-Roasted Cinnamon Vanilla Bean Apples are exactly that. I’ve tested this recipe more times than I care to admit, tweaking temperatures and ratios until it was just right. Here’s why I think you’ll fall for them too:
- Incredibly Easy: You only need about 10 minutes of active prep time. The oven does all the hard work, slowly coaxing the apples into tender perfection. It’s practically a set-it-and-forget-it dessert.
- Simple, Whole Ingredients: No weird additives or hard-to-find items. Apples, butter, honey, cinnamon, and a vanilla bean. That’s it. You probably have most of these in your kitchen right now.
- Perfect for Cozy Nights In: Whether it’s a chilly Sunday evening, a Thanksgiving dinner that needs a no-stress finale, or just a Tuesday that calls for comfort, these apples fit the bill beautifully.
- Impressive Without the Stress: When you serve these, people think you spent hours. The vanilla bean specks and the glossy syrup look incredibly elegant. But you and I will know the secret—it was almost no work at all.
- Unbelievably Delicious: The texture is the star here. The apples are soft enough to cut with a spoon but hold their shape. The sauce is buttery, sweet, and deeply fragrant with cinnamon and real vanilla. It’s the kind of dessert that makes you close your eyes after the first bite.
What makes this recipe different from every other baked apple out there is the technique. Slow roasting at a low temperature allows the natural sugars to caramelize gently without the apples collapsing. And using a real vanilla bean instead of extract? That’s the game-changer. It adds a floral, creamy depth that you just can’t get from a bottle. This isn’t just another version of baked apples—it’s the best version, perfected through trial and error so you don’t have to make the same mistakes I did.
What Ingredients You Will Need
This recipe relies on a handful of quality ingredients to create something truly memorable. Each one plays a specific role in building flavor and texture. Here’s what you’ll need, along with a few notes from my years of apple-roasting experience.
- 4 large apples — This is the most important choice you’ll make. You want firm, slightly tart apples that hold their shape during long, slow cooking. I recommend Honeycrisp, Braeburn, or Pink Lady varieties. Avoid McIntosh or Red Delicious—they turn to mush. Look for apples that feel heavy for their size and have no soft spots.
- 4 tablespoons unsalted butter, softened — Butter adds richness and helps create that glossy, silky sauce. I use unsalted so I can control the salt level. Let it come to room temperature so it blends easily with the other filling ingredients. (Kerrygold is my go-to for its creamy flavor.)
- 1/4 cup honey — Honey brings a floral sweetness that pairs beautifully with apples and vanilla. You can use maple syrup for a slightly different, earthier flavor. Local honey is always a nice touch if you have it.
- 1 vanilla bean — This is non-negotiable for the real magic. The tiny seeds create those beautiful black specks and an intoxicating aroma. Use a sharp paring knife to split the bean lengthwise and scrape out the seeds. Don’t throw the pod away! Add it to the pan while roasting—it infuses even more flavor into the syrup.
- 1 teaspoon ground cinnamon — The cozy backbone of this dish. I prefer Ceylon cinnamon for its milder, sweeter profile, but Cassia works perfectly too. Fresh spices make a difference here—if your cinnamon is more than a year old, consider replacing it.
- 1/4 teaspoon ground nutmeg — Just a touch adds warmth without overpowering the other flavors. Freshly grated nutmeg is a revelation if you have a whole nut and a microplane.
- Pinch of fine sea salt — Salt might seem odd in a dessert, but it balances the sweetness and makes the other flavors pop. Don’t skip it.
- 1/2 cup water or apple cider — This goes in the bottom of the baking dish to create steam and prevent the apples from drying out. Apple cider adds another layer of fall flavor, but plain water works just fine.
For the optional but highly recommended serving:
- Vanilla ice cream or whipped cream — The warm apples with cold, creamy ice cream is a match made in heaven. A dollop of lightly sweetened whipped cream is a lighter alternative.
- Fresh mint leaves — A tiny sprig on top adds a pop of color and a fresh contrast to the rich, warm flavors.
Equipment Needed
You don’t need a fancy kitchen to make these apples, which is part of their charm. Here’s what you’ll need:
- Small baking dish — An 8×8 inch square dish or a small oval gratin dish works perfectly. You want something that fits the apples snugly so the liquid surrounds them. I use a ceramic dish that I picked up at a thrift store for three dollars—it works like a charm.
- Sharp paring knife — For coring the apples and splitting the vanilla bean. A serrated knife can also work for coring if that’s what you have.
- Small bowl — For mixing the butter, honey, vanilla seeds, and spices together.
- Measuring spoons — Accuracy matters, even in a simple recipe like this.
- Vegetable peeler — You’ll peel a strip around the middle of each apple. A standard peeler is fine, but a Y-shaped peeler gives you more control.
- Foil — To cover the dish for the first part of roasting.
If you don’t have a vanilla bean, you can substitute 1 teaspoon of good-quality vanilla extract, but you’ll miss out on those beautiful specks and the intense flavor. Also, don’t worry if you don’t have a specific baking dish—any oven-safe dish that holds the apples without too much extra space will work. I’ve even used a cast-iron skillet in a pinch, and it turned out beautifully.
Preparation Method
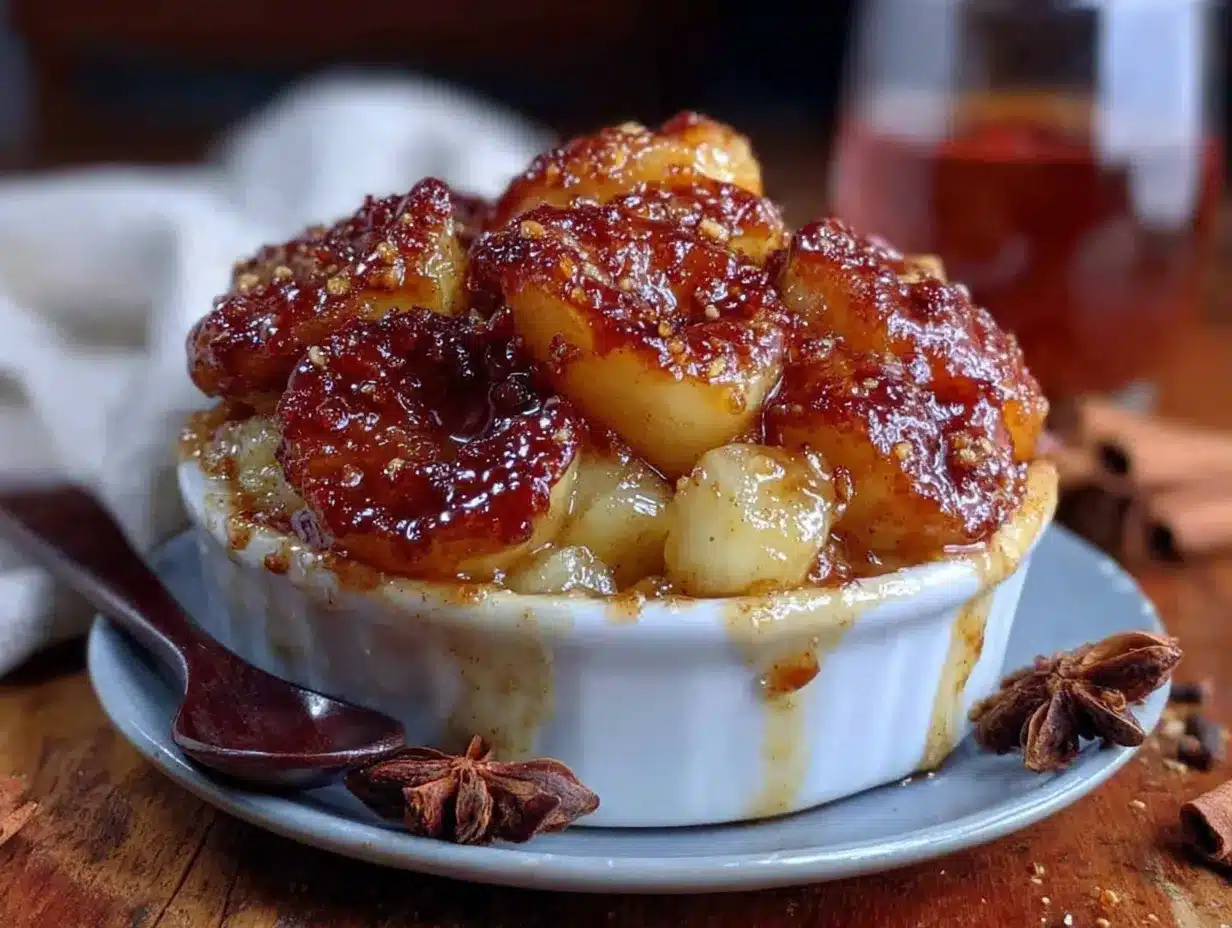
- Preheat your oven to 300°F (150°C). Yes, this is lower than most baked apple recipes. Trust me on this. The low heat is the secret to tender, not mushy, apples. While the oven heats, position a rack in the center.
- Prepare the apples. Wash and dry your apples thoroughly. Using a sharp paring knife or an apple corer, remove the core from each apple, leaving the bottom intact so the filling doesn’t leak out. I like to cut a small cross on the bottom of each apple with my knife—it helps them sit flat in the dish. Then, using a vegetable peeler, remove a 1-inch strip of peel around the middle of each apple. This prevents the skin from bursting while roasting and allows the syrup to soak into the flesh.
- Make the filling. In a small bowl, combine the softened butter, honey, vanilla bean seeds (save the pod!), ground cinnamon, ground nutmeg, and a pinch of salt. Mash everything together with a fork until it forms a smooth, fragrant paste. Take a moment to smell it—this is the scent of fall in a bowl.
- Stuff the apples. Place the apples upright in your baking dish. Using a small spoon or your fingers, divide the butter mixture evenly among the cavities of the apples, pressing it down gently. Don’t worry if a little spills over the top—it will melt and become part of the sauce.
- Add the vanilla pod and liquid. Tuck the spent vanilla bean pod into the dish between the apples. Pour the water or apple cider into the bottom of the dish, being careful not to wash the filling out of the apples. The liquid should come about 1/4 inch up the sides of the apples.
- Roast, covered. Cover the dish tightly with foil and place it in the preheated oven. Roast for 45 minutes. During this time, the apples will steam and begin to soften. Your kitchen will start to smell like a dream.
- Uncover and baste. After 45 minutes, carefully remove the foil. Using a spoon, baste the apples with the juices that have collected in the bottom of the dish. This step is crucial for flavor—the syrup is liquid gold at this point.
- Roast, uncovered. Continue roasting, uncovered, for another 20-30 minutes. The apples are done when they are tender all the way through—a knife inserted into the thickest part should meet little resistance. The syrup should be bubbly and slightly thickened. The total roasting time is about 65-75 minutes, but ovens vary, so start checking at the 60-minute mark.
- Rest before serving. Remove the dish from the oven and let the apples rest for 5-10 minutes. This allows the juices to settle and the apples to firm up slightly, making them easier to serve. Discard the vanilla pod (or rinse and dry it to use in sugar!).
- Serve warm. Spoon the apples into shallow bowls, drizzle generously with the warm syrup from the dish, and top with a scoop of vanilla ice cream or a dollop of whipped cream. Garnish with a sprig of fresh mint if you’re feeling fancy.
Cooking Tips & Techniques
After a dozen attempts, I learned a few things the hard way. Here are my best tips to make sure your first try is a success.
Don’t rush the temperature. I know it’s tempting to turn the oven up to 375°F and hope for the best. I tried it. The apples burst, the syrup burned, and I was left with a sticky mess. Low and slow at 300°F is the way. It gives the apples time to soften evenly without the outside getting ahead of the inside.
Watch your apple variety. This is probably the most common mistake. Not all apples are created equal for baking. You need apples that hold their shape. Honeycrisp and Braeburn are my top picks. Granny Smith works too, but they are tarter, so you might want to add an extra tablespoon of honey. Stay far away from Red Delicious or McIntosh—they will literally melt into a puddle.
Baste, baste, baste. That syrup pooling in the bottom of the dish is pure flavor. Basting the apples halfway through ensures they soak up all that buttery, vanilla goodness. Don’t skip this step. I forgot to baste once, and the tops of the apples were dry and sad. Learn from my mistake.
Use a real vanilla bean. I cannot stress this enough. The flavor difference between a vanilla bean and extract is like the difference between a fresh peach and canned peaches. Both are fine, but one is clearly superior. The little black seeds are also visually stunning against the golden apples and syrup.
Peel strategically. Peeling a strip around the middle isn’t just for looks. It allows the apples to expand without the skin splitting unpredictably. It also creates a little channel for the syrup to seep into the flesh. Don’t peel the whole apple—the skin helps hold everything together.
Variations & Adaptations
One of the best things about this recipe is how flexible it is. Here are a few ways to make it your own.
Vegan Version: Swap the butter for vegan butter or coconut oil. The flavor will be slightly different, but still delicious. Use maple syrup instead of honey to keep it fully plant-based. Everything else stays the same.
Spice It Up: Add a pinch of cardamom or ginger to the butter mixture for a more complex spice profile. Cardamom pairs beautifully with apple and vanilla. I tried this once on a whim, and it was absolutely wonderful—like a chai-spiced apple.
Stuffed with Goodies: Before adding the butter mixture, stuff the apple cavities with a tablespoon of dried cranberries, chopped pecans, or rolled oats. It adds texture and turns the apples into a more substantial dessert. My sister loves them stuffed with walnuts and a drizzle of maple syrup.
Slow Cooker Method: If you don’t want to use your oven, this recipe adapts beautifully to a slow cooker. Prepare the apples as directed, place them in the slow cooker, add the liquid, and cook on low for 3-4 hours or on high for 1.5-2 hours. The texture will be slightly softer, but the flavor is just as amazing.
Low-Sugar Option: Reduce the honey to 2 tablespoons or replace it with a sugar-free maple syrup alternative. The apples have natural sweetness, so you won’t miss it much. The sauce will be thinner, but still packed with flavor.
Serving & Storage Suggestions
These apples are best served warm, straight from the oven, when the syrup is at its most luscious and the apples are perfectly tender. Spoon one into a shallow bowl and pour a generous amount of the pan juices over the top. A scoop of vanilla bean ice cream is the classic pairing, but a dollop of lightly sweetened whipped cream or a drizzle of heavy cream is equally wonderful. For a special touch, sprinkle a little flaky sea salt over the top—it balances the sweetness beautifully.
If you have leftovers (which is rare in my house), let the apples cool completely, then transfer them to an airtight container with all the syrup. They will keep in the refrigerator for up to 4 days. The flavors actually continue to meld and deepen, so they might taste even better the next day.
To reheat, place the apples in a small oven-safe dish, cover with foil, and warm in a 300°F oven for 10-15 minutes. You can also microwave them on medium power in 30-second bursts, but the texture won’t be quite as nice. I don’t recommend freezing them—the apples become too watery and lose their structure when thawed.
One thing I love about this recipe is how the syrup thickens as it cools. If you have extra syrup left in the dish after serving, save it! Drizzle it over oatmeal, yogurt, pancakes, or even ice cream. It’s liquid gold, honestly.
Nutritional Information & Benefits
While this is definitely a dessert, it’s one made with whole, recognizable ingredients. Here’s the approximate nutritional breakdown per serving (one apple with syrup, without ice cream):
- Calories: 245
- Fat: 12g
- Carbohydrates: 36g
- Fiber: 5g
- Sugar: 27g
- Protein: 1g
Apples are a fantastic source of dietary fiber and vitamin C. The fiber, especially if you leave the skin on (which I partially do), helps with digestion and keeps you feeling full. Honey contains antioxidants and has natural antibacterial properties. Cinnamon is known for its anti-inflammatory effects and can help regulate blood sugar levels. And while butter is high in saturated fat, a small amount in a balanced diet is perfectly fine—it adds richness and helps you absorb fat-soluble vitamins from the apples.
If you’re watching your sugar intake, you can easily reduce the honey or swap it for a sugar-free alternative. This dessert is naturally gluten-free and can be made dairy-free or vegan with simple substitutions. It’s a dessert that feels indulgent but is made from ingredients you can feel good about.
Conclusion
These Cozy Slow-Roasted Cinnamon Vanilla Bean Apples are more than just a dessert—they’re an experience. The way the scent fills your kitchen, the way the syrup glistens on the plate, the way the first warm bite tastes like pure comfort. This recipe came from a place of loss—a little café that disappeared—but it turned into something I now share with everyone I love. It’s proof that you can recreate a memory, even if it takes a few burnt apples to get there.
I hope you make these apples on a chilly evening when you need a little warmth. I hope you serve them to people you care about, and I hope they make you close your eyes after that first bite. And when you do, I’d love to hear about it. Leave a comment below and tell me how they turned out, or share your own twist on the recipe. Did you add cardamom? Use a different apple variety? Serve them with something unexpected? Let’s keep this cozy conversation going.
Happy cooking, friend. Your oven is waiting.
Frequently Asked Questions
Can I use apple pie spice instead of cinnamon and nutmeg?
Absolutely! Apple pie spice is a blend of cinnamon, nutmeg, and allspice, and it works perfectly here. Use 1 1/4 teaspoons in place of the individual spices.
What if I don’t have a vanilla bean?
You can substitute 1 teaspoon of pure vanilla extract. Add it to the butter mixture instead of the vanilla bean seeds. The flavor will still be lovely, but you’ll miss out on those beautiful black specks.
Can I make these apples ahead of time?
Yes! You can prepare the apples (core and peel them) up to 24 hours in advance. Store them in the refrigerator, covered. When you’re ready to bake, make the filling and proceed with the recipe. You may need to add 5-10 minutes to the baking time since the apples will be cold.
Why did my apples turn into mush?
This usually happens for one of two reasons: you used a soft apple variety like McIntosh or Red Delicious, or you roasted them at too high a temperature. Stick with firm apples like Honeycrisp or Braeburn and keep your oven at 300°F for the best results.
Can I double this recipe?
Definitely! Just use a larger baking dish so the apples aren’t crowded. You may need to add 10-15 minutes to the total roasting time. Check for doneness by piercing the apples with a knife—they should be tender all the way through.
Pin This Recipe!
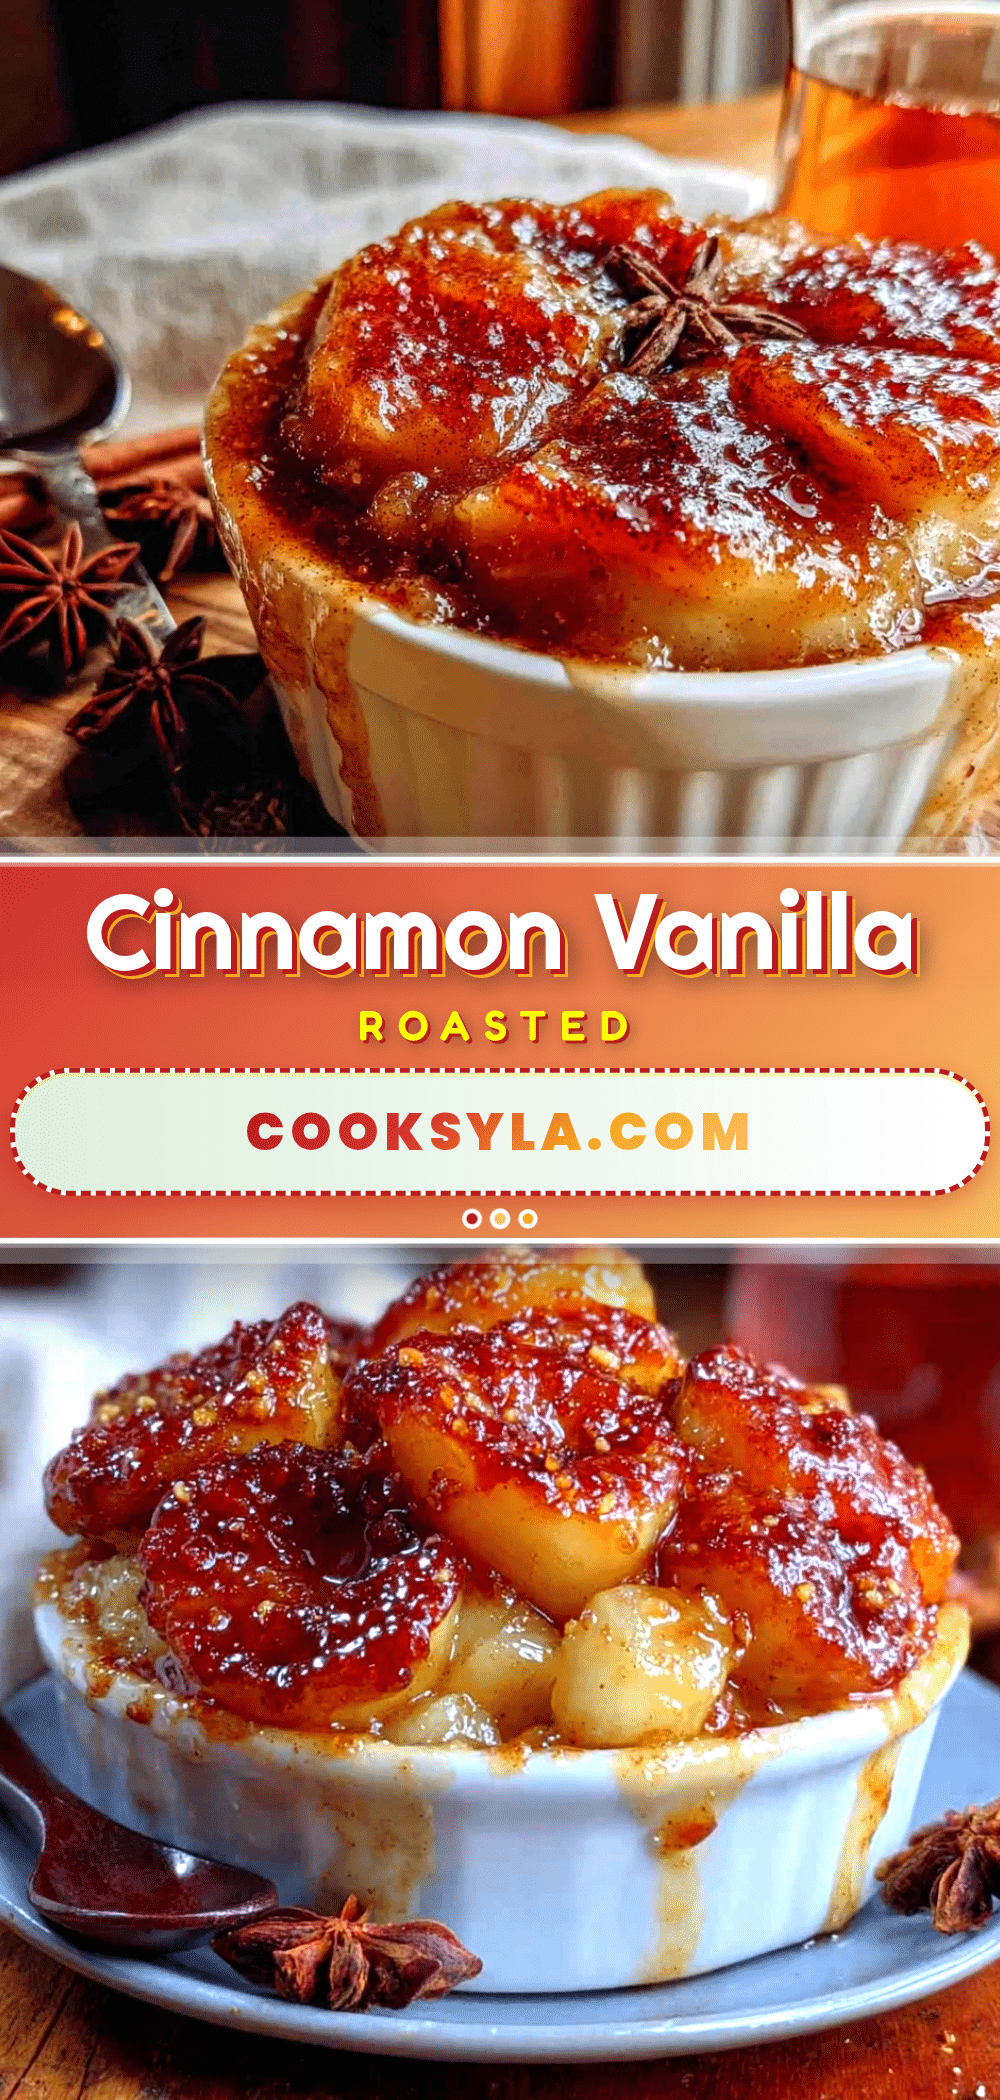
Cozy Slow-Roasted Cinnamon Vanilla Bean Apples

Tender, slow-roasted apples in a buttery honey-vanilla syrup, perfect for a cozy fall dessert. This easy recipe recreates a beloved café classic with simple, whole ingredients.
- Prep Time: 10 minutes
- Cook Time: 65-75 minutes
- Total Time: 75-85 minutes
- Yield: 4 servings 1x
- Category: Dessert
- Cuisine: American
Ingredients
- 4 large apples (Honeycrisp, Braeburn, or Pink Lady)
- 4 tablespoons unsalted butter, softened
- 1/4 cup honey
- 1 vanilla bean
- 1 teaspoon ground cinnamon
- 1/4 teaspoon ground nutmeg
- Pinch of fine sea salt
- 1/2 cup water or apple cider
- Vanilla ice cream or whipped cream (for serving, optional)
- Fresh mint leaves (for garnish, optional)
Instructions
- Preheat your oven to 300°F (150°C). Position a rack in the center.
- Wash and dry the apples. Using a sharp paring knife or apple corer, remove the core from each apple, leaving the bottom intact. Cut a small cross on the bottom of each apple to help them sit flat. Using a vegetable peeler, remove a 1-inch strip of peel around the middle of each apple.
- In a small bowl, combine the softened butter, honey, vanilla bean seeds (save the pod), ground cinnamon, ground nutmeg, and a pinch of salt. Mash together with a fork until smooth.
- Place the apples upright in a small baking dish. Divide the butter mixture evenly among the cavities of the apples, pressing it down gently.
- Tuck the spent vanilla bean pod into the dish between the apples. Pour the water or apple cider into the bottom of the dish, being careful not to wash the filling out of the apples. The liquid should come about 1/4 inch up the sides of the apples.
- Cover the dish tightly with foil and roast for 45 minutes.
- After 45 minutes, carefully remove the foil. Baste the apples with the juices from the bottom of the dish.
- Continue roasting, uncovered, for another 20-30 minutes, until the apples are tender all the way through and the syrup is bubbly and slightly thickened. Total roasting time is about 65-75 minutes.
- Remove the dish from the oven and let the apples rest for 5-10 minutes. Discard the vanilla pod.
- Serve warm, spooned into shallow bowls with the syrup drizzled over the top. Top with vanilla ice cream or whipped cream and garnish with fresh mint if desired.
Notes
For best results, use firm apples like Honeycrisp or Braeburn. Do not rush the temperature—low and slow at 300°F is key. Basting halfway through ensures the apples soak up the syrup. A real vanilla bean is highly recommended for the best flavor and visual appeal. To make vegan, substitute butter with vegan butter or coconut oil and use maple syrup instead of honey.
Nutrition
- Serving Size: 1 apple with syrup
- Calories: 245
- Sugar: 27
- Sodium: 75
- Fat: 12
- Saturated Fat: 7
- Carbohydrates: 36
- Fiber: 5
- Protein: 1
Keywords: baked apples, slow-roasted apples, cinnamon vanilla bean apples, fall dessert, easy dessert, healthy dessert, gluten-free dessert, vegan option


