Love this? Save it for later!
Share the inspiration with your friends
My neighbor, a retired rancher named Dale, swore he hated green chile. For thirty years, he said it. He’d spent his whole life in New Mexico and claimed the stuff was nothing but a burned mouth and regret. I believed him. We’d trade garden vegetables over the fence, and he’d always politely decline my salsa verde. Then one Tuesday, I made a batch of these Creamy Hatch Green Chili Chicken Enchiladas just for myself. I was feeling homesick for the Southwest, and honestly, I didn’t think twice about it. I left a pan on his porch with a note that said “No pressure.”
An hour later, I caught him. He was sitting on his back step, fork in hand, scraping the last bit of creamy sauce from the corner of the baking dish. He didn’t even look guilty. “Fine,” he said, pointing the fork at me. “You got me. What’s in this?” That moment—catching a man in the act of proving himself wrong—is exactly the energy these enchiladas bring. They aren’t just another weeknight dinner. They are a quiet, creamy, smoky argument that changes minds without trying. Maybe you’ve been there, trying to convince someone that a certain ingredient is worth a second chance. This recipe does the convincing for you.
I keep coming back to this dish because it handles the hard part for you. It takes the bold, earthy heat of Hatch green chiles and wraps it in a blanket of sour cream and Monterey Jack. It is rich without being heavy, and it comes together faster than you’d expect. The first time I made them, I forgot to soften the tortillas—classic move—and they cracked right down the middle. I just layered the pieces into the pan like a patchwork quilt. It still tasted perfect. That’s the kind of forgiving recipe this is. It’s not precious. It’s just good.
Why You’ll Love This Recipe
These Creamy Hatch Green Chili Chicken Enchiladas have become my most-requested dish, and for good reason. I’ve tested this recipe six times to get the sauce-to-filling ratio exactly right—not too soupy, not too dry. Here is why it stands out in a world full of enchilada recipes.
- Quick & Easy: From start to table in about 45 minutes. The filling comes together while the oven preheats, making it a realistic choice for a Tuesday night.
- Simple Ingredients: You need a rotisserie chicken, canned or jarred Hatch chiles, and basic dairy. No trips to a specialty store required.
- Perfect for Potlucks & Family Dinners: This dish travels well, reheats like a dream, and always gets scooped up first at gatherings.
- Crowd-Pleaser: Even people who claim they “don’t like spicy food” go back for seconds. The creaminess tames the heat beautifully.
- Unbelievably Delicious: The combination of smoky roasted chiles, tangy sour cream, and melty cheese creates a flavor that feels both indulgent and comforting.
What makes this different from other enchilada recipes is the sauce. Most versions rely on a red or green enchilada sauce that can be acidic or thin. Here, we build a creamy base directly into the filling and the topping, so every bite is cohesive. It is not just another version—it is the version that makes you close your eyes after the first bite. It’s comfort food reimagined: faster, creamier, and with the same soul-soothing satisfaction you crave on a cold night. Perfect for impressing guests without stress, or turning a simple Wednesday meal into something memorable.
What Ingredients You Will Need
This recipe uses simple, wholesome ingredients to deliver bold flavor and satisfying texture without the fuss. Most of these are pantry staples or easy to find at a standard grocery store, especially during Hatch chile season in late summer.
For the Filling
- 3 cups cooked, shredded chicken (from one rotisserie chicken works perfectly; save the bones for stock)
- 8 oz cream cheese, softened (adds richness and helps bind the filling; full-fat is best for texture)
- 1 cup sour cream (I prefer Daisy brand for its thickness; it won’t curdle during baking)
- 1 (7 oz) can or jar of Hatch green chiles, diced (mild or medium heat depending on your tolerance; I use Ortega or 505 Southwestern)
- 1 cup shredded Monterey Jack cheese (melts beautifully; you can substitute with a Mexican blend)
- 1/2 cup chopped green onions (both white and green parts; adds a mild onion bite)
- 1/2 teaspoon garlic powder (not fresh garlic here—it can become bitter during baking)
- 1/2 teaspoon ground cumin (adds warmth and depth; toast it in a dry pan for 30 seconds if you have time)
- Salt and black pepper to taste
For the Assembly & Topping
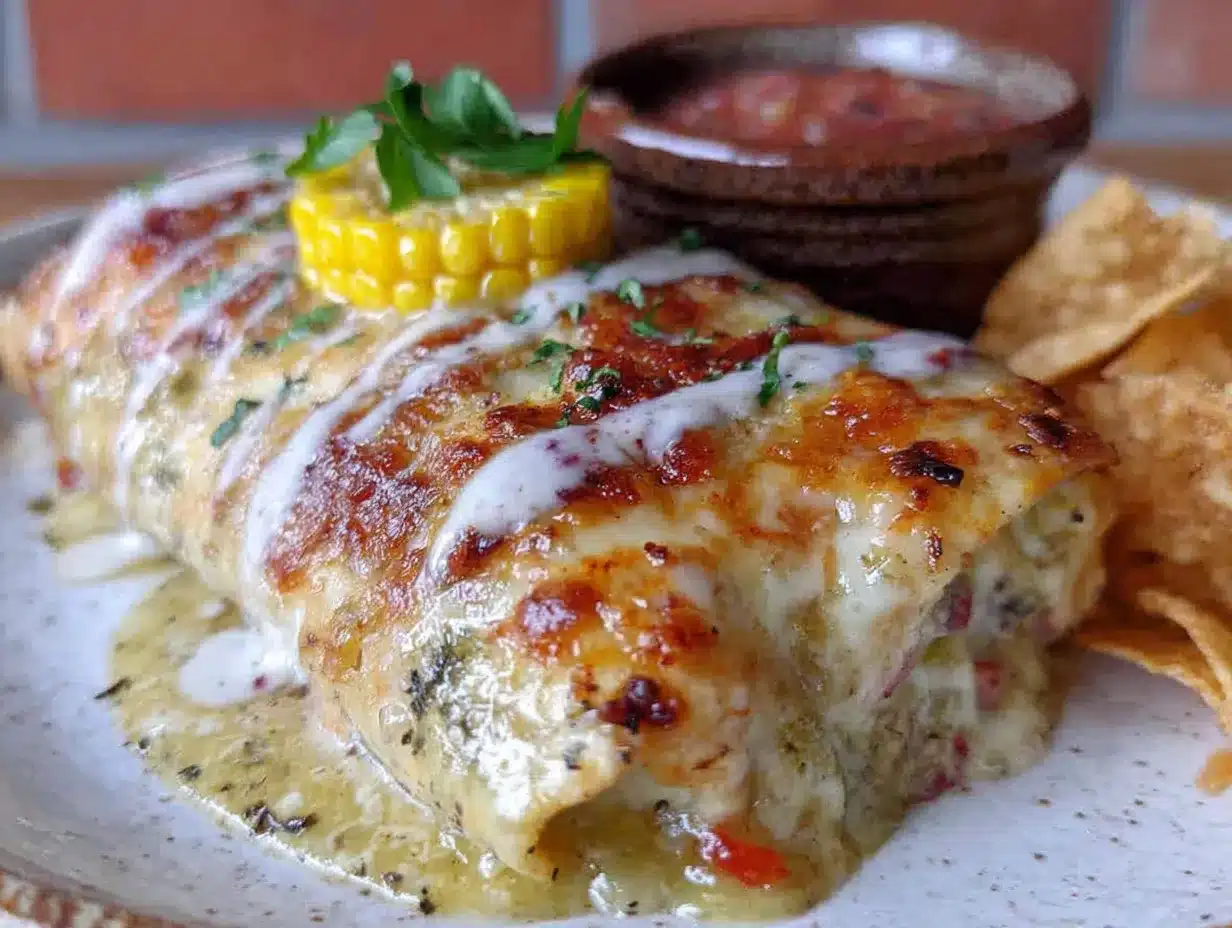
- 8-10 flour tortillas (soft taco size; corn tortillas work too but need to be warmed first to prevent cracking)
- 1 cup sour cream (for the creamy topping layer)
- 1/2 cup chicken broth (low-sodium; thins the topping slightly for even coverage)
- 1 1/2 cups shredded Monterey Jack cheese (for that golden, bubbly crust)
- Optional: fresh cilantro and sliced jalapeño for garnish
If you are using fresh Hatch chiles (lucky you!), roast them under a broiler until the skin blackens, then steam them in a bowl covered with plastic wrap for 10 minutes. Peel off the skin, remove the seeds, and dice them. The smoky flavor is unbeatable. For a dairy-free version, use vegan cream cheese and sour cream alternatives, though the texture will be slightly less creamy.
Equipment Needed
You don’t need a fancy kitchen to pull these off. Here is what you will need:
- 9×13-inch baking dish (glass or ceramic works best for even heat distribution)
- Large mixing bowl (for combining the filling)
- Medium saucepan (for warming the creamy topping sauce)
- Whisk (to smooth out the topping)
- Sharp knife and cutting board
- Measuring cups and spoons
I have used a metal baking dish before, and the edges of the enchiladas browned a little too fast. Glass lets you see the bubbling action, which I find oddly satisfying. If you don’t have a whisk, a fork works in a pinch—just be patient with the lumps. A good quality spatula for spreading the filling will save you time, but a spoon does the job fine. No special equipment required here, which is part of the charm.
Preparation Method
Let’s get cooking. This recipe moves quickly once you start, so have everything prepped and measured before you begin. Trust me on this—it makes the process smooth and almost meditative.
- Preheat your oven to 375°F (190°C). While it heats, grease your 9×13 baking dish lightly with butter or non-stick spray. This prevents sticking and makes cleanup easier.
- Make the filling. In a large mixing bowl, combine the shredded chicken, softened cream cheese, 1 cup of sour cream, the diced Hatch green chiles, 1 cup of shredded Monterey Jack cheese, chopped green onions, garlic powder, and cumin. Stir until everything is evenly distributed. The cream cheese should be soft enough to blend without lumps—if it is still cold, microwave it for 15 seconds. Taste the mixture and adjust salt and pepper. It should be creamy, slightly tangy, and have a gentle warmth from the chiles.
- Prepare the creamy topping. In a medium saucepan over low heat, whisk together the remaining 1 cup of sour cream and the chicken broth. Warm it gently—do not let it boil, or the sour cream may separate. You just want it to be pourable and smooth. Set it aside off the heat.
- Assemble the enchiladas. Take a tortilla and place about 1/3 cup of the filling down the center. Roll it up tightly but gently, and place it seam-side down in the prepared baking dish. Repeat with the remaining tortillas, lining them up snugly in a single row. You should fit about 8 to 10 depending on the size of your dish. If a tortilla cracks, don’t panic—just press it together; the sauce will seal it.
- Pour the topping over the enchiladas. Take your warm sour cream mixture and pour it evenly over the rolled tortillas. Use a spatula to spread it if needed, making sure every enchilada gets a little coverage. Sprinkle the remaining 1 1/2 cups of Monterey Jack cheese over the top. Be generous—this is where the magic happens.
- Bake for 20-25 minutes. Place the dish in the preheated oven and bake until the cheese is melted, bubbly, and starting to turn golden at the edges. The sauce should be gently bubbling around the sides. If you want a darker, crispier top, switch the oven to broil for the last 2 minutes—watch it carefully so it doesn’t burn.
- Rest and serve. Remove the dish from the oven and let it rest for 5 minutes. This allows the sauce to set slightly, making it easier to serve without turning into a puddle. Garnish with fresh cilantro and sliced jalapeño if desired. The filling should be hot, creamy, and oozing with melted cheese.
Cooking Tips & Techniques
I have made this recipe so many times that I have a few tricks up my sleeve. First, don’t skip softening the cream cheese. Cold cream cheese creates lumps in the filling that won’t melt out during baking. Let it sit on the counter for 30 minutes, or give it a quick spin in the microwave on low power. Second, warm your tortillas before rolling. I stack them between damp paper towels and microwave for 30 seconds. This makes them pliable and less likely to crack—a lesson I learned the hard way after my first batch fell apart like a bad puzzle.
Another common mistake is overfilling the tortillas. It is tempting to stuff them, but 1/3 cup is the sweet spot. Too much filling and they burst open during baking, creating a mess instead of neat rolls. If you are using corn tortillas, you must warm them in a dry skillet for about 15 seconds per side. Corn tortillas are more brittle than flour and will crack without that step. Finally, let the dish rest after baking. I know it is hard to wait, but those five minutes are crucial for the sauce to thicken and the flavors to meld. Serve it too soon, and you will have a soupy plate. Patience pays off here.
Variations & Adaptations
This recipe is flexible, and I love playing with it depending on the season or what is in my fridge. Here are a few ways to switch it up:
- Spicy Hatch Version: Use hot Hatch chiles and add a diced jalapeño to the filling. This is for heat lovers who want a real kick. I made this version for a game day party, and it disappeared in minutes.
- Vegetarian Option: Swap the chicken for 2 cups of black beans (rinsed and drained) and 1 cup of sautéed mushrooms. The earthy mushrooms mimic the texture of meat beautifully. Add a pinch of smoked paprika for depth.
- Low-Carb / Keto Adaptation: Use low-carb tortillas or large collard green leaves (blanched) as the wrapper. The filling itself is already low-carb, so this is an easy swap. I’ve tried it with collard greens, and the slight bitterness balances the creamy sauce nicely.
- Green Chile & Corn Twist: Add 1/2 cup of frozen or canned corn (drained) to the filling. The sweetness of the corn plays off the smoky chiles. This is my go-to summer variation when corn is in season.
Serving & Storage Suggestions
Serve these enchiladas hot, straight from the oven, with a generous spoonful of the creamy sauce from the pan. I like to garnish with fresh cilantro, a dollop of extra sour cream, and a few slices of pickled jalapeño for brightness. A side of Mexican rice or a simple black bean salad rounds out the meal beautifully. For drinks, a cold Mexican lager or a tart limeade cuts through the richness perfectly.
For storage, let the enchiladas cool completely, then cover the dish tightly with foil or transfer portions to an airtight container. They will keep in the refrigerator for up to 4 days. The flavors actually deepen overnight—the chiles and cumin meld together into something even more cohesive. To reheat, place individual portions in the microwave for 1-2 minutes, or reheat the whole dish in a 350°F oven for 15 minutes covered with foil. You can also freeze the assembled but unbaked enchiladas. Wrap the dish tightly in plastic wrap and foil, and freeze for up to 3 months. Thaw overnight in the fridge, then bake as directed, adding 5-10 minutes to the baking time. I have done this for meal prep, and it works like a charm.
Nutritional Information & Benefits
This recipe is indulgent, but it also offers some surprising nutritional benefits. Hatch green chiles are rich in vitamin C and capsaicin, which can boost metabolism and reduce inflammation. Chicken provides lean protein, while the dairy adds calcium and probiotics (especially if you use sour cream with live cultures). Here is an approximate breakdown per serving (based on 8 servings):
- Calories: 480
- Protein: 32g
- Fat: 28g
- Carbohydrates: 24g
- Fiber: 2g
- Sugar: 4g
This dish is naturally gluten-free if you use corn tortillas. For a lighter version, use reduced-fat cream cheese and sour cream, though the texture will be slightly less creamy. I personally find that using full-fat dairy makes the dish more satisfying, so I eat a smaller portion and feel completely content. It’s about balance, not deprivation.
Conclusion
These Creamy Hatch Green Chili Chicken Enchiladas are more than a recipe—they are a quiet victory. They turn skeptics into fans, transform a simple Tuesday into something special, and prove that comfort food doesn’t have to be complicated. I love this recipe because it feels like a warm hug on a plate, but it also has a little bit of attitude from those green chiles. It is the kind of dish that makes you want to invite people over, just so you can watch them take that first bite.
I encourage you to make this your own. Add more chiles if you like heat, swap in leftover turkey after Thanksgiving, or double the batch and freeze one for later. The possibilities are endless. When you make it, I would love to hear how it turned out. Drop a comment below, share your twist on the recipe, or tag me in your photos. Cooking is better when we do it together, even if it is just through a screen. So go ahead—preheat that oven and prove someone wrong. You won’t regret it.
Frequently Asked Questions
Can I use canned green chiles instead of fresh Hatch chiles?
Absolutely. Canned or jarred Hatch chiles are a fantastic shortcut and work perfectly in this recipe. They are already roasted and peeled, so you save a step. I recommend 505 Southwestern or Ortega brands for consistent flavor and heat level.
How do I prevent my tortillas from cracking when rolling?
Warm them first! Stack your tortillas between damp paper towels and microwave for 30 seconds. For corn tortillas, heat them one at a time in a dry skillet for 15 seconds per side. This makes them pliable and much less likely to crack.
Can I make this recipe dairy-free?
Yes, with a few swaps. Use dairy-free cream cheese and sour cream alternatives (I like Kite Hill or Tofutti brands). The texture will be slightly less rich, but the flavor will still be delicious. Use a vegan cheese shred for the topping, though it may not brown as well.
How spicy are these enchiladas?
That depends on the chiles you use. Mild Hatch chiles add flavor without much heat, making them family-friendly. Medium chiles give a gentle warmth. If you want serious heat, use hot Hatch chiles and add a diced jalapeño to the filling. You control the spice level.
Can I freeze these enchiladas?
Yes, they freeze beautifully. Assemble the enchiladas in the baking dish but do not bake them. Cover tightly with plastic wrap and foil, and freeze for up to 3 months. Thaw overnight in the refrigerator, then bake as directed, adding 5-10 minutes to the cooking time.
Pin This Recipe!
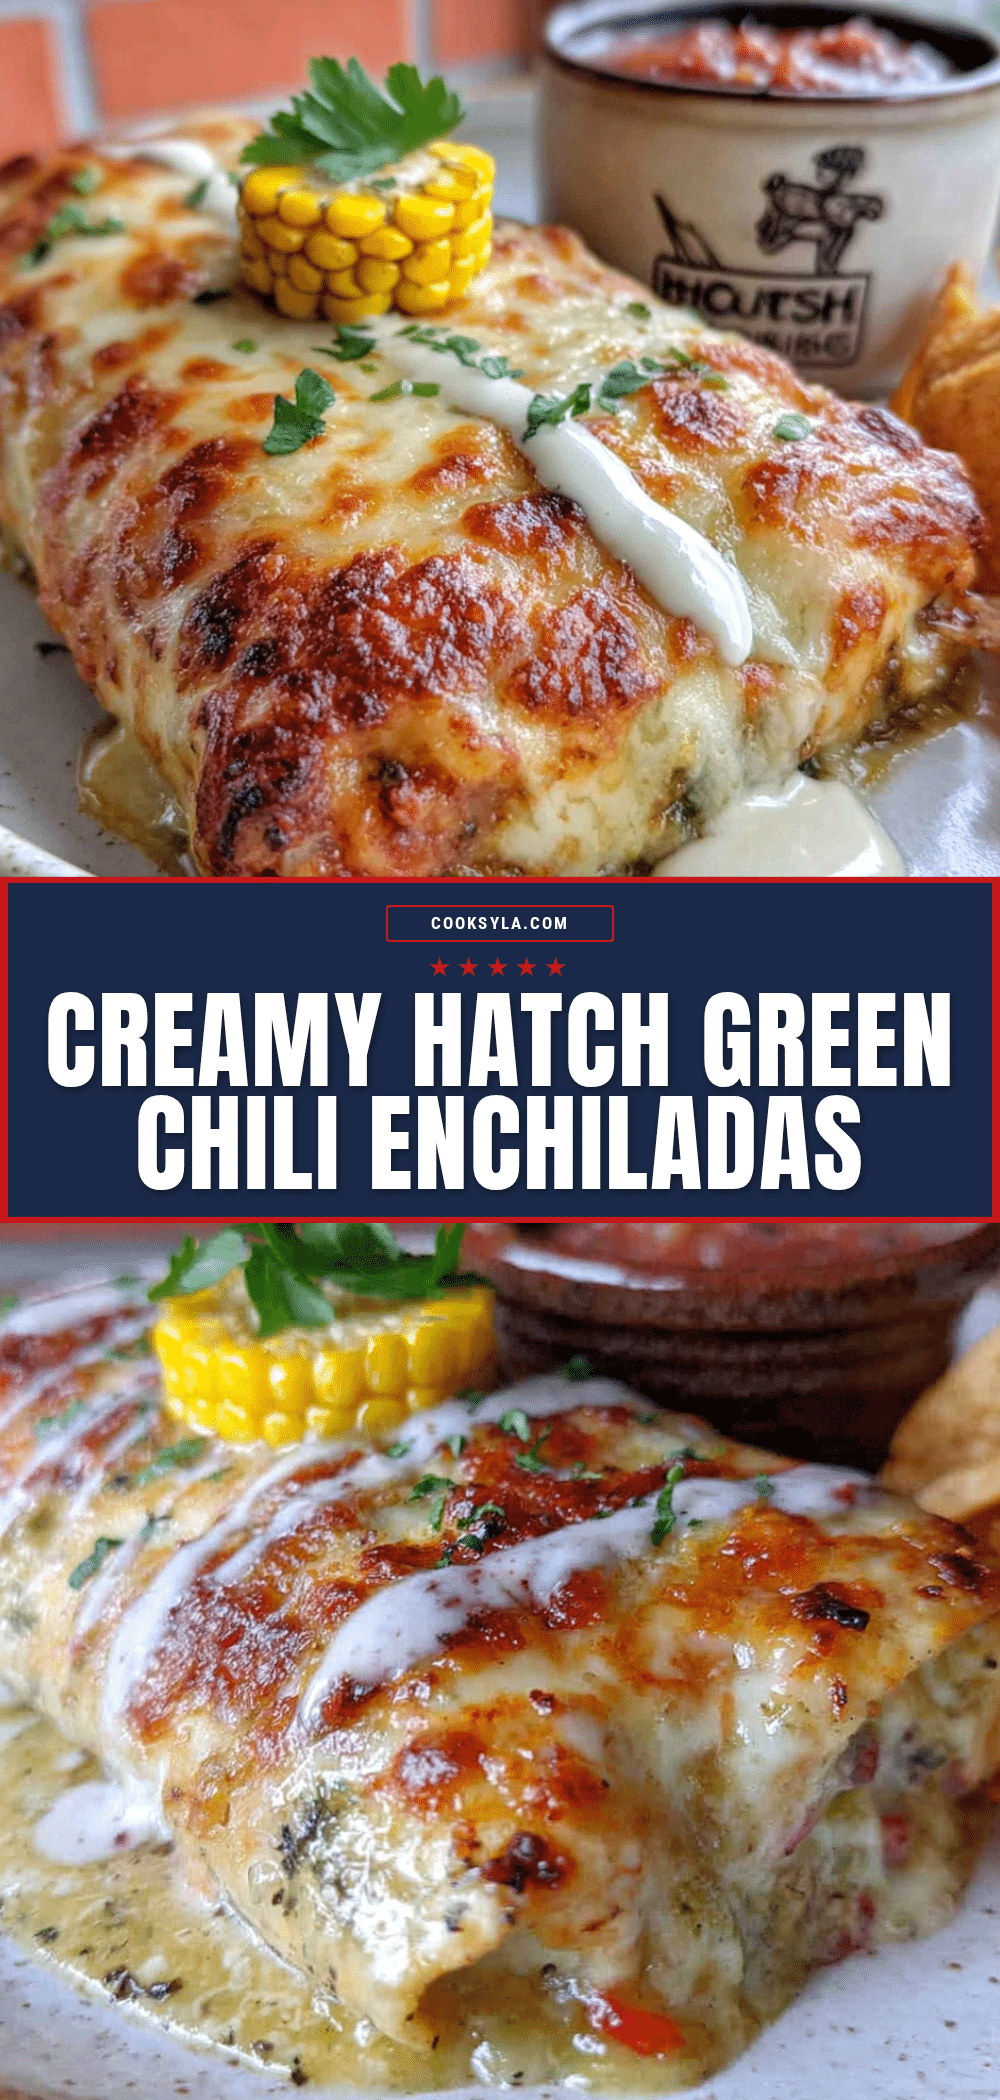
Creamy Hatch Green Chili Chicken Enchiladas: Best Easy Recipe

These creamy Hatch green chili chicken enchiladas are a quick and easy weeknight dinner that turns skeptics into fans. The rich, smoky sauce and melty cheese create a comforting dish that’s perfect for potlucks and family dinners.
- Prep Time: 15 minutes
- Cook Time: 25 minutes
- Total Time: 45 minutes
- Yield: 8 servings 1x
- Category: Main Course
- Cuisine: Mexican
Ingredients
- 3 cups cooked, shredded chicken (from one rotisserie chicken)
- 8 oz cream cheese, softened
- 1 cup sour cream (for filling)
- 1 (7 oz) can or jar of Hatch green chiles, diced
- 1 cup shredded Monterey Jack cheese (for filling)
- 1/2 cup chopped green onions
- 1/2 teaspoon garlic powder
- 1/2 teaspoon ground cumin
- Salt and black pepper to taste
- 8–10 flour tortillas (soft taco size)
- 1 cup sour cream (for topping)
- 1/2 cup chicken broth (low-sodium)
- 1 1/2 cups shredded Monterey Jack cheese (for topping)
- Optional: fresh cilantro and sliced jalapeño for garnish
Instructions
- Preheat your oven to 375°F (190°C). Grease a 9×13-inch baking dish lightly with butter or non-stick spray.
- Make the filling: In a large mixing bowl, combine the shredded chicken, softened cream cheese, 1 cup sour cream, diced Hatch green chiles, 1 cup shredded Monterey Jack cheese, chopped green onions, garlic powder, and cumin. Stir until evenly distributed. Season with salt and pepper to taste.
- Prepare the creamy topping: In a medium saucepan over low heat, whisk together the remaining 1 cup sour cream and chicken broth. Warm gently without boiling until smooth and pourable. Set aside.
- Assemble the enchiladas: Place about 1/3 cup of filling down the center of each tortilla. Roll tightly and place seam-side down in the prepared baking dish. Repeat with remaining tortillas, arranging them snugly in a single row.
- Pour the warm creamy topping evenly over the rolled tortillas. Sprinkle the remaining 1 1/2 cups Monterey Jack cheese over the top.
- Bake for 20-25 minutes, until the cheese is melted, bubbly, and starting to turn golden at the edges. For a darker top, broil for the last 2 minutes, watching carefully.
- Remove from oven and let rest for 5 minutes. Garnish with fresh cilantro and sliced jalapeño if desired. Serve hot.
Notes
Warm tortillas before rolling to prevent cracking. Let the dish rest after baking for the sauce to set. For a dairy-free version, use vegan cream cheese and sour cream alternatives. The filling can be made ahead and refrigerated.
Nutrition
- Serving Size: 1 enchilada
- Calories: 480
- Sugar: 4
- Sodium: 680
- Fat: 28
- Saturated Fat: 16
- Carbohydrates: 24
- Fiber: 2
- Protein: 32
Keywords: Hatch green chili, chicken enchiladas, creamy enchiladas, easy dinner, New Mexican recipe, comfort food


