Love this? Save it for later!
Share the inspiration with your friends
The neighborhood block party was in twenty minutes and I had completely forgotten to bring a snack. Everyone else was already unloading coolers filled with artisanal cheeses, smoked meats, and elaborate charcuterie boards that looked like they’d been curated by a museum. I stood in my kitchen, staring at an empty counter, feeling that familiar knot of panic tighten in my chest. I had one can of black beans, some tortilla strips, and a bag of shredded cheese. That was it. No time to cook anything from scratch, no chance to run to the store, and definitely no energy to assemble a complex dish.
I remember looking at the clock, then at the beans, and thinking, “What if I just… mummify them?” It was a ridiculous idea, born purely of desperation and a desire to not show up empty-handed to Mrs. Higgins’ street. I grabbed a handful of tortilla strips, wrapping them haphazardly around spoonfuls of seasoned black bean mixture. They looked less like elegant appetizers and more like chaotic little mummies having a bad hair day. Honestly, I was embarrassed. I thought everyone would laugh at my lazy, last-minute creation.
I arrived at the party with a disposable plate of these lumpy, cheese-covered bean bundles. I kept them hidden behind the good serving platters, hoping no one would notice. But then, my neighbor Dave, who usually only talks about his lawn care, wandered over. He picked one up, took a bite, and his eyes went wide. “What is this?” he asked. I mumbled something about black beans and gave up. Within ten minutes, my “mummy dip” was gone. People were asking for the recipe, laughing about how cute the mummies looked, and thanking me for saving their snack options.
I didn’t win a prize, and I didn’t become a celebrity chef overnight. But that moment taught me something important. You don’t need a perfect plan or expensive ingredients to make people happy. You just need a little creativity and the willingness to embrace the mess. This crispy black bean mummy dip for Halloween became a staple in my kitchen because it proves that the best snacks are often the ones made in a hurry. It’s funny how a panic-induced disaster can turn into a crowd favorite, isn’t it? Maybe you’ve been there, standing in your kitchen with nothing but time pressure and a can of beans.
I keep making this recipe because it reminds me that it’s okay to be imperfect. It’s also incredibly easy to make, which means I can actually enjoy the party I’m attending. The crispy texture of the tortilla strips contrasts with the soft, savory beans in a way that just works. Plus, it’s a great way to sneak some protein into a holiday celebration without making it feel like a health food seminar. Let me tell you, once you try these little mummies, you’ll be wrapping everything in tortillas. It’s become my go-to for any spooky gathering, and I know you’ll love how simple it is to pull together.
Why You’ll Love This Recipe
This crispy black bean mummy dip for Halloween isn’t just another party snack; it’s a test of what really matters in comfort food. After years of testing recipes in my own kitchen, I’ve learned that the best dishes are the ones that feel like a hug. This recipe hits that mark perfectly. It combines the savory depth of seasoned black beans with the satisfying crunch of baked tortilla strips, creating a texture profile that keeps you coming back for more.
Here is why this recipe stands out from the rest:
- Quick & Easy: You can have these ready in under 20 minutes. It’s perfect for busy weeknights or last-minute Halloween gatherings where you didn’t plan ahead.
- Simple Ingredients: No fancy grocery trips needed. You likely already have black beans, tortilla strips, and cheese in your kitchen. It’s pantry-friendly and accessible.
- Perfect for Halloween: The mummy shape is festive and fun, making it an ideal treat for kids and adults alike. It adds a spooky touch without requiring complex skills.
- Crowd-Pleaser: This recipe always gets rave reviews. People love the novelty of the shape and the savory flavor. It’s a guaranteed hit at any party.
- Unbelievably Delicious: The combination of salty cheese and earthy beans is next-level comfort food. It’s rich, savory, and deeply satisfying.
What makes this recipe different from other bean dips is the structural integrity of the mummy itself. By using tortilla strips as the “bandages,” you get a crunch that holds up even when dipped into the warm bean mixture. Most dips get soggy quickly, but these little bundles stay crisp on the outside while staying warm and soft on the inside. It’s a creative twist that elevates a simple can of beans into something special.
This recipe isn’t just good—it is the kind that makes you close your eyes after the first bite. It’s comfort food reimagined for Halloween. It’s faster than making a traditional casserole but with the same soul-soothing satisfaction. Perfect for impressing guests without stress, or turning a simple meal into something memorable. I’ve served this at office parties, school events, and family dinners, and it never fails to bring a smile to people’s faces. It’s approachable, fun, and delicious.
What Ingredients You Will Need
This recipe uses simple, wholesome ingredients to deliver bold flavor and satisfying texture without the fuss. The beauty of this crispy black bean mummy dip for Halloween lies in its accessibility. You don’t need specialty stores or hard-to-find items. Everything you need is likely already in your pantry or refrigerator.
Here is what you’ll need to gather:
- Canned Black Beans (15 oz): The base of the dip. Look for low-sodium varieties if you prefer to control the salt level. Rinse and drain them thoroughly to remove excess starch.
- Shredded Monterey Jack Cheese (1 cup): This cheese melts beautifully and has a mild flavor that complements the beans. I recommend using pre-shredded cheese for convenience, but block cheese melted at home tastes slightly better.
- Tortilla Strips (1 bag): These serve as the “bandages” for the mummies. Use sturdy, restaurant-style strips that won’t break easily when wrapped around the bean mixture.
- Cumin (1 tsp): Adds an earthy, warm note that is classic in bean dishes. It gives the dip that authentic Mexican-inspired flavor profile.
- Chili Powder (1 tsp): Provides a gentle heat and depth. Adjust the amount based on your spice tolerance.
- Garlic Powder (1/2 tsp): Enhances the savory elements without adding fresh garlic’s moisture, which could make the mixture too wet.
- Salt and Pepper: To taste. Always season at the end to ensure the balance is right.
- Optional Toppings: Sour cream, diced jalapeños, or chopped cilantro for garnish. These add freshness and contrast to the rich beans.
For the best texture, I personally prefer using a brand like Mission for tortilla strips because they hold their shape well. If you can’t find tortilla strips, you can cut corn tortillas into strips yourself, but it takes extra time. For the cheese, any melting cheese works, but Monterey Jack or Cheddar are the best choices for this recipe. If you need a dairy-free option, vegan shredded cheese works surprisingly well here, though the melt might be slightly different.
These ingredients are seasonal in the sense that they are pantry staples, but they shine brightest during the fall and winter months. In summer, you might swap the cumin for some fresh cilantro and lime zest for a brighter flavor. Substitution is easy here. If you don’t have black beans, pinto beans or kidney beans work just as well. The key is to keep the mixture moist enough to hold together but dry enough to wrap in tortilla strips.
Equipment Needed
You don’t need a fancy kitchen to make this recipe. Most of the tools are basic items found in any home. Having the right equipment makes the process smoother and less stressful.
- Mixing Bowl: A medium-sized bowl is needed to combine the beans, cheese, and spices. A wide bowl makes it easier to mix without spilling.
- Measuring Spoons: Essential for getting the spice ratio right. Too much chili powder can overpower the dish, so accurate measurements matter.
- Spoon or Ice Cream Scoop: This is the secret weapon for uniform mummies. Using a small spoon or a cookie scoop ensures each mummy is the same size, which helps them cook evenly.
- Baking Sheet: A standard half-sheet pan works perfectly. Line it with parchment paper for easy cleanup.
- Oven: A standard oven preheated to 375°F (190°C) is all you need. No special settings required.
If you don’t have an ice cream scoop, a tablespoon works fine, but it takes more effort to shape them consistently. For the baking sheet, parchment paper is highly recommended. It prevents sticking and makes cleanup a breeze. If you don’t have parchment, lightly greasing the pan with oil works too, but parchment is better.
I’ve tried using different bowls over the years, and I find that a stainless steel bowl is durable and easy to clean. Glass bowls are nice too, but they can be heavy. For the baking sheet, I recommend using a dark metal pan if you have one, as it helps the tortilla strips brown faster. If you use a light-colored pan, you might need to bake them for a minute or two longer. These small details can make a big difference in the final texture of your crispy black bean mummy dip for Halloween.
Preparation Method
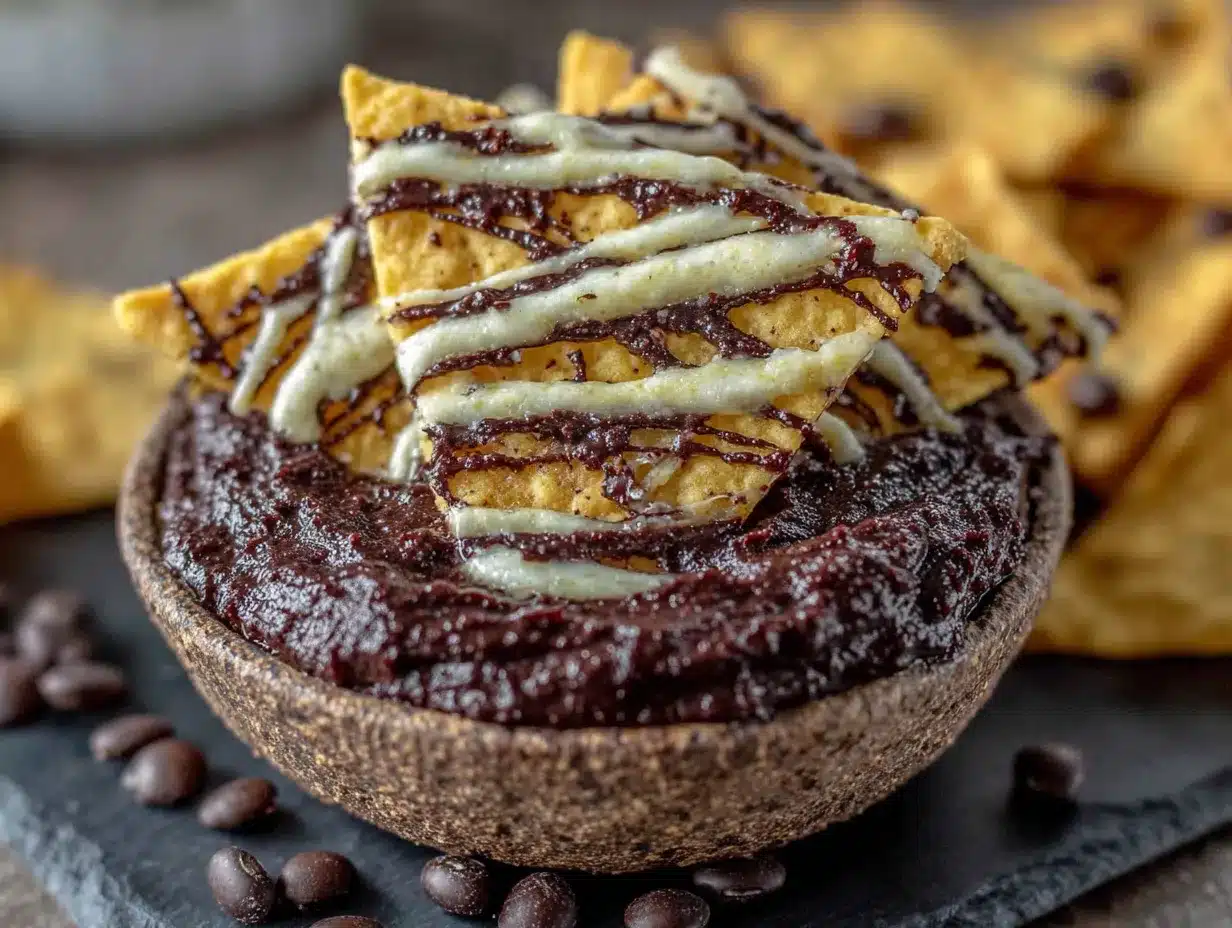
Making this recipe is straightforward, but attention to detail ensures the best results. Follow these steps carefully to create perfect mummies every time.
- Preheat the Oven: Start by preheating your oven to 375°F (190°C). This ensures the oven is hot enough when the mummies go in, promoting even cooking. (Time: 5 minutes)
- Prepare the Beans: Drain and rinse the canned black beans thoroughly. Pat them dry with a paper towel to remove excess moisture. This step is crucial because wet beans will make the tortilla strips soggy and prevent them from sticking. (Time: 2 minutes)
- Mix the Filling: In a mixing bowl, combine the dried black beans, shredded Monterey Jack cheese, cumin, chili powder, garlic powder, salt, and pepper. Mix well until the spices are evenly distributed. The mixture should be moist but not runny. If it feels too dry, add a splash of water or a little more cheese. (Time: 3 minutes)
- Form the Mummies: Take a small amount of the bean mixture (about 1 tablespoon) and roll it into a ball between your palms. Place the ball on a tortilla strip. Gently wrap the strip around the ball, leaving small gaps to resemble bandages. Press the ends of the strip to secure them. Repeat with the remaining mixture and strips. Aim for uniform sizes for even baking. (Time: 10 minutes)
- Arrange on Baking Sheet: Place the wrapped mummies on the prepared baking sheet. Leave a little space between each one to allow air circulation. This helps them crisp up on all sides. (Time: 2 minutes)
- Bake: Bake in the preheated oven for 10-12 minutes, or until the tortilla strips are golden brown and crispy. Keep an eye on them after 8 minutes, as ovens vary. You want the cheese to melt and the tortillas to crisp, but not burn. (Time: 12 minutes)
- Cool and Serve: Remove from the oven and let them cool for 2-3 minutes. This allows the cheese to set slightly, making them easier to handle. Serve warm with optional toppings like sour cream or salsa. (Time: 3 minutes)
If the tortilla strips break while wrapping, don’t worry. Just patch them with a small piece of another strip. It’s part of the mummy charm! If the mixture is too sticky to handle, wet your hands slightly with water. This prevents the beans from sticking to your fingers.
Cooking Tips & Techniques
To ensure your crispy black bean mummy dip for Halloween turns out perfectly, keep these tips in mind. I’ve learned a few tricks along the way that save time and improve quality.
- Control Moisture: The biggest mistake people make is not drying the beans enough. Wet beans lead to soggy mummies. Always pat them dry with a paper towel.
- Uniform Sizing: Try to make each mummy the same size. This ensures they all cook at the same rate. If some are larger, they might not crisp up properly.
- Don’t Overcrowd: Leave space between the mummies on the baking sheet. Overcrowding causes steaming instead of baking, which prevents crisping.
- Check Frequently: Ovens vary in temperature. Check the mummies after 8 minutes to prevent burning. The tortilla strips can go from golden to burnt very quickly.
- Use Fresh Tortilla Strips: Old, stale strips won’t wrap well and might crumble. Use fresh strips for the best texture.
I once made these with leftover beans that were too wet, and the mummies fell apart in the oven. It was a mess, but it taught me the importance of dry ingredients. Another lesson was learning that wrapping too tightly can cause the tortilla to split during baking. Leave a little slack for expansion.
Timing is key here. Have all your ingredients measured and ready before you start wrapping. This makes the process faster and more enjoyable. Multitasking is easy with this recipe because you can mix the beans while the oven preheats. It’s a simple recipe, but the results are professional-looking if you pay attention to these details.
Variations & Adaptations
This recipe is versatile and can be adapted to suit different dietary needs and flavor preferences. Here are a few variations to try:
- Spicy Version: Add diced jalapeños or a dash of cayenne pepper to the bean mixture for extra heat. This is great for those who love spicy food.
- Vegetarian/Vegan: Use vegan cheese and black beans. The recipe works well with most vegan cheese alternatives, though the melt might be slightly different.
- Gluten-Free: Use gluten-free tortilla strips. Many brands offer corn-based strips that are naturally gluten-free.
- Herb Infused: Add fresh chopped cilantro or parsley to the bean mixture for a fresh, herbal note. This works well in the summer.
- Bean Swap: Use pinto beans or kidney beans instead of black beans. The texture and flavor will be slightly different but still delicious.
I’ve tried adding sun-dried tomatoes to the mixture, and it adds a nice tangy sweetness. It’s a personal favorite of mine. For a kid-friendly version, reduce the spice and add a little extra cheese. The flexibility of this recipe makes it easy to customize for any occasion.
Serving & Storage Suggestions
Serve these mummies warm for the best experience. They pair well with a variety of dips and sides.
- Serving Suggestions: Serve with sour cream, salsa, or guacamole. They also go well with a side salad or chips.
- Storage: Store leftovers in an airtight container in the refrigerator for up to 3 days.
- Reheating: Reheat in the oven at 350°F (175°C) for 5-7 minutes to restore crispiness. Microwaving will make them soft.
- Freezing: You can freeze the unbaked mummies on a baking sheet, then transfer to a freezer bag. Bake from frozen, adding 2-3 minutes to the cooking time.
The flavors develop over time, so they taste even better the next day. However, they are best fresh out of the oven. For parties, keep them warm in a slow cooker on the low setting. This keeps them soft and dip-able, which is a fun variation on the crispy texture.
Nutritional Information & Benefits
This recipe offers a balanced mix of protein, fiber, and healthy fats. Black beans are a great source of plant-based protein and fiber, which aids digestion. Monterey Jack cheese provides calcium and protein.
- Protein: High due to beans and cheese.
- Fiber: Excellent source from black beans.
- Fat: Moderate, from cheese and tortilla strips.
It’s a gluten-free option if you use GF tortillas. For those watching sodium, use low-sodium beans and cheese. I enjoy this recipe because it feels indulgent but is actually quite nutritious. It’s a great way to include more legumes in your diet.
Conclusion
This crispy black bean mummy dip for Halloween is a fun, easy, and delicious way to celebrate the season. It’s perfect for parties, snacks, or just a cozy night in. I love making this recipe because it’s simple yet impressive. It shows that you can create something special with minimal effort.
I encourage you to try this recipe and customize it to your liking. Add your favorite spices or toppings. Share your creations with friends and family. I’d love to hear how you adapt it. Leave a comment below with your variations or tips. Thanks for reading, and happy Halloween!
Frequently Asked Questions
Can I make these ahead of time?
Yes, you can assemble them ahead of time and refrigerate for up to 24 hours before baking. Just add a minute or two to the baking time if they are cold.
What can I use instead of tortilla strips?
You can use corn tortillas cut into strips, or even pita bread cut into strips. The key is to use something sturdy that can wrap around the bean mixture.
Are these gluten-free?
If you use gluten-free tortilla strips, yes. Standard tortilla strips contain wheat, so check the label.
Can I freeze the cooked mummies?
It’s better to freeze them unbaked. Cooked mummies can become soggy when reheated. Freezing them raw preserves the texture.
How spicy are these?
They are mildly spicy due to the chili powder. You can adjust the amount to suit your taste. For a milder version, reduce the chili powder or omit it.
Pin This Recipe!
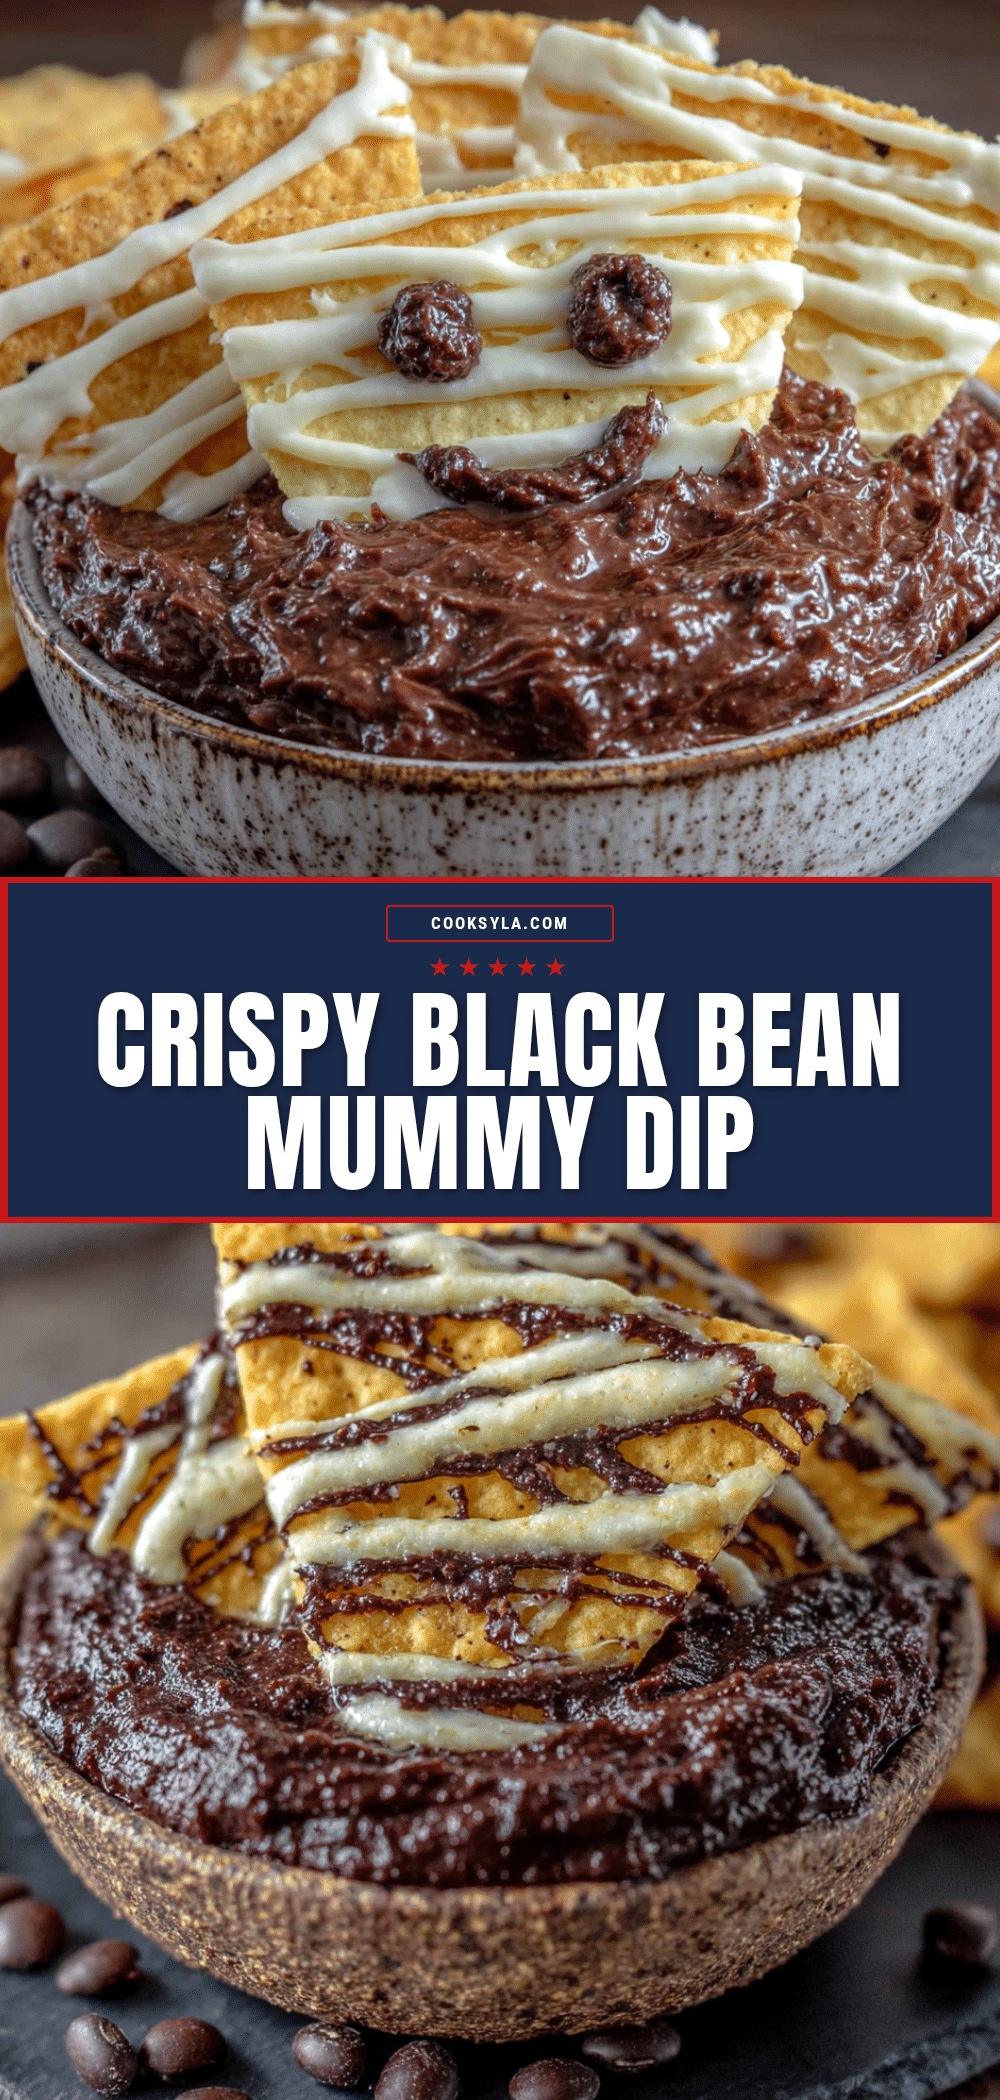
Crispy Black Bean Mummy Dip
A fun, last-minute Halloween party snack made by wrapping seasoned black bean and cheese mixtures in tortilla strips and baking until crispy. This easy, crowd-pleasing appetizer is perfect for spooky gatherings.
- Prep Time: 17 minutes
- Cook Time: 12 minutes
- Total Time: 29 minutes
- Yield: Approximately 12-15 mummies 1x
- Category: Appetizer
- Cuisine: Mexican-Inspired
Ingredients
- 1 can (15 oz) black beans, rinsed, drained, and patted dry
- 1 cup shredded Monterey Jack cheese
- 1 bag tortilla strips (sturdy, restaurant-style)
- 1 tsp cumin
- 1 tsp chili powder
- 1/2 tsp garlic powder
- Salt and pepper to taste
- Optional toppings: sour cream, diced jalapeños, chopped cilantro
Instructions
- Preheat oven to 375°F (190°C).
- Drain and rinse the black beans thoroughly, then pat them dry with a paper towel to remove excess moisture.
- In a mixing bowl, combine the dried black beans, shredded cheese, cumin, chili powder, garlic powder, salt, and pepper. Mix well until evenly distributed.
- Take about 1 tablespoon of the bean mixture and roll it into a ball. Place the ball on a tortilla strip and gently wrap the strip around it, leaving small gaps to resemble bandages. Press ends to secure.
- Arrange the wrapped mummies on a parchment-lined baking sheet, leaving space between each one.
- Bake for 10-12 minutes, or until the tortilla strips are golden brown and crispy.
- Remove from oven and let cool for 2-3 minutes before serving warm with optional toppings.
Notes
Ensure beans are thoroughly dried to prevent soggy mummies. Use sturdy tortilla strips that won’t break easily. If the mixture is too sticky, wet your hands slightly. For a gluten-free version, use gluten-free tortilla strips. These can be assembled ahead and refrigerated for up to 24 hours before baking.
Nutrition
- Serving Size: 2-3 mummies per pers
- Calories: 180
- Sugar: 1
- Sodium: 350
- Fat: 8
- Saturated Fat: 4
- Carbohydrates: 20
- Fiber: 5
- Protein: 8
Keywords: Halloween snack, black bean dip, mummy appetizer, easy party food, vegetarian snack, crispy tortilla strips, quick recipes


