Love this? Save it for later!
Share the inspiration with your friends
Introduction
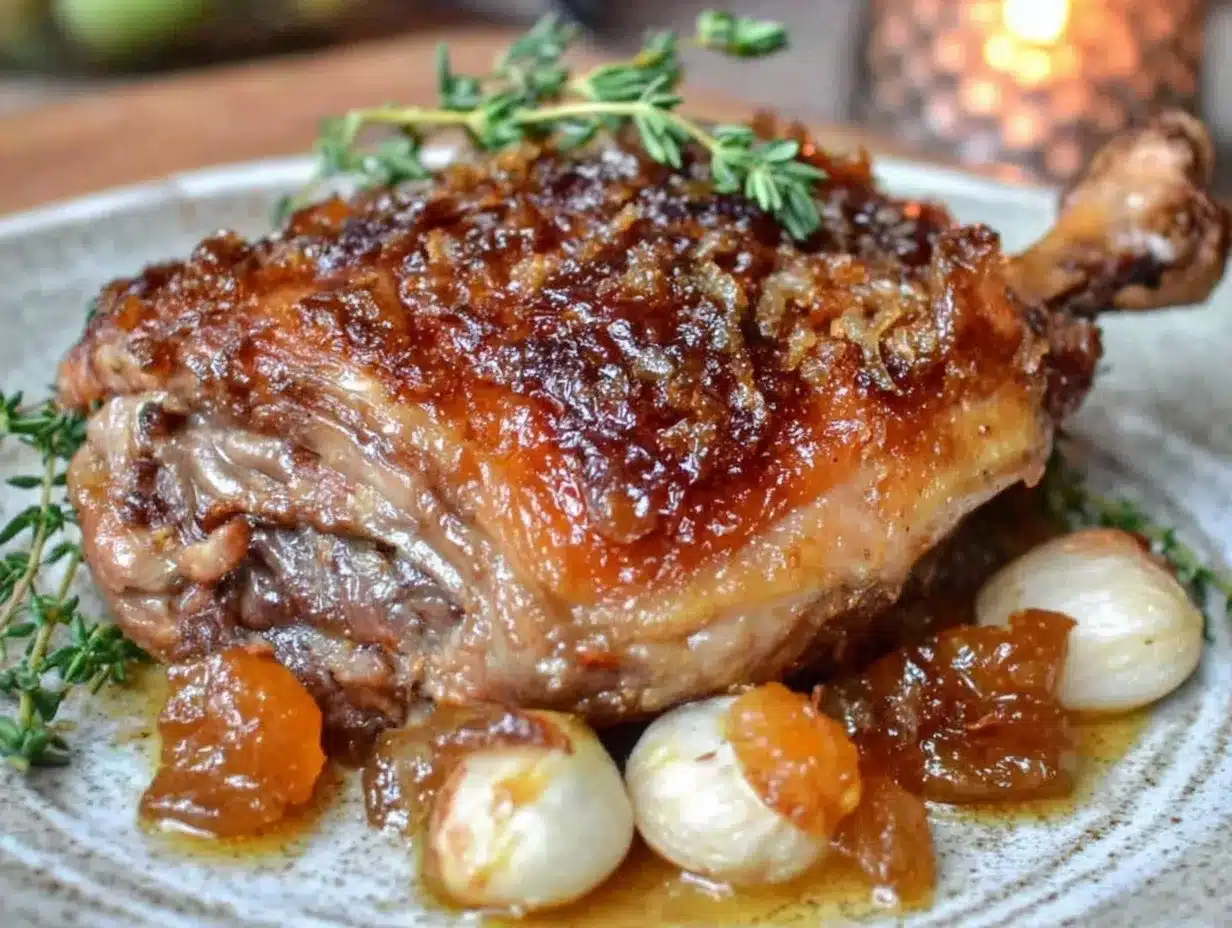
“You won’t believe this came out of my tiny apartment kitchen,” my friend Mark said as he pulled a tray from the oven, the unmistakable aroma of rich duck fat filling the air. It was a chilly Thursday evening, and honestly, I wasn’t expecting much from his impromptu cooking session. But there it was—crispy duck confit with skin so golden and crackly it practically sang when sliced. Mark had stumbled upon this recipe in a dusty old cookbook he found at a flea market last summer, and after a few messy experiments (including one time the fat bubbled over and nearly set off the smoke alarm), he nailed it.
Now, if you’ve ever been intimidated by duck confit, you know what I mean. It sounds fancy, maybe even a little scary. But let me tell you, this recipe is approachable, forgiving, and honestly, one of the most satisfying dishes I’ve ever helped make. The secret lies in the slow-cooking and that beautiful, perfectly golden skin that crackles with every bite. Maybe you’ve been there, eyeing duck at the market but unsure how to make it sing at home. This recipe is the answer.
Mark’s kitchen might have been small, but the flavors were anything but. Watching him work through the steps, I realized this isn’t just a recipe; it’s a little bit of magic you can recreate anytime. I’ve made it several times since, each time with slightly different tweaks, but the crispy duck confit with that golden skin? That’s the star. Let me tell you about how you can make this happen in your own kitchen.
Why You’ll Love This Recipe
After testing this crispy duck confit recipe multiple times, I can say it’s truly a standout for several reasons. It’s one of those dishes that looks impressive but is surprisingly manageable to make at home. Here’s why you’ll want to keep this recipe in your rotation:
- Quick & Easy: While duck confit sounds fancy, the hands-on time is minimal. Most of the cooking is slow and hands-off, perfect for multitasking or prepping ahead.
- Simple Ingredients: The recipe calls for pantry staples like salt, pepper, garlic, and duck legs, no need for special trips to exotic markets.
- Perfect for Special Occasions: Whether it’s a cozy dinner or a holiday feast, this dish brings that wow factor without the stress.
- Crowd-Pleasing: Friends and family always ask for seconds — the crispy skin combined with tender meat is irresistible.
- Unbelievably Delicious: The slow-cooked duck is melt-in-your-mouth tender, and the golden skin adds a satisfying crunch that makes every bite a delight.
This isn’t just any duck confit. The technique I use ensures the skin crisps up perfectly under your broiler or in a hot pan, while the meat remains juicy and flavorful. It’s a method I picked up after a few kitchen misadventures—like forgetting to dry the skin thoroughly once and ending up with soggy results (lesson learned!). Once you master this, you’ll see why I keep coming back to it, especially when I want to impress without fuss.
What Ingredients You Will Need
This crispy duck confit recipe uses straightforward ingredients that work together to create bold flavor and that crave-worthy texture. Most are pantry basics, with the star being the duck legs themselves.
- Duck Legs: 4 large duck legs with skin on (I recommend fresh, not frozen, for best texture)
- Coarse Salt: About 1/4 cup (60 g) to cure the duck and draw out moisture
- Fresh Thyme: 4-5 sprigs (adds earthy aroma)
- Garlic Cloves: 4 smashed cloves (for subtle pungency)
- Black Peppercorns: 1 tablespoon, lightly crushed
- Duck Fat: Approximately 2 cups (480 ml) for cooking the legs slowly (you can render this yourself or purchase high-quality duck fat from specialty stores)
- Bay Leaf: 1-2 leaves (optional, for added herbal notes)
- Ground Black Pepper: To taste, for seasoning before crisping
Ingredient Tips: If duck fat is hard to find, you can substitute with a mix of olive oil and butter, but the authentic richness comes from duck fat. Also, when selecting duck legs, look for firm, plump pieces with smooth skin—this helps with that perfect golden finish.
Substitutions: For a dairy-free option, stick with pure duck fat or olive oil. If you’re gluten-intolerant, this recipe is naturally gluten-free, which is a bonus.
Equipment Needed
To make crispy duck confit with perfectly golden skin, you don’t need fancy gadgets, but a few tools will make your life easier:
- Oven-Safe Baking Dish or Dutch Oven: Big enough to hold the duck legs submerged in fat. I prefer a heavy-bottomed dish to maintain steady heat.
- Cooling Rack: For crisping the skin after slow cooking, allowing air circulation.
- Cooking Thermometer: Optional but handy to check fat temperature and ensure safe cooking.
- Slotted Spoon or Tongs: To carefully remove duck legs from fat without splashing.
- Paper Towels: For drying the duck skin thoroughly before crisping, a crucial step.
Alternative: If you don’t own a Dutch oven, a deep roasting pan with a lid works well. For crisping, a cast-iron skillet can substitute for the broiler step, giving excellent control over the skin’s texture.
I’ve found that keeping your duck fat strained and stored correctly makes future batches even easier—think of it as your secret weapon.
Preparation Method
- Cure the Duck Legs (12-24 hours): Pat the duck legs dry with paper towels. In a bowl, mix the coarse salt, crushed peppercorns, smashed garlic, and thyme. Rub this mixture all over the duck legs, making sure to cover every inch. Cover and refrigerate for at least 12 hours or up to 24 hours. This step draws out moisture and intensifies flavor.
- Rinse and Dry (15 minutes): After curing, rinse the salt mixture off under cold water and pat the duck legs completely dry. This is a crucial step—moisture is the enemy of crispy skin.
- Prepare for Slow Cooking: Preheat your oven to 225°F (107°C). Place the duck legs in your oven-safe dish or Dutch oven. Add the bay leaves and pour in the duck fat, ensuring the legs are fully submerged.
- Slow Cook (2 to 3 hours): Place the dish in the oven. Cook gently until the meat is tender and pulls away easily from the bone. You’ll notice the duck fat bubbling gently—not boiling—this low temperature is key to tender meat and silky fat.
- Remove and Drain (10 minutes): Using tongs, carefully lift the duck legs out and let excess fat drip back into the dish. Place the legs on a cooling rack. Allow to cool to room temperature, then refrigerate uncovered for several hours or overnight. This resting step helps dry out the skin further for crisping.
- Crisp the Skin (10-15 minutes): When ready to serve, preheat your broiler or heat a cast-iron skillet over medium-high heat. Season duck legs lightly with freshly ground black pepper. If broiling, place legs skin-side up on a baking sheet and broil until skin is golden and crackly, watching carefully to avoid burning. If using a skillet, place skin-side down and press lightly to get even contact, cooking until the skin crisps up beautifully.
- Serve Immediately: The skin should crackle when cut, and the meat inside remains juicy and flavorful. Pair with your favorite sides!
Pro tip: If the skin isn’t as crisp as you want, give it another minute under the broiler but watch closely—it can go from perfect to burnt quickly. And don’t skip drying the skin before crisping; I once forgot and got disappointing soggy skin (ugh!).
Cooking Tips & Techniques
Making crispy duck confit might seem tricky, but a few tricks will help you get it right every time:
- Patience Is Key: Low and slow cooking in duck fat guarantees tender meat. Rushing this step means tougher results.
- Dry, Dry, Dry: Moisture ruins crispy skin, so drying the legs thoroughly after curing and before crisping is non-negotiable.
- Rendering Fat: If you want to render your own duck fat, save the skin and trimmings from the legs, cook them low and slow until fat releases—more flavor and freshness!
- Watch the Broiler: Broilers vary, so keep the duck legs within sight to avoid flare-ups or burning.
- Multitask with Ease: Since the cooking is mostly hands-off, prep sides or set the table while the duck cooks gently.
- Seasoning Balance: The salt cure flavors the meat well, so add pepper or herbs afterward sparingly to avoid overpowering.
Honestly, I learned my hardest lessons the hard way—like the time I tried crisping straight from the oven without chilling and ended up with rubbery skin. Let me tell you, the chill step is a must for that perfect crunch.
Variations & Adaptations
Here’s where you can get creative or adapt the recipe to your needs:
- Herb Variations: Swap thyme for rosemary or sage for a different herbal note.
- Spiced Duck Confit: Add star anise or cinnamon to the curing salt mixture for a warm, aromatic twist.
- Healthier Version: Use olive oil instead of duck fat for slow cooking, though the flavor differs slightly.
- Cooking Method: If you don’t want to use the oven, slow cook the duck legs in a sous vide bath at 165°F (74°C) for 8 hours, then crisp skin in a hot pan.
- Dairy-Free & Gluten-Free: Naturally free of both, just check your duck fat source.
Personally, I once tried adding a splash of orange zest to the curing salt—surprisingly delightful with the rich duck! Feel free to experiment and make it your own.
Serving & Storage Suggestions
Serve your crispy duck confit warm or at room temperature—both work beautifully. Present on a simple platter with fresh herbs for a rustic look. Pair it with roasted potatoes, a bright salad, or even a tart cherry sauce to cut through the richness.
Leftovers? Wrap tightly in foil and refrigerate for up to 4 days. To reheat, gently warm in a skillet skin-side down to revive the crispiness without drying out the meat. You can also freeze cooked duck confit for up to 3 months; thaw in the fridge overnight before reheating.
Pro tip: The flavors deepen after a day in the fridge, so it tastes even better the next day if you can wait that long!
Nutritional Information & Benefits
This crispy duck confit recipe offers a rich source of protein and essential fats. Duck meat provides iron, zinc, and B vitamins, which support energy and immune function. While the dish is higher in fat due to cooking in duck fat, much of it is monounsaturated, which is a better fat choice. Portion control is key here because it’s indulgent but satisfying.
For gluten-free or low-carb diets, this recipe fits perfectly. Just watch sides if you’re tailoring for calorie-conscious meals.
From a wellness perspective, I find this recipe perfect for occasional treat meals that bring joy without guilt, especially when paired with fresh vegetables.
Conclusion
If you’ve been hesitant to try duck confit, this crispy duck confit with perfectly golden skin recipe is your gateway. It’s not just about making a fancy dish; it’s about the thrill of getting that crackly skin and tender meat right at home. I love this recipe because it turns a special occasion dinner into something you can actually prepare without stress.
Feel free to tweak the herbs or spices to suit your taste, and don’t shy away from making it your own. If you give it a try, I’d love to hear how your duck confit turns out—comments and photos always brighten my day. Now, go on, treat yourself to that crackling skin and savor every bite!
FAQs about Crispy Duck Confit
How long does duck confit last in the fridge?
Properly stored in an airtight container, duck confit lasts up to 4 days in the refrigerator.
Can I use chicken instead of duck for this recipe?
While you can try chicken legs, duck has a richer fat content that’s key to confit’s texture and flavor, so results will differ.
Is it necessary to cure the duck legs with salt?
Yes, curing helps draw moisture out and seasons the meat deeply, contributing to the texture and flavor.
Can I crisp the duck skin in a pan instead of the broiler?
Absolutely! A hot cast-iron skillet works wonderfully for crisping skin evenly and with great control.
Where can I buy duck fat if I don’t want to render my own?
Many specialty grocery stores or online retailers sell high-quality duck fat, often labeled as “confit fat” or “duck cooking fat.”
For more recipes with rich, savory flavors, you might enjoy my crispy garlic chicken or a comforting slow cooker beef stew that pairs well with this duck confit for a full course meal.
Pin This Recipe!
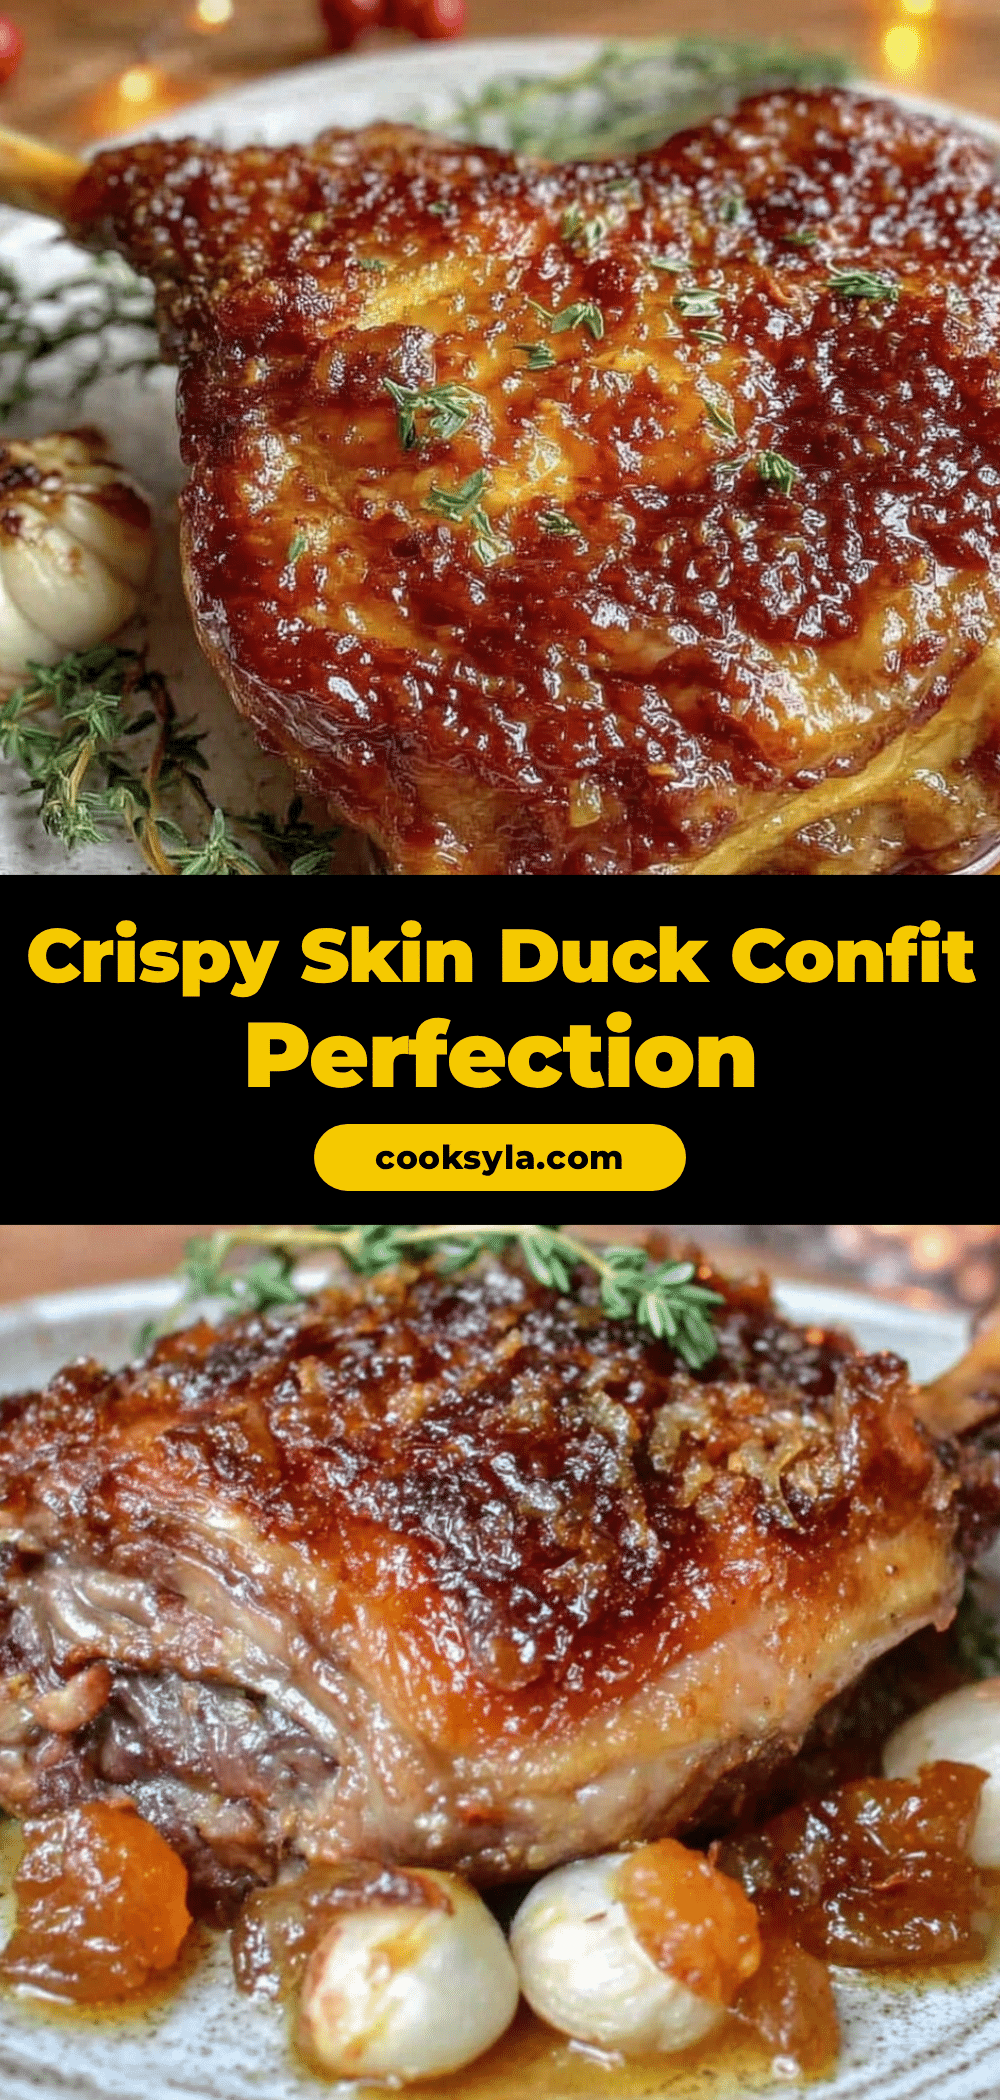
Crispy Duck Confit Recipe Easy Homemade with Perfectly Golden Skin

This crispy duck confit recipe delivers tender, melt-in-your-mouth duck with perfectly golden, crackly skin. Slow-cooked in duck fat and finished under the broiler or in a hot pan, it’s approachable and impressive for any occasion.
- Prep Time: 15 minutes (plus 12-24 hours curing time)
- Cook Time: 2 to 3 hours
- Total Time: Approximately 2 hours 15 minutes active time plus curing and chilling time
- Yield: 4 servings 1x
- Category: Main Course
- Cuisine: French
Ingredients
- 4 large duck legs with skin on
- 1/4 cup (60 g) coarse salt
- 4–5 sprigs fresh thyme
- 4 smashed garlic cloves
- 1 tablespoon lightly crushed black peppercorns
- 2 cups (480 ml) duck fat
- 1–2 bay leaves (optional)
- Ground black pepper to taste
Instructions
- Pat the duck legs dry with paper towels. Mix coarse salt, crushed peppercorns, smashed garlic, and thyme. Rub mixture all over duck legs. Cover and refrigerate for 12 to 24 hours to cure.
- Rinse salt mixture off under cold water and pat duck legs completely dry.
- Preheat oven to 225°F (107°C). Place duck legs in an oven-safe baking dish or Dutch oven. Add bay leaves and pour in duck fat to fully submerge legs.
- Slow cook in oven for 2 to 3 hours until meat is tender and pulls away easily from the bone.
- Using tongs, remove duck legs and let excess fat drip back into dish. Place legs on a cooling rack and allow to cool to room temperature. Refrigerate uncovered for several hours or overnight to dry skin.
- Preheat broiler or heat a cast-iron skillet over medium-high heat. Season duck legs with ground black pepper. Broil skin-side up until golden and crackly, about 10-15 minutes, or crisp skin in skillet skin-side down until crisp.
- Serve immediately, enjoying the crackling skin and juicy meat.
Notes
Dry the duck skin thoroughly after curing and before crisping to ensure crackly skin. If skin isn’t crisp enough, broil for an additional minute but watch closely to avoid burning. Duck fat can be rendered at home or purchased. For dairy-free, use pure duck fat or olive oil. Refrigerate uncovered after cooking to dry skin before crisping. Leftovers keep up to 4 days refrigerated or 3 months frozen.
Nutrition
- Serving Size: 1 duck leg
- Calories: 650
- Sodium: 900
- Fat: 55
- Saturated Fat: 18
- Protein: 35
Keywords: duck confit, crispy duck, duck legs, slow cooked duck, homemade duck confit, duck fat, golden skin duck