Love this? Save it for later!
Share the inspiration with your friends
I was standing in the frozen food aisle of a grocery store last November, gripping a bag of crispy fried onions, when the smell of something—maybe it was the freezer burn, maybe it was the fluorescent lights heating up cardboard—hit me. And suddenly I was eight years old in my Aunt Carol’s kitchen, watching her pull a glass baking dish from the oven. The top was bubbling, golden brown, and that smell—that weirdly specific, creamy, savory, slightly sweet smell—filled the whole house. She’d let me lick the spatula if I promised not to tell my mom. I always promised. And I always told anyway.
Aunt Carol has been gone almost ten years now, and honestly, I haven’t thought about that spatula trick in ages. But standing there in the frozen aisle, I realized I’d been chasing that exact feeling ever since—that warm, slightly chaotic, everything-is-going-to-be-okay feeling that only a holiday table can give you. Except now, half my guests can’t eat gluten, and the canned soup version just doesn’t cut it anymore. Maybe you’ve been there, standing in a grocery aisle, realizing the dish you loved as a kid needs a serious upgrade.
So I went home, grabbed a bag of green beans from my fridge (I’d forgotten the frozen ones, naturally), and started testing. I burned the first batch of gluten-free fried onions. I made a roux that looked like wallpaper paste. But somewhere around attempt number four, it clicked—the creamy sauce, the tender beans, that crunchy topping. It tasted like memory. Like Aunt Carol’s kitchen, but with a gluten-free twist she’d probably roll her eyes at before asking for seconds.
This Crowd-Pleasing Gluten-Free Green Bean Casserole is the one I keep making. For potlucks, for Thanksgiving, for random Tuesday nights when I need a little comfort. It’s the dish that makes people say, “Wait, this is gluten-free?” and then go back for another scoop. And honestly? That’s the best kind of compliment.
Why You’ll Love This Recipe
Let me tell you—I tested this recipe six times before I got it right. Six times! I’m not a professional chef, just someone who really, really wanted a green bean casserole that didn’t taste like a compromise. And after all that trial and error, here’s why this version wins every single time.
- Quick & Easy: Comes together in about 35 minutes, start to finish. Perfect for busy holiday mornings or last-minute potluck invites.
- Simple Ingredients: No weird gluten-free flours or hard-to-find substitutes. You probably have most of this in your pantry right now.
- Perfect for Hosting: Great for Thanksgiving, Christmas, Easter, or any family gathering where you need a side dish that steals the show.
- Crowd-Pleaser: Gluten-free or not, everyone goes back for seconds. I’ve watched my gluten-loving uncle eat half the dish.
- Unbelievably Delicious: The creamy sauce, the tender-crisp beans, the crunchy onion topping—it’s comfort food at its finest.
What makes this recipe different from the rest? It’s the secret technique of making a gluten-free roux that’s actually smooth, not grainy. Most recipes skip this step or use canned cream soup, which is full of weird additives. Not this one. You get real, homemade flavor with a velvety texture that feels indulgent but isn’t heavy.
This isn’t just another green bean casserole. It’s the kind that makes you close your eyes after the first bite, because it tastes exactly like the holidays should taste—warm, comforting, and shared with people you love. Perfect for impressing guests without spending all day in the kitchen.
What Ingredients You Will Need
This recipe uses simple, wholesome ingredients to deliver that classic creamy, crunchy texture without any gluten. Most of these are pantry staples, but I’ll share a few sourcing tips I learned the hard way.
For the Casserole Base
- 1 ½ pounds fresh green beans (trimmed and halved; frozen works too, just thaw and pat dry)
- 2 tablespoons unsalted butter (I prefer Kerrygold for richer flavor)
- 2 tablespoons gluten-free all-purpose flour (I recommend King Arthur Measure for Measure or Bob’s Red Mill 1-to-1)
- 1 cup whole milk (or unsweetened oat milk for dairy-free)
- ½ cup heavy cream (adds richness; use full-fat coconut cream for dairy-free)
- 1 teaspoon garlic powder
- ½ teaspoon onion powder
- ½ teaspoon salt (plus more to taste)
- ¼ teaspoon black pepper
- Pinch of nutmeg (trust me on this—it’s the secret to that “what’s in this?” flavor)
For the Topping
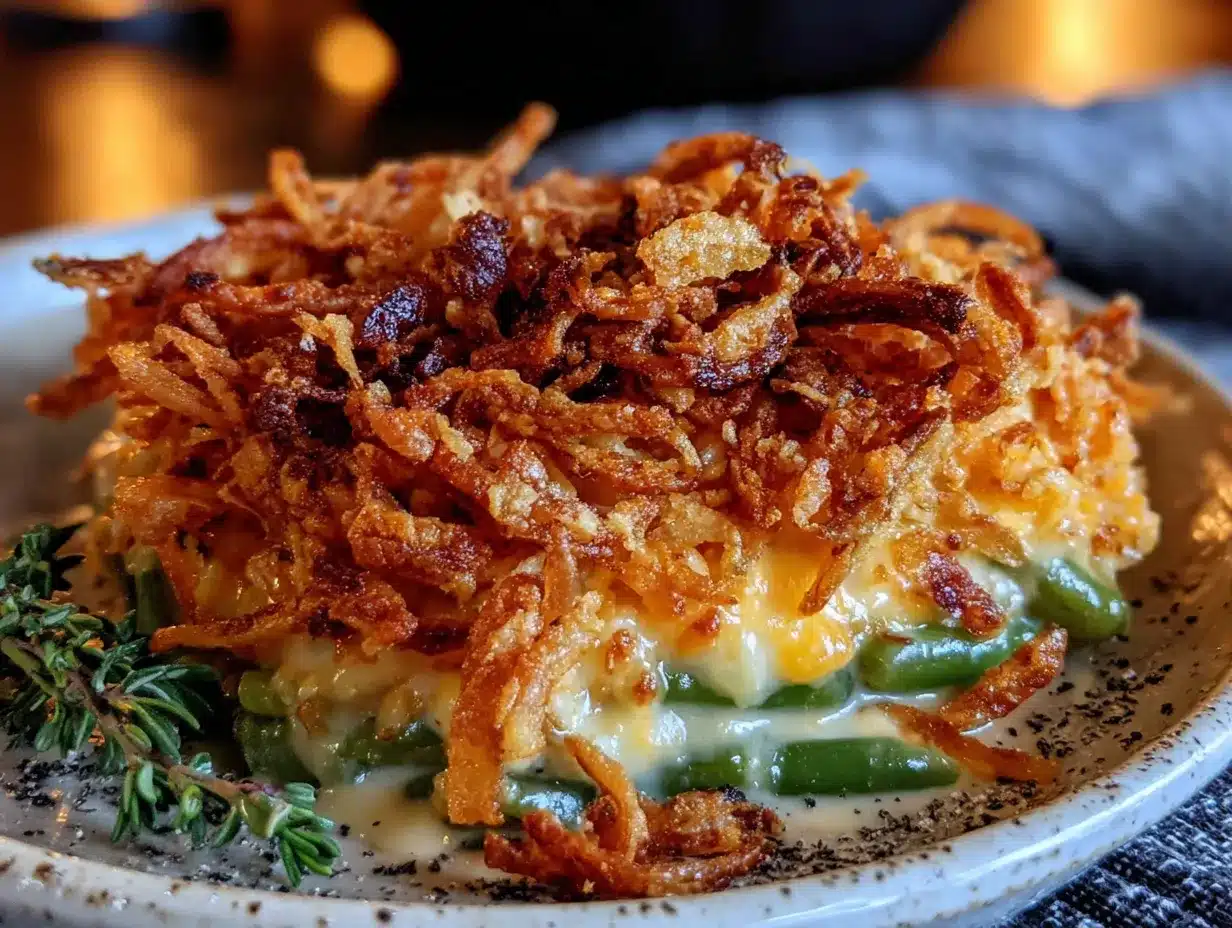
- 1 ½ cups gluten-free crispy fried onions (I use the brand French’s gluten-free version, or you can make your own)
- ½ cup gluten-free panko breadcrumbs (optional, for extra crunch; I like Aleia’s brand)
- 2 tablespoons melted butter (for tossing the breadcrumbs)
Ingredient Selection Tips: For the green beans, look for bright, firm beans with no brown spots. If using frozen, avoid the pre-cut kind—whole green beans hold up better. For the gluten-free flour, don’t use coconut flour or almond flour; they won’t thicken properly. Stick with a blend that contains xanthan gum for the best texture.
Substitution Guidance: For a dairy-free version, use vegan butter and unsweetened oat milk. For a lower-carb option, skip the panko topping and just use extra fried onions. And if you’re feeding a crowd, you can easily double this recipe—just use a 9×13-inch dish and bake a few minutes longer.
Equipment Needed
You don’t need fancy gadgets for this one, which is part of why I love it. Here’s what you’ll need:
- Large pot for blanching the green beans (a stockpot works great)
- Large skillet or sauté pan for making the sauce (I use a 12-inch nonstick pan)
- 2-quart baking dish (an 8×8-inch or similar size; a 9×9-inch works too)
- Colander for draining the beans
- Whisk (a silicone one is best to avoid scratching nonstick pans)
- Wooden spoon or spatula for stirring
- Mixing bowl for the topping
- Sharp knife and cutting board for trimming the beans
Budget-Friendly Alternatives: No whisk? A fork works in a pinch, though you’ll need to whisk a bit longer. No baking dish? A cast-iron skillet works beautifully—just make the sauce right in it and top with the onions.
Personal Experience: I’ve made this in a glass dish, a ceramic dish, and a metal pan. The glass dish gave the most even browning. Also, don’t skip the colander—I once tried to drain the beans using a lid and ended up with green beans all over my sink. Learn from my mistakes!
Preparation Method
Let’s get cooking! This comes together faster than you think, especially if you prep the beans ahead of time.
- Preheat your oven to 375°F (190°C). While it’s heating, bring a large pot of salted water to a boil. Fill a large bowl with ice water and set it nearby.
- Blanch the green beans. Add the trimmed green beans to the boiling water and cook for exactly 3 minutes. They should turn bright green and still have a slight crunch. Immediately transfer them to the ice water bath using a slotted spoon or colander. This stops the cooking and keeps them vibrant. Let them sit for 2 minutes, then drain well and pat dry with a clean kitchen towel. Don’t skip this step—it’s the secret to beans that aren’t mushy.
- Make the roux. In a large skillet over medium heat, melt the 2 tablespoons of butter. Once it’s foaming, whisk in the gluten-free flour. Keep whisking for about 1 minute—it should smell nutty and look like wet sand. If it clumps, don’t panic; just keep whisking. It will smooth out.
- Build the sauce. Slowly pour in the milk while whisking constantly. Then add the heavy cream. Keep whisking until the mixture thickens, about 3-4 minutes. It should coat the back of a spoon. If it’s too thick, add a splash more milk. Too thin? Let it simmer another minute.
- Season the sauce. Stir in the garlic powder, onion powder, salt, pepper, and that pinch of nutmeg. Taste it—yes, taste it now! Adjust the salt if needed. Remove from heat.
- Combine the beans and sauce. Add the blanched green beans to the skillet and gently stir until every bean is coated in that creamy sauce. Pour the mixture into your greased baking dish and spread it into an even layer.
- Prepare the topping. In a small bowl, toss the gluten-free panko breadcrumbs with the 2 tablespoons of melted butter. Sprinkle this mixture evenly over the casserole, then top with the gluten-free crispy fried onions. Don’t press them down—you want them to stay crunchy.
- Bake. Place the dish in the preheated oven and bake for 20-25 minutes, until the sauce is bubbly around the edges and the topping is golden brown. If the onions start browning too fast, tent the dish with foil for the last 5 minutes.
- Rest before serving. Let the casserole sit for 5 minutes after removing it from the oven. This helps the sauce set so it doesn’t turn into soup on the plate. I know it’s hard to wait, but trust me.
Sensory Cues: When it’s done, the top should be golden and crispy, the sauce should be bubbling at the edges, and the kitchen should smell like butter, onions, and pure comfort. The beans should be tender but still hold their shape when you poke them with a fork.
Cooking Tips & Techniques
I’ve made this recipe enough times to know exactly where things can go wrong—and how to fix them. Here’s what I’ve learned the hard way.
Don’t overcook the beans. The first time I made this, I blanched the beans for 6 minutes instead of 3. They turned into sad, limp noodles. Three minutes is all you need. They’ll cook a bit more in the oven, so you want them slightly underdone when they go in.
Make the roux slowly. Gluten-free flour thickens differently than wheat flour. It needs a little more time to cook out the raw taste. Whisk it for a full minute before adding the milk, and don’t rush the process. If the roux looks clumpy, just keep whisking—it will come together.
Toast the panko for extra crunch. If you have an extra 3 minutes, toast the gluten-free panko in a dry skillet before mixing with butter. It adds another layer of texture and keeps the topping crunchy even after baking.
Prep ahead for hosting. This is a lifesaver for holiday meals. You can blanch the beans, make the sauce, and combine everything in the baking dish up to 24 hours in advance. Just cover and refrigerate. When you’re ready to bake, add the topping and bake for 30 minutes (add 5-10 minutes since it’s cold from the fridge).
My biggest failure: I once forgot to add the salt. The casserole looked beautiful, but it tasted flat and sad. Salt is not optional here—it wakes up all the other flavors. Taste your sauce before you pour it over the beans!
Variations & Adaptations
One of the best things about this recipe is how easy it is to tweak. Here are a few ways I’ve made it my own over the years.
Dairy-Free Version: Swap the butter for vegan butter (I like Miyoko’s), use unsweetened oat milk instead of whole milk, and use full-fat coconut cream in place of heavy cream. The sauce will be slightly thinner but still delicious. For the topping, use dairy-free butter or just skip the panko and double the fried onions.
Add Some Protein: Want to make it a main dish? Stir in 2 cups of cooked, shredded rotisserie chicken or 1 cup of cooked bacon bits before baking. It turns a side dish into a hearty meal that’s perfect for a weeknight dinner.
Mushroom Lover’s Version: Sauté 8 ounces of sliced cremini mushrooms in the skillet before making the roux. Remove them, then make the sauce in the same pan. Stir the mushrooms back in with the beans. It adds an earthy depth that mushroom lovers will go crazy for.
Spicy Kick: Add ¼ teaspoon of cayenne pepper or a dash of hot sauce to the sauce. It doesn’t make the dish spicy—just adds a subtle warmth that balances the creamy richness.
Personal Variation: My favorite twist is adding a handful of shredded Gruyère cheese to the sauce right before pouring it over the beans. It melts into the creaminess and adds a nutty, slightly sweet flavor that’s absolutely heavenly. I tried this on a whim one Christmas, and now I can’t go back.
Serving & Storage Suggestions
This casserole is at its best fresh out of the oven, but it’s also surprisingly forgiving if you need to make it ahead.
Serving Temperature: Serve it hot, straight from the oven. Let it rest for 5 minutes so the sauce sets, then scoop it out with a large spoon. The contrast between the hot, creamy interior and the crispy topping is what makes it magical.
What to Serve Alongside: This casserole is a natural side for roasted turkey, baked ham, or even a simple roast chicken. It also pairs beautifully with mashed potatoes, cranberry sauce, and dinner rolls. For a lighter meal, serve it with a simple green salad dressed with lemon vinaigrette.
Storage Instructions: Leftovers keep in an airtight container in the refrigerator for up to 4 days. The topping will soften over time, but the flavor actually gets better as the sauce melds with the beans.
Reheating Tips: For best results, reheat in a 350°F oven for 10-15 minutes, or until warmed through. The microwave works in a pinch, but it will make the topping soggy. If you’re reheating in the oven, sprinkle a few extra fried onions on top before popping it in to refresh the crunch.
Freezer Instructions: You can freeze the unbaked casserole (without the topping) for up to 3 months. Thaw overnight in the refrigerator, add the topping, and bake as directed. The texture is slightly softer after freezing, but it’s still delicious.
Nutritional Information & Benefits
While this is definitely a comfort food dish, it does have some redeeming qualities. Here’s a rough breakdown per serving (based on 8 servings):
| Nutrient | Amount Per Serving |
|---|---|
| Calories | 210 |
| Total Fat | 14g |
| Saturated Fat | 8g |
| Carbohydrates | 18g |
| Fiber | 3g |
| Sugar | 6g |
| Protein | 4g |
| Sodium | 380mg |
Health Benefits: Green beans are packed with vitamin C, vitamin K, and fiber. They’re low in calories but high in nutrients. The sauce adds calcium from the milk and cream, and the onions provide a small amount of prebiotic fiber that supports gut health. Is it a health food? No. But it’s a balanced indulgence that fits into a varied diet.
Dietary Considerations: This recipe is naturally gluten-free (when using certified gluten-free ingredients). It can be made dairy-free with the substitutions listed above. It’s not low-carb, but you can reduce the carbs by skipping the panko topping.
Personal Wellness Perspective: I believe in eating food that makes you feel good—both physically and emotionally. This casserole is comfort food, plain and simple. It’s not about being perfect; it’s about sharing something delicious with people you care about. And that, to me, is worth every calorie.
Conclusion
This Crowd-Pleasing Gluten-Free Green Bean Casserole is more than just a recipe—it’s a way to bring that warm, nostalgic holiday feeling to your table, no matter your dietary needs. It’s creamy, crunchy, and packed with flavor that will make even the skeptics ask for the recipe.
I love this recipe because it proves that gluten-free doesn’t mean flavor-free. It’s the dish I bring to every potluck, the one my friends request for Friendsgiving, the one that makes me feel connected to Aunt Carol’s kitchen even when I’m miles away from home. And honestly? It’s just really, really good.
I’d love to hear how this turns out for you! Did you add your own twist? Did your family go back for thirds? Drop a comment below and share your experience. And if you loved it, share this recipe with a friend who needs a little holiday magic on their table.
Happy cooking, and remember—the best recipes are the ones made with love (and a little bit of butter).
Frequently Asked Questions
Can I use frozen green beans instead of fresh?
Absolutely! Just thaw them completely and pat them dry before blanching. Frozen beans are already blanched, so you only need to cook them for about 1 minute in boiling water. Be careful not to overcook them, or they’ll turn mushy.
How do I make this dairy-free?
Swap the butter for vegan butter, use unsweetened oat milk or almond milk, and replace the heavy cream with full-fat coconut cream. For the topping, use dairy-free butter or just skip the panko and use extra fried onions. The texture will be slightly different, but still delicious.
Can I make this ahead of time?
Yes! You can assemble the casserole (without the topping) up to 24 hours in advance. Cover and refrigerate. When ready to bake, add the topping and bake for 30 minutes (add 5-10 minutes since it’s starting cold). This is perfect for holiday meal prep.
Why did my sauce turn out grainy?
Grainy sauce usually happens when the gluten-free flour isn’t cooked long enough, or when the heat is too high. Make sure you whisk the roux for a full minute before adding liquid, and keep the heat at medium. If it still seems grainy, try blending it with an immersion blender before adding the beans.
Can I add cheese to this recipe?
Definitely! Stir in ½ cup of shredded Gruyère, sharp cheddar, or Parmesan into the sauce right before adding the beans. It adds a wonderful richness and depth of flavor. I personally love Gruyère for its nutty, slightly sweet taste that complements the creamy sauce perfectly.
Pin This Recipe!
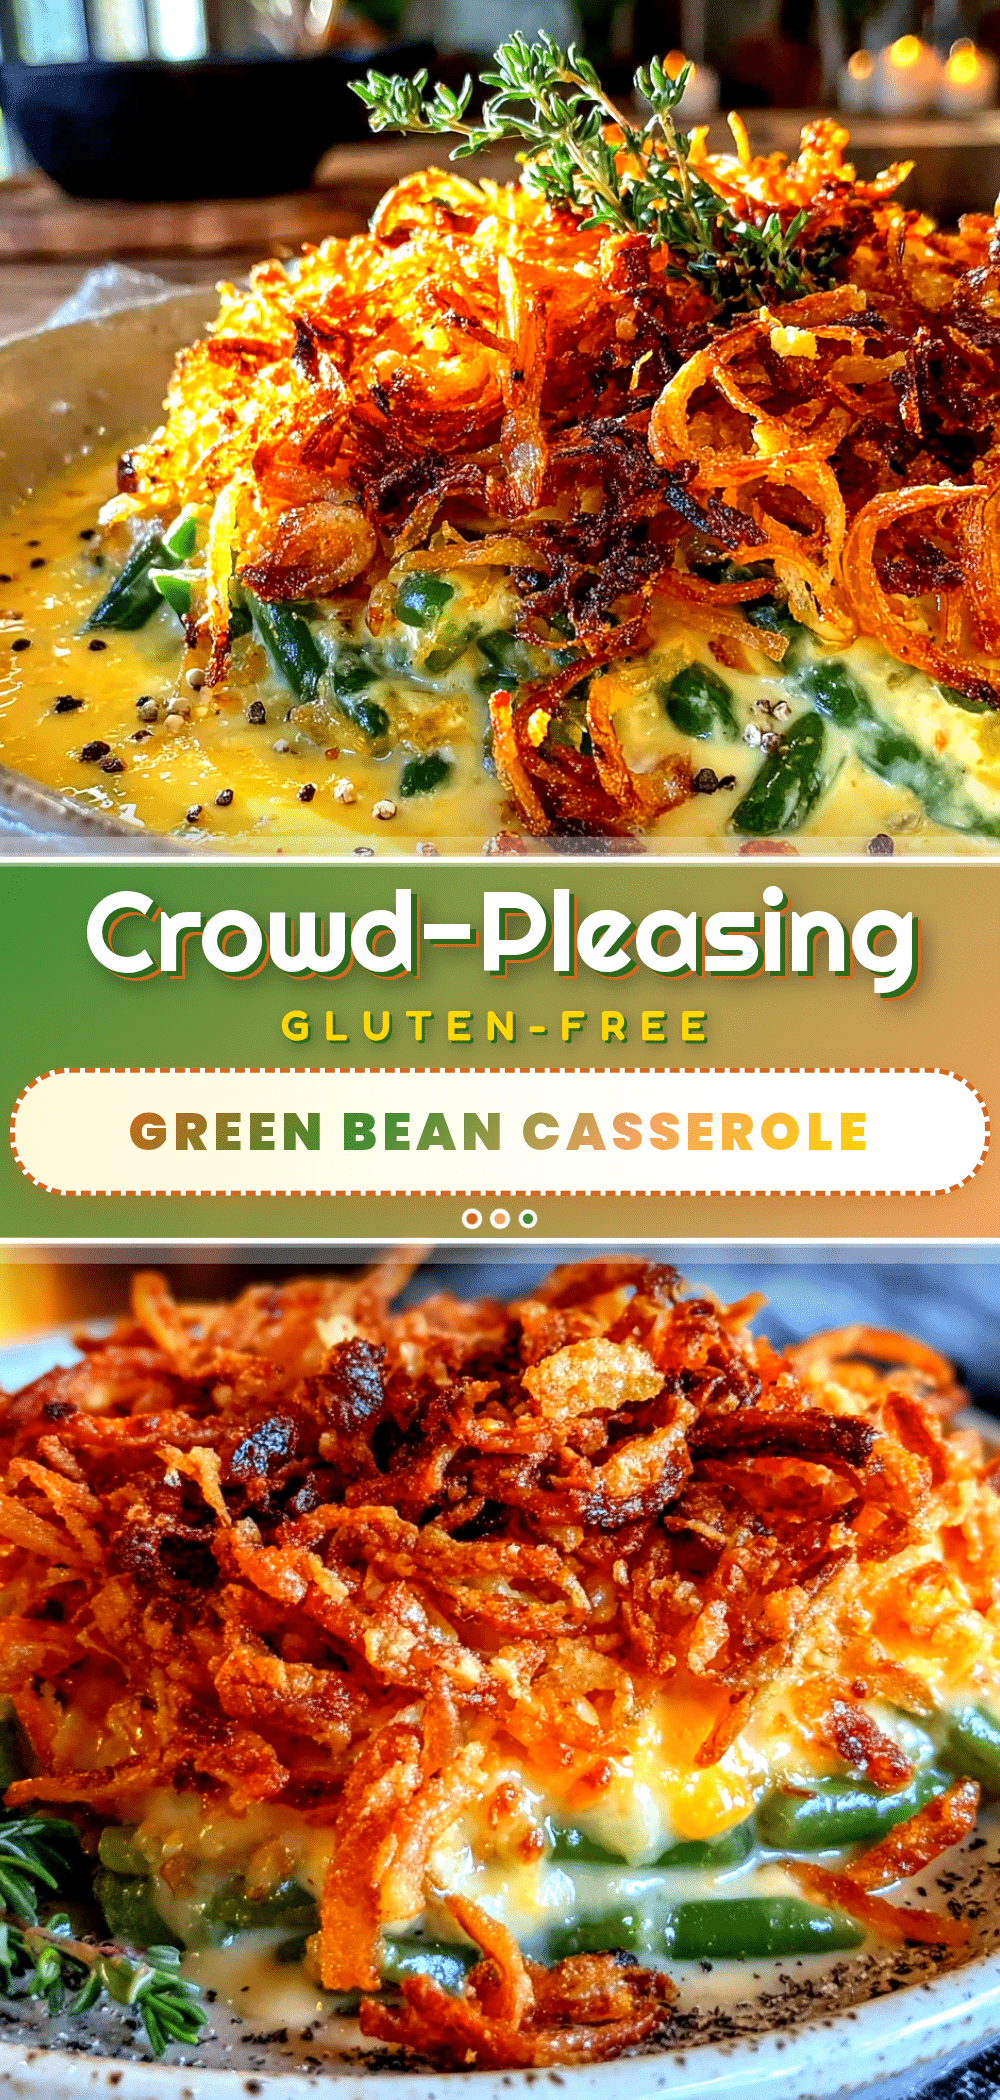
Crowd-Pleasing Gluten-Free Green Bean Casserole: Easy Holiday Side

This creamy, crunchy green bean casserole is made entirely gluten-free, using a homemade roux instead of canned soup. It’s the perfect holiday side dish that even gluten-eaters will love.
- Prep Time: 15 minutes
- Cook Time: 25 minutes
- Total Time: 40 minutes
- Yield: 8 servings 1x
- Category: Side Dish
- Cuisine: American
Ingredients
- 1 ½ pounds fresh green beans, trimmed and halved
- 2 tablespoons unsalted butter
- 2 tablespoons gluten-free all-purpose flour (e.g., King Arthur Measure for Measure or Bob’s Red Mill 1-to-1)
- 1 cup whole milk
- ½ cup heavy cream
- 1 teaspoon garlic powder
- ½ teaspoon onion powder
- ½ teaspoon salt, plus more to taste
- ¼ teaspoon black pepper
- Pinch of nutmeg
- 1 ½ cups gluten-free crispy fried onions (e.g., French’s gluten-free version)
- ½ cup gluten-free panko breadcrumbs (optional)
- 2 tablespoons melted butter
Instructions
- Preheat oven to 375°F (190°C). Bring a large pot of salted water to a boil. Fill a large bowl with ice water.
- Blanch the green beans: Add trimmed beans to boiling water and cook for exactly 3 minutes. Transfer to ice water bath for 2 minutes, then drain well and pat dry.
- Make the roux: In a large skillet over medium heat, melt 2 tablespoons butter. Whisk in gluten-free flour and cook for 1 minute until nutty and sand-like.
- Build the sauce: Slowly pour in milk while whisking, then add heavy cream. Whisk until thickened, about 3-4 minutes.
- Season the sauce: Stir in garlic powder, onion powder, salt, pepper, and nutmeg. Taste and adjust salt. Remove from heat.
- Combine beans and sauce: Add blanched green beans to skillet and stir until coated. Pour into greased 2-quart baking dish.
- Prepare topping: In a small bowl, toss panko with melted butter. Sprinkle over casserole, then top with crispy fried onions.
- Bake for 20-25 minutes until bubbly and golden. If onions brown too fast, tent with foil for last 5 minutes.
- Let rest for 5 minutes before serving.
Notes
For dairy-free, use vegan butter, unsweetened oat milk, and full-fat coconut cream. For extra crunch, toast panko in a dry skillet before mixing with butter. Can be assembled up to 24 hours ahead (without topping) and refrigerated.
Nutrition
- Serving Size: 1 serving
- Calories: 210
- Sugar: 6
- Sodium: 380
- Fat: 14
- Saturated Fat: 8
- Carbohydrates: 18
- Fiber: 3
- Protein: 4
Keywords: gluten-free green bean casserole, holiday side dish, gluten-free Thanksgiving, green bean casserole, easy side dish


