Love this? Save it for later!
Share the inspiration with your friends
I was standing in line at the local hardware store—of all places—waiting to return a paint sprayer I’d clearly used wrong, when the woman behind me started talking about dirt. Not potting soil, not garden dirt, but dessert dirt. She was maybe seventy, wearing a fleece vest with a tiny embroidered pumpkin on the lapel, and she had the kind of no-nonsense voice that made you listen. “You just crush the cookies fine as dust,” she said, catching me eyeing her shopping cart, which held only a bag of Oreos and a tub of Cool Whip. “That’s the secret. Not too chunky, not too fine. Like real earth after a good rain.” I wasn’t expecting dessert advice from a stranger in the paint aisle, but there I was, holding a faulty sprayer, learning how to make the perfect Halloween dirt cup.
Honestly, I almost forgot to ask for her name. She was Fran, a retired home ec teacher who’d been making these for her grandkids for twenty years. She told me the gummy worms were non-negotiable—”They gotta squirm,” she said with a wink—and that the best part was watching kids’ faces when they realize the “dirt” is actually cookies. I scribbled her instructions on the back of my receipt, right next to the paint sprayer return policy. Let me tell you, that recipe has become my go-to for Halloween, classroom parties, and those cozy October evenings when you just want something fun and easy to make with the kids.
There’s something about a dirt cup that just works, you know? It’s playful without being complicated. It brings people together. And the best part? You don’t need an oven, a mixer, or any special skills. Just a spoon, some cups, and a little bit of patience. Maybe you’ve been there—scrolling through Pinterest at 10 PM, realizing you forgot to plan a treat for tomorrow’s school party, and feeling that familiar panic. This is the recipe that saves you every single time.
Why You’ll Love This Recipe
I’ve tested this recipe more times than I can count—with different cookie brands, different pudding textures, even different worm varieties (sour vs. regular, in case you’re curious). Here’s why it always wins:
- Quick & Easy: Comes together in under 15 minutes. No baking, no fuss. Just mix, layer, and chill.
- Simple Ingredients: You probably have most of these in your pantry right now. Oreos, instant pudding, milk, Cool Whip, and gummy worms. That’s it.
- Perfect for Halloween: Great for classroom parties, trick-or-treat gatherings, or a cozy night in with the family.
- Crowd-Pleaser: Kids go absolutely wild for these. Adults too, honestly. I’ve seen grown-ups sneak seconds when they think no one’s looking.
- Unbelievably Delicious: The creamy pudding, the crunchy cookie “dirt,” the chewy gummy worms—it’s a texture party in your mouth.
What makes this recipe different from the rest? It’s the texture. Fran taught me to pulse the Oreos in a food processor until they’re fine but not dusty—like real soil after a spring rain. Too chunky and they sink into the pudding. Too fine and you lose that satisfying crunch. I also use whole milk instead of skim for a richer, creamier pudding that holds its shape better. And here’s my secret: I let the pudding set for exactly 5 minutes before layering. Not 4, not 6. Five. It’s the sweet spot where it’s thick enough to hold the worms but still soft enough to feel luscious.
This recipe isn’t just good—it’s the kind that makes you close your eyes after the first bite. It’s comfort food reimagined: nostalgic, playful, and ridiculously satisfying. Perfect for impressing little guests without any stress, or turning a simple Tuesday night into something memorable.
What Ingredients You Will Need
This recipe uses simple, everyday ingredients to deliver big flavor and fun presentation. Most of these are pantry staples, so you probably already have them on hand.
- 1 package (3.9 oz) instant chocolate pudding mix (I recommend Jell-O brand for consistent results; the sugar-free version works fine too)
- 2 cups cold whole milk (adds richness; 2% or oat milk work in a pinch, but whole milk gives the creamiest texture)
- 1 package (14.3 oz) Oreo cookies (regular, not Double Stuf—you want the cookie-to-cream ratio just right)
- 1 container (8 oz) Cool Whip, thawed (or homemade whipped cream if you’re feeling fancy)
- 1 bag (4 oz) gummy worms (the sour ones add a nice tangy contrast, but classic works too)
- Optional: green food coloring (for a slime effect, though I usually skip it)
- Optional: small Halloween-themed decorations (plastic spiders, candy eyeballs, or bat rings for garnish)
Ingredient Tips: For the Oreos, I prefer the original variety. The cream center helps bind the crumbs together just enough. If you’re using a gluten-free cookie alternative, look for chocolate sandwich cookies that mimic the texture. For the gummy worms, check the label if you’re serving vegetarians—some brands use gelatin, others use pectin. My personal favorite is the Trolli sour worms; they have a nice chew and a bright flavor that cuts through the sweetness.
Substitution Guidance: Use almond milk or coconut milk for a dairy-free version (just know the pudding will be slightly less thick). For a lower-sugar option, use sugar-free pudding mix and reduced-fat Oreos. If you’re avoiding artificial colors, look for naturally colored gummy worms (they exist, I promise). And if you can’t find Cool Whip, whip 1 cup of heavy cream with 2 tablespoons of powdered sugar until stiff peaks form.
Equipment Needed
You don’t need much for this recipe, which is part of its charm. Here’s what you’ll need:
- Food processor or zip-top bag and rolling pin (for crushing Oreos; I prefer the food processor for even crumbs)
- Large mixing bowl (for the pudding)
- Whisk (a balloon whisk works best to avoid lumps)
- Small clear cups or glasses (6 to 8 ounces each; I use plastic party cups for easy cleanup, but glass looks prettier)
- Spoon or small spatula (for layering)
- Measuring cups and spoons
- Refrigerator space (for chilling; at least 30 minutes)
Tool Alternatives: No food processor? No problem. Put the Oreos in a zip-top bag, seal it, and go to town with a rolling pin. It’s a great stress reliever, honestly. I’ve also used a meat mallet in a pinch. For the cups, any small container works—ramekins, mason jars, even paper cups. Just make sure they’re clear so you can see those beautiful layers.
Personal Note: I bought a set of reusable plastic cups with Halloween lids from a party store years ago, and they’ve been worth every penny. They stack, they’re dishwasher safe, and the kids love the spooky designs. If you’re making these for a party, consider investing in something similar—it makes the presentation pop.
Preparation Method
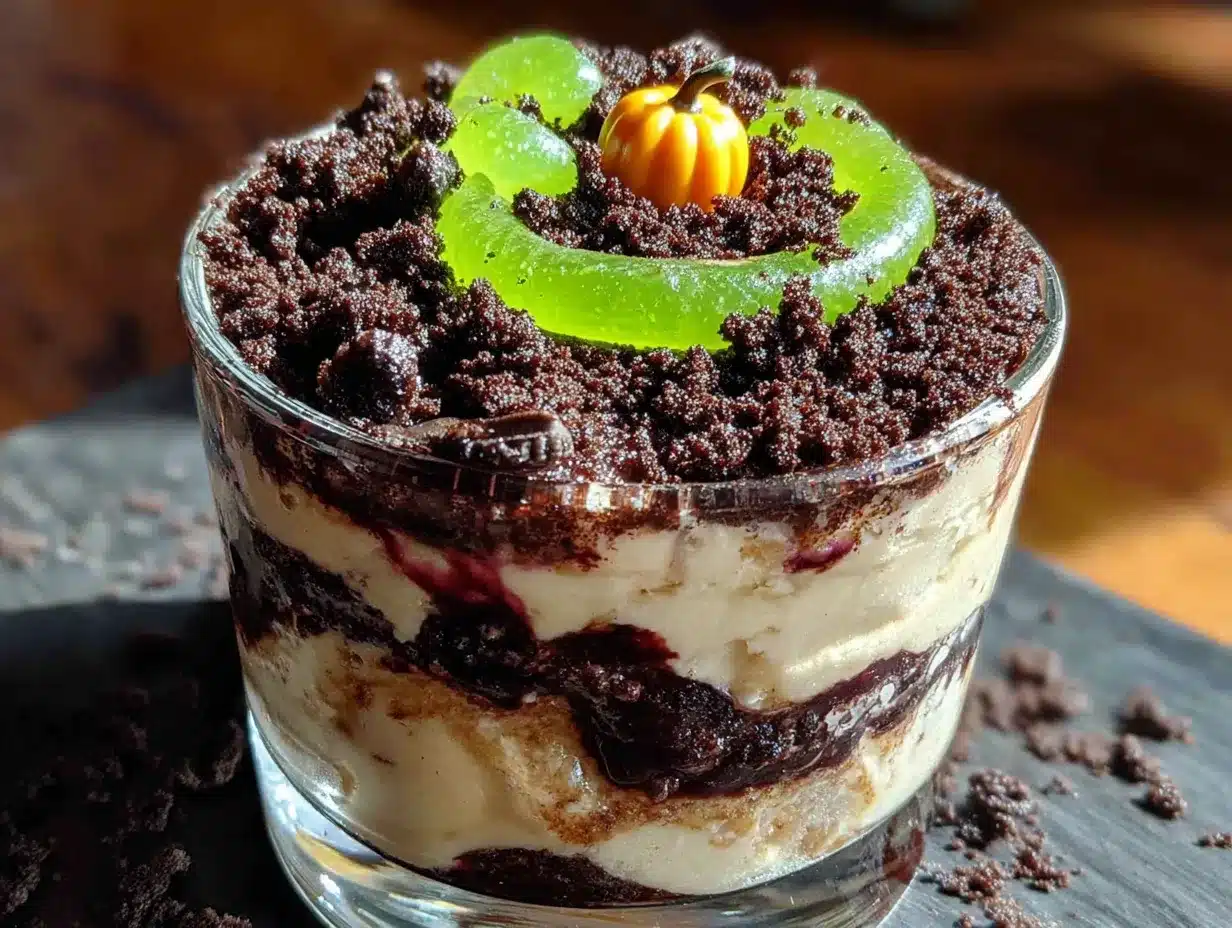
Let’s get our hands dirty—literally. Follow these steps, and you’ll have the cutest Halloween treat on the block.
- Crush the Oreos. Place the entire package of Oreos (cream and all) in your food processor. Pulse about 10 to 12 times, until the cookies are broken into fine crumbs with no large chunks. You want the texture of damp sand—not powder, not gravel. If using a bag and rolling pin, crush until you can’t see any white cream pieces. Set aside about 1/4 cup of the crumbs for the final topping.
- Make the pudding. In a large bowl, whisk together the instant chocolate pudding mix and 2 cups of cold whole milk. Whisk vigorously for about 2 minutes, until the mixture thickens and starts to set. It will be loose at first, then suddenly get thick. That’s your cue. Let it sit for 5 minutes—set a timer, I’m serious. This is the most important step.
- Fold in the Cool Whip. Gently fold the thawed Cool Whip into the pudding using a spatula. Use a cutting motion—down, across, up—rather than stirring. You want to keep the mixture light and airy. Stop as soon as you don’t see white streaks. Overmixing will deflate it.
- Prepare your cups. Arrange your 6 to 8 clear cups on a baking sheet or tray (this makes moving them to the fridge much easier). Each cup should be about 6 to 8 ounces in volume.
- Layer the dirt. Spoon about 2 tablespoons of the Oreo crumbs into the bottom of each cup. Press down gently with the back of the spoon—this creates a stable base. The crumbs should be about 1/2 inch deep.
- Add the pudding mixture. Spoon or pipe the pudding mixture over the crumb layer, filling each cup about halfway. You can use a piping bag for cleaner layers, but a spoon works just fine. Tap the cups gently on the counter to settle the pudding and remove air bubbles.
- Insert the gummy worms. Here’s the fun part. Take 2 to 3 gummy worms and push them into the pudding layer so they’re partially buried. Let a few inches stick out, like they’re trying to escape. Position some near the edge of the cup so they’re visible from the outside. Get creative—some can be diving in, others crawling out.
- Top with more pudding. Spoon the remaining pudding mixture over the worms, filling each cup almost to the top. Leave about 1/2 inch of space for the top crumb layer.
- Finish with crumbs and worms. Sprinkle the reserved Oreo crumbs over the top of each cup, covering the pudding completely. Add one more gummy worm on top, maybe curling it around the edge for drama. You want it to look like a worm is emerging from the dirt.
- Chill. Refrigerate the cups for at least 30 minutes, but 1 hour is better. This allows the pudding to set fully and the flavors to meld. The cookies will soften slightly, creating that perfect “dirt” texture.
Sensory Cues: When you fold the Cool Whip, the mixture should look like chocolate mousse—light, fluffy, and cloud-like. The Oreo crumbs should smell deeply chocolatey with a hint of vanilla from the cream. When you press the crumbs into the cup, you should feel a slight resistance, like packing sand for a sandcastle.
Cooking Tips & Techniques
I’ve made these dirt cups at least thirty times, and I’ve learned a few things the hard way. Let me save you some trouble.
Don’t overcrush the Oreos. I once got distracted and turned the food processor into a chocolate dust factory. The crumbs were so fine they turned into paste when mixed with the pudding. You want visible little specks of black cookie and white cream—that’s what makes it look like real dirt.
Let the pudding set properly. I know I said this already, but I can’t stress it enough. If you layer too soon, the pudding is too thin and the crumbs sink. If you wait too long, the pudding becomes too stiff to spread. Five minutes is the magic number. Set a timer.
Use cold milk. Cold milk helps the instant pudding set faster and more evenly. If your milk is room temperature, the pudding will be grainy and take forever to thicken. I keep a carton in the fridge just for this recipe.
Don’t skip the chill time. I know you’re excited to eat them, but trust me on this. The chilled cups taste infinitely better. The flavors meld, the texture becomes cohesive, and the worms get a satisfyingly cold chew. It’s worth the wait.
Keep the worms in the fridge. Gummy worms get sticky at room temperature. Store them in the fridge until you’re ready to use them—they’ll be easier to handle and won’t leave residue on your fingers.
Multitasking tip: While the pudding is setting for those 5 minutes, wash your food processor bowl and start arranging your cups. Every minute counts when you’re making these for a party.
Variations & Adaptations
This recipe is endlessly adaptable. Here are some of my favorite twists:
1. Pumpkin Patch Dirt Cups: Swap the gummy worms for gummy pumpkins or candy corn. Use orange and green sprinkles on top. It’s perfect for a fall harvest party or Thanksgiving kids’ table.
2. Spooky Spider Cups: Instead of worms, use plastic spider rings (washed and dried) pushed into the pudding. Top with chocolate shavings instead of Oreo crumbs for a darker “dirt.” The kids lose their minds over these.
3. Gluten-Free Version: Use gluten-free chocolate sandwich cookies (Kinnikinnick makes a good one) and ensure your pudding mix is labeled gluten-free. Most are, but double-check the label.
4. Vegan Dirt Cups: Use a vegan chocolate pudding mix (like Simply Delish) and coconut whipped cream. For the cookies, there are vegan chocolate sandwich cookies available at most health food stores. Check your gummy worms for gelatin—some brands use pectin instead.
5. Peanut Butter Swirl: Melt 1/4 cup of peanut butter and drizzle it into the pudding mixture before layering. Swirl with a knife for a marbled effect. This is my personal favorite variation—the salty peanut butter cuts the sweetness beautifully.
6. Individual Trifle Cups: Layer in fresh raspberries or sliced strawberries between the pudding and crumbs. The tart fruit adds a bright, fresh note that balances the richness.
Serving & Storage Suggestions
These dirt cups are best served cold, straight from the fridge. The contrast between the chilled, creamy pudding and the slightly softened cookie crumbs is what makes them so addictive.
Presentation Tips: Arrange the cups on a platter lined with fake spiderwebs or autumn leaves. Add a few plastic spiders crawling up the sides of the cups for extra creepiness. If you’re serving at a party, label them with a cute sign: “Worm Sanctuary” or “Dig In!”
Complementary Dishes: These pair wonderfully with other Halloween treats like pumpkin-shaped cookies, caramel apples, or a warm mug of spiced apple cider. For a full party spread, serve them alongside a cheese platter shaped like a pumpkin and some mummy hot dogs.
Storage Instructions: Cover each cup tightly with plastic wrap or a lid and refrigerate for up to 3 days. The cookies will continue to soften, so they’re best within the first 24 hours. After that, the texture becomes more like a mousse—still delicious, but different.
Freezer Tips: You can freeze the assembled cups for up to 1 month. Wrap each cup individually in plastic wrap, then place in a freezer bag. Thaw in the refrigerator overnight before serving. Note that the gummy worms may become slightly harder after freezing, but they soften as they thaw.
Reheating: Don’t. Seriously, these are meant to be eaten cold. If you want a warm dessert, make a different recipe.
Flavor Development: The flavors actually improve after a few hours in the fridge. The chocolate deepens, the sweetness mellows, and the whole thing becomes more cohesive. If you can make them the day before, do it.
Nutritional Information & Benefits
Let’s be real—these are a treat, not a health food. But here’s what you’re looking at per serving (based on 8 servings):
- Calories: Approximately 320
- Fat: 14g
- Carbohydrates: 47g
- Protein: 4g
- Sugar: 33g
- Fiber: 1g
Health Benefits of Key Ingredients: Chocolate contains antioxidants called flavonoids, which can support heart health. Oreos provide a small amount of iron and calcium from the enriched flour and milk ingredients. Milk is an excellent source of calcium and vitamin D. And hey, gummy worms have gelatin, which is good for your joints—okay, I’m reaching, but let me have this.
Dietary Considerations: This recipe contains gluten, dairy, and soy (from the Oreos). For gluten-free and dairy-free options, see the variations section above. It’s not suitable for vegans unless modified, but it is nut-free (unless you add the peanut butter swirl).
My Wellness Perspective: I believe treats have a place in a balanced life. These dirt cups are about joy, connection, and creating memories with the people you love. One serving won’t derail your health goals—it’ll just make your day a little sweeter. And that’s good for the soul.
Conclusion
So there you have it—the dirt cup recipe that started with a stranger in a hardware store and turned into my most-requested Halloween treat. These little cups are proof that the best recipes don’t come from fancy cookbooks or celebrity chefs. They come from real people, real moments, and a willingness to try something new.
I love this recipe because it’s forgiving, fun, and impossible to mess up. You can make it with kids, for a party, or just because it’s Tuesday and you want to smile. The gummy worms wiggling out of the “dirt” never get old—I still giggle every time I make them.
Now I want to hear from you. Have you made dirt cups before? What’s your favorite Halloween treat? Drop a comment below and tell me about your traditions. And if you try this recipe, tag me in your photos—I’d love to see your worm-filled creations. Happy Halloween, friends! Go make some magic in your kitchen.
Frequently Asked Questions
Can I make these dirt cups ahead of time?
Absolutely! Assemble them up to 24 hours in advance and keep them refrigerated. The texture actually improves after a few hours. Just add the top garnish worms right before serving for maximum visual impact.
Can I use homemade pudding instead of instant?
You can, but the texture will be different. Homemade pudding is thinner and won’t set as firmly. If you go that route, use 1/4 cup less milk than the recipe calls for and let it cool completely before layering.
How do I keep the gummy worms from sinking?
Let the pudding set for the full 5 minutes before adding the worms. If the pudding is too thin, the worms will sink to the bottom. You can also push the worms in after the middle pudding layer is added—they’ll stay put better.
Can I use a different cookie?
Sure! Chocolate wafer cookies, gluten-free chocolate cookies, or even crushed chocolate graham crackers work. Just avoid cookies with filling (like sandwich cookies with peanut butter) as the texture won’t be the same.
How many cups does this recipe make?
It depends on the size of your cups. Using standard 6-ounce cups, you’ll get about 8 servings. For larger 8-ounce cups, you’ll get 6 servings. I usually make 6 generous portions for my family.
Pin This Recipe!
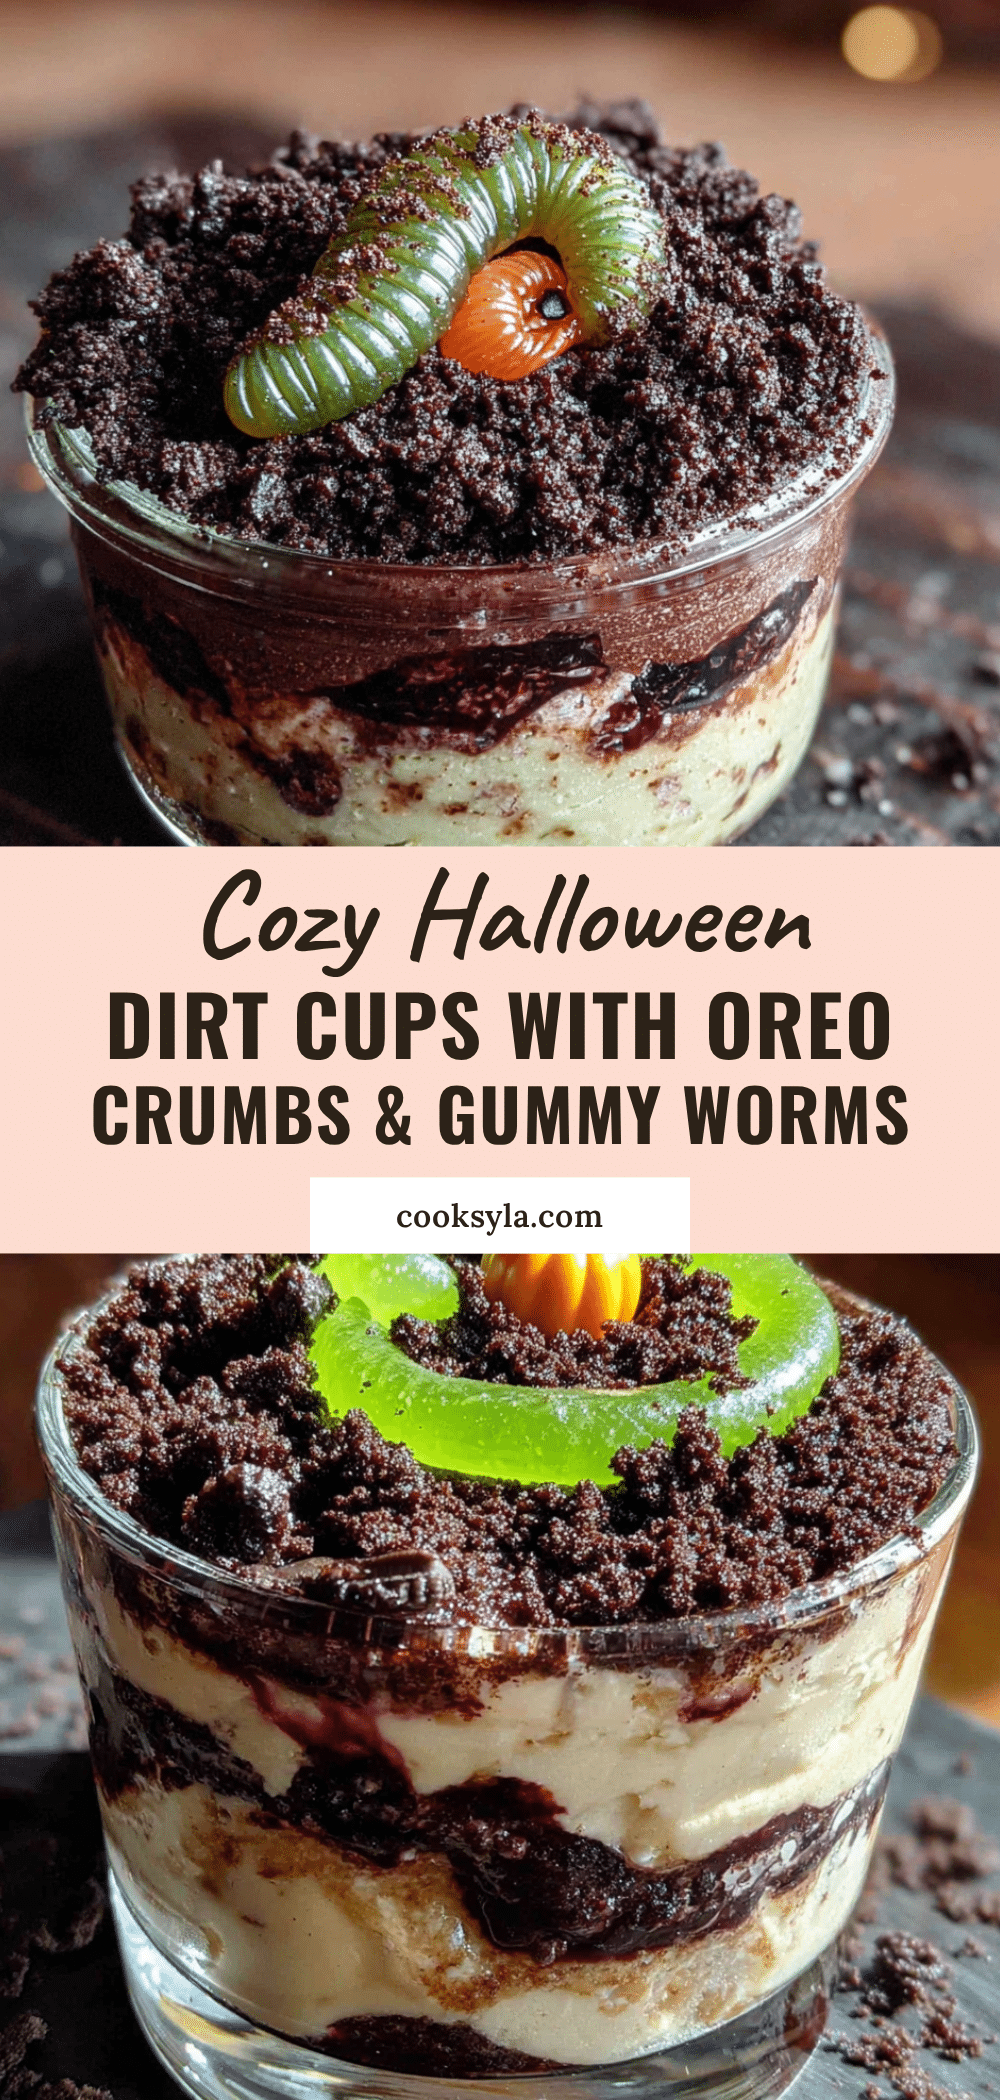
Easy Halloween Dirt Cups with Oreo Crumbs
These no-bake Halloween dirt cups are a fun and easy treat made with creamy chocolate pudding, crushed Oreo cookies, and gummy worms. Perfect for classroom parties or a cozy night in, they come together in under 15 minutes and are sure to delight kids and adults alike.
- Prep Time: 15 minutes
- Cook Time: 0 minutes
- Total Time: 45 minutes
- Yield: 8 servings 1x
- Category: Dessert
- Cuisine: American
Ingredients
- 1 package (3.9 oz) instant chocolate pudding mix
- 2 cups cold whole milk
- 1 package (14.3 oz) Oreo cookies
- 1 container (8 oz) Cool Whip, thawed
- 1 bag (4 oz) gummy worms
- Optional: green food coloring
- Optional: small Halloween-themed decorations
Instructions
- Crush the Oreos. Place the entire package of Oreos (cream and all) in your food processor. Pulse about 10 to 12 times, until the cookies are broken into fine crumbs with no large chunks. You want the texture of damp sand—not powder, not gravel. If using a bag and rolling pin, crush until you can’t see any white cream pieces. Set aside about 1/4 cup of the crumbs for the final topping.
- Make the pudding. In a large bowl, whisk together the instant chocolate pudding mix and 2 cups of cold whole milk. Whisk vigorously for about 2 minutes, until the mixture thickens and starts to set. It will be loose at first, then suddenly get thick. That’s your cue. Let it sit for 5 minutes—set a timer, I’m serious. This is the most important step.
- Fold in the Cool Whip. Gently fold the thawed Cool Whip into the pudding using a spatula. Use a cutting motion—down, across, up—rather than stirring. You want to keep the mixture light and airy. Stop as soon as you don’t see white streaks. Overmixing will deflate it.
- Prepare your cups. Arrange your 6 to 8 clear cups on a baking sheet or tray (this makes moving them to the fridge much easier). Each cup should be about 6 to 8 ounces in volume.
- Layer the dirt. Spoon about 2 tablespoons of the Oreo crumbs into the bottom of each cup. Press down gently with the back of the spoon—this creates a stable base. The crumbs should be about 1/2 inch deep.
- Add the pudding mixture. Spoon or pipe the pudding mixture over the crumb layer, filling each cup about halfway. You can use a piping bag for cleaner layers, but a spoon works just fine. Tap the cups gently on the counter to settle the pudding and remove air bubbles.
- Insert the gummy worms. Here’s the fun part. Take 2 to 3 gummy worms and push them into the pudding layer so they’re partially buried. Let a few inches stick out, like they’re trying to escape. Position some near the edge of the cup so they’re visible from the outside. Get creative—some can be diving in, others crawling out.
- Top with more pudding. Spoon the remaining pudding mixture over the worms, filling each cup almost to the top. Leave about 1/2 inch of space for the top crumb layer.
- Finish with crumbs and worms. Sprinkle the reserved Oreo crumbs over the top of each cup, covering the pudding completely. Add one more gummy worm on top, maybe curling it around the edge for drama. You want it to look like a worm is emerging from the dirt.
- Chill. Refrigerate the cups for at least 30 minutes, but 1 hour is better. This allows the pudding to set fully and the flavors to meld. The cookies will soften slightly, creating that perfect ‘dirt’ texture.
Notes
For best texture, pulse Oreos until fine but not dusty. Let pudding set exactly 5 minutes before layering. Use cold milk for faster setting. Chill at least 30 minutes before serving. Store covered in refrigerator up to 3 days.
Nutrition
- Serving Size: 1 cup
- Calories: 320
- Sugar: 33
- Fat: 14
- Carbohydrates: 47
- Fiber: 1
- Protein: 4
Keywords: Halloween dirt cups, Oreo dirt cups, no-bake Halloween dessert, easy Halloween treat, gummy worm dessert


