Love this? Save it for later!
Share the inspiration with your friends
There used to be a tiny chocolate shop tucked between a laundromat and a used bookstore in my old neighborhood—the kind of place with a handwritten sign in the window and the smell of cocoa hitting you before you even opened the door. They made this peppermint bark that was absolutely unforgettable. Thin layers of dark and white chocolate, just the right amount of crunch from the candy cane pieces, and that cool peppermint tingle that made you close your eyes for a second. When they closed—suddenly, with a “Going Out of Business” sign that broke my heart—I knew I had to figure it out myself.
After seven tries—seven, honestly, with some batches that were too thick, some that shattered in the wrong places, and one that I swear had more fingerprints than chocolate—I finally got it. This Easy Homemade Peppermint Bark with White and Dark Chocolate is the exact recreation of that memory. Maybe you’ve been there, chasing a flavor from a place that no longer exists. Let me tell you, it’s worth the effort.
I still remember the day I cracked it. It was a Tuesday, the power flickered twice, and I had peppermint extract on my counter for the fourth time that month. My neighbor, Mrs. Gable, knocked on the door to borrow sugar and ended up being my taste tester. “This is it,” she said, grabbing a second piece before I could even wrap it up. That moment—the look on her face—that’s why I keep making this recipe. It’s not just chocolate and candy cane. It’s a little piece of something you thought you’d lost.
Why You’ll Love This Recipe
This isn’t just another peppermint bark recipe you’ll find online. I’ve tested this one until my kitchen looked like a candy cane exploded, and let me tell you—this version is the one that actually works. Here’s why you’re going to love it:
- Simple Ingredients : You need exactly four things—dark chocolate, white chocolate, peppermint extract, and candy canes. No fancy equipment, no specialty stores. I bet you already have most of them in your pantry right now.
- Quick & Easy : From start to finish, this takes about 20 minutes of active work. The hardest part is waiting for the chocolate to set, and honestly, that’s just an excuse to clean up the kitchen or start a movie.
- Perfect for Gifting : This bark is a holiday hero. Wrap it in a cellophane bag with a ribbon, and you’ve got a gift that looks like you spent hours on it. I’ve brought this to cookie swaps, teacher gifts, and neighbor drop-offs, and it always gets the same reaction—wide eyes and a quick grab for seconds.
- Crowd-Pleaser : Kids love the crunch, adults love the flavor, and everyone loves how pretty it looks. I’ve never brought this anywhere and brought any home.
- Unbelievably Delicious : The combination of smooth dark chocolate, creamy white chocolate, and that cool peppermint snap is next-level. It’s the kind of treat that makes you close your eyes after the first bite.
What makes this recipe different from the rest? It’s the technique. Most recipes tell you to just melt chocolate and sprinkle candy on top. But I’ve learned that the secret is in the tempering—getting that perfect snap when you break the bark, the glossy shine that makes it look professional, and the balance of flavors that doesn’t overwhelm you with mint. This is my best version, tested and approved by a neighbor who doesn’t hold back her opinions.
What Ingredients You Will Need
This recipe uses simple, wholesome ingredients to deliver bold flavor and satisfying texture without the fuss. Everything you need is probably already in your kitchen, except maybe the candy canes—and honestly, those are everywhere this time of year.
- Dark Chocolate (12 ounces) : Use good-quality dark chocolate here. I recommend Ghirardelli or Lindt for the best flavor and melt. Look for chocolate with 60-70% cocoa content—it balances the sweetness of the white chocolate perfectly. Chop it into even pieces so it melts uniformly.
- White Chocolate (12 ounces) : This is where quality really matters. Cheap white chocolate can seize up or taste waxy. I use Ghirardelli white chocolate baking bars or Guittard. Make sure it’s real white chocolate—look for cocoa butter on the ingredient list. Chop it just like the dark chocolate.
- Peppermint Extract (1/2 teaspoon, divided) : Use pure peppermint extract, not peppermint oil. The extract gives you that clean, cool flavor without being overpowering. I’ve tried the oil before, and it was way too strong—like eating a toothpaste tube. Stick with extract.
- Candy Canes (6-8 large, about 1 cup crushed) : You want classic peppermint candy canes, not the fancy flavored ones. I like the classic red-and-white striped ones for the best color contrast. Crush them yourself—the pre-crushed bags are too fine and lose that satisfying crunch.
- Optional: Flaky Sea Salt (a pinch) : This is my secret weapon. A tiny sprinkle of flaky sea salt on top of the dark chocolate layer elevates everything. It’s not traditional, but trust me, it works.
Ingredient Selection Tips : When choosing your chocolate, avoid chocolate chips if you can. They contain stabilizers that prevent smooth melting and can leave you with a dull, streaky finish. Baking bars are your best friend here. For the candy canes, look for ones that feel solid—old candy canes get brittle and crush into dust instead of nice chunks.
Substitution Guidance : If you’re dairy-free, use dairy-free dark and white chocolate—just check the labels carefully. For a vegan version, make sure both chocolates are vegan-friendly and use a plant-based peppermint extract. If you can’t find candy canes, peppermint candies work in a pinch, but they don’t crush as nicely.
Equipment Needed
You don’t need a fancy kitchen for this recipe. Here’s what you’ll actually use:
- Baking Sheet (13×18 inches) : A standard half-sheet pan works perfectly. Line it with parchment paper or foil for easy removal.
- Double Boiler or Heatproof Bowl : I use a glass bowl set over a pot of simmering water. If you don’t have a double boiler, a microwave works too—just be careful not to burn the chocolate.
- Spatula : A rubber spatula is essential for spreading the chocolate evenly. Offset spatulas work great too, but a regular one does the job.
- Ziploc Bag or Rolling Pin : For crushing the candy canes. I put them in a Ziploc bag and go at them with a rolling pin—it’s oddly satisfying.
- Sharp Knife : For cutting the bark into pieces. A serrated knife works best for clean breaks.
- Parchment Paper : Non-negotiable. It keeps the bark from sticking and makes cleanup a breeze.
Budget-Friendly Options : Don’t have a double boiler? No problem. A microwave works just as well—just use 30-second intervals and stir in between. No baking sheet? A large cutting board covered in parchment works in a pinch. I’ve made this in a hotel room once with a coffee mug and a hair dryer (don’t ask).
Preparation Method
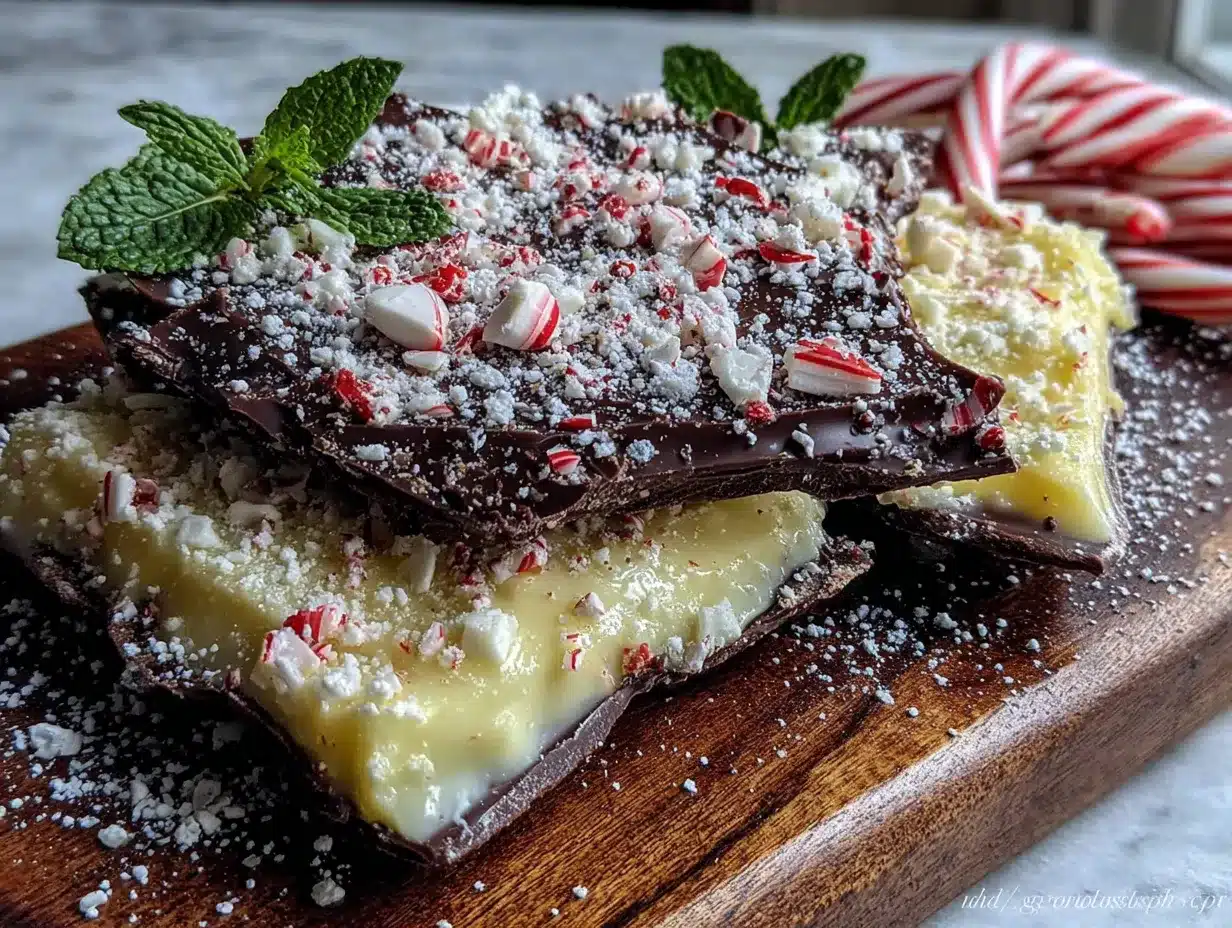
Let’s get to the good part. Follow these steps carefully, and you’ll have peppermint bark that looks like it came from that fancy chocolate shop.
- Prep Your Workspace : Line your baking sheet with parchment paper, making sure it hangs over the edges slightly. This will help you lift the bark out later. Crush your candy canes—put them in a Ziploc bag and smash them with a rolling pin until you have a mix of small pieces and a little bit of powder. You want some texture, not dust. Set aside.
- Melt the Dark Chocolate : Chop your dark chocolate into even pieces and place it in a heatproof bowl. Set the bowl over a pot of simmering water—make sure the water doesn’t touch the bottom of the bowl. Stir gently with a spatula until the chocolate is almost completely melted. Remove from heat and stir until smooth. This prevents overheating. Add 1/4 teaspoon of peppermint extract and stir well. The chocolate should be glossy and smooth.
- Spread the Dark Layer : Pour the melted dark chocolate onto your prepared baking sheet. Use your spatula to spread it evenly into a rectangle about 1/4 inch thick. Don’t worry about making it perfect—rustic edges are part of the charm. Tap the pan gently on the counter to smooth out any bubbles. Place the pan in the refrigerator for 10-15 minutes, or until the chocolate is firm to the touch but not rock hard.
- Melt the White Chocolate : While the dark layer sets, chop your white chocolate and melt it the same way. White chocolate is more delicate, so be extra careful not to overheat it. Stir frequently and remove from heat as soon as it’s mostly melted. Add the remaining 1/4 teaspoon of peppermint extract and stir until smooth.
- Add the White Layer : Remove the pan from the fridge. Pour the melted white chocolate over the set dark chocolate layer. Spread it gently and evenly, being careful not to disturb the dark layer underneath. Work quickly—if the dark layer is too cold, the white chocolate might seize up.
- Top with Candy Canes : Immediately sprinkle your crushed candy canes over the white chocolate layer. Press them in gently with your fingers so they stick. Add a pinch of flaky sea salt if you’re using it. Don’t skip this step—the salt makes the chocolate pop.
- Set the Bark : Place the pan back in the refrigerator for at least 30 minutes, or until the bark is completely firm. I usually leave it for an hour to be safe. The bark should lift easily off the parchment when it’s ready.
- Break or Cut : Once set, lift the bark out of the pan using the parchment edges. Place it on a cutting board. You can break it into rustic pieces with your hands, or use a sharp knife to cut clean squares. I like a mix of both—big pieces for gifting, smaller ones for snacking.
Sensory Cues : When the dark chocolate is ready to spread, it should look glossy and flow like thick syrup. When you tap the pan, the surface should smooth out on its own. The white chocolate should be creamy and pale, not yellow or grainy. When you break the finished bark, listen for that clean snap—that’s how you know you did it right.
Cooking Tips & Techniques
I’ve made this recipe more times than I care to count, and I’ve learned a few things the hard way. Here’s what I wish someone had told me:
Don’t Overheat the Chocolate : This is the number one mistake. Chocolate is finicky—if it gets too hot, it seizes up into a grainy mess. Always melt it slowly, and take it off the heat while there are still a few solid pieces left. The residual heat will finish the job.
Watch the Temperature : If your kitchen is warm, the chocolate might not set properly. Work in a cool room if you can. I once made this on a humid summer day, and the chocolate refused to harden. I ended up with peppermint soup. Not my finest moment.
Layer Timing is Everything : The dark layer needs to be set but not ice-cold when you add the white layer. If it’s too cold, the white chocolate will harden on contact and you’ll get uneven layers. If it’s too warm, the layers will mix. I wait until the dark layer is firm to the touch but still slightly flexible when I press it.
Crush Candy Canes Strategically : You want a mix of sizes—some big pieces for texture, some smaller ones for even distribution. I leave a few larger chunks in the bag and crush them separately. And always crush more than you think you need. I’ve never regretted having extra.
Use a Serrated Knife for Clean Cuts : If you’re cutting the bark into squares instead of breaking it, use a serrated knife and a gentle sawing motion. A straight knife will shatter the chocolate. Trust me on this one—I’ve lost too many perfect pieces to a bad knife.
Variations & Adaptations
Once you’ve mastered the basic recipe, feel free to play around. Here are some of my favorite variations:
Dark Chocolate Only : If you’re not a white chocolate fan, use all dark chocolate. Just double the dark chocolate amount and skip the white layer. Add the candy canes directly to the top while the chocolate is still wet. It’s less fancy but just as delicious.
Mint Chocolate Twist : Swap the peppermint extract for mint extract for a slightly different flavor profile. Mint is a bit sweeter and less sharp than peppermint. I’ve also added a few drops of green food coloring to the white chocolate for a festive look—my kids love it.
Nutty Crunch : Add 1/4 cup of crushed almonds or pecans to the candy cane mixture. The nuttiness pairs beautifully with the dark chocolate. I tried this once when I ran out of candy canes, and it was a happy accident.
Seasonal Swaps : For Valentine’s Day, use crushed conversation hearts instead of candy canes. For Easter, try crushed pastel mints. For a summer treat, use freeze-dried raspberries instead of peppermint—the tartness is amazing with dark chocolate.
Vegan Version : Use high-quality vegan dark and white chocolate. Make sure your peppermint extract is plant-based, and skip the sea salt if it’s not vegan. The texture will be slightly different, but the flavor is still spot-on.
Serving & Storage Suggestions
This bark is best served at room temperature. The chocolate has the best snap and flavor when it’s not straight out of the fridge. I like to arrange the pieces on a platter or in a gift box lined with parchment paper.
Presentation Ideas : For holiday parties, I stack the bark in a mason jar with a ribbon tied around the top. For cookie exchanges, I wrap individual pieces in clear cellophane bags with a twist tie. For a simple dessert, I serve a few pieces alongside fresh berries and a cup of coffee.
Storage Instructions : Store the bark in an airtight container at room temperature for up to two weeks. If your kitchen is warm, keep it in the refrigerator—just let it come to room temperature before serving. I’ve kept this in the fridge for a month, and it was still perfect.
Freezer Tips : This bark freezes beautifully. Layer pieces between sheets of parchment paper in an airtight container and freeze for up to three months. Thaw in the refrigerator overnight, then bring to room temperature before serving. The texture stays exactly the same.
How Flavors Develop : Honestly, this bark tastes even better the next day. The peppermint flavor mellows and blends with the chocolate, creating a more balanced taste. I always try to make it a day ahead if I’m serving it for an event.
Nutritional Information & Benefits
Let’s be real—this is a treat, not a health food. But that doesn’t mean it’s without its merits. Here’s a rough breakdown per serving (about 2 ounces):
| Nutrient | Amount |
|---|---|
| Calories | 220 |
| Total Fat | 14g |
| Saturated Fat | 8g |
| Carbohydrates | 24g |
| Sugar | 20g |
| Protein | 3g |
Health Benefits : Dark chocolate is rich in antioxidants and flavonoids, which can support heart health. Peppermint has natural digestive benefits and can help soothe an upset stomach. So while this isn’t a superfood, it’s not completely empty calories either.
Dietary Considerations : This recipe is gluten-free as written. For dairy-free, use dairy-free chocolate. For vegan, use vegan chocolate and skip the sea salt if needed. The recipe contains dairy and may contain traces of nuts depending on your chocolate brand.
FAQs
Can I use chocolate chips instead of baking bars?
You can, but I don’t recommend it. Chocolate chips contain stabilizers that prevent them from melting smoothly. You’ll end up with a dull, streaky finish instead of that glossy, professional look. Baking bars are worth the extra dollar or two.
Why did my white chocolate seize up?
White chocolate is sensitive to heat and moisture. If even a drop of water gets into the melting bowl, it will seize into a grainy mess. Make sure your bowl and spatula are completely dry. Also, don’t overheat it—melt it low and slow.
How do I get clean, even layers?
The key is timing. Let the dark chocolate layer set until it’s firm but not ice-cold. If it’s too cold, the white chocolate will harden on contact. If it’s too warm, the layers will mix. I wait about 10-15 minutes in the fridge, then test with a gentle finger press.
Can I make this without a double boiler?
Absolutely. Use a microwave instead. Melt the chocolate in 30-second intervals, stirring well between each. It takes about 2-3 minutes total. Just be careful not to burn it—chocolate can go from melted to ruined in seconds.
How long does this peppermint bark last?
Stored properly in an airtight container at room temperature, it stays fresh for up to two weeks. In the refrigerator, it lasts a month. In the freezer, up to three months. Just make sure it’s well-sealed so it doesn’t absorb any weird fridge smells.
Conclusion
This Easy Homemade Peppermint Bark with White and Dark Chocolate is more than just a holiday treat—it’s a little piece of joy you can make in your own kitchen. Whether you’re recreating a memory from a long-gone chocolate shop, making gifts for your neighbors, or just treating yourself on a cold winter night, this recipe delivers every time.
I love this recipe because it’s forgiving. It doesn’t require precision or fancy skills. It just asks for good ingredients and a little patience. And the reward? That perfect snap, that cool peppermint tingle, that look on someone’s face when they take their first bite. That’s why I keep making it, year after year.
Now it’s your turn. Try this recipe, and don’t be afraid to make it your own. Add a little extra salt, swap the candy canes for something unexpected, or just follow it exactly as written. Either way, I’d love to hear how it turns out. Drop a comment below and tell me about your peppermint bark adventure—or share a photo of your finished bark. Happy cooking, and happy holidays!
Pin This Recipe!
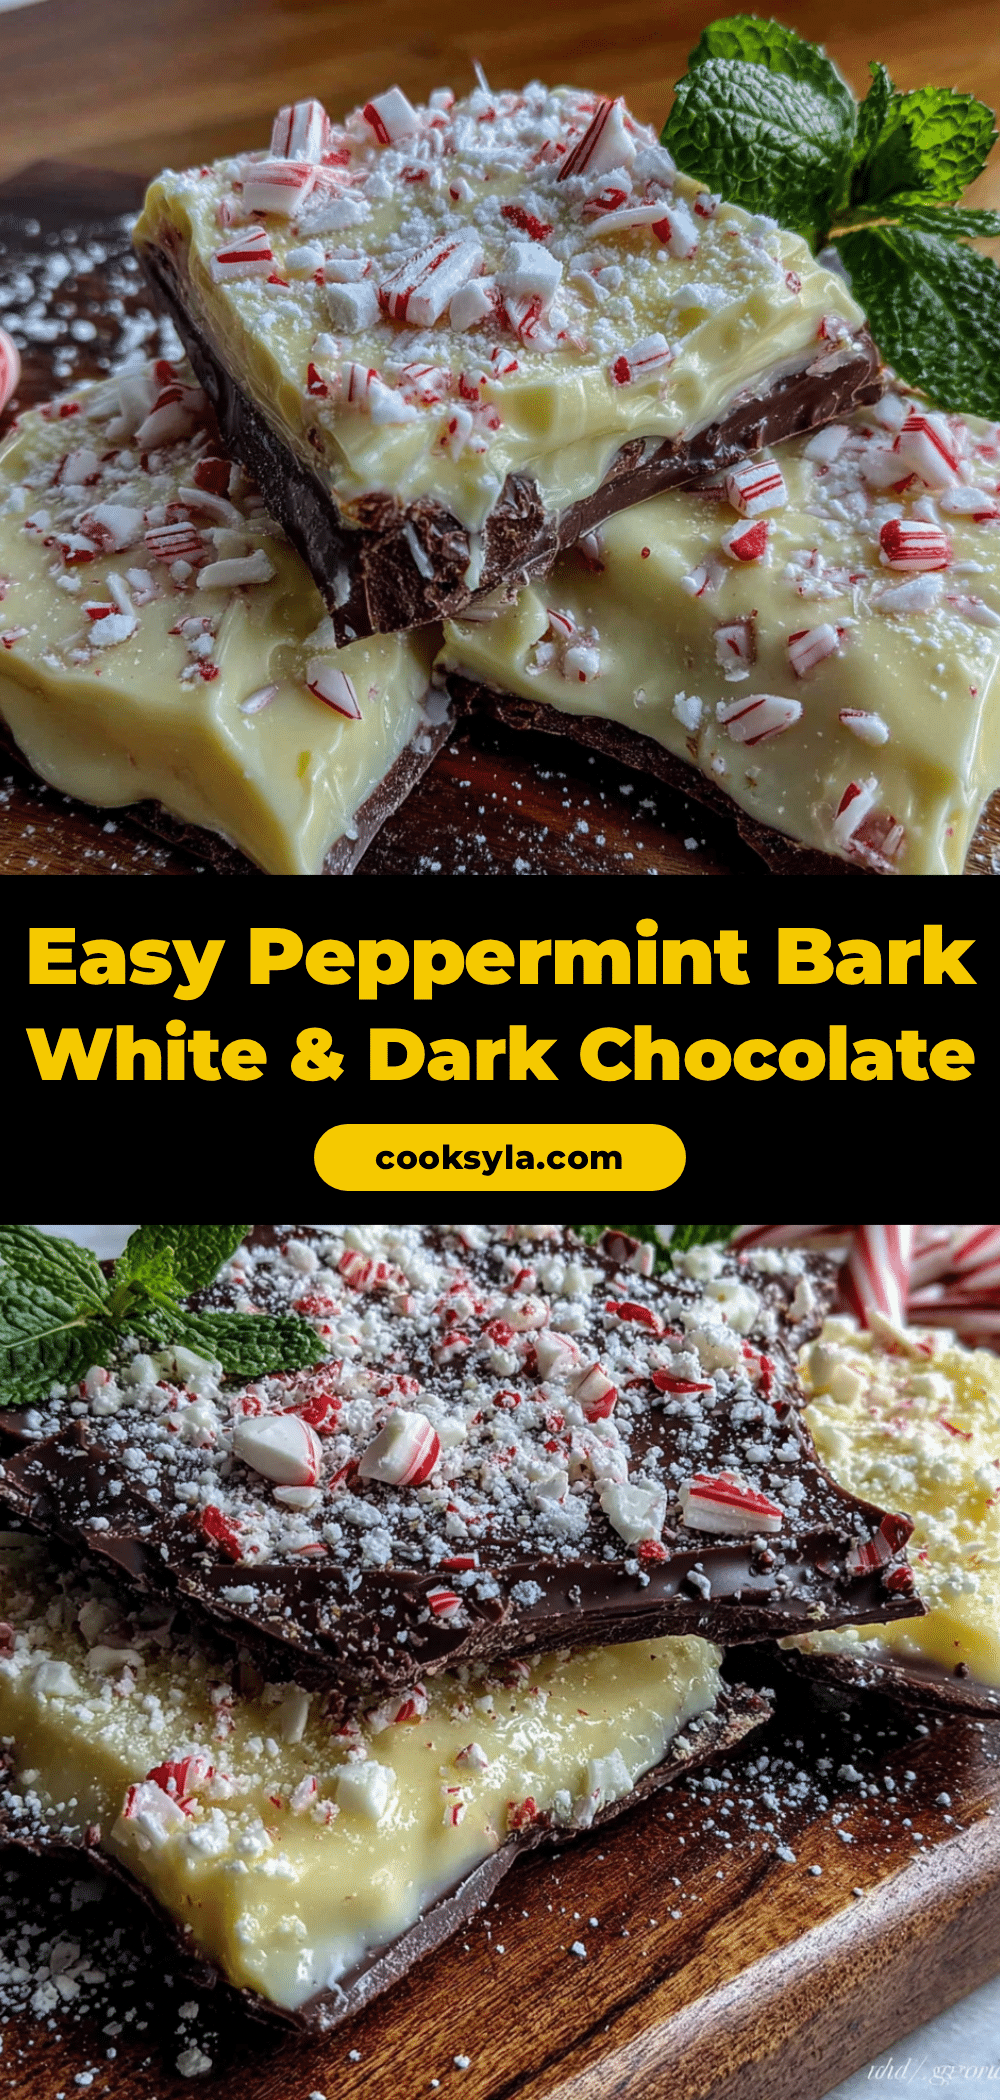
Easy Homemade Peppermint Bark with Dark and White Chocolate

Thin layers of dark and white chocolate with crunchy candy cane pieces and a cool peppermint tingle. This easy recipe recreates the unforgettable flavor of a beloved chocolate shop’s signature treat.
- Prep Time: 20 minutes
- Cook Time: 0 minutes
- Total Time: 1 hour 20 minutes (including chilling)
- Yield: 12 servings 1x
- Category: Dessert
- Cuisine: American
Ingredients
- 12 ounces dark chocolate (60-70% cocoa), chopped
- 12 ounces white chocolate, chopped
- 1/2 teaspoon peppermint extract, divided
- 6–8 large candy canes (about 1 cup crushed)
- Pinch of flaky sea salt (optional)
Instructions
- Line a 13×18-inch baking sheet with parchment paper, letting it hang over the edges. Crush candy canes in a Ziploc bag with a rolling pin until you have a mix of small pieces and some powder. Set aside.
- Melt dark chocolate in a heatproof bowl over simmering water (or microwave in 30-second intervals), stirring until almost melted. Remove from heat and stir until smooth. Add 1/4 teaspoon peppermint extract and stir well.
- Pour melted dark chocolate onto prepared baking sheet and spread evenly into a 1/4-inch thick rectangle. Tap pan gently to smooth out bubbles. Refrigerate for 10-15 minutes until firm to the touch but not rock hard.
- While dark layer sets, melt white chocolate the same way, being careful not to overheat. Stir frequently and remove from heat as soon as mostly melted. Add remaining 1/4 teaspoon peppermint extract and stir until smooth.
- Remove pan from fridge. Pour white chocolate over set dark layer and spread gently and evenly, working quickly to avoid seizing.
- Immediately sprinkle crushed candy canes over white chocolate layer and press in gently. Add a pinch of flaky sea salt if using.
- Return pan to refrigerator for at least 30 minutes (or 1 hour to be safe) until completely firm. Bark should lift easily off parchment.
- Lift bark out of pan using parchment edges. Break into rustic pieces with your hands or cut into clean squares with a serrated knife.
Notes
Use good-quality chocolate (Ghirardelli or Lindt recommended) for best results. Avoid chocolate chips as they contain stabilizers. For clean layers, ensure dark layer is set but not ice-cold before adding white chocolate. Crush candy canes to a mix of sizes for best texture. Bark tastes even better the next day as flavors meld.
Nutrition
- Serving Size: 2 ounces
- Calories: 220
- Sugar: 20
- Sodium: 35
- Fat: 14
- Saturated Fat: 8
- Carbohydrates: 24
- Fiber: 2
- Protein: 3
Keywords: peppermint bark, dark chocolate, white chocolate, candy cane, holiday treat, easy dessert, homemade candy


