Love this? Save it for later!
Share the inspiration with your friends
My husband had refused to have anything to do with “fancy hot chocolate” for years. Seven years, actually—ever since a disastrous overpriced café version that he claims tasted like “melted wax and disappointment.” Then, last December, I made these hot cocoa bombs “just for the kids’ Christmas Eve treat” and found him at the kitchen counter at 11 PM, quietly dropping one into a mug of steaming milk with the most concentrated look of concentration I’ve ever seen on a grown man’s face. He didn’t even hear me walk in. I just stood there, watching him poke at the melting chocolate sphere with a spoon, and honestly, I felt a little smug. Not in a mean way—more like that quiet satisfaction you get when you prove someone wrong without ever saying a word.
The thing is, I wasn’t trying to convert him. I was just tired of buying those overpriced store-bought hot cocoa bombs that cost five dollars each and taste more like sugary wax than actual chocolate. So I figured out how to make them at home—easy ones that actually work, with real ingredients, and without any special equipment that costs more than the ingredients themselves. The first batch was a little lopsided, if I’m being honest. One of them cracked right down the middle when I tried to seal it, and I may have eaten the evidence before anyone noticed. But the ones that survived? They were magic.
Maybe you’ve been there—wanting to make something special for your family without spending a fortune or losing your mind in the kitchen. These easy hot cocoa bombs are the answer. They look impressive, taste incredible, and come together in about 30 minutes. Let me show you how.
Why You’ll Love This Recipe
I’ve tested this recipe about seven times to get it right—not because it’s complicated, but because I wanted to make sure it was actually doable for regular home cooks. You know, people who don’t have a pastry chef hiding in their back pocket. Here’s what makes these hot cocoa bombs worth your time:
- Quick & Easy: From start to finish, you’re looking at about 30 minutes. That includes the chilling time. No complicated techniques, no fancy tools—just you, some chocolate, and a little patience.
- Simple Ingredients: You probably already have most of these in your kitchen. No weird additives, no obscure extracts, nothing that requires a special trip to a specialty store. I’m all about keeping it practical.
- Perfect for Family Movie Nights: These are my go-to for snow days, holiday parties, or just a regular Tuesday when everyone needs a little pick-me-up. The kids love watching the bomb “explode” in the mug, and the adults love that they’re not loaded with artificial junk.
- Crowd-Pleaser: I’ve made these for picky eaters, chocolate snobs, and people who “don’t really like hot chocolate.” Every single person has asked for the recipe. Even my husband—though he’ll never admit it out loud.
- Unbelievably Delicious: The secret is using good-quality chocolate and a pinch of salt to balance the sweetness. The result is a rich, creamy hot cocoa that tastes like you spent way more effort than you actually did.
What makes this recipe different from all the others you’ll find online? It’s the technique. Most recipes tell you to use silicone molds and hope for the best. I’ll show you how to get perfectly smooth, crack-free chocolate shells every time—no fancy equipment required. And I’ve included a trick for sealing the bombs that I figured out after my third failed batch. Trust me, it makes all the difference.
This isn’t just another hot cocoa bomb recipe. It’s the one that makes you close your eyes after the first sip. It’s comfort food reimagined—faster, simpler, but with the same soul-soothing satisfaction that only real chocolate can deliver. Perfect for impressing your family without stressing yourself out.
What Ingredients You Will Need
This recipe uses simple, wholesome ingredients that come together to create something truly special. Most of these are probably already in your pantry, which is exactly how I like it. Let’s break down what you’ll need and why each ingredient matters.
For the Chocolate Shells
- 12 ounces good-quality chocolate chips or chopped chocolate (I prefer Ghirardelli or Guittard—they melt smoothly and taste rich without being overly sweet. Avoid chocolate chips with stabilizers, as they don’t melt as evenly.)
- 1 teaspoon coconut oil or vegetable shortening (This helps thin the chocolate for easier coating and gives the shells a nice shine. Coconut oil adds a subtle flavor; shortening is completely neutral.)
For the Hot Cocoa Filling
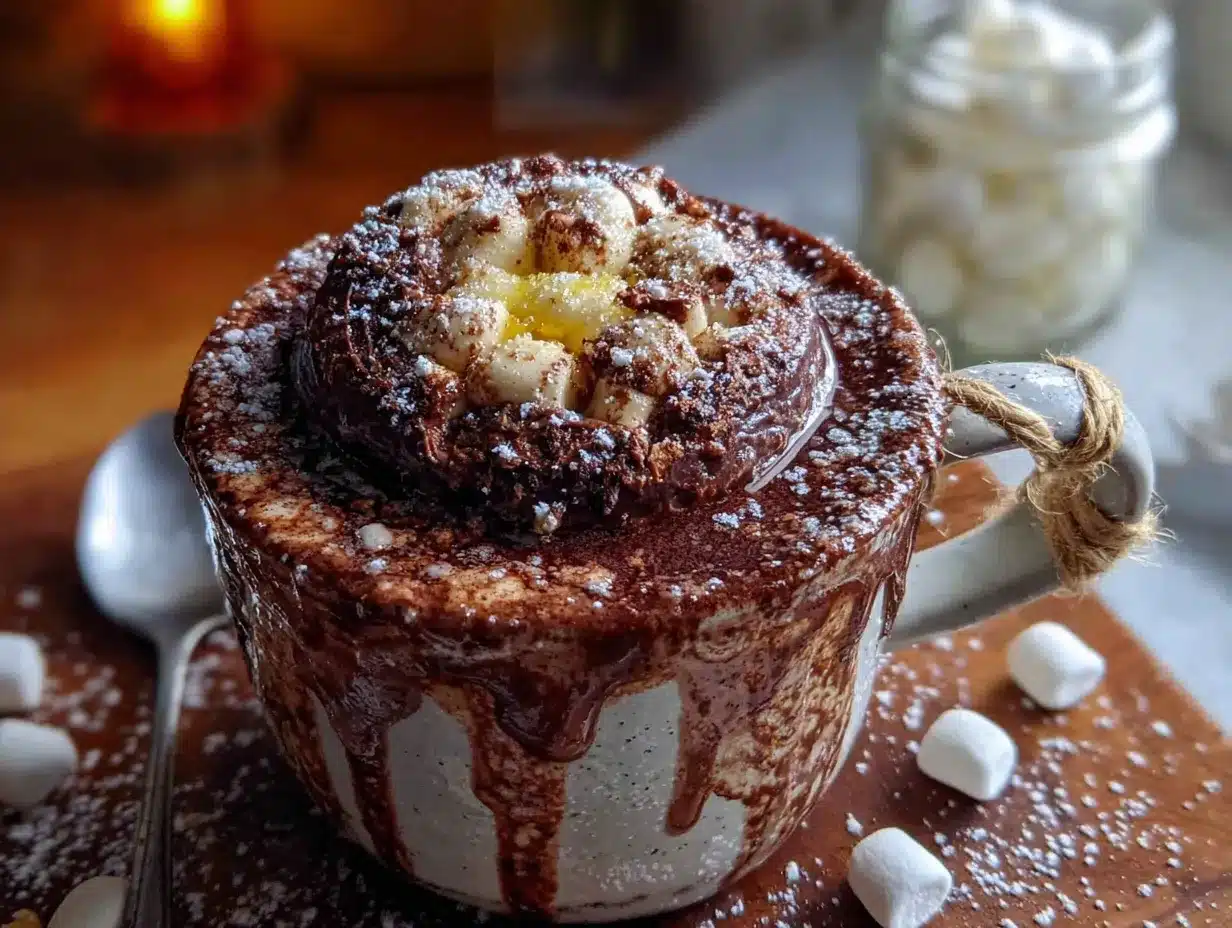
- 1/2 cup hot cocoa mix (Use your favorite brand, or make your own with 1/4 cup cocoa powder, 1/4 cup powdered sugar, and a pinch of salt. I actually prefer homemade because I can control the sweetness.)
- 1/2 cup mini marshmallows (The mini ones fit perfectly inside the bombs. Regular marshmallows are too big and will crack the shell.)
- Optional add-ins: crushed peppermint candies, mini chocolate chips, or a pinch of cinnamon (These are completely optional, but they add a fun twist. I like adding a few crushed peppermints for a festive touch.)
Ingredient Tips from My Kitchen
- Chocolate quality matters here. I’ve tried this with cheap chocolate chips, and the shells were thin, brittle, and had a waxy taste. Spend a little extra on good chocolate—it makes a huge difference in both texture and flavor.
- For the hot cocoa mix, look for one that doesn’t have a ton of added sugar. You want the chocolate to be the star, not the sweetness. If you’re using homemade mix, sift the cocoa powder first to avoid lumps.
- Mini marshmallows are non-negotiable. I know, I know—but trust me on this one. Regular marshmallows just don’t fit, and cutting them up is a sticky mess. The mini ones are worth the purchase.
- Coconut oil tip: If you’re using coconut oil, make sure it’s melted and cooled slightly before adding it to the chocolate. Hot oil can seize the chocolate and ruin the whole batch. Ask me how I know this.
Substitution Guidance
- Dairy-free option: Use dairy-free chocolate chips and coconut oil instead of shortening. Most hot cocoa mixes are dairy-free, but double-check the label.
- White chocolate version: Swap the milk or dark chocolate for white chocolate chips. They’re a little trickier to melt (white chocolate seizes easily), so go low and slow.
- Sugar-free option: Use sugar-free chocolate chips and a sugar-free hot cocoa mix. The texture will be slightly different, but it still works beautifully.
- Add a flavor boost: Stir in a drop of peppermint extract or vanilla extract to the melted chocolate for extra flavor. Just don’t add too much, or it’ll thin the chocolate too much.
Equipment Needed
One of the things I love about this recipe is that you don’t need a ton of fancy equipment. Here’s what you’ll actually use:
- 1.5-inch half-sphere silicone mold (This is the most important piece. I bought mine on Amazon for about eight dollars, and it makes 6 cavities. You can also find them at craft stores or baking supply shops. Make sure it’s silicone—plastic molds are harder to release the chocolate from.)
- Microwave-safe bowl (For melting the chocolate. Glass or ceramic works best. Avoid metal bowls, as they can affect the temperature.)
- Small spoon or pastry brush (For spreading the chocolate inside the molds. A small offset spatula works too. I actually prefer a silicone pastry brush because it gives a smoother finish.)
- Baking sheet (To hold the mold steady while you work. A small rimmed baking sheet works perfectly.)
- Piping bag or small zip-top bag (For drizzling chocolate to seal the bombs. You can also use a spoon, but the bag gives you more control.)
- Optional but helpful: a kitchen scale (for measuring chocolate accurately), a small microwave-safe bowl for the filling, and a pair of kitchen scissors (for snipping the corner of the piping bag).
Budget-friendly tip: If you don’t have a silicone mold, you can use a regular muffin tin lined with paper liners. The bombs will be more oval-shaped, but they work just as well. I’ve done this in a pinch, and honestly, the kids didn’t care one bit.
Preparation Method
Alright, let’s get to the fun part. I’ve broken this down into clear steps with all the little details that make the difference between a cracked, lopsided bomb and a beautiful, professional-looking one. Take your time with the chocolate—it’s the most important part.
Step 1: Melt the Chocolate (5 minutes)
Place the chocolate chips and coconut oil in a microwave-safe bowl. Microwave in 30-second intervals, stirring well after each interval. This is crucial—if you microwave too long, the chocolate will seize and become grainy. After about 2 minutes total, the chocolate should be mostly melted. Stir until completely smooth. The coconut oil should be fully incorporated. Set aside to cool for 2-3 minutes. You want it warm but not hot—if it’s too hot, it’ll melt the marshmallows later.
My personal tip: I used to rush this step and ended up with chocolate that was too thick to spread evenly. Now I let it cool until it’s just warm to the touch. It makes a huge difference in how smoothly it coats the mold.
Step 2: Coat the Molds (10 minutes)
Place the silicone mold on a baking sheet for stability. Using a small spoon or pastry brush, spread a thin, even layer of melted chocolate inside each cavity. Make sure to go all the way up to the rim—any gaps will create weak spots. You want the chocolate to be about 1/8-inch thick. Don’t worry if it’s not perfect; you can touch it up later.
Once all cavities are coated, tap the baking sheet gently on the counter to release any air bubbles. This is a small step, but it makes the shells smoother. Place the mold in the refrigerator for 5-7 minutes, or until the chocolate is firm to the touch but not rock hard.
What to look for: The chocolate should be set but still slightly pliable. If it’s too hard, it’ll crack when you try to remove it. If it’s too soft, it’ll lose its shape. You’re aiming for the texture of a firm chocolate bar at room temperature.
Step 3: Apply a Second Coat (5 minutes)
Remove the mold from the refrigerator. Using a clean spoon or brush, apply a second thin layer of melted chocolate over the first layer. This ensures the shells are sturdy enough to hold the filling without cracking. Pay extra attention to the edges and any thin spots. Return the mold to the refrigerator for another 5-7 minutes.
Why two coats? I learned this the hard way after my first batch of bombs cracked open like tiny chocolate volcanoes. The second coat adds strength and gives you a thicker, more satisfying shell. Plus, it makes the bombs look more professional.
Step 4: Remove the Shells (2 minutes)
Once the chocolate is fully set, gently flex the silicone mold to release the chocolate half-spheres. They should pop out easily. If they stick, place the mold in the freezer for 2 minutes, then try again. Handle the shells carefully—they’re sturdy, but they can still crack if you squeeze too hard.
Place the shells on a clean baking sheet or plate. You should have 12 half-spheres (6 pairs). If any shells crack or break, don’t worry—you can melt them down and reuse the chocolate. I’ve done this more times than I care to admit.
Step 5: Fill the Bombs (5 minutes)
Take 6 of the half-spheres and fill each one with about 1 tablespoon of hot cocoa mix and 1 tablespoon of mini marshmallows. Add any optional add-ins you like—crushed peppermint, mini chocolate chips, or a pinch of cinnamon. Don’t overfill; you need room to seal the bomb.
A word on filling: I’ve found that too much filling makes the bombs hard to seal and they tend to crack. Keep it to about 2 tablespoons total per bomb. You want the filling to be snug but not overflowing.
Step 6: Seal the Bombs (5 minutes)
Melt a small amount of chocolate in a microwave-safe bowl (about 2 ounces). Transfer it to a piping bag or a small zip-top bag with the corner snipped off. Drizzle a thin line of melted chocolate around the rim of one filled half-sphere. Immediately place an empty half-sphere on top, pressing gently to seal. Hold it in place for about 10 seconds to let the chocolate set.
Repeat with the remaining bombs. If any gaps appear, use a small brush or your finger to smooth a little melted chocolate over the seam. Place the sealed bombs in the refrigerator for 5 minutes to fully set.
My sealing trick: I used to struggle with getting the two halves to stick together. Then I realized I was using too much chocolate—it would drip down the sides and make a mess. Now I use just a thin line, and it seals perfectly every time. Less is more here.
Step 7: Decorate (Optional, 5 minutes)
Once the bombs are set, you can decorate them if you like. Drizzle with white chocolate, sprinkle with crushed candy canes, or dust with cocoa powder. I usually leave mine plain because the kids love watching the chocolate “explode” in the mug, but a little decoration makes them extra special for gifts.
Cooking Tips & Techniques
After making about seven batches of these hot cocoa bombs (and failing spectacularly on the first two), I’ve picked up a few tricks that make the process so much smoother. Let me share what I’ve learned so you don’t have to make the same mistakes.
The Temperature Trap
The biggest mistake I made early on was not paying attention to chocolate temperature. If your chocolate is too hot, it’ll melt the marshmallows and create a sticky mess inside the bomb. If it’s too cold, it won’t spread evenly and will create thick, lumpy shells. The sweet spot is when the chocolate is warm to the touch but not hot—about 90°F if you’re using a thermometer. I don’t use a thermometer anymore; I just test a small dab on my wrist, like you would with baby formula. It should feel warm, not hot.
The Thin Spot Problem
Another common issue is thin spots in the chocolate shell. These happen when you don’t spread the chocolate evenly up the sides of the mold. The fix is simple: after applying the first coat, use your finger or a small brush to gently push the chocolate up the sides. Don’t be afraid to add a little extra chocolate to any thin areas. The second coat will cover any remaining imperfections.
Multitasking Like a Pro
Here’s how I streamline the process: while the first coat is chilling in the refrigerator, I measure out the hot cocoa mix and marshmallows into small bowls. That way, when the shells are ready to fill, I can work quickly without stopping to measure. I also melt the sealing chocolate while the second coat is chilling. It saves about 10 minutes total and keeps the workflow smooth.
The Humidity Factor
This is something nobody tells you: humidity is the enemy of chocolate. If you live in a humid climate (like I do), your chocolate might take longer to set and could develop a dull, streaky appearance. The solution is to work quickly and keep the chocolate in the refrigerator as much as possible. I also add an extra teaspoon of coconut oil to help the chocolate set more firmly.
What to Do With Broken Shells
Don’t throw away broken shells! Just melt them down and reuse the chocolate. I keep a small bowl of “reject chocolate” on the side and use it for the second coat or for sealing. It’s not pretty, but it works perfectly. Honestly, some of my best bombs came from recycled chocolate.
Variations & Adaptations
One of the best things about this recipe is how easy it is to customize. Here are some variations I’ve tried—some successful, some… memorable. You’ll have fun experimenting with these.
Peppermint Hot Cocoa Bombs
Add 1/4 teaspoon peppermint extract to the melted chocolate before coating the molds. Fill the bombs with hot cocoa mix, mini marshmallows, and a few crushed peppermint candies. Top with a drizzle of white chocolate and more crushed peppermint. These are my go-to for Christmas morning, and they always get rave reviews.
Spiced Mexican Hot Cocoa Bombs
Stir 1/2 teaspoon cinnamon, a pinch of cayenne pepper, and a tiny pinch of chili powder into the hot cocoa mix before filling. The warmth of the spices complements the rich chocolate beautifully. I first tried this variation on a chilly November evening, and it was love at first sip. The kids might find it a little spicy, so I save this one for the adults.
White Chocolate Raspberry Bombs
Use white chocolate instead of milk or dark chocolate. Fill the bombs with white hot cocoa mix (or a mixture of powdered sugar and vanilla powder) and freeze-dried raspberries. The tartness of the raspberries cuts through the sweetness of the white chocolate perfectly. This one is dangerously addictive—I may have eaten three in one sitting.
Vegan-Friendly Version
Use dairy-free chocolate chips and coconut oil. Fill with a vegan hot cocoa mix and vegan mini marshmallows (Dandies brand works great). The texture is slightly different, but the flavor is just as rich. I’ve made these for vegan friends, and they couldn’t tell the difference.
Low-Sugar Version
Use sugar-free chocolate chips and a sugar-free hot cocoa mix. Fill with a few sugar-free marshmallows or skip them altogether. The chocolate shells might be a little less shiny, but the taste is still fantastic. I’ve made these for my mother-in-law, who has diabetes, and she was thrilled.
Serving & Storage Suggestions
These hot cocoa bombs are meant to be an experience, so let’s talk about how to serve them right. The presentation is half the fun.
How to Serve
Heat 6-8 ounces of milk (dairy or non-dairy) until hot but not boiling—about 150°F. You can use the microwave, stovetop, or a milk frother. Place one hot cocoa bomb in a mug. Pour the hot milk over the bomb, and watch the magic happen. The chocolate shell will melt, releasing the cocoa mix and marshmallows. Stir well until everything is combined. The result is a rich, creamy, perfectly sweetened hot cocoa.
My serving tip: I like to serve these in clear glass mugs so you can see the chocolate melting. It’s a small detail, but the kids absolutely love watching it. For extra fun, add a dollop of whipped cream and a sprinkle of cocoa powder on top.
What to Serve With It
These hot cocoa bombs are perfect on their own, but they pair beautifully with a few simple sides. Try them with a warm chocolate chip cookie, a slice of banana bread, or a handful of salted pretzels for a sweet-and-salty combo. For a cozy movie night, serve them alongside popcorn and a fuzzy blanket.
Storage Instructions
Store the sealed hot cocoa bombs in an airtight container at room temperature for up to 2 weeks. Keep them away from heat and direct sunlight, as the chocolate can melt or bloom (develop white streaks). If you live in a warm climate, store them in the refrigerator—just let them sit at room temperature for 10 minutes before serving so the chocolate softens slightly.
Freezer option: You can freeze the bombs for up to 3 months. Place them in a single layer in a freezer-safe container, separated by parchment paper. To serve, thaw at room temperature for 15 minutes, then pour hot milk over them as usual. The texture might be slightly less smooth, but the flavor is still fantastic.
How Flavors Develop Over Time
These bombs actually taste better after a day or two. The flavors meld together, and the chocolate shell develops a slightly softer, more fudgy texture. I’ve made batches a week ahead of Christmas, and they were perfect. Just keep them sealed tightly to maintain freshness.
Nutritional Information & Benefits
I’m not a nutritionist, but I do care about what goes into my family’s food. Here’s a rough breakdown of what you’re getting in each hot cocoa bomb (based on using milk chocolate and regular hot cocoa mix).
- Calories: Approximately 220-250 per bomb (without milk)
- Fat: 12-15g (mostly from the chocolate and coconut oil)
- Carbohydrates: 28-32g
- Sugar: 22-26g
- Protein: 3-4g
- Calcium: 4-6% of daily value (from the milk you add)
Health Benefits of Key Ingredients
- Dark chocolate (if you use it) is rich in antioxidants called flavonoids, which can support heart health and improve blood flow. I use milk chocolate for the kids, but dark chocolate is a great option for adults.
- Coconut oil contains medium-chain triglycerides (MCTs), which are easily digested and can provide quick energy. Just don’t overdo it—a little goes a long way.
- Milk (if you use dairy) is an excellent source of calcium, vitamin D, and protein. For a lighter option, unsweetened almond milk works well and adds vitamin E.
Dietary Considerations
- Gluten-free: Most hot cocoa mixes and chocolate chips are gluten-free, but always check the labels to be safe.
- Dairy-free: Use dairy-free chocolate chips, coconut oil, and a dairy-free hot cocoa mix. Most mini marshmallows are dairy-free.
- Nut-free: This recipe is naturally nut-free as written, but double-check your chocolate and cocoa mix labels for cross-contamination warnings.
I’ll be honest—these aren’t health food. They’re a treat, and that’s okay. Life is about balance, and sometimes you need a little chocolate magic in your day. I make these for special occasions, and we enjoy every single bite (or sip) without guilt.
Conclusion
These easy hot cocoa bombs have become a winter tradition in our house, and I have a feeling they’ll become one in yours too. They’re simple enough to make on a busy weeknight, special enough for holiday gifts, and delicious enough to convert even the most stubborn hot chocolate skeptics (yes, I’m looking at you, husband).
The best part? You can make them your own. Add your favorite flavors, experiment with different chocolates, and don’t be afraid to get a little messy in the process. Some of my best kitchen memories come from the batches that didn’t turn out perfectly—the cracked shells, the melted marshmallows, the chocolate that ended up on my shirt. That’s what cooking is all about.
I’d love to hear how your hot cocoa bombs turn out! Drop a comment below and let me know what variations you tried, or share a photo of your creations. And if you’re looking for more cozy winter recipes, check out our easy homemade chocolate syrup that’s perfect for drizzling over everything. Happy cooking, friends—and here’s to warm mugs and happy hearts.
Frequently Asked Questions
Can I use white chocolate instead of milk chocolate?
Absolutely! White chocolate works beautifully, but it’s a little more finicky to melt. Use low heat and stir constantly to prevent seizing. White chocolate also tends to be sweeter, so you might want to use a less sweet hot cocoa mix to balance the flavors.
Why did my chocolate shells crack when I tried to remove them?
This usually happens when the chocolate is too cold or too thin. Make sure your chocolate is fully set but not rock hard before removing from the mold. If they crack, just melt them down and start again—it happens to everyone, and there’s no shame in a do-over.
Can I make these without a silicone mold?
Yes! You can use a regular muffin tin lined with paper liners. The bombs will be more oval-shaped, but they work just as well. You can also use small plastic Easter eggs (lined with plastic wrap) in a pinch. Get creative—the chocolate doesn’t care what shape it is.
How far in advance can I make these?
You can make them up to 2 weeks ahead and store them in an airtight container at room temperature. For longer storage, freeze them for up to 3 months. Just thaw at room temperature for 15 minutes before serving.
My hot cocoa bombs didn’t melt completely in the milk. What went wrong?
Your milk might not have been hot enough. Make sure the milk is steaming hot (about 150°F) before pouring it over the bomb. If the milk is too cold, the chocolate won’t melt properly. Also, make sure your chocolate shells aren’t too thick—stick to the 1/8-inch thickness I recommend in the recipe.
Pin This Recipe!
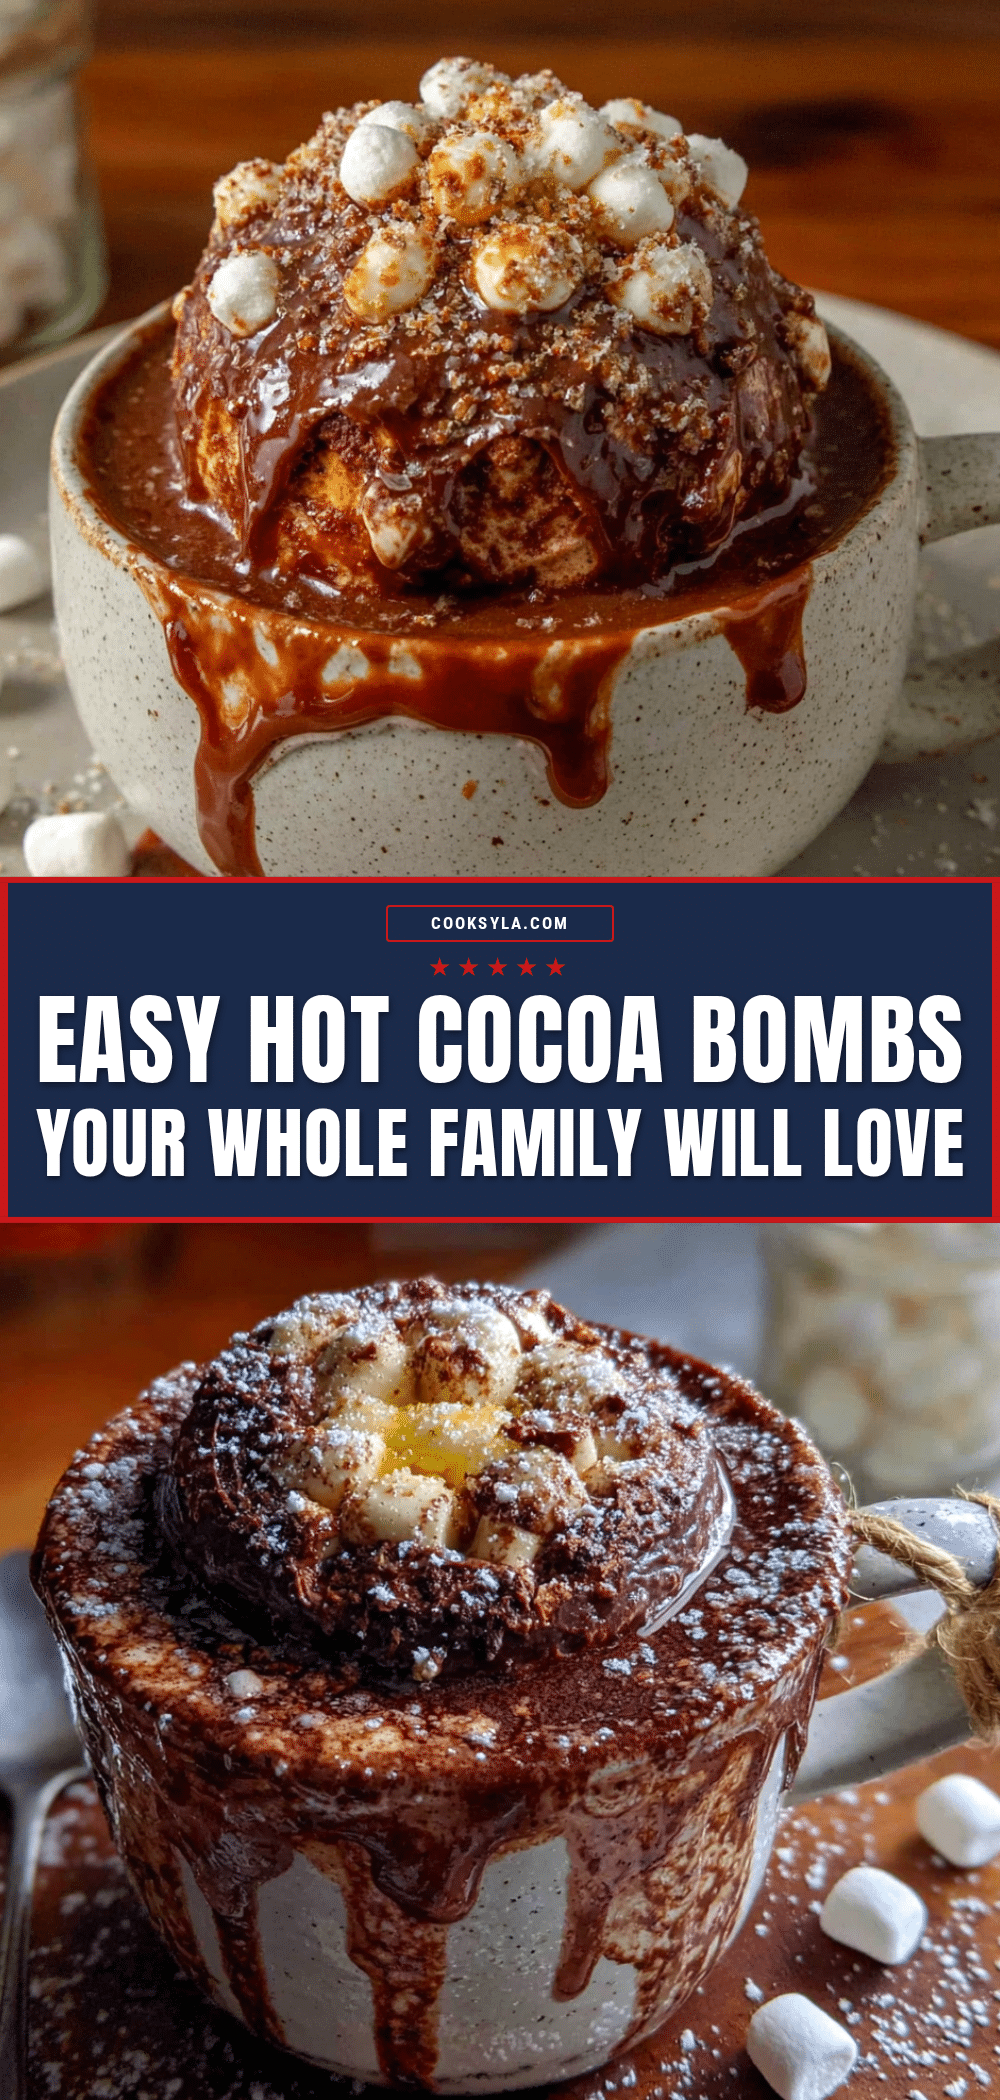
Easy Hot Cocoa Bombs: Best Homemade Treat in 30 Minutes

These easy hot cocoa bombs are the perfect homemade treat, ready in just 30 minutes. Made with simple ingredients and no special equipment, they create a rich, creamy hot cocoa that’s perfect for family movie nights, holiday parties, or a cozy night in.
- Prep Time: 20 minutes
- Cook Time: 10 minutes
- Total Time: 30 minutes
- Yield: 6 servings 1x
- Category: Dessert
- Cuisine: American
Ingredients
- 12 ounces good-quality chocolate chips or chopped chocolate (e.g., Ghirardelli or Guittard)
- 1 teaspoon coconut oil or vegetable shortening
- 1/2 cup hot cocoa mix (or homemade: 1/4 cup cocoa powder, 1/4 cup powdered sugar, pinch of salt)
- 1/2 cup mini marshmallows
- Optional add-ins: crushed peppermint candies, mini chocolate chips, or a pinch of cinnamon
Instructions
- Melt the chocolate: Place chocolate chips and coconut oil in a microwave-safe bowl. Microwave in 30-second intervals, stirring well after each, until mostly melted (about 2 minutes). Stir until smooth. Let cool for 2-3 minutes until warm but not hot.
- Coat the molds: Place a silicone half-sphere mold on a baking sheet. Using a small spoon or pastry brush, spread a thin, even layer of melted chocolate inside each cavity, going up to the rim. Tap the sheet gently to release air bubbles. Refrigerate for 5-7 minutes until firm but not rock hard.
- Apply a second coat: Remove from fridge. Apply a second thin layer of melted chocolate over the first, paying attention to edges and thin spots. Refrigerate for another 5-7 minutes.
- Remove the shells: Gently flex the silicone mold to release the chocolate half-spheres. If they stick, freeze for 2 minutes. Place shells on a clean baking sheet. You should have 12 half-spheres (6 pairs).
- Fill the bombs: Take 6 half-spheres and fill each with about 1 tablespoon hot cocoa mix and 1 tablespoon mini marshmallows. Add optional add-ins if desired. Do not overfill.
- Seal the bombs: Melt about 2 ounces of chocolate. Transfer to a piping bag or small zip-top bag with the corner snipped off. Drizzle a thin line of melted chocolate around the rim of one filled half-sphere. Immediately place an empty half-sphere on top, pressing gently to seal. Hold for 10 seconds. Repeat with remaining bombs. Smooth any gaps with a brush or finger. Refrigerate for 5 minutes to fully set.
- Decorate (optional): Drizzle with white chocolate, sprinkle with crushed candy canes, or dust with cocoa powder.
Notes
Use good-quality chocolate for best results. Mini marshmallows are non-negotiable for proper fit. If chocolate is too hot, it will melt the marshmallows. Humidity can affect setting; work quickly and refrigerate as needed. Broken shells can be melted down and reused.
Nutrition
- Serving Size: 1 hot cocoa bomb
- Calories: 235
- Sugar: 24
- Sodium: 120
- Fat: 13.5
- Saturated Fat: 8
- Carbohydrates: 30
- Fiber: 1
- Protein: 3.5
Keywords: hot cocoa bombs, easy hot cocoa bombs, homemade hot cocoa bombs, Christmas treats, winter desserts, hot chocolate bombs


