Love this? Save it for later!
Share the inspiration with your friends
My seven-year-old nephew looked up from the cookbook I’d left on the counter, his finger planted on a photo of gooey apple bars. “Why can’t we just put the caramel in the middle instead of drizzling it on top?” he asked. I started to explain why that wouldn’t work — the caramel would sink, it would burn, the whole thing would fall apart. Then I stopped. Honestly, I had no good reason. I’d just always done it the other way.
So on a rainy Wednesday afternoon, with apples getting soft in the fruit bowl and a bag of store-bought caramels I’d stashed for emergencies, we gave his idea a shot. I layered oat crumble, then apples, then a hidden ribbon of salted caramel right through the center, and topped it with more crumble. The kitchen smelled like a bakery that sold happiness. When I pulled the pan out of the oven, the edges were bubbly and the caramel had melted into every crevice like it belonged there. My nephew took one bite and said, “See? I told you.” He was right. I mean, completely right.
These Easy Salted Caramel Apple Bars with Oat Crumble are now the bar by which I measure all other apple desserts. They’re forgiving, they’re fast, and they make the whole house smell like fall even in the middle of July. Maybe you’ve been there — standing in your kitchen, a little too confident, about to tell someone their idea won’t work, only to realize you’re the one who needs to learn something. That was my moment. And honestly, I’m glad I listened.
Why You’ll Love This Recipe
I’ve tested this recipe more times than I care to admit, and every single batch disappeared faster than I expected. Here is why these bars work so well for real families:
- Quick & Easy: From start to oven in about 20 minutes. No stand mixer, no complicated steps, no stress.
- Simple Ingredients: You probably have most of these in your pantry right now. Oats, flour, butter, brown sugar, apples. The caramel is the only “special” thing, and store-bought caramels work perfectly.
- Perfect for Family Desserts: This is not a fussy, company-only dessert. It’s the kind of thing you make on a Tuesday because someone had a rough day at school.
- Crowd-Pleaser: Kids love the hidden caramel surprise. Adults love that it’s not overly sweet. Everyone goes back for seconds.
- Unbelievably Delicious: The oat crumble stays crunchy on top, the apples turn soft and jammy, and the salted caramel melts into everything. It’s comfort food that actually delivers.
What makes this recipe different from every other apple bar out there is the hidden caramel layer. Most recipes drizzle caramel on top after baking, which looks pretty but doesn’t soak into the apples. By layering it in the middle, every single bite gets that buttery, salty-sweet flavor. It’s a small change that makes a huge difference. I’ve made this for school bake sales, potlucks, and plain old Sunday afternoons. It never lasts long.
What Ingredients You Will Need
This recipe uses straightforward ingredients that work together to create something that tastes far more complicated than it is. Here is what you need and why each one matters:
For the Oat Crumble
- Rolled oats, 1 ½ cups (150g) — Use old-fashioned rolled oats, not quick oats. They hold their texture better and give the crumble that satisfying chew. Quick oats turn mushy.
- All-purpose flour, 1 ¼ cups (155g) — Spoon and level it. Scooping directly from the bag packs in too much flour and makes the crumble dry.
- Light brown sugar, ¾ cup (165g), packed — Brown sugar adds moisture and a deep, caramel-like sweetness. Dark brown sugar works too, but the flavor will be more intense.
- Unsalted butter, ½ cup (113g), melted — Melted butter makes the crumble easier to mix and gives it a sandy, clumpy texture. I use salted butter in a pinch and just skip the extra salt.
- Ground cinnamon, 1 teaspoon — Warm spice that pairs perfectly with apples.
- Salt, ¼ teaspoon — Balances the sweetness. Don’t skip it.
For the Apple Filling
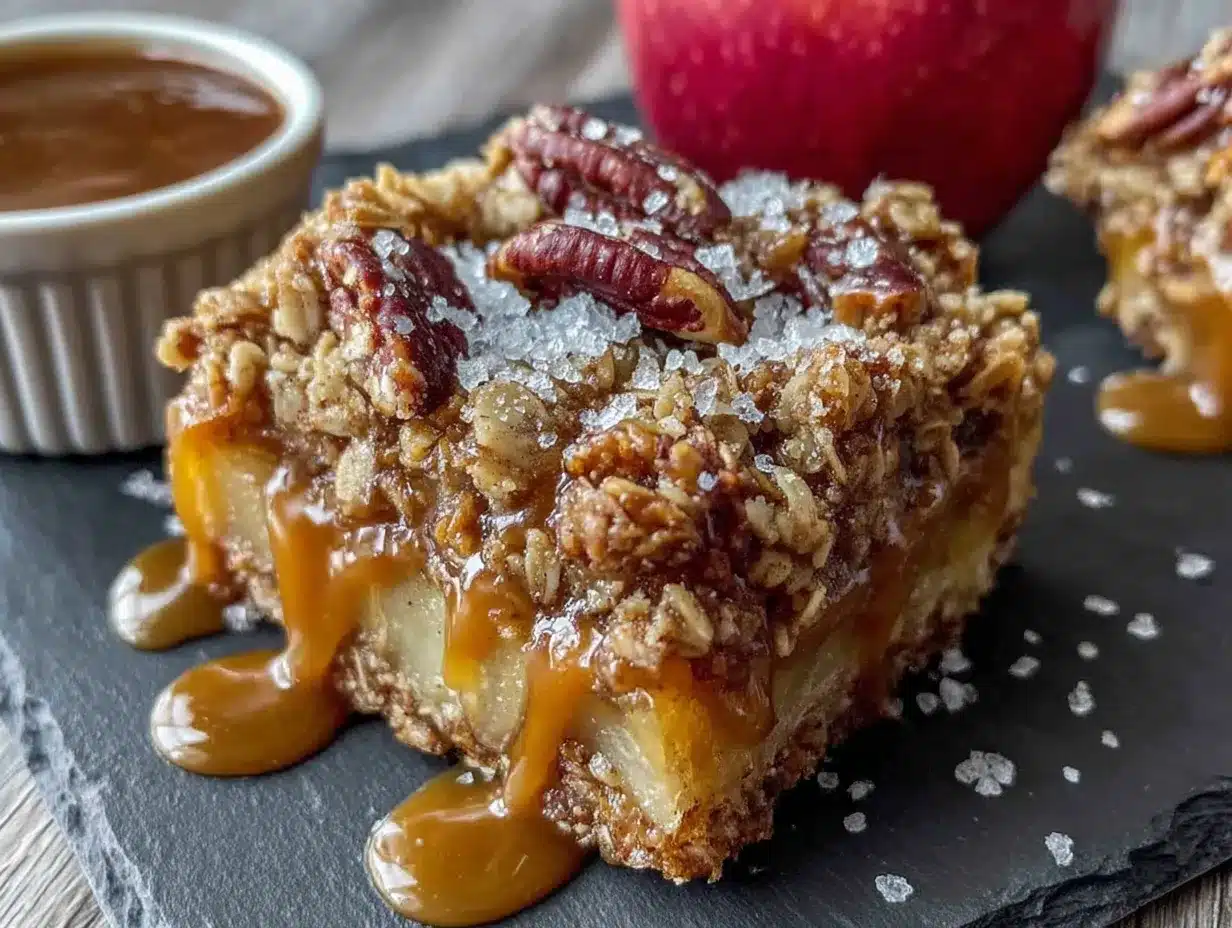
- Apples, 4 medium (about 600g) — Use a mix of sweet and tart. Honeycrisp, Fuji, or Granny Smith all work great. I like using two Honeycrisp and two Granny Smith for balance. Peel, core, and slice them thin — about ¼-inch thick.
- Granulated sugar, ¼ cup (50g) — Just enough to help the apples soften and release their juices.
- All-purpose flour, 2 tablespoons (16g) — Thickens the juices so the filling isn’t watery.
- Lemon juice, 1 tablespoon — Keeps the apples from browning and brightens the flavor.
- Ground cinnamon, 1 teaspoon — Because apples and cinnamon are best friends.
- Vanilla extract, 1 teaspoon — Adds warmth and rounds out the flavors.
For the Salted Caramel Layer
- Soft caramels, 20 pieces (about 200g) — Unwrapped. I use Kraft caramels because they melt smoothly and are easy to find. You can also use homemade caramel if you’re feeling ambitious.
- Heavy cream, 3 tablespoons — Helps the caramels melt into a pourable sauce. Whole milk works in a pinch, but the result will be slightly thinner.
- Flaky sea salt, ½ teaspoon — Maldon or any flaky salt. This is what makes it salted caramel. Don’t use table salt here — it dissolves too fast and tastes harsh.
Equipment Needed
You don’t need a fancy kitchen to make these bars. Here is what I use every time:
- 8×8-inch baking pan — Glass or metal both work. If you use metal, line it with parchment paper for easy lifting. Glass takes a few extra minutes in the oven.
- Parchment paper — Makes cleanup effortless and helps you lift the bars out cleanly.
- Large mixing bowls — Two bowls: one for the crumble, one for the apples.
- Small saucepan — For melting the caramels. A microwave-safe bowl works too if you go in 30-second bursts.
- Chef’s knife and cutting board — For slicing the apples. A vegetable peeler helps too.
- Measuring cups and spoons — Dry and liquid measures for accuracy.
- Spatula or wooden spoon — For mixing everything together.
If you don’t have an 8×8 pan, a 9×9 works fine — the bars will just be slightly thinner and bake a few minutes faster. I once used a disposable aluminum pan in a pinch and it worked perfectly. No need to buy anything fancy.
Preparation Method
Step 1: Preheat and prep the pan. Preheat your oven to 350°F (175°C). Line an 8×8-inch baking pan with parchment paper, leaving a 2-inch overhang on two opposite sides. This creates handles that let you lift the bars out later. Lightly grease the parchment with butter or nonstick spray.
Step 2: Make the oat crumble. In a large bowl, combine 1 ½ cups rolled oats, 1 ¼ cups all-purpose flour, ¾ cup packed light brown sugar, 1 teaspoon cinnamon, and ¼ teaspoon salt. Stir with a fork to break up any lumps. Pour in ½ cup melted unsalted butter and stir until the mixture looks like wet sand with some clumps. Set aside about ¾ cup of this mixture for the topping. Press the remaining crumble firmly and evenly into the bottom of the prepared pan. Use the bottom of a measuring cup to really pack it down — this forms your crust.
Step 3: Prepare the apples. Peel and core 4 medium apples, then slice them into ¼-inch thick pieces. In a medium bowl, toss the apple slices with ¼ cup granulated sugar, 2 tablespoons flour, 1 tablespoon lemon juice, 1 teaspoon cinnamon, and 1 teaspoon vanilla extract. Make sure every slice is coated. The flour will seem dry at first, but it will absorb the apple juices as they sit.
Step 4: Make the salted caramel. Unwrap 20 soft caramels and place them in a small saucepan with 3 tablespoons heavy cream. Warm over low heat, stirring constantly, until the caramels are completely melted and smooth. This takes about 5 minutes. Remove from heat and stir in ½ teaspoon flaky sea salt. Let it cool for 2 minutes — it will thicken slightly as it cools.
Step 5: Assemble the bars. Spread the apple mixture evenly over the pressed crust. Pour the salted caramel over the apples, drizzling it back and forth so it covers as much surface area as possible. Don’t worry if some caramel sinks between the apples — that’s exactly what you want. Sprinkle the reserved ¾ cup of oat crumble over the top, covering the caramel and apples completely.
Step 6: Bake. Place the pan on the middle rack and bake for 35 to 40 minutes. The bars are done when the top is golden brown and the edges are bubbly. The center will still look a little jiggly — that’s the caramel. Let the bars cool in the pan on a wire rack for at least 30 minutes. This is crucial. If you cut them while they’re hot, they will fall apart. I learned this the hard way. Trust me, the wait is worth it.
Step 7: Cut and serve. Use the parchment overhang to lift the entire block of bars onto a cutting board. Use a sharp knife to cut into 16 squares. For clean cuts, wipe the knife clean between each slice. Serve warm or at room temperature.
Cooking Tips & Techniques
After making these bars more times than I can count, here are the things I wish someone had told me the first time:
Don’t skip the parchment paper. I know it feels like an extra step, but these bars are sticky. The caramel seeps into everything, and without parchment, you will be scrubbing your pan for an hour. Just do it.
Press the crust firmly. The bottom crust needs to be compact enough to hold up to the juicy apples and melted caramel. Use the flat bottom of a glass or a measuring cup to really press it down. If the crust is too loose, it will crumble when you try to cut the bars.
Let the bars cool completely before cutting. I cannot stress this enough. The caramel needs time to set. If you cut too early, the bars will ooze and fall apart. I once served these at a picnic and cut them after only 15 minutes. It was a delicious disaster. Give them a full 30 minutes at minimum, or even an hour if you can wait.
Toast the oats for extra flavor. If you have an extra 5 minutes, spread the rolled oats on a baking sheet and toast them in the 350°F oven for 5 minutes before mixing the crumble. It adds a nutty depth that makes the bars taste even more special. Totally optional, but worth it.
Use a mix of apple varieties. Sweet apples alone can make the filling mushy. Tart apples alone can make it too sharp. A mix of both gives you the best texture and flavor. Honeycrisp and Granny Smith is my go-to combo.
Watch the caramel closely. When melting the caramels, keep the heat low and stir constantly. High heat can scorch the caramel and make it grainy. If it starts to look separated, add another tablespoon of cream and whisk vigorously.
Variations & Adaptations
One of the best things about this recipe is how easy it is to tweak. Here are some variations I’ve tried and loved:
Gluten-Free Version: Swap the all-purpose flour with a 1:1 gluten-free baking flour blend. I use Bob’s Red Mill. The crumble will be slightly more delicate, but it still works beautifully. Make sure your oats are certified gluten-free too.
Dairy-Free Version: Use a dairy-free butter substitute like Earth Balance in the crumble. For the caramel, use full-fat coconut cream instead of heavy cream. The coconut flavor is very mild and actually pairs nicely with the apples.
Add Nuts: Fold ½ cup of chopped pecans or walnuts into the reserved crumble topping. Toast them first for extra crunch. I did this for a Thanksgiving potluck and people went crazy for it.
Swap the Apples: Pears work beautifully in this recipe. Use firm Bosc or Anjou pears and follow the same instructions. You can also use a mix of apples and pears for a more complex flavor.
Make it a Breakfast Bar: Reduce the brown sugar to ½ cup and skip the caramel layer. Add ½ cup of dried cranberries or raisins. It’s still delicious, but less dessert-y. My kids have eaten these for breakfast more times than I’ll admit.
Spice It Up: Add ¼ teaspoon of nutmeg and a pinch of cloves to the apple mixture. It gives the bars a warm, chai-like flavor that’s perfect for winter.
Serving & Storage Suggestions
These bars are incredibly versatile when it comes to serving. Here is how I like to enjoy them:
Serving Temperature: They are fantastic warm, at room temperature, or even cold from the fridge. Warm with a scoop of vanilla ice cream is my favorite. The contrast between the cold ice cream and the warm, gooey caramel is just perfect.
Presentation: Cut them into 16 squares and arrange them on a platter. Dust with a little powdered sugar or a light sprinkle of flaky sea salt right before serving. It makes them look bakery-worthy.
What to Serve With: A dollop of whipped cream, a scoop of vanilla or cinnamon ice cream, or even a drizzle of extra caramel sauce. For a fall-themed dessert board, arrange the bars alongside apple slices, cheese cubes, and a small bowl of warm caramel for dipping.
Storage: Store leftover bars in an airtight container at room temperature for up to 2 days. For longer storage, keep them in the refrigerator for up to 5 days. The bars actually get better after a day in the fridge — the flavors meld together and the texture becomes even more fudgy.
Freezing: These bars freeze beautifully. Wrap individual squares tightly in plastic wrap, then place them in a freezer-safe bag or container. Freeze for up to 3 months. To thaw, leave them at room temperature for about an hour, or warm them in a 300°F oven for 10 minutes.
Reheating: The microwave works in a pinch — 20 seconds on high for a single bar. For a larger batch, reheat in a 300°F oven for 10 to 12 minutes. The caramel will get gooey again and the crumble will crisp back up.
Nutritional Information & Benefits
Here is the estimated nutritional breakdown for one bar (based on 16 servings):
| Nutrient | Amount Per Serving |
|---|---|
| Calories | 285 |
| Total Fat | 11g |
| Saturated Fat | 6g |
| Cholesterol | 25mg |
| Sodium | 180mg |
| Total Carbohydrates | 44g |
| Dietary Fiber | 3g |
| Sugars | 28g |
| Protein | 3g |
These bars are a treat, no doubt about it. But they do offer some redeeming qualities. Oats provide soluble fiber, which is good for heart health and keeping you full. Apples are packed with vitamin C and antioxidants, especially if you leave the peels on (though I peel them here for texture). The cinnamon may help regulate blood sugar. I like to think of this as a dessert that at least has some real food in it. Serve it after a balanced meal, and you can feel pretty good about the indulgence.
If you’re watching your sugar intake, you can reduce the brown sugar in the crumble to ½ cup and skip the granulated sugar in the apple filling. The apples and caramel provide plenty of sweetness on their own.
Conclusion
These Easy Salted Caramel Apple Bars with Oat Crumble have become a staple in my kitchen for one simple reason: they deliver every single time. The oat crumble is buttery and crisp, the apples turn soft and jammy, and that hidden ribbon of salted caramel makes every bite feel like a little surprise. My nephew still reminds me that the caramel-in-the-middle idea was his. And honestly, I’m glad he does. It’s a good reminder that sometimes the best ideas come from the people we least expect.
I hope you give these bars a try, and I hope they become a favorite in your home too. Feel free to play around with the spices, swap in different fruits, or add your own twist. That’s the beauty of a simple recipe like this — it leaves room for you to make it yours. When you do make them, come back and let me know how they turned out. Did you add nuts? Use pears instead of apples? Forget to let them cool and eat the whole pan warm? I want to hear about it all. Drop a comment below or tag me in your photos. Happy baking!
Frequently Asked Questions
Can I use quick oats instead of rolled oats?
I don’t recommend it. Quick oats are more finely processed and will absorb too much moisture, making the crumble mushy rather than crisp. Rolled oats give you that satisfying texture that holds up even after a few days.
Can I make these bars ahead of time?
Absolutely. You can assemble the bars completely, cover the pan, and refrigerate for up to 24 hours before baking. Add about 5 minutes to the baking time if starting from cold. They also keep beautifully after baking for several days.
My caramel turned out too thick to drizzle. What did I do wrong?
This usually happens if the caramel cools too much or if you used less cream than needed. Simply warm it back up over low heat and stir in an extra tablespoon of cream. It should become pourable again.
Can I use homemade caramel sauce instead of soft caramels?
Yes, you can. Use about ½ cup of thick homemade caramel sauce. Just make sure it’s thick enough that it won’t completely soak through the crust. If it’s too thin, simmer it on the stove for a few minutes to reduce it.
Why did my bars fall apart when I tried to cut them?
Two most common reasons: you cut them too soon, or you didn’t press the crust firmly enough. Always let the bars cool for at least 30 minutes before cutting. And next time, really pack that bottom crust down with the back of a measuring cup.
Pin This Recipe!
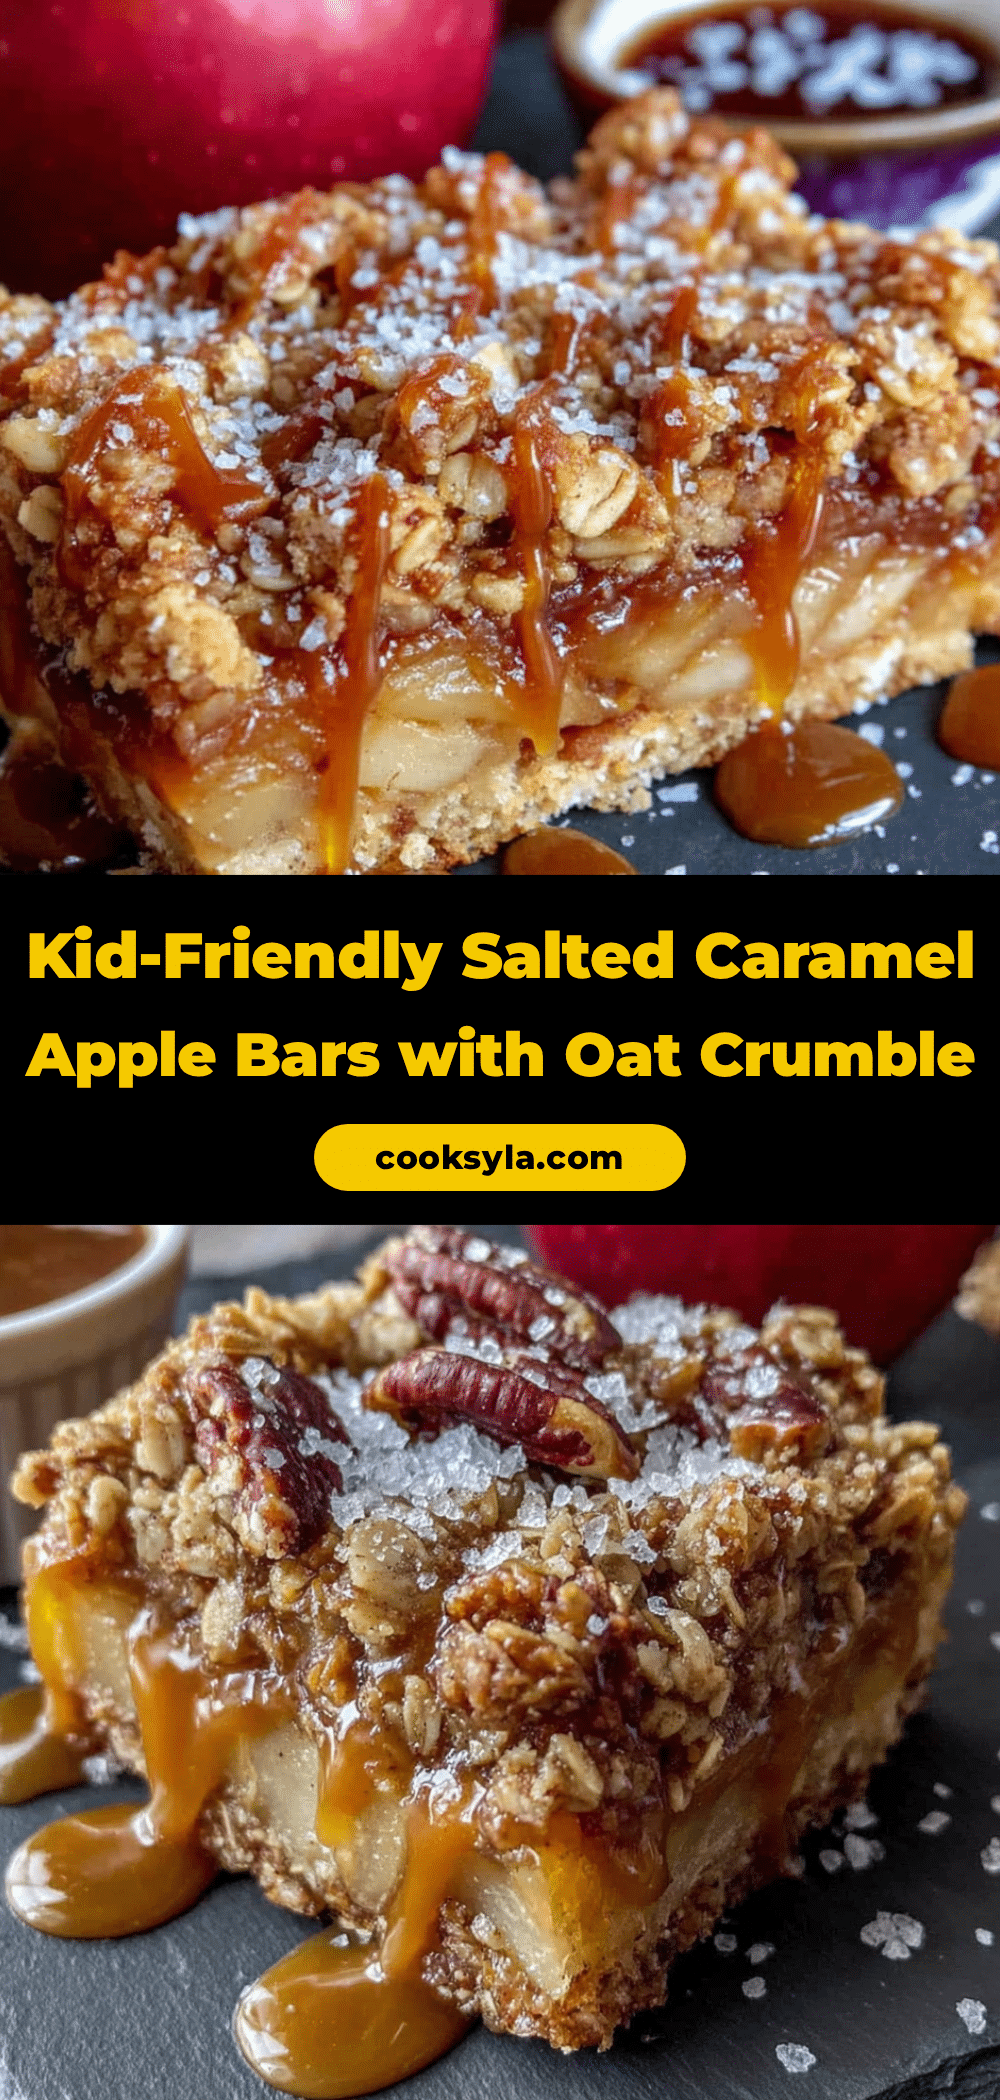
Easy Salted Caramel Apple Bars with Oat Crumble

These Easy Salted Caramel Apple Bars with Oat Crumble feature a hidden ribbon of salted caramel in the middle, making every bite gooey and delicious. They’re quick to assemble, use simple ingredients, and are perfect for family desserts or any occasion.
- Prep Time: 20 minutes
- Cook Time: 35-40 minutes
- Total Time: 55-60 minutes
- Yield: 16 servings 1x
- Category: Dessert
- Cuisine: American
Ingredients
- 1 ½ cups (150g) rolled oats
- 1 ¼ cups (155g) all-purpose flour
- ¾ cup (165g) packed light brown sugar
- ½ cup (113g) unsalted butter, melted
- 1 teaspoon ground cinnamon
- ¼ teaspoon salt
- 4 medium apples (about 600g), peeled, cored, and sliced ¼-inch thick
- ¼ cup (50g) granulated sugar
- 2 tablespoons (16g) all-purpose flour
- 1 tablespoon lemon juice
- 1 teaspoon vanilla extract
- 20 soft caramels (about 200g), unwrapped
- 3 tablespoons heavy cream
- ½ teaspoon flaky sea salt
Instructions
- Preheat oven to 350°F (175°C). Line an 8×8-inch baking pan with parchment paper, leaving a 2-inch overhang on two opposite sides. Lightly grease the parchment.
- Make the oat crumble: In a large bowl, combine rolled oats, 1 ¼ cups flour, brown sugar, 1 teaspoon cinnamon, and ¼ teaspoon salt. Stir in melted butter until mixture resembles wet sand with clumps. Set aside ¾ cup for topping. Press remaining crumble firmly into the bottom of the prepared pan.
- Prepare the apples: In a medium bowl, toss apple slices with granulated sugar, 2 tablespoons flour, lemon juice, 1 teaspoon cinnamon, and vanilla extract until evenly coated.
- Make the salted caramel: In a small saucepan, melt caramels with heavy cream over low heat, stirring constantly, until smooth (about 5 minutes). Remove from heat and stir in flaky sea salt. Let cool for 2 minutes.
- Assemble the bars: Spread apple mixture evenly over the crust. Drizzle salted caramel over the apples. Sprinkle reserved ¾ cup oat crumble on top.
- Bake on the middle rack for 35-40 minutes, until top is golden brown and edges are bubbly. Cool in the pan on a wire rack for at least 30 minutes.
- Use parchment overhang to lift bars onto a cutting board. Cut into 16 squares with a sharp knife, wiping clean between slices. Serve warm or at room temperature.
Notes
Let bars cool completely before cutting to allow caramel to set. For extra flavor, toast oats for 5 minutes before mixing crumble. Use a mix of sweet and tart apples (e.g., Honeycrisp and Granny Smith) for best texture and flavor.
Nutrition
- Serving Size: 1 bar
- Calories: 285
- Sugar: 28
- Sodium: 180
- Fat: 11
- Saturated Fat: 6
- Carbohydrates: 44
- Fiber: 3
- Protein: 3
Keywords: apple bars, salted caramel, oat crumble, fall dessert, easy dessert, apple dessert, caramel apple bars


