Love this? Save it for later!
Share the inspiration with your friends
My neighbor Sarah wasn’t trying to impress anyone. I’d stopped by to borrow a cup of sugar—cliché, I know—and the smell of simmering spices hit me before I even knocked. It was deep, floral, and a little bit medicinal in the best way. She opened the door with a wooden spoon in her hand, her kitchen counter covered in purple-stained jars, and she just said, “Oh, that’s just the elderberry syrup. I’m trying not to get sick before my sister’s wedding.”
She wasn’t making a big deal of it. Honestly, she looked a little annoyed that she had to stir it every ten minutes. But I was frozen in her doorway, completely captivated by the rich, dark liquid bubbling on her stove. She handed me a spoonful right from the pot, and let me tell you—it was like drinking a cozy blanket. Tart, sweet, and warm all at once. I asked for the recipe, and she shrugged and scribbled it on a sticky note. That crumpled piece of paper is still taped inside my kitchen cabinet.
That’s how this homemade elderberry immune-boosting syrup came into my life. Not from a fancy wellness blog or a holistic health guru, but from a busy neighbor who just wanted to make it through flu season. And now, every time I make a batch, I think of her standing there in her slippers, stirring that pot like it was no big deal. But it was. Maybe you’ve been there—searching for something simple and natural to help your family stay healthy, only to find the perfect recipe where you least expect it.
This syrup has become my cold-weather secret weapon. I make it every fall without fail, and it always brings me back to that moment. It’s proof that the best recipes don’t come from perfection—they come from real life.
Why You’ll Love This Recipe
I’ve tried a lot of elderberry syrups over the years—store-bought ones that taste like cough medicine, complicated recipes that call for obscure herbs you can’t find anywhere. This homemade elderberry immune-boosting syrup is the one I keep coming back to because it actually works and it tastes good. That’s not always easy to find.
- Quick & Easy: Comes together in under 45 minutes with just 3 simple steps. No complicated processes or special skills needed.
- Simple Ingredients: You can find everything at your local grocery store or online. Dried elderberries, a few spices, and honey—that’s it.
- Perfect for Cold & Flu Season: Great for keeping on hand when the seasons change, when the kids bring home germs, or when you just feel run down.
- Crowd-Pleaser: Even my picky kids take it without complaining. The honey and spices make it taste like a treat, not a chore.
- Unbelievably Delicious: The combination of tart elderberries, warming ginger, and sweet honey is honestly addictive. I’ve caught myself taking spoonfuls just because.
What makes this recipe different from the rest? It’s the balance. I spent a whole winter testing ratios—too much ginger and it’s spicy, not enough honey and it’s too tart. This version hits the sweet spot. Plus, I use a gentle simmering method that preserves the immune-boosting properties of the elderberries without cooking them to death. It’s not just another version—it’s my best version, and I’m pretty proud of it.
This recipe isn’t just good—it’s the kind that makes you feel like you’re actually taking care of yourself. It’s comfort in a jar. A little bit of peace of mind during germ season. And honestly, knowing exactly what’s in it makes me sleep better at night.
What Ingredients You Will Need
This recipe uses simple, wholesome ingredients to deliver a powerful immune boost without any artificial junk. Most of these are pantry staples once you start making your own syrups, and they’re all easy to find.
- Dried Elderberries (1 cup): These are the star of the show. I recommend Frontier Co-op or Starwest Botanicals for quality. Look for deep purple-black berries that are plump, not shriveled or dusty. Dried elderberries are more concentrated than fresh, so they work perfectly for syrup.
- Water (4 cups): Filtered water is best if you have it. Tap water works fine, but if yours has a strong chlorine taste, it can affect the final flavor.
- Fresh Ginger (1-inch piece, sliced): Ginger adds warmth and its own immune-supporting properties. Don’t bother peeling it—just give it a good scrub and slice it into coins. It will strain out later.
- Cinnamon Sticks (2): Use real Ceylon cinnamon if you can find it. It’s milder and sweeter than cassia cinnamon. The cinnamon adds a cozy flavor and helps balance the tartness of the elderberries.
- Whole Cloves (1 teaspoon): A little goes a long way. Cloves add a deep, aromatic warmth. Don’t skip them—they’re what makes the syrup smell like a winter wonderland.
- Raw Honey (1 cup, or to taste): This is crucial. Use raw, unfiltered honey for the most immune-boosting benefits. Local honey is even better if you can get it (it may help with seasonal allergies too). Do not give honey to children under 1 year old.
- Optional: Star Anise (1 pod): I add this sometimes for a subtle licorice note. It’s totally optional but lovely if you like that flavor.
- Optional: Orange Peel (strips from 1 orange): Adds a bright, citrusy note that pairs beautifully with the spices. Use a vegetable peeler to avoid the bitter white pith.
Substitution Guidance: If you’re out of fresh ginger, you can use 1 teaspoon of dried ginger powder. For the honey, maple syrup works in a pinch, but the flavor will be different and you’ll lose some of the immune benefits. If you need a sugar-free version, try monk fruit sweetener—just add it after the syrup has cooled to preserve the taste.
Equipment Needed
You don’t need anything fancy to make this homemade elderberry immune-boosting syrup. Here’s what you’ll need:
- Medium Saucepan: A 2-3 quart pot works perfectly. Stainless steel or enameled is best—avoid aluminum, which can react with the acidic berries.
- Fine-Mesh Strainer: You’ll need this to strain out the berries and spices. A cheesecloth-lined colander works too, but a fine-mesh strainer is easier to clean.
- Wooden Spoon or Silicone Spatula: For stirring. Don’t use metal on your pot if it’s non-stick.
- Glass Jar or Bottle: A 16-ounce glass jar with a tight-fitting lid is ideal. I use old pickle jars or Mason jars. Make sure it’s sterilized—just wash it in hot soapy water and rinse well.
- Funnel: This makes pouring the syrup into the jar so much less messy. A small canning funnel is perfect.
- Measuring Cups and Spoons: For accuracy. I’ve eyeballed it before and regretted it—too much ginger is not fun.
Budget-Friendly Options: Don’t have a fine-mesh strainer? Use a clean nylon stocking or a coffee filter in a colander. No funnel? Roll a piece of parchment paper into a cone shape. I’ve done both in a pinch, and they work just fine.
Preparation Method
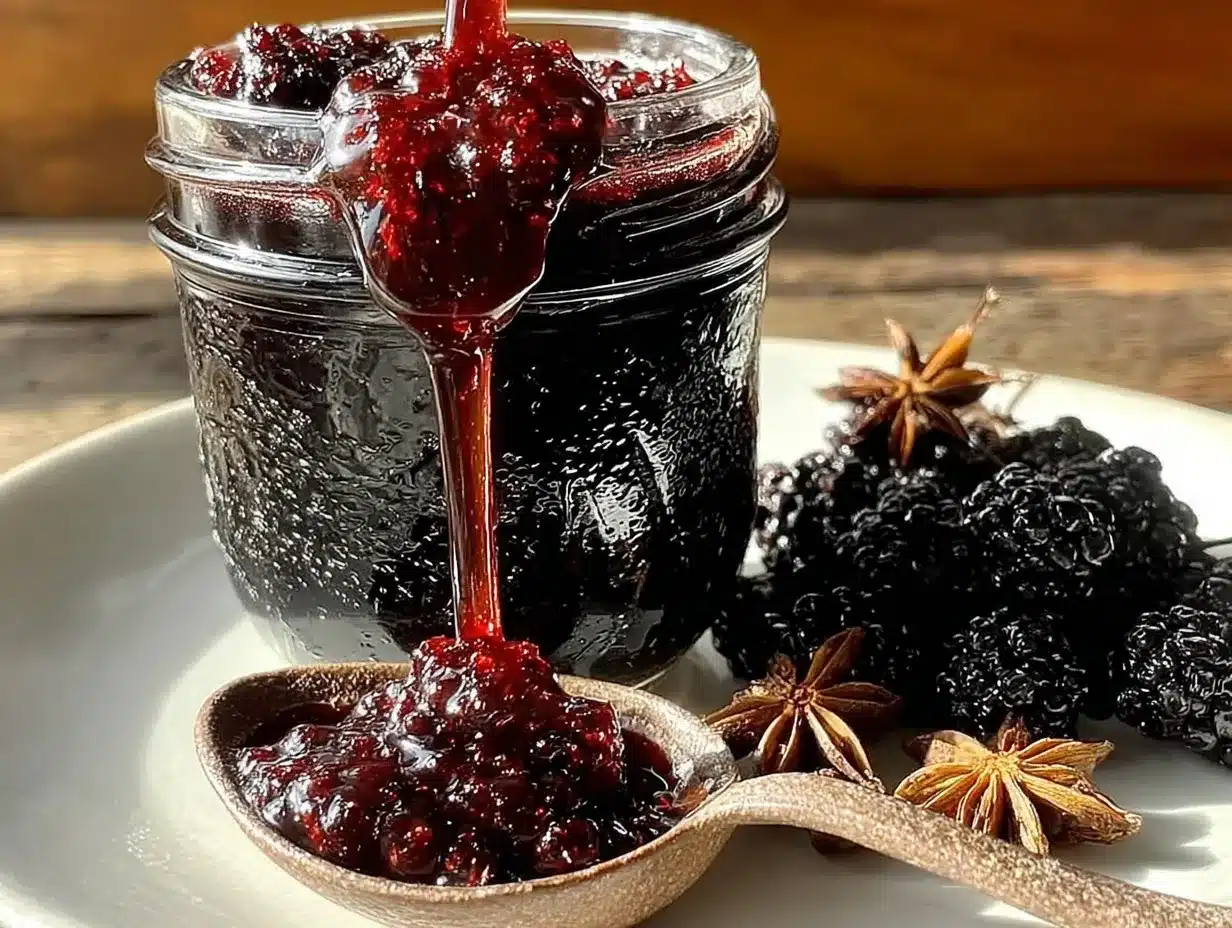
- Combine Ingredients (5 minutes): In your medium saucepan, add the dried elderberries, water, sliced ginger, cinnamon sticks, and whole cloves. If you’re using the optional star anise or orange peel, add them now. Give everything a quick stir to combine.
- Bring to a Boil (5-7 minutes): Place the pot over medium-high heat and bring the mixture to a gentle boil. You’ll start to smell the spices almost immediately—that’s when you know it’s working. Keep an eye on it; you don’t want a rolling boil that splatters everywhere.
- Simmer and Reduce (25-30 minutes): Once it’s boiling, reduce the heat to low and let it simmer gently. The liquid should be barely bubbling. Let it cook for about 25-30 minutes, or until the liquid has reduced by about half. The elderberries will plump up and release their deep purple color. Your kitchen will smell incredible—like a cozy spice shop.
- Mash the Berries (optional, but recommended): After simmering, use the back of your wooden spoon to gently mash the berries against the side of the pot. This releases even more of their goodness. Don’t go crazy—you just want to break them open a bit.
- Strain the Mixture (5 minutes): Place your fine-mesh strainer over a large bowl or measuring cup. Carefully pour the hot mixture through the strainer. Let it sit for a few minutes to drain completely. You can gently press on the solids with the back of a spoon to get every last drop, but don’t force it too hard or you’ll get cloudy syrup.
- Cool Slightly (10 minutes): Let the strained liquid cool for about 10 minutes. It should be warm but not hot. This is important—if you add honey to hot liquid, you’ll destroy its beneficial enzymes and probiotics.
- Add Honey: Once the liquid is warm (not hot), stir in the raw honey. Start with 1 cup and taste it. I usually end up using about 1 cup, but you can add more or less depending on how sweet you like it. Stir until the honey is completely dissolved.
- Bottle and Store: Using your funnel, pour the syrup into your sterilized glass jar. Seal it tightly and let it cool completely before refrigerating. The syrup will thicken slightly as it cools.
Troubleshooting Tip: If your syrup is too thin after cooling, you can simmer it a bit longer next time to reduce it more. If it’s too thick, add a tablespoon of warm water and shake well. I’ve had both happen, and it’s always fixable.
Cooking Tips & Techniques
I’ve made this homemade elderberry immune-boosting syrup at least a dozen times now, and I’ve learned a few things the hard way. Let me save you some trouble.
Don’t boil the honey. I made this mistake my first time. I was in a hurry and added the honey while the liquid was still too hot. The result was a syrup that tasted fine but didn’t have that immune-supporting kick I was counting on. Raw honey is alive with good stuff—heat kills it. Always let the liquid cool to warm (think bathwater temperature) before adding it.
Watch your simmer. A gentle simmer is key. If you boil the berries too hard, you’ll get a bitter, tannic syrup that’s not pleasant to take. The low and slow method extracts all the good stuff without the bitterness. Trust me, I’ve had a batch that tasted like I was drinking tea made from tree bark. Not fun.
Use the right berries. Fresh elderberries are different from dried ones. Fresh berries need to be cooked thoroughly—they’re actually toxic if eaten raw. Dried berries are much easier to work with and safer. Stick with dried for this recipe unless you really know what you’re doing.
Multitasking tip: While the syrup is simmering, sterilize your jar and clean up your workspace. That way, when it’s time to bottle, you’re not scrambling. I usually wash my jar in hot soapy water, rinse it well, and let it air dry while the syrup cooks.
Consistency is everything. If you want a thicker syrup (more like a traditional cough syrup consistency), simmer it a little longer. For a thinner syrup that’s easier to mix into tea or cocktails, pull it off the heat a few minutes earlier. I like mine in between—thick enough to coat a spoon, but thin enough to pour easily.
Variations & Adaptations
One of the best things about this recipe is how flexible it is. I’ve tried several variations over the years, and they’ve all been delicious in their own way.
Spiced Apple Elderberry Syrup: Swap 1 cup of water for 1 cup of unsweetened apple cider. Add a pinch of nutmeg and allspice along with the other spices. The apple flavor is subtle but adds a lovely fall twist. I made this for a Thanksgiving gathering and people were putting it in their tea and on their pancakes.
Turmeric Immune Booster: Add 1 teaspoon of fresh grated turmeric (or 1/2 teaspoon dried) along with the ginger. Turmeric is a powerful anti-inflammatory and pairs beautifully with the elderberries. Just be warned—it will stain everything yellow. Use a stainless steel pot and be careful with your countertops.
Low-Sugar Version: If you’re watching your sugar intake, you can reduce the honey to 1/2 cup and add a few drops of stevia to taste. The flavor won’t be as rich, but it’s still effective. I’ve also used monk fruit sweetener with good results—just add it after the syrup has cooled.
Elderberry Gummies: This is a fun variation if you have kids who refuse to take syrup. After straining the liquid and cooling it, whisk in 3 tablespoons of gelatin powder until dissolved. Pour into silicone molds and refrigerate for 2 hours. You get chewy, immune-boosting gummies that taste like candy. My kids go crazy for these.
Dietary Adaptations: This recipe is naturally gluten-free and dairy-free. For a vegan version, replace the honey with maple syrup or agave nectar. Just keep in mind that you’ll lose some of the immune benefits that raw honey provides.
Serving & Storage Suggestions
This syrup is incredibly versatile. Here’s how I use it:
Daily Maintenance Dose: Adults take 1 tablespoon daily during cold and flu season. Kids (over age 1) take 1 teaspoon daily. I take mine straight from a spoon in the morning—it wakes me up better than coffee sometimes.
At the First Sign of Illness: Increase to 1 tablespoon every 3-4 hours for adults. For kids, 1 teaspoon every 3-4 hours. I keep a small bottle in my purse during winter for emergencies.
In Tea: Stir a tablespoon into hot water with a squeeze of lemon for a soothing, immune-boosting tea. It’s my go-to when I feel a scratchy throat coming on. The warmth makes it even more comforting.
On Pancakes or Yogurt: Honestly, this syrup is delicious drizzled over pancakes, waffles, or yogurt. It’s like a fancy fruit syrup with benefits. My kids don’t even complain about taking their “medicine” when it’s on their breakfast.
Storage: Keep the syrup in a sealed glass jar in the refrigerator. It will last for up to 3 months. I’ve kept batches for 4 months with no issues, but the flavor starts to fade after that. If you see any mold or off smells, toss it and make a fresh batch.
Freezing: You can freeze the syrup in ice cube trays for up to 6 months. Pop out a cube and thaw it in the fridge overnight. This is great for making small batches last longer. I do this when elderberries are in season and I make a huge batch.
Reheating: If the syrup crystallizes or becomes too thick in the fridge, just let it sit at room temperature for 15 minutes or warm the jar in a bowl of warm water. Don’t microwave it—that can destroy the honey’s benefits.
Flavor Development: The flavors actually deepen and meld together after a few days in the fridge. It’s always better on day 3 than day 1. So don’t worry if it tastes a little sharp right after making it—give it time.
Nutritional Information & Benefits
While I’m not a doctor or nutritionist, I’ve done my research and can share what makes this syrup so good for you. Elderberries are packed with antioxidants, particularly anthocyanins, which give them their deep purple color. These compounds help support a healthy immune system by fighting oxidative stress.
Estimated Nutritional Values (per 1 tablespoon serving):
- Calories: 45
- Total Carbohydrates: 12g
- Sugars: 11g (from honey)
- Vitamin C: 2mg (2% DV)
- Iron: 0.2mg (1% DV)
Key Benefits:
- Elderberries: Rich in flavonoids that may reduce the duration and severity of cold symptoms. Some studies suggest they help prevent the flu virus from replicating.
- Ginger: Anti-inflammatory and antimicrobial. Great for soothing sore throats and settling upset stomachs.
- Cinnamon: Helps regulate blood sugar and has antimicrobial properties. Plus, it makes everything taste better.
- Raw Honey: Contains natural enzymes, antioxidants, and antibacterial properties. Local honey may help with seasonal allergies.
Dietary Considerations: This syrup is gluten-free, dairy-free, and soy-free. It is not suitable for infants under 1 year due to the honey. It’s also high in natural sugars, so if you’re diabetic or watching your sugar intake, use the low-sugar variation or consult your doctor.
Personal Wellness Perspective: I’m not someone who believes in miracle cures, but I do believe in giving my body the tools it needs to fight off illness. This syrup is one of those tools. It’s not a replacement for medical care, but it’s a delicious, natural way to support your immune system. And honestly, the ritual of making it—simmering the spices, watching the color deepen, bottling it up—feels like an act of self-care in itself.
Conclusion
This homemade elderberry immune-boosting syrup has become a staple in my kitchen for a reason. It’s simple, effective, and honestly, it makes me feel like I’m doing something good for myself and my family. Every time I open that jar and smell the ginger and cinnamon, I’m reminded that taking care of your health doesn’t have to be complicated or expensive.
I hope you give this recipe a try. Customize it to your taste—add more ginger if you like it spicy, less honey if you prefer it tart, throw in some turmeric if you’re feeling adventurous. The beauty of homemade is that you’re in control. Make it your own.
I’d love to hear how it turns out for you. Drop a comment below and let me know if you made any changes, or tag me in your photos on social media. There’s something so satisfying about seeing a kitchen full of purple jars, knowing you made them yourself. Happy simmering, friends—stay healthy out there.
Frequently Asked Questions
Can I use fresh elderberries instead of dried?
Yes, but you need to be careful. Fresh elderberries must be cooked thoroughly because they contain a compound that can cause nausea if eaten raw. Use 2 cups of fresh berries in place of 1 cup dried, and simmer for an extra 10 minutes to ensure they’re fully cooked. Always strain them well.
How long does this syrup last in the fridge?
Properly stored in a sealed glass jar, this syrup will last 2-3 months in the refrigerator. The honey acts as a natural preservative. If you see any mold, cloudiness, or off smells, discard it immediately and make a fresh batch.
Can I give this syrup to my kids?
Yes, for children over 1 year old (due to the honey). The standard dose is 1 teaspoon daily for maintenance, and 1 teaspoon every 3-4 hours at the first sign of illness. Always check with your pediatrician before giving any herbal remedy to children, especially if they have underlying health conditions.
Is this syrup safe during pregnancy?
Most sources consider elderberry syrup safe during pregnancy in food amounts, but it’s always best to consult your healthcare provider. Some herbs and spices in this recipe (like ginger) are generally considered safe, but every pregnancy is different. When in doubt, ask your doctor.
Can I make this syrup without honey?
Absolutely. For a vegan version or if you’re avoiding sugar, replace the honey with maple syrup, agave nectar, or monk fruit sweetener. Just keep in mind that you’ll lose some of the immune-boosting properties that raw honey provides. The flavor will also change slightly—maple syrup adds a lovely woodsy note that pairs well with the spices.
Pin This Recipe!
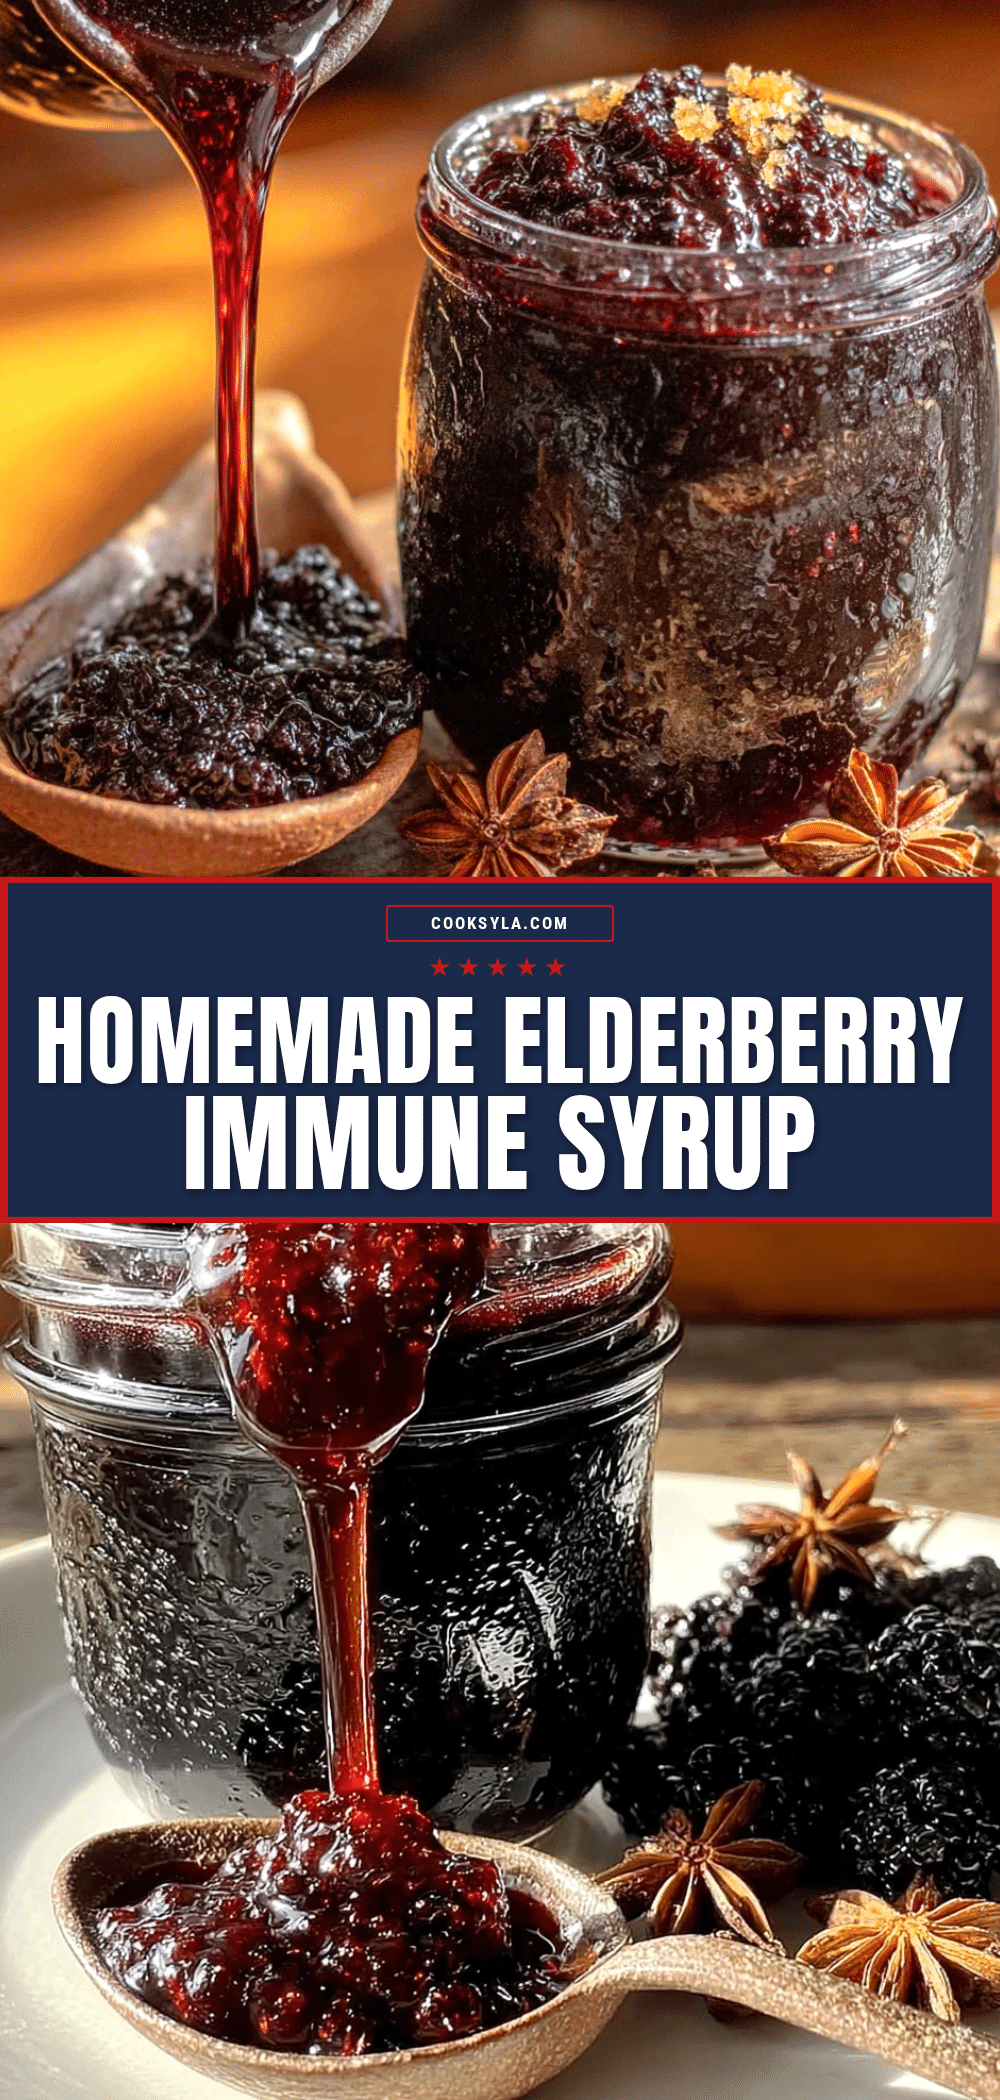
Homemade Elderberry Immune Syrup: Easy 3-Step Recipe
This homemade elderberry immune-boosting syrup is a simple, delicious way to support your family’s health during cold and flu season. Made with dried elderberries, warming spices, and raw honey, it comes together in under 45 minutes with just 3 easy steps.
- Prep Time: 5 minutes
- Cook Time: 30 minutes
- Total Time: 45 minutes
- Yield: 16 servings 1x
- Category: Condiment
- Cuisine: American
Ingredients
- 1 cup dried elderberries
- 4 cups water
- 1-inch piece fresh ginger, sliced
- 2 cinnamon sticks
- 1 teaspoon whole cloves
- 1 cup raw honey (or to taste)
- 1 pod star anise (optional)
- Strips from 1 orange peel (optional)
Instructions
- Combine Ingredients: In a medium saucepan, add the dried elderberries, water, sliced ginger, cinnamon sticks, and whole cloves. If using optional star anise or orange peel, add them now. Stir to combine.
- Bring to a Boil: Place the pot over medium-high heat and bring the mixture to a gentle boil. This should take about 5-7 minutes.
- Simmer and Reduce: Reduce the heat to low and let it simmer gently for 25-30 minutes, or until the liquid has reduced by about half. The elderberries will plump up and release their deep purple color.
- Mash the Berries (optional): After simmering, use the back of a wooden spoon to gently mash the berries against the side of the pot to release more goodness.
- Strain the Mixture: Place a fine-mesh strainer over a large bowl or measuring cup. Carefully pour the hot mixture through the strainer. Let it drain completely, gently pressing on the solids with the back of a spoon to extract all liquid.
- Cool Slightly: Let the strained liquid cool for about 10 minutes until it is warm but not hot.
- Add Honey: Once the liquid is warm, stir in the raw honey. Start with 1 cup and adjust to taste. Stir until the honey is completely dissolved.
- Bottle and Store: Using a funnel, pour the syrup into a sterilized glass jar. Seal tightly and let cool completely before refrigerating. The syrup will thicken slightly as it cools.
Notes
Do not add honey to hot liquid; let it cool to warm (bathwater temperature) to preserve beneficial enzymes. A gentle simmer is key to avoid bitterness. Dried elderberries are safer and easier to use than fresh. The syrup can be frozen in ice cube trays for up to 6 months. If it crystallizes, let it sit at room temperature for 15 minutes or warm the jar in a bowl of warm water. Do not microwave.
Nutrition
- Serving Size: 1 tablespoon
- Calories: 45
- Sugar: 11
- Carbohydrates: 12
Keywords: elderberry syrup, immune booster, homemade syrup, cold and flu remedy, natural remedy, elderberry recipe


