Love this? Save it for later!
Share the inspiration with your friends
I was standing in my neighbor Carol’s driveway last September, handing her a bag of overgrown zucchini from my garden, when the smell hit me. It wasn’t from her kitchen or mine — it was the faint, sweet-acrid scent of tomato skins roasting, drifting from someone’s open window three houses down. And just like that, I was seven years old, sitting cross-legged on the linoleum floor of my aunt Rita’s farmhouse kitchen, watching her slide sheet pans of cherry tomatoes into an oven that seemed as big as a car. She’d let me sprinkle the garlic cloves in around the tomatoes, one by one, and I remember thinking how strange it was that she didn’t peel them first. “The skin gets soft as butter,” she said, wiping her hands on her apron. She’s been gone almost fifteen years now, and I still don’t own an apron, but I’ve never forgotten that smell. Honestly, I’ve been chasing it ever since.
That moment in the driveway got me thinking — why had I never tried to can that sauce myself? I mean, I’d made fresh batches a hundred times, but I always froze it. Freezer space was tight, and honestly, I was a little intimidated by the whole water-bath canning thing. But that scent, that memory of Aunt Rita’s kitchen, pushed me to finally figure it out. The first batch I canned was a disaster — I didn’t add enough acid, and the jars didn’t seal properly. I ended up with a sticky mess on my counter and a fridge full of jars I had to use in a week. Maybe you’ve been there, staring at a row of unsealed lids, wondering where you went wrong.
But here’s the thing — I kept at it. I tested different ratios of tomatoes to garlic, tried roasting at different temperatures, and finally cracked the code on getting that deep, caramelized flavor without losing the bright, fresh taste of the tomatoes. This homemade roasted garlic and cherry tomato pasta sauce for canning is the result of all those messy afternoons and sticky counters. It’s the sauce I make every late summer now, when the cherry tomatoes are practically falling off the vines and the garlic is fat and fragrant from the farmer’s market. It’s the taste of Aunt Rita’s kitchen, preserved in a jar, ready to open on a cold January Tuesday when I need a reminder that summer always comes back. And honestly? That’s why I keep making it.
Why You’ll Love This Recipe
Let me tell you why this recipe has become my absolute go-to for stocking the pantry. After about six different test batches (and one memorable incident involving a blender lid that wasn’t screwed on tight enough), I can say with confidence that this is the version worth your time.
- Made with Simple Ingredients : No weird preservatives or mystery additives. You only need cherry tomatoes, garlic, olive oil, fresh herbs, and a little lemon juice for safe canning. That’s it.
- Perfect for Busy Weeknights : Open a jar, heat it up, and toss it with pasta. Dinner is ready in the time it takes to boil water. Honestly, it’s faster than takeout.
- Preserves Summer’s Best Flavor : Roasting concentrates the natural sweetness of cherry tomatoes and mellows the garlic into something almost buttery. You’re basically capturing August in a jar.
- Crowd-Pleaser Every Time : I’ve served this to picky kids, foodie friends, and my dad who swears he doesn’t like “fancy” sauce. Everyone goes back for seconds.
- Safe for Water-Bath Canning : This recipe is tested for proper acidity levels, so you can can it with confidence. No pressure canner needed.
What makes this different from every other tomato sauce recipe out there? It’s the roasting. Most canned tomato sauces are cooked on the stovetop, which gives you a good flavor, sure. But roasting? That brings out a sweetness and depth you just can’t get any other way. The tomatoes get a little charred on the edges, and the garlic turns golden and spreadable. When you blend it all together, you get a sauce that’s silky, rich, and tastes like it simmered all day — even though it only roasted for about 45 minutes.
This isn’t just another canning recipe. It’s the kind of sauce that makes you close your eyes after the first bite. It’s comfort food, preserved — healthier than anything from a jar at the store, but with the same soul-soothing satisfaction. Perfect for impressing dinner guests without any last-minute stress, or for turning a simple Tuesday night pasta into something memorable.
What Ingredients You Will Need
This recipe uses simple, wholesome ingredients to deliver bold flavor and satisfying texture without the fuss. Most of these are pantry staples or easy to find at the farmer’s market during tomato season.
- Cherry tomatoes (5 pounds) : Use ripe, sweet cherry tomatoes for the best flavor. I prefer using a mix of red and yellow varieties for a more complex taste, but any color works. If you’re buying from the store, look for ones that are firm and deeply colored — avoid any that are mushy or cracked.
- Garlic (2 whole heads) : Don’t skimp here. Roasted garlic is mellow and sweet, nothing like the sharp, raw stuff. I recommend using fresh garlic bulbs, not pre-peeled cloves, for the best flavor. The roasting process transforms them completely.
- Extra-virgin olive oil (½ cup) : Use a good quality olive oil for roasting — it adds richness and helps the tomatoes caramelize. I like California Olive Ranch for its balanced flavor, but any decent brand works.
- Fresh basil (1 cup, packed) : Fresh basil adds a bright, peppery note that dried basil just can’t match. If you have a garden, this is the time to use it up. You can substitute fresh oregano or a mix of both.
- Fresh thyme (6 sprigs) : Thyme adds an earthy, slightly floral note that pairs beautifully with roasted tomatoes. Strip the leaves off the stems before blending, or tie the sprigs together with kitchen twine for easy removal.
- Lemon juice (¼ cup, bottled) : This is crucial for safe canning. Bottled lemon juice has a consistent acidity level, unlike fresh lemon juice, which can vary. Do not skip this or substitute with fresh lemon juice unless you’re using a tested recipe.
- Salt (2 teaspoons) : Use fine sea salt or kosher salt. I prefer Diamond Crystal kosher salt for its clean taste and easy measuring. Adjust to your preference, but remember that flavors will concentrate slightly as the sauce simmers.
- Black pepper (1 teaspoon) : Freshly ground black pepper adds a subtle warmth. I grind it right over the roasting pan for the best aroma.
- Optional: Red pepper flakes (½ teaspoon) : Add a pinch if you like a little heat. I sometimes add this to half the batch for a spicy version.
- Optional: Balsamic vinegar (1 tablespoon) : A splash of balsamic at the end adds depth and a touch of sweetness. I do this sometimes when I’m feeling fancy, but it’s not necessary for classic flavor.
Equipment Needed
You don’t need a ton of fancy equipment for this, which is one of the reasons I love this recipe. Here’s what you’ll need:
- Large baking sheets (2) : Rimmed baking sheets work best to catch any juices. I use my half-sheet pans from Nordic Ware — they’re sturdy and don’t warp in the oven.
- Parchment paper or silicone baking mats : This makes cleanup so much easier. Trust me, roasted tomato juice is sticky stuff.
- Food processor or immersion blender : An immersion blender lets you blend the sauce right in the pot, which means less cleanup. But a regular blender or food processor works fine too — just work in batches and be careful with the hot liquid.
- Large stockpot : You need a pot that holds at least 8 quarts for simmering the sauce. A heavy-bottomed pot is best to prevent scorching.
- Water-bath canner or large pot with a rack : For processing the jars. If you don’t have a canner, any pot deep enough to cover the jars by at least 1 inch of water will work, as long as you have a rack to keep the jars off the bottom.
- Canning jars (7-8 pint jars) : Standard Mason jars work perfectly. Check for any cracks or chips before using.
- New lids and bands : Always use new lids for a proper seal. Bands can be reused as long as they’re not rusted or bent.
- Jar lifter and lid wand : These are cheap and make the process so much safer. A jar lifter is worth its weight in gold when you’re pulling hot jars out of boiling water.
- Kitchen towel : For resting the sealed jars. I use an old, thick towel that I don’t mind getting stained.
Preparation Method
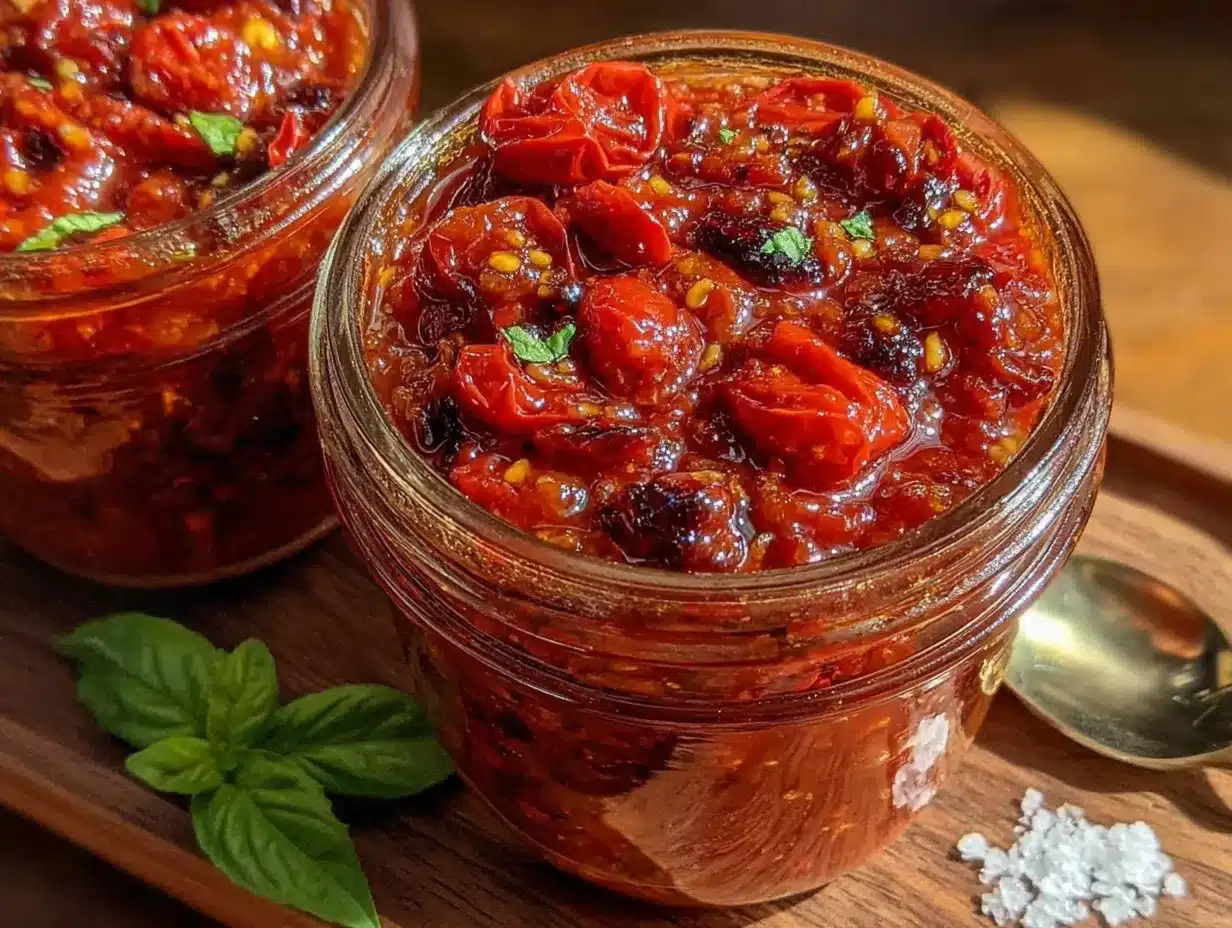
Alright, let’s get to the good part. Here’s how to make this sauce, step by step.
- Preheat your oven to 400°F (200°C). Line two large baking sheets with parchment paper or silicone mats. This makes cleanup a breeze, and I mean it — roasted tomato juice can be a nightmare to scrub off.
- Prep the tomatoes and garlic. Wash the cherry tomatoes and pat them dry. Cut any larger ones in half, but leave the small ones whole. For the garlic, slice off the top quarter of each head to expose the cloves. Drizzle a little olive oil over the cut tops and wrap each head in a small piece of foil.
- Arrange everything on the baking sheets. Spread the tomatoes in a single layer on the sheets. Tuck the foil-wrapped garlic heads in among the tomatoes. Drizzle the tomatoes with about ¼ cup of olive oil, and sprinkle with salt and pepper. Toss gently to coat.
- Roast for 40-45 minutes. The tomatoes should be soft, wrinkled, and starting to brown on the edges. The garlic should be very soft when you squeeze the foil packet. Halfway through, give the pans a shake to ensure even roasting. Your kitchen is going to smell incredible at this point — seriously, it’s like a warm hug.
- Let everything cool slightly. Remove the pans from the oven and let them sit for about 10 minutes. This makes handling safer and helps the flavors settle. Squeeze the roasted garlic cloves out of their skins into a bowl — they should slide right out like butter.
- Blend the sauce. Working in batches if needed, transfer the roasted tomatoes, garlic, fresh basil, and thyme leaves to a food processor or blender. Pulse until you reach your desired consistency. I like mine a little chunky, so I pulse about 8-10 times. For a smoother sauce, let it run for 30 seconds.
- Simmer the sauce. Pour the blended sauce into a large stockpot. Add the bottled lemon juice and stir well. Bring the sauce to a gentle simmer over medium heat, then reduce the heat to low. Let it simmer for 15-20 minutes, stirring occasionally. This helps the flavors meld and thickens the sauce slightly. Taste and adjust salt and pepper as needed.
- Prepare your canning equipment. While the sauce simmers, wash your jars, lids, and bands in hot, soapy water. Rinse well. Fill your water-bath canner or large pot with water and bring it to a boil. Keep the jars hot — you can place them in the canner to sterilize, or keep them in a pot of hot water.
- Fill the jars. Using a ladle and a funnel, fill each hot jar with sauce, leaving ½ inch of headspace. Run a non-metallic spatula or chopstick around the inside of each jar to release any air bubbles. Wipe the rims with a clean, damp cloth. Center a lid on each jar and screw on the band until it’s fingertip-tight.
- Process the jars. Place the filled jars in the canner rack, making sure they’re covered by at least 1 inch of water. Bring the water back to a full boil, then process for 35 minutes (adjust for altitude if needed — add 5 minutes for every 1,000 feet above sea level).
- Cool and check seals. After 35 minutes, turn off the heat and let the jars sit in the water for 5 minutes. Use your jar lifter to remove them carefully and place them on a kitchen towel. Let them cool completely, undisturbed, for 12-24 hours. You’ll hear the satisfying “pop” of the lids sealing as they cool. After they’re cool, press the center of each lid — it should not flex up or down. If any jars didn’t seal, store them in the fridge and use within a week.
Cooking Tips & Techniques
I’ve made this sauce more times than I can count, and I’ve learned a few things along the way. Here are my best tips for getting it right every time.
Don’t overcrowd the baking sheets. If the tomatoes are piled on top of each other, they’ll steam instead of roast. You want them in a single layer with a little space between each one. If you have to, use three baking sheets instead of two. Trust me, the caramelization is worth the extra pan.
Roast the garlic separately if you’re in a hurry. Sometimes I roast the garlic in a small dish with a little olive oil instead of wrapping it in foil. It works just as well, and you can check on it more easily. Just keep an eye on it — garlic can go from golden to burnt pretty fast.
Watch the acidity. For safe canning, you absolutely must use bottled lemon juice. Fresh lemon juice varies in acidity, and you need a consistent pH level to prevent spoilage. I learned this the hard way with that first failed batch. Don’t skip this step.
Use a timer for the water bath. It’s easy to get distracted and lose track of time. Set a timer for 35 minutes as soon as the water returns to a full boil. Don’t start the timer before that — the processing time starts when the water is boiling, not when you put the jars in.
Let the jars rest undisturbed. I know it’s tempting to move them or check on them, but let them sit for a full 12-24 hours. Moving them too soon can break the seal. I usually make this sauce in the evening and leave the jars on the counter overnight. By morning, they’re all sealed and ready to label.
Label your jars. This sounds obvious, but I’ve definitely opened a jar of what I thought was tomato sauce only to find it was salsa. Write the date and contents on the lid or use a sticker. You’ll thank yourself later.
Variations & Adaptations
One of the best things about this recipe is how easy it is to adapt. Here are some variations I’ve tried and loved.
Spicy Arrabbiata Version : Add 1-2 teaspoons of red pepper flakes to the sauce before simmering. I like to sprinkle them over the tomatoes before roasting — the heat mellows slightly and infuses the oil. This version is amazing with penne or rigatoni.
Herb Garden Medley : Swap out the basil and thyme for other fresh herbs. I’ve made this with fresh oregano, rosemary, and even a little sage. Each herb gives the sauce a completely different personality. The rosemary version is especially good with roasted vegetables.
Low-Acid Option : If you’re sensitive to acidity, you can substitute the lemon juice with citric acid (½ teaspoon per pint jar). This gives you the same safe pH level without the tangy flavor. I’ve done this for a friend who has acid reflux, and she loved it.
Smoky Roasted Version : Add 1-2 chipotle peppers in adobo sauce to the blender along with the tomatoes. The smokiness pairs beautifully with the roasted garlic. This one is fantastic in enchiladas or on tacos.
Roasted Vegetable Blend : Add a diced red bell pepper or a small zucchini to the baking sheets along with the tomatoes. Roast everything together and blend as usual. It adds extra nutrients and a slightly different flavor profile. I did this one year when I had a bumper crop of zucchini, and it was fantastic.
Serving & Storage Suggestions
This sauce is incredibly versatile. Here’s how I like to use and store it.
Serving Suggestions : Serve this sauce over your favorite pasta — I love it with spaghetti or pappardelle. It’s also amazing as a pizza sauce, spread over a pre-baked crust with fresh mozzarella and basil. For a low-carb option, try it over zucchini noodles or roasted spaghetti squash. I’ve even used it as a dipping sauce for crusty bread or as a base for shakshuka (just crack a few eggs into the simmering sauce and cook until set).
Storage Instructions : Properly sealed jars can be stored in a cool, dark place (like a pantry or basement) for up to 18 months. Once opened, refrigerate the sauce and use within 5-7 days. The flavor actually improves after a few weeks in the jar — the roasted notes deepen and mellow beautifully.
Freezing Option : If you don’t want to can the sauce, you can freeze it instead. Let the sauce cool completely, then transfer it to freezer-safe containers or bags. Leave about an inch of headspace for expansion. It will keep in the freezer for up to 6 months. Thaw overnight in the refrigerator before using.
Reheating Tips : Reheat the sauce gently on the stovetop over medium-low heat, stirring occasionally. If it thickens too much after storage, add a splash of pasta water or olive oil to loosen it up. Avoid microwaving in the jar — transfer to a microwave-safe bowl first.
Nutritional Information & Benefits
This sauce is not just delicious — it’s actually pretty good for you. Here’s a rough estimate per ½ cup serving:
- Calories: 85
- Total Fat: 6g
- Saturated Fat: 1g
- Sodium: 290mg
- Total Carbohydrates: 8g
- Dietary Fiber: 2g
- Sugars: 5g
- Protein: 2g
- Vitamin C: 25% of Daily Value
- Vitamin A: 15% of Daily Value
Health Benefits : Cherry tomatoes are packed with lycopene, a powerful antioxidant that’s even more bioavailable when cooked. Roasting actually increases the lycopene content. Garlic is known for its immune-boosting properties, and olive oil provides healthy monounsaturated fats. This sauce is naturally gluten-free, dairy-free, and vegan — perfect for a wide range of dietary needs.
Dietary Considerations : This recipe is naturally low in carbs and sugar compared to many store-bought sauces. It’s also free from common allergens like nuts, soy, and eggs. The only potential allergen is if you’re sensitive to salicylates (found in tomatoes), but that’s rare.
From a wellness perspective, I love that I know exactly what’s in this sauce. No hidden sugars, no preservatives, no artificial flavors. It’s real food, made with real ingredients, and that makes me feel good about feeding it to my family.
Conclusion
This homemade roasted garlic and cherry tomato pasta sauce for canning is more than just a recipe — it’s a way to hold onto summer when the weather turns cold. Every time I open a jar in January, I’m transported back to that warm September afternoon in my kitchen, with the smell of roasting tomatoes filling the air. It’s a little bit of sunshine in a jar, and honestly, we could all use that.
I hope you give this recipe a try. Don’t be intimidated by the canning process — it’s easier than you think, and the payoff is huge. And if you want to make it your own, go ahead! Add more garlic, throw in some herbs from your garden, or spice it up with a little heat. The best recipes are the ones that evolve with you.
I’d love to hear how it turns out for you. Drop a comment below and let me know if you tried any variations, or share a photo of your sealed jars. Happy canning, friends — here’s to a pantry full of summer flavor!
Frequently Asked Questions
Can I use regular tomatoes instead of cherry tomatoes?
Yes, you can, but the roasting time and flavor will be different. Cherry tomatoes have a higher sugar content and thicker skins, which makes them ideal for roasting. If you use larger tomatoes, chop them into chunks and roast for an extra 10-15 minutes. You may also need to drain off some of the excess liquid before blending.
Do I really have to use bottled lemon juice?
For safe canning, yes. Bottled lemon juice has a standardized acidity level that ensures your sauce is safe from harmful bacteria. Fresh lemon juice varies in acidity and can’t be relied upon for preservation. If you’re freezing the sauce instead of canning, fresh lemon juice is fine.
How long will the canned sauce last?
Properly sealed jars stored in a cool, dark place will last up to 18 months. After that, the quality may start to decline, but it will still be safe to eat as long as the seal remains intact. Always check for signs of spoilage — mold, off smells, or a broken seal — before using.
Can I double this recipe?
Absolutely. I often make a double batch when cherry tomatoes are in season. Just make sure your stockpot is large enough to hold all the sauce, and you have enough jars and canning space. You may need to roast the tomatoes in batches or use multiple ovens if you have them.
What if my jars don’t seal?
Don’t panic! It happens to the best of us. If a jar doesn’t seal, just store it in the refrigerator and use it within a week. You can also freeze the sauce in that jar (leave headspace) or reprocess it with a new lid within 24 hours. I’ve reprocessed jars before, and it works fine — just make sure to check the rim for any nicks or cracks.
Pin This Recipe!
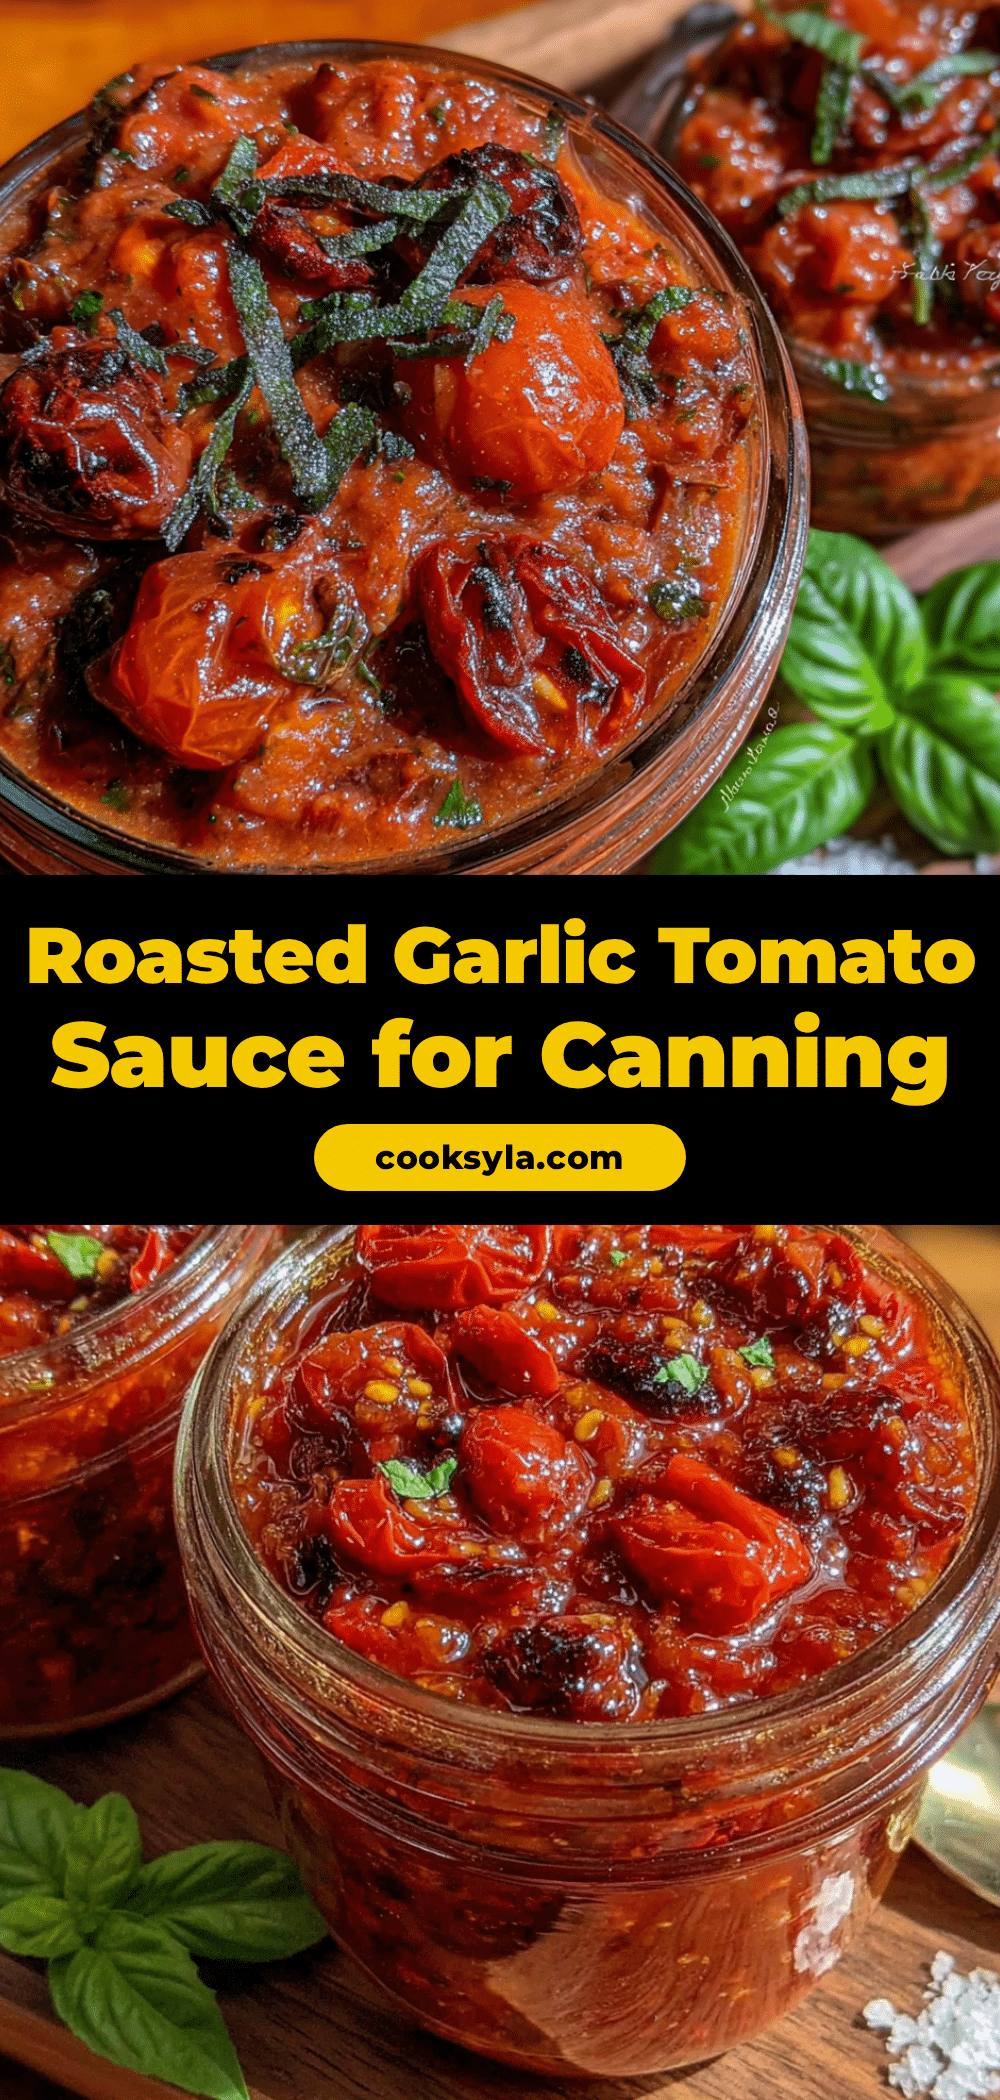
Homemade Roasted Garlic & Cherry Tomato Pasta Sauce for Canning

This homemade roasted garlic and cherry tomato pasta sauce for canning captures the sweet, caramelized flavor of summer in a jar. Perfect for busy weeknights, it’s made with simple ingredients and is safe for water-bath canning.
- Prep Time: 20 minutes
- Cook Time: 45 minutes
- Total Time: 1 hour 5 minutes
- Yield: 7-8 pint jars 1x
- Category: Main Course
- Cuisine: Italian
Ingredients
- 5 pounds cherry tomatoes
- 2 whole heads garlic
- ½ cup extra-virgin olive oil
- 1 cup fresh basil, packed
- 6 sprigs fresh thyme
- ¼ cup bottled lemon juice
- 2 teaspoons salt
- 1 teaspoon black pepper
- ½ teaspoon red pepper flakes (optional)
- 1 tablespoon balsamic vinegar (optional)
Instructions
- Preheat your oven to 400°F (200°C). Line two large baking sheets with parchment paper or silicone mats.
- Wash the cherry tomatoes and pat them dry. Cut any larger ones in half, but leave the small ones whole. For the garlic, slice off the top quarter of each head to expose the cloves. Drizzle a little olive oil over the cut tops and wrap each head in a small piece of foil.
- Spread the tomatoes in a single layer on the sheets. Tuck the foil-wrapped garlic heads in among the tomatoes. Drizzle the tomatoes with about ¼ cup of olive oil, and sprinkle with salt and pepper. Toss gently to coat.
- Roast for 40-45 minutes. The tomatoes should be soft, wrinkled, and starting to brown on the edges. The garlic should be very soft when you squeeze the foil packet. Halfway through, give the pans a shake to ensure even roasting.
- Remove the pans from the oven and let them sit for about 10 minutes. Squeeze the roasted garlic cloves out of their skins into a bowl.
- Working in batches if needed, transfer the roasted tomatoes, garlic, fresh basil, and thyme leaves to a food processor or blender. Pulse until you reach your desired consistency. I like mine a little chunky, so I pulse about 8-10 times. For a smoother sauce, let it run for 30 seconds.
- Pour the blended sauce into a large stockpot. Add the bottled lemon juice and stir well. Bring the sauce to a gentle simmer over medium heat, then reduce the heat to low. Let it simmer for 15-20 minutes, stirring occasionally. Taste and adjust salt and pepper as needed.
- While the sauce simmers, wash your jars, lids, and bands in hot, soapy water. Rinse well. Fill your water-bath canner or large pot with water and bring it to a boil. Keep the jars hot.
- Using a ladle and a funnel, fill each hot jar with sauce, leaving ½ inch of headspace. Run a non-metallic spatula or chopstick around the inside of each jar to release any air bubbles. Wipe the rims with a clean, damp cloth. Center a lid on each jar and screw on the band until it’s fingertip-tight.
- Place the filled jars in the canner rack, making sure they’re covered by at least 1 inch of water. Bring the water back to a full boil, then process for 35 minutes (adjust for altitude if needed — add 5 minutes for every 1,000 feet above sea level).
- After 35 minutes, turn off the heat and let the jars sit in the water for 5 minutes. Use your jar lifter to remove them carefully and place them on a kitchen towel. Let them cool completely, undisturbed, for 12-24 hours. After they’re cool, press the center of each lid — it should not flex up or down. If any jars didn’t seal, store them in the fridge and use within a week.
Notes
For safe canning, you must use bottled lemon juice. Fresh lemon juice varies in acidity and cannot be relied upon for preservation. If you don’t want to can the sauce, you can freeze it instead. Let the sauce cool completely, then transfer to freezer-safe containers or bags, leaving about an inch of headspace. It will keep in the freezer for up to 6 months.
Nutrition
- Serving Size: ½ cup
- Calories: 85
- Sugar: 5
- Sodium: 290
- Fat: 6
- Saturated Fat: 1
- Carbohydrates: 8
- Fiber: 2
- Protein: 2
Keywords: roasted garlic, cherry tomato, pasta sauce, canning, homemade, summer, preserving


