Love this? Save it for later!
Share the inspiration with your friends
Honestly? The party was in three hours and I’d completely forgotten. Not just forgotten in a “I’ll grab something on the way” kind of way—I mean forgotten in a “I was scrolling through my phone, saw the group chat, and felt my stomach drop” kind of way. Everyone else would be bringing their A-game. Karen always shows up with those perfectly layered seven-layer dips. My neighbor brings a dessert that looks like it belongs in a bakery window. And me? I had a half-empty can of pumpkin puree in the fridge and a bag of flour I wasn’t even sure was still good.
That afternoon was a mess, honestly. I’d been so focused on work stuff that the autumn potluck had slipped my mind completely. I remember standing in my kitchen, staring at the pantry like it would magically produce something impressive. The timer on my phone was ticking down—I had maybe two hours before I needed to leave, and that included a shower and finding a parking spot. Not great odds.
So I did what any reasonable person would do under pressure. I grabbed the pumpkin, some butter, and started throwing things together. The recipe I ended up with was a total accident—a hybrid between the snickerdoodles my grandma used to make and something I was just winging on the spot. I figured if it tasted decent, great. If not, I’d grab a store-bought pie on the way and blame the bakery for closing early.
But here’s the thing. Those cookies? They were gone in twenty minutes. People kept coming back to the dessert table, looking for more. Someone asked me for the recipe before I’d even sat down with my own plate. And the best part? I didn’t even tell anyone they were lighter. They just assumed they were regular snickerdoodles—rich, buttery, indulgent. Let me tell you, nothing beats that feeling.
Maybe you’ve been there—scrambling at the last minute, convinced you’ve ruined everything, only to accidentally create something that becomes your signature. That’s exactly what happened here. And that’s why I keep making these Lighter Pumpkin Snickerdoodle Cookies with Cinnamon Sugar. They saved me that day, and now they’re my go-to for every fall gathering.
Why You’ll Love This Recipe
I’ve tested this recipe more times than I care to admit. The first batch was good but too dense. The second was better but needed more spice. By batch number four, I had something that actually rivaled the full-fat, full-sugar versions I grew up on. And that’s saying something—I take my cookies seriously.
Here’s what makes these pumpkin snickerdoodles stand out from the crowd:
- Quick & Easy: From start to finish, these cookies take about 30 minutes. No chilling required, no complicated techniques. Just mix, scoop, roll, and bake.
- Simple Ingredients: You probably have most of these in your kitchen right now. Pumpkin puree, flour, sugar, butter, cinnamon—that’s the backbone of this recipe.
- Perfect for Fall Gatherings: Whether it’s a potluck, a Thanksgiving dessert table, or just a cozy weekend baking session, these cookies fit right in.
- Crowd-Pleaser: I’ve served these to kids, picky eaters, and serious dessert lovers. Nobody guesses they’re lighter until I tell them.
- Unbelievably Delicious: The texture is soft and pillowy with that signature crackly cinnamon sugar top. The pumpkin keeps them moist without making them heavy.
What makes this recipe different from all the other pumpkin cookie recipes out there? It’s the method. Instead of using a ton of butter, I swap in pumpkin puree for moisture and richness. The result is a cookie that tastes indulgent but doesn’t leave you feeling like you need a nap afterward. It’s comfort food reimagined—healthier, faster, but with the same soul-soothing satisfaction that makes you close your eyes after the first bite.
These cookies are perfect for impressing guests without stress, or turning a simple Tuesday night into something memorable. Trust me, once you make them, you’ll understand why I keep coming back to this recipe year after year.
What Ingredients You Will Need
This recipe uses simple, wholesome ingredients to deliver bold pumpkin flavor and that signature snickerdoodle texture without the fuss. Most of these are pantry staples, so you might not even need a grocery run.
- All-purpose flour, 1 ¾ cups (220g) – The base of the cookie. I’ve tested this with whole wheat pastry flour too, and it works in a pinch, but all-purpose gives the best tender texture.
- Baking powder, 1 teaspoon – Helps the cookies rise and stay fluffy.
- Baking soda, ½ teaspoon – Works with the pumpkin to give the right spread and texture.
- Ground cinnamon, 1 ½ teaspoons – Divided. You’ll use some in the dough and the rest in the cinnamon sugar coating.
- Pumpkin pie spice, 1 teaspoon – Adds that warm, cozy fall flavor. (I use McCormick, but store brands work fine too.)
- Salt, ¼ teaspoon – Balances the sweetness and brings out the pumpkin flavor.
- Unsalted butter, ¼ cup (57g), softened – Just enough for richness without going overboard.
- Granulated sugar, ½ cup (100g) – Sweetens the dough. You’ll also need extra for rolling.
- Light brown sugar, ¼ cup (50g), packed – Adds moisture and a hint of molasses flavor that pairs perfectly with pumpkin.
- Pumpkin puree, ½ cup (120g) – Not pumpkin pie filling! Make sure you grab 100% pure pumpkin. I prefer Libby’s for its consistent texture.
- Large egg, 1 – Binds everything together. Room temperature works best for even mixing.
- Vanilla extract, 1 teaspoon – Rounds out the flavors. Pure vanilla is great, but imitation works fine for baking.
- For the cinnamon sugar coating: ¼ cup (50g) granulated sugar mixed with 1 tablespoon ground cinnamon – This is what gives snickerdoodles their signature look and taste.
One thing I learned the hard way—don’t skip the pumpkin pie spice. I tried making these once with just cinnamon, and they were good but missing that depth. The blend of cinnamon, nutmeg, ginger, and cloves really makes these taste like fall in cookie form.
If you’re dairy-free, you can substitute the butter with a plant-based butter stick (not the spreadable kind in a tub). I’ve done this with Earth Balance and got great results. The texture was slightly less tender but still delicious.
Equipment Needed
You don’t need a fancy kitchen to make these cookies. Here’s what I use every time:
- Mixing bowls – One large, one medium. I have a set of nesting glass bowls that I’ve been using for years, and they’re perfect for this.
- Hand mixer or stand mixer – A hand mixer works fine. I actually prefer it for these cookies because there’s less to clean. If you’re mixing by hand, just make sure your butter is really soft.
- Measuring cups and spoons – For accuracy. I’ve learned the hard way that eyeballing baking ingredients leads to flat cookies.
- Baking sheets – Two standard-sized sheets work well. I use Nordic Ware because they don’t warp in the oven.
- Parchment paper or silicone baking mats – Essential for preventing sticking and easy cleanup. Silicone mats are a game-changer if you bake often.
- Cookie scoop – A 1 ½ tablespoon scoop gives consistent sizes. Honestly, you can use two spoons if you don’t have one, but the scoop makes life easier.
- Cooling rack – Lets air circulate so the cookies don’t get soggy on the bottom.
- Small shallow bowl – For the cinnamon sugar coating. A cereal bowl works perfectly.
If you don’t have a cooling rack, no worries. Just let the cookies cool on the baking sheet for a few extra minutes before transferring them to a plate. It’s not ideal, but it works.
Preparation Method
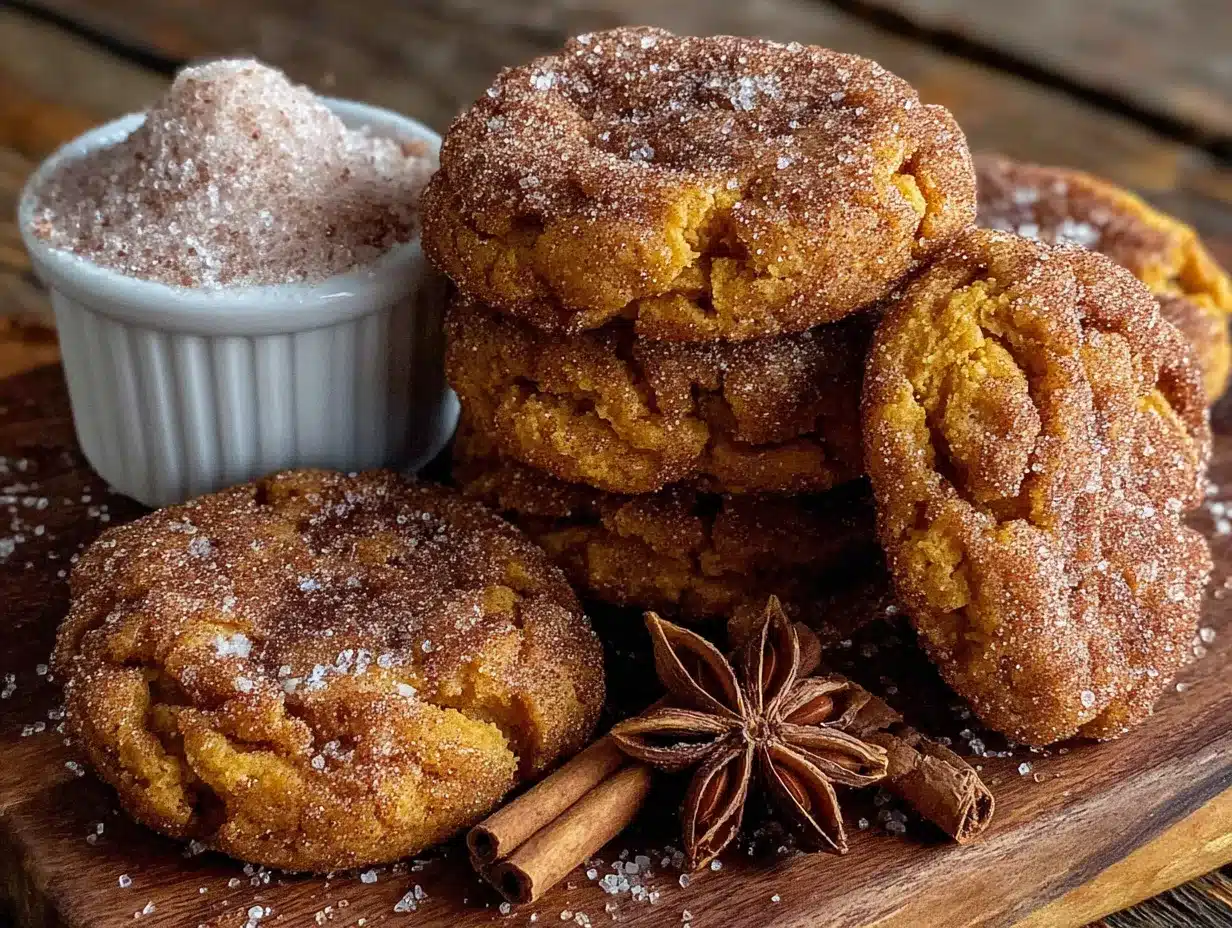
Let me walk you through this. I’ve made these cookies more times than I can count, so I’ve got the process down to a science.
- Preheat your oven to 350°F (175°C). Line two baking sheets with parchment paper or silicone mats. This is important—don’t skip the lining, or the bottoms will brown too fast.
- Whisk the dry ingredients together. In a medium bowl, combine 1 ¾ cups flour, 1 teaspoon baking powder, ½ teaspoon baking soda, 1 teaspoon cinnamon, 1 teaspoon pumpkin pie spice, and ¼ teaspoon salt. Whisk until everything is evenly distributed. This takes about 30 seconds.
- Cream the butter and sugars. In a large bowl, beat ¼ cup softened butter with ½ cup granulated sugar and ¼ cup packed brown sugar. Beat on medium speed until light and fluffy, about 2 minutes. Scrape down the sides of the bowl once during mixing. The mixture should look pale and slightly aerated.
- Add the wet ingredients. Beat in ½ cup pumpkin puree, 1 large egg, and 1 teaspoon vanilla extract. Mix until just combined. Don’t overmix here—the batter might look a little curdled at this stage, and that’s totally normal. The pumpkin does that.
- Fold in the dry ingredients. Add the flour mixture to the wet ingredients in two additions, mixing on low speed or folding with a spatula until just combined. Stop as soon as you don’t see any more flour streaks. Overmixing will make the cookies tough.
- Make the cinnamon sugar coating. In a small shallow bowl, stir together ¼ cup granulated sugar and 1 tablespoon cinnamon. The mixture should be well combined and fragrant.
- Scoop and roll. Using a 1 ½ tablespoon cookie scoop, scoop the dough into balls. Roll each ball between your palms to smooth it out, then roll it in the cinnamon sugar mixture until fully coated. Place on the prepared baking sheets, spacing them about 2 inches apart. You should get about 24 cookies.
- Bake for 10-12 minutes. The cookies should look puffed and slightly crackly on top. The edges should be set but the centers will still look soft and slightly underdone. That’s exactly what you want—they’ll continue baking on the hot sheet.
- Cool on the baking sheet for 5 minutes. This is crucial. If you try to move them too soon, they’ll fall apart. After 5 minutes, transfer them to a wire rack to cool completely. The centers will set as they cool.
A few things I’ve learned the hard way: If your cookies come out flat, your butter was probably too soft or your baking powder is old. If they’re too dry, you might have overmeasured the flour. Spoon and level your flour—don’t scoop directly from the bag.
The dough will be softer than typical cookie dough because of the pumpkin. Don’t be tempted to add more flour. That softness is what gives these cookies their pillowy texture.
Cooking Tips & Techniques
I’ve had my fair share of baking mishaps with these cookies. Let me save you some trouble.
Don’t skip the pumpkin puree blotting. This was a game-changer for me. If your pumpkin puree seems watery, blot it with a paper towel before adding it to the batter. Just press the paper towel gently on top of the measured puree to absorb excess moisture. This prevents the cookies from spreading too much and gives them a better texture.
Room temperature ingredients matter. I know, I know—everyone says this. But with pumpkin cookies, it actually makes a difference. Cold egg or cold pumpkin can make the butter seize up, resulting in a lumpy dough. Let everything sit out for about 20 minutes before you start.
Use a cookie scoop for consistent sizing. I used to eyeball it, and I’d end up with some cookies burnt and some underdone. A scoop guarantees even baking and makes the process faster. Plus, they look prettier on the plate.
Rotate your baking sheets halfway through. If you’re baking two sheets at once (which I usually do), swap them from top to bottom and front to back at the 6-minute mark. Ovens have hot spots, and this ensures even browning.
Let them cool completely before storing. I made this mistake once—stacked warm cookies in a container, and they turned into a sticky, cinnamon-sugary mess. Patience pays off here.
One more thing—if the dough feels too sticky to roll, pop it in the fridge for 10 minutes. That usually firms it up enough to handle without adding extra flour.
Variations & Adaptations
Over the years, I’ve tried a few twists on this recipe. Some worked, some didn’t. Here are the ones worth trying.
Gluten-free version: Substitute the all-purpose flour with a 1:1 gluten-free baking flour blend. I’ve used Bob’s Red Mill with good results. The cookies will be slightly more delicate, so handle them gently. Add an extra tablespoon of flour if the dough seems too sticky.
Vegan option: Replace the butter with vegan butter sticks and the egg with a flax egg (1 tablespoon ground flaxseed mixed with 3 tablespoons water, let sit for 5 minutes). The texture will be a bit denser, but the flavor is still spot-on. I tested this for a friend’s vegan Thanksgiving, and nobody complained.
Spice it up: Add ¼ teaspoon ground ginger and ⅛ teaspoon ground cloves to the dough for an extra warming kick. This is my favorite variation for cozy winter nights. The ginger adds a little heat that pairs beautifully with the pumpkin.
Maple twist: Replace the brown sugar with maple sugar and add 1 tablespoon maple syrup to the wet ingredients. The maple flavor is subtle but makes these taste even more like fall. Just reduce the pumpkin puree by 1 tablespoon to balance the moisture.
Add-ins: Fold in ½ cup white chocolate chips or chopped pecans after mixing the dough. I did this once on a whim, and it was incredible. The white chocolate adds sweetness, while pecans give a nice crunch.
Pumpkin seed topping: Before baking, press a few pumpkin seeds into the top of each cookie. It adds a nice crunch and makes them look extra pretty for holiday cookie trays.
Honestly, the base recipe is so forgiving that you can really play around with it. Just keep the wet-to-dry ratio roughly the same, and you’ll be fine.
Serving & Storage Suggestions
These cookies are best served slightly warm, when the cinnamon sugar is still a little melty and the centers are soft. Let them cool for about 10 minutes after coming out of the oven, then dig in. They’re perfect with a cup of coffee, a glass of cold milk, or even a scoop of vanilla ice cream for dessert.
For a fall-themed dessert board, arrange these cookies alongside apple slices, caramel dip, and a few dark chocolate squares. It makes for a stunning presentation at parties.
Storage: Keep the cookies in an airtight container at room temperature for up to 5 days. Place a piece of bread in the container to help maintain moisture—the cookies will absorb it and stay soft. Replace the bread every other day if you’re storing them longer.
Freezer instructions: These freeze beautifully. You have two options. First, freeze the baked cookies in a single layer on a baking sheet, then transfer to a freezer bag for up to 3 months. Thaw at room temperature for about 30 minutes before serving. Second, freeze the unbaked dough balls on a baking sheet, then transfer to a freezer bag. Bake from frozen, adding 2-3 minutes to the baking time. I do this all the time for last-minute guests.
Reheating: Pop a cookie in the microwave for 10 seconds to bring back that fresh-from-the-oven softness. Or warm them in a 300°F oven for 5 minutes if you’re reheating a batch.
One thing I’ve noticed—the flavors actually deepen after a day or two. The pumpkin and spices meld together, and the cookies become even more flavorful. So don’t worry if you’re making them ahead of time. They might actually taste better.
Nutritional Information & Benefits
Per cookie (based on 24 cookies): approximately 95 calories, 3g fat, 16g carbohydrates, 1g fiber, 9g sugar, 2g protein.
Compared to traditional snickerdoodles, these have about 40% less fat and 30% less sugar. The pumpkin puree adds moisture and richness without the extra butter, plus it’s packed with vitamin A and fiber. Cinnamon has been shown to help regulate blood sugar, which is a nice bonus.
These cookies are lower in calories and fat than standard versions, making them a great option for anyone watching their intake but still wanting something sweet. They’re also nut-free (unless you add nuts) and can easily be made gluten-free or vegan.
For a healthier treat, I like to pair one or two of these cookies with a cup of herbal tea or a small apple. It satisfies my sweet tooth without derailing my day. And honestly, knowing I’m eating something that’s a little better for me makes the indulgence feel even sweeter.
Conclusion
These Lighter Pumpkin Snickerdoodle Cookies with Cinnamon Sugar have become my fall baking staple for good reason. They’re quick, they’re forgiving, and they taste like something you’d spend hours on. Whether you’re scrambling for a potluck contribution like I was, or just want a cozy weekend baking project, these cookies deliver every single time.
I love that I can customize them based on what I have in my pantry, and that they always get devoured no matter where I bring them. The fact that they’re lighter is just a bonus—honestly, I make them because they’re delicious, and the healthier part is just a happy accident.
So go ahead and give them a try. Maybe you’ll have your own last-minute panic moment, or maybe you’ll just want a cookie that tastes like fall without the guilt. Either way, I think you’ll love these as much as I do.
Have you made these? I’d love to hear how they turned out! Drop a comment below and let me know if you tried any variations. And if you’re looking for more fall baking ideas, you might also enjoy my healthy pumpkin bread or these baked apple cider donuts. Happy baking!
Frequently Asked Questions
Can I use pumpkin pie filling instead of pumpkin puree?
No, don’t do that. Pumpkin pie filling has added sugar and spices, which will throw off the balance of this recipe. Stick with 100% pure pumpkin puree for the best results. If you only have pie filling, the cookies will be much sweeter and might spread too much.
Why did my cookies turn out flat?
Flat cookies usually mean one of three things: your butter was too soft or melted, your baking powder is old, or your dough was too warm. Make sure your butter is softened but not greasy, check the expiration date on your baking powder, and chill the dough for 10-15 minutes if it feels sticky.
Can I make these cookies without a mixer?
Absolutely. You can cream the butter and sugar by hand with a wooden spoon—just make sure your butter is really soft. It’ll take a bit more elbow grease, but the cookies will turn out the same. I’ve done it plenty of times when my hand mixer was buried in the back of a cabinet.
How do I know when the cookies are done baking?
Look for edges that are set and slightly golden, with centers that still look soft and puffy. The tops should have a crackly appearance. If you insert a toothpick, it should come out with a few moist crumbs, not wet batter. Remember, they’ll continue baking on the hot sheet for a few minutes after you pull them out.
Can I double this recipe?
Yes, this recipe doubles beautifully. Just make sure you have enough baking sheets and space in your oven. You might need to bake in batches. The dough can sit at room temperature for about 30 minutes while you rotate sheets, but if it gets too sticky, pop it in the fridge between batches.
Pin This Recipe!
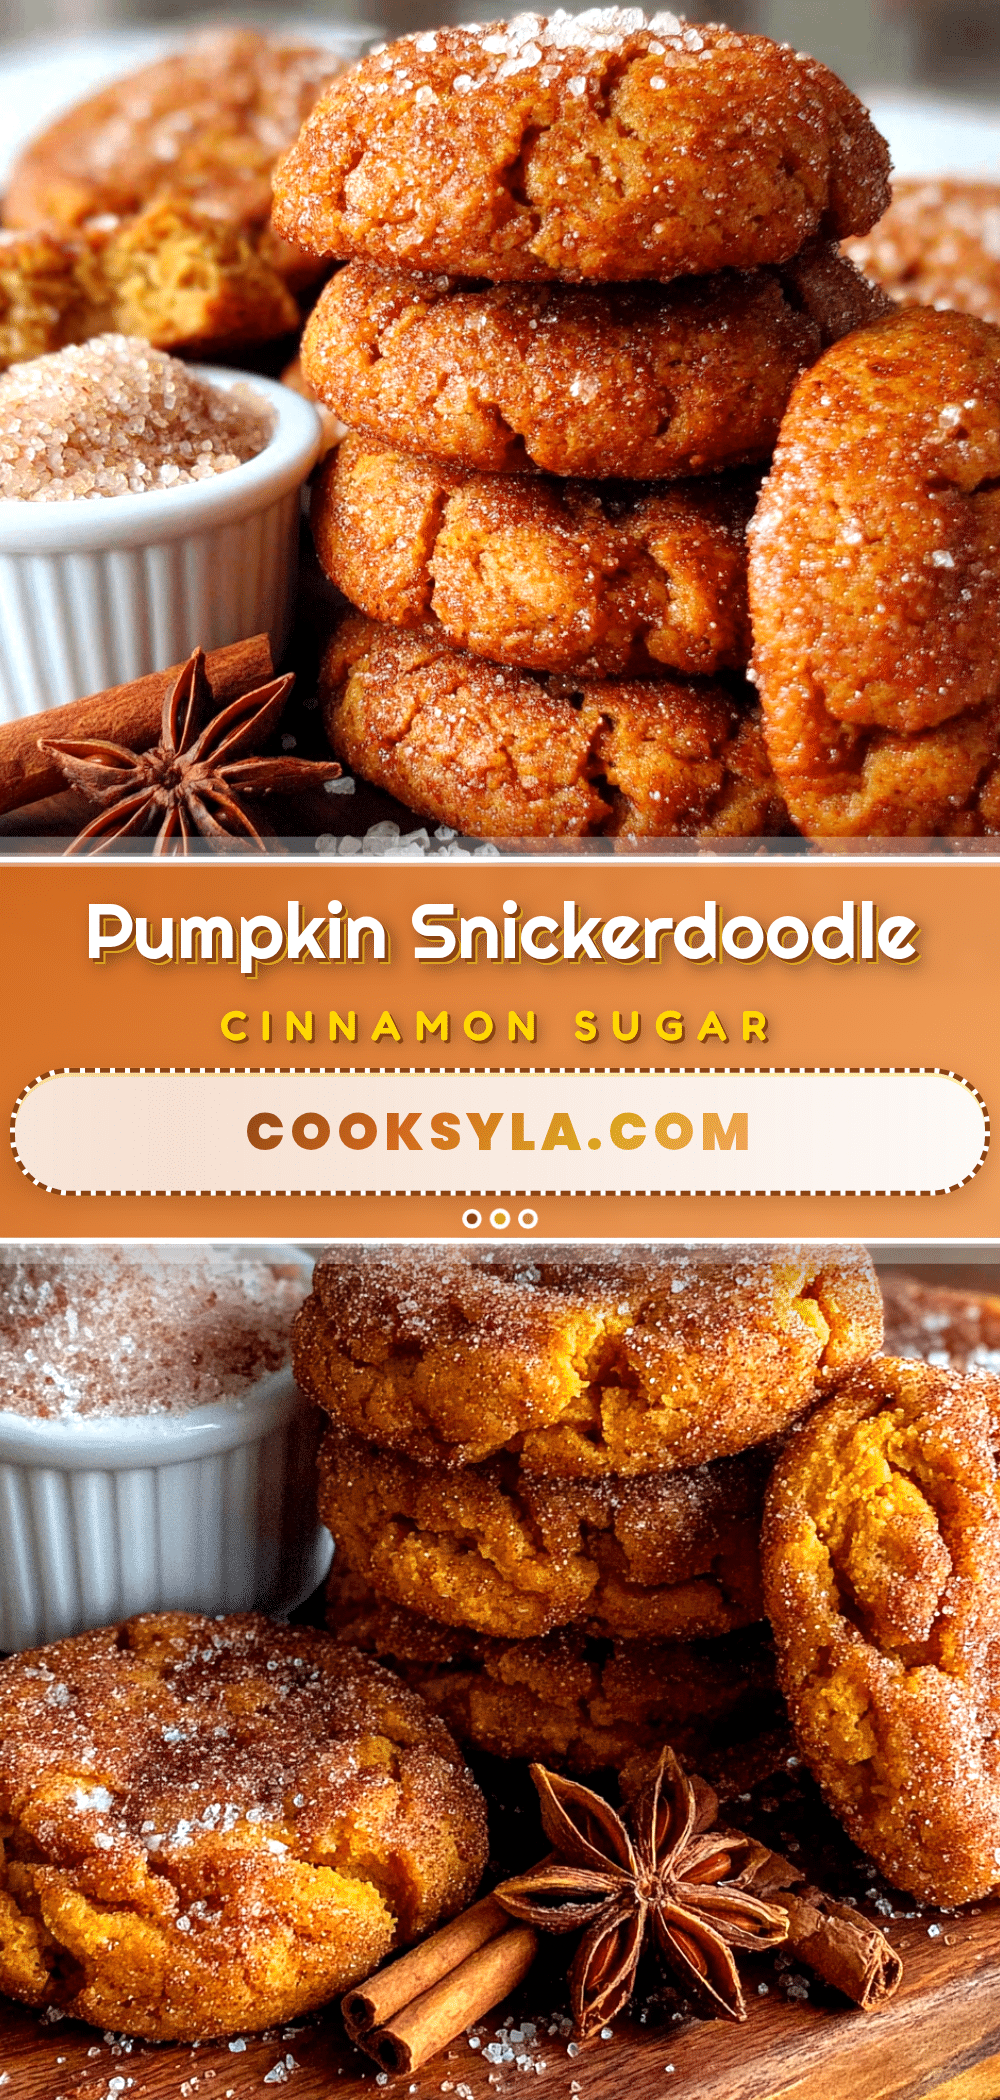
Lighter Pumpkin Snickerdoodle Cookies

These Lighter Pumpkin Snickerdoodle Cookies are soft, pillowy, and coated in cinnamon sugar. Made with pumpkin puree for moisture and richness, they are a healthier twist on the classic snickerdoodle that tastes indulgent but has less fat and sugar.
- Prep Time: 15 minutes
- Cook Time: 12 minutes
- Total Time: 27 minutes
- Yield: 24 cookies 1x
- Category: Dessert
- Cuisine: American
Ingredients
- 1 ¾ cups (220g) all-purpose flour
- 1 teaspoon baking powder
- ½ teaspoon baking soda
- 1 ½ teaspoons ground cinnamon, divided
- 1 teaspoon pumpkin pie spice
- ¼ teaspoon salt
- ¼ cup (57g) unsalted butter, softened
- ½ cup (100g) granulated sugar
- ¼ cup (50g) light brown sugar, packed
- ½ cup (120g) pumpkin puree (not pumpkin pie filling)
- 1 large egg, room temperature
- 1 teaspoon vanilla extract
- For the cinnamon sugar coating: ¼ cup (50g) granulated sugar mixed with 1 tablespoon ground cinnamon
Instructions
- Preheat your oven to 350°F (175°C). Line two baking sheets with parchment paper or silicone mats.
- In a medium bowl, whisk together 1 ¾ cups flour, 1 teaspoon baking powder, ½ teaspoon baking soda, 1 teaspoon cinnamon, 1 teaspoon pumpkin pie spice, and ¼ teaspoon salt.
- In a large bowl, beat ¼ cup softened butter with ½ cup granulated sugar and ¼ cup packed brown sugar on medium speed until light and fluffy, about 2 minutes. Scrape down the sides once.
- Beat in ½ cup pumpkin puree, 1 large egg, and 1 teaspoon vanilla extract until just combined. The batter may look slightly curdled.
- Add the flour mixture to the wet ingredients in two additions, mixing on low speed or folding with a spatula until just combined. Do not overmix.
- In a small shallow bowl, stir together ¼ cup granulated sugar and 1 tablespoon cinnamon for the coating.
- Using a 1 ½ tablespoon cookie scoop, scoop the dough into balls. Roll each ball between your palms to smooth, then roll in the cinnamon sugar mixture until fully coated. Place on prepared baking sheets, spacing about 2 inches apart. You should get about 24 cookies.
- Bake for 10-12 minutes. The cookies should look puffed and slightly crackly on top, with edges set and centers still soft.
- Cool on the baking sheet for 5 minutes, then transfer to a wire rack to cool completely.
Notes
If the dough feels too sticky to roll, chill it in the fridge for 10 minutes. For best results, use room temperature ingredients. Blot watery pumpkin puree with a paper towel to prevent spreading. Cookies can be stored in an airtight container at room temperature for up to 5 days, or frozen for up to 3 months.
Nutrition
- Serving Size: 1 cookie
- Calories: 95
- Sugar: 9
- Sodium: 85
- Fat: 3
- Saturated Fat: 1.5
- Carbohydrates: 16
- Fiber: 1
- Protein: 2
Keywords: pumpkin snickerdoodle, healthy cookies, fall baking, lighter cookies, pumpkin cookies, cinnamon sugar cookies


