Love this? Save it for later!
Share the inspiration with your friends
My neighbor wasn’t trying to impress anyone. I’d stopped by to borrow a ladder—a completely mundane Tuesday errand—and the smell of browned butter and warm sugar hit me before I even knocked on her screen door. It was one of those early October afternoons where the air has that specific crispness, and her kitchen window was cracked open just enough for the scent to escape into the neighborhood. She opened the door with flour on her cheek and a spatula in her hand, completely unbothered by the fact that she was creating what would become my most-craved fall recipe.
“Oh, those?” she said when I asked about the smell, gesturing vaguely toward the kitchen. “Just cookies. I make them when it gets chilly.” Just cookies. She said it like it was nothing, like she hadn’t just stopped me mid-sentence with the aroma of something that felt like coming home. I stood there holding my ladder, honestly considering whether I could politely ask to come back later just to steal one. Maybe you’ve been there—that moment when someone’s casual cooking makes you realize you’ve been overcomplicating everything in your own kitchen.
She handed me one warm, wrapped in a paper towel, and I took a bite walking back across the lawn. The edges were perfectly crisp, the center was soft and almost gooey, and there was this subtle nuttiness I couldn’t quite place. I mean, I’ve made chocolate chip cookies a hundred times. We all have. But these were different. These felt like fall in cookie form—cozy without trying, comforting without being heavy. I asked for the recipe, and she shrugged and said she’d text it to me. She did, later that night, with no explanation, no fanfare. Just a list of ingredients and a note that said “these freeze well too.”
That recipe became my October ritual. And honestly, the best part? It makes exactly eight cookies. Not two dozen, not three dozen. Eight. Which means no leftovers tempting you from the counter for days, no pressure to share with the whole office, just a perfect little batch for a cozy evening with a mug of tea or a glass of cold milk. It’s the kind of recipe that feels like a secret—but now I’m sharing it with you.
Why You’ll Love This Recipe
These aren’t just chocolate chip cookies. These are the cookies you make when you want something special but don’t want to spend all evening in the kitchen. After testing this recipe about seven times (my neighbors were very patient), I can confidently say this is the best small-batch version I’ve ever made. Here’s why you’ll fall for them too:
- Small Batch, No Waste: Makes exactly 8 cookies. Perfect for a quiet night in without a mountain of leftovers.
- Ready in Under 30 Minutes: From mixing bowl to cooling rack in about 25 minutes. No chilling required—seriously.
- Pantry-Friendly Ingredients: You probably have everything already. No special flours or obscure extracts here.
- Perfect Fall Texture: Crispy edges, soft centers, and that slight chewiness that makes you close your eyes after the first bite.
- Foolproof for Beginners: I’ve tested this with my sister who “doesn’t bake” and she nailed it on the first try.
What makes these different from every other chocolate chip cookie recipe? It’s the browned butter. I know, I know—everyone’s doing browned butter these days. But here’s the thing: most recipes call for browning a whole stick and then using part of it, which feels wasteful and fussy. This recipe uses exactly what you need, no more, no less. The nutty, toasty flavor from the browned butter pairs perfectly with the dark chocolate chips, creating a cookie that tastes way more complicated than it actually is.
These cookies are the kind that make you feel like you’ve got your life together, even if you’re eating them in sweatpants on a random Tuesday. They’re comfort food reimagined—faster, simpler, but with the same soul-soothing satisfaction. Perfect for impressing someone without breaking a sweat, or turning a regular fall evening into something worth remembering.
What Ingredients You Will Need
This recipe uses simple, wholesome ingredients to deliver that bakery-quality flavor without the fuss. Most of these are pantry staples, which is exactly what you want when a cookie craving hits on a chilly October night.
For the Cookies
- Unsalted butter, 4 tablespoons (57g) — You’ll brown this, so unsalted is important. Salted butter can foam unpredictably and make it harder to control the salt level. I use Kerrygold when I’m feeling fancy, but any good unsalted butter works.
- Granulated sugar, 3 tablespoons (38g) — Adds sweetness and helps create those crispy edges we’re after. Don’t reduce this—the ratio matters in a small batch.
- Light brown sugar, packed, 3 tablespoons (43g) — This is where the chewiness comes from. The molasses in brown sugar keeps the centers soft and adds a subtle warmth that feels very fall. Make sure it’s packed firmly in the measuring spoon.
- Large egg yolk, 1 — Just the yolk, not the whole egg. This gives you richness and tenderness without making the dough too wet. Save the white for scrambled eggs tomorrow morning.
- Vanilla extract, 1/2 teaspoon — Pure vanilla if you’ve got it, imitation works fine too. I like Nielsen-Massey for the floral notes, but honestly, any vanilla will do the job.
- All-purpose flour, 1/2 cup plus 1 tablespoon (75g) — Spoon and level this, don’t scoop directly from the bag. Packed flour will give you dry, cakey cookies instead of the chewy ones we want.
- Baking soda, 1/4 teaspoon — Helps with spread and browning. Make sure it’s fresh—test it by dropping a bit in vinegar; it should fizz immediately.
- Salt, 1/4 teaspoon — I use fine sea salt. If you’re using kosher salt, increase to 1/2 teaspoon. Salt balances the sweetness and enhances the chocolate.
- Semi-sweet or dark chocolate chips, 1/3 cup (60g) — I prefer Ghirardelli 60% cacao chips for that deep, almost smoky chocolate flavor that stands up to the browned butter. You can also chop a chocolate bar into chunks for those melty pools of chocolate.
Ingredient Tips and Substitutions
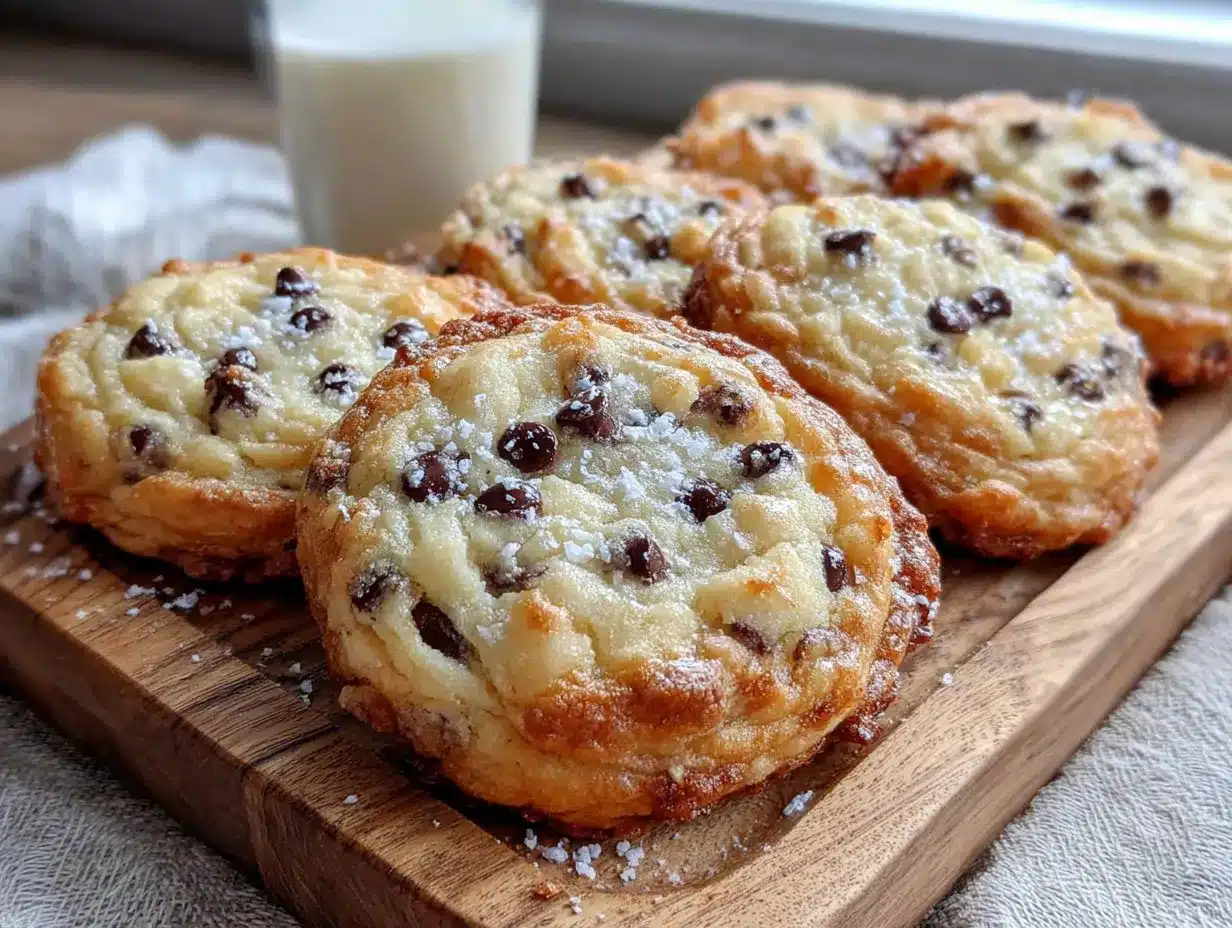
If you’re dairy-free, you can use vegan butter—just know that it won’t brown the same way, so skip the browning step and use it melted instead. For a gluten-free version, swap the all-purpose flour with a cup-for-cup gluten-free blend like Bob’s Red Mill 1-to-1. The texture will be slightly more tender, but still delicious. And if you’re out of brown sugar? Mix 3 tablespoons of granulated sugar with 1 teaspoon of molasses. It’s not quite the same, but it’ll work in a pinch.
One thing I’ve learned the hard way: don’t use mini chocolate chips here. They melt too quickly and you lose that satisfying chunk in every bite. Stick with regular-sized chips or chopped chocolate bars for the best experience.
Equipment Needed
The beauty of this recipe is that it doesn’t require any fancy equipment. Here’s what you’ll need:
- Small saucepan — For browning the butter. A light-colored pan is ideal because you can see the butter change color. My favorite is a small stainless steel saucepan, but any small pot works.
- Mixing bowl — Medium-sized. I use a glass bowl, but ceramic or metal is fine too.
- Whisk — For combining the sugars and egg yolk. A fork works in a pinch, but a whisk makes it easier.
- Rubber spatula — For folding in the flour and chocolate chips. A wooden spoon works too, but the spatula gets every bit of dough.
- Baking sheet — A half-sheet pan is perfect. If you only have a dark nonstick pan, reduce the oven temperature by 25°F to prevent over-browning.
- Parchment paper or silicone baking mat — Non-negotiable for easy cleanup and even baking. I prefer parchment because it’s disposable and gives slightly crisper bottoms.
- Cookie scoop or tablespoon — A 1.5-tablespoon scoop makes perfectly uniform cookies. If you don’t have one, use a regular tablespoon and round the dough slightly.
- Cooling rack — Lets air circulate so the bottoms don’t get soggy. If you don’t have one, transfer the cookies to a plate after 5 minutes.
I bought my little saucepan at a thrift store for three dollars, and my favorite cookie scoop was a gift from a friend. You really don’t need expensive equipment—just reliable basics that do the job.
Preparation Method
Alright, let’s make some cookies. This whole process takes about 25 minutes from start to finish, and I promise you can do this while wearing sweatpants.
- Preheat your oven to 375°F (190°C). Position the rack in the middle of the oven. Line your baking sheet with parchment paper or a silicone mat. Don’t skip this—trust me, scraping caramelized sugar off a bare pan is not how you want to spend your evening.
- Brown the butter. Place the 4 tablespoons of butter in your small saucepan over medium heat. Stir occasionally with a rubber spatula or wooden spoon. The butter will melt, then foam, then start to crackle and pop. This is normal—don’t panic. After about 3-4 minutes, the foam will subside and you’ll see golden brown specks forming at the bottom of the pan. The butter will smell nutty and amazing. As soon as it turns a warm amber color and you see those brown bits, remove it from the heat immediately. Pour it into your mixing bowl to stop the cooking. Let it cool for 2-3 minutes—it should be warm but not hot enough to cook the egg yolk.
- Combine sugars and butter. Add the granulated sugar and brown sugar to the warm browned butter. Whisk vigorously for about 30 seconds until everything is combined and looks like wet sand. The mixture should be smooth with no lumps of brown sugar. If it seems too thick, that’s okay—the egg yolk will loosen it up.
- Add the egg yolk and vanilla. Drop in the egg yolk and vanilla extract. Whisk like you mean it for a full minute. The mixture will become lighter in color and slightly thicker. This step is important—it’s where you’re dissolving the sugar and creating that shiny, crackly top that bakery cookies have. Set a timer if you need to; a full minute of whisking makes a real difference.
- Add the dry ingredients. Sprinkle the flour, baking soda, and salt over the wet mixture. Use your rubber spatula to fold everything together gently. Stir just until you no longer see streaks of flour. Overmixing at this stage develops gluten and makes tough cookies. You want to see a soft, slightly sticky dough that holds together when pressed.
- Fold in the chocolate chips. Add the chocolate chips and fold them in with a few gentle strokes. Make sure they’re evenly distributed, but don’t overwork the dough. If the dough seems too soft to scoop, let it rest for 5 minutes—the flour will absorb some moisture and it’ll firm up nicely.
- Scoop the cookies. Using your cookie scoop or a tablespoon, portion the dough into 8 equal balls. Each ball should be about 1.5 tablespoons. Place them on your prepared baking sheet, spacing them about 2 inches apart. Don’t flatten them—they’ll spread on their own. For that bakery look, press a few extra chocolate chips onto the tops of the dough balls.
- Bake. Slide the baking sheet into the preheated oven and bake for 9-11 minutes. At 9 minutes, the edges should be golden brown and the centers should still look slightly puffy and underdone. This is exactly what you want. The cookies will continue to bake on the hot sheet after you pull them out. If you wait until the centers look fully baked, they’ll be overdone and crispy all the way through.
- Cool on the baking sheet. Let the cookies rest on the hot baking sheet for exactly 5 minutes. This is crucial—it’s when the centers set up while the edges stay crisp. After 5 minutes, transfer them to a cooling rack. Or, honestly, eat one warm right off the sheet. I won’t tell anyone.
Cooking Tips & Techniques
I’ve made this recipe about a dozen times now, and I’ve definitely learned a few things the hard way. Let me save you some trouble.
Watch the butter like a hawk. The first time I browned butter, I looked away for “just a second” to check my phone, and suddenly I had burnt butter that smelled like sadness and regret. Burnt butter is bitter and ruins the whole batch. Stay at the stove, keep stirring, and the moment you see that amber color and smell that nutty aroma, pull it off the heat. It happens fast—like, 15 seconds fast.
Don’t skip the whisking. I know it’s tempting to just stir everything together lazily, but that full minute of whisking after adding the egg yolk is what gives these cookies their signature crackly tops and chewy centers. It’s called the “creaming” step, and it aerates the dough just enough to create that perfect texture. I set a timer on my phone and whisk until it dings. It makes a difference.
Measure flour correctly. This is the most common cookie mistake I see. If you scoop your measuring cup directly into the flour bag, you’re packing in way more flour than the recipe calls for. The result? Dry, cakey cookies that don’t spread. Instead, use a spoon to fluff the flour in its container, then spoon it into your measuring cup and level it off with a knife. It takes an extra 10 seconds and saves you from disappointing cookies.
Bake one test cookie first. If you’re unsure about your oven’s temperament, bake just one cookie first. See how much it spreads and how quickly it browns. Adjust your remaining dough balls accordingly—add a tablespoon more flour if they spread too much, or press them down slightly if they don’t spread enough. This is a pro baker trick that saves entire batches.
Room temperature matters. Cold egg yolk won’t emulsify properly with the warm butter, so make sure your egg is at room temperature. If you forgot to take it out of the fridge, place it in a bowl of warm water for 5 minutes. Problem solved.
Variations & Adaptations
One of the best things about this recipe is how easily it adapts to whatever you’re craving. Here are some of my favorite variations:
Maple Pecan Fall Edition
Replace the vanilla extract with 1/2 teaspoon of maple extract. Add 1/4 cup of toasted, chopped pecans along with the chocolate chips. The maple and browned butter combination tastes like autumn in a cookie. I made these for a Friendsgiving gathering and they disappeared in minutes.
White Chocolate Cranberry
Swap the dark chocolate chips for white chocolate chips and add 1/4 cup of dried cranberries. The tartness of the cranberries cuts through the sweetness beautifully. These feel more festive and are perfect for holiday cookie exchanges.
Gluten-Free Version
Use 75g of cup-for-cup gluten-free flour blend instead of all-purpose. I’ve tested this with Bob’s Red Mill 1-to-1 and King Arthur Measure for Measure, and both work well. The cookies will be slightly more tender and might spread a tiny bit more, so you can add an extra tablespoon of flour if needed.
Vegan Adaptation
Use 4 tablespoons of vegan butter (I like Miyoko’s for browning), replace the egg yolk with 1 tablespoon of aquafaba (the liquid from a can of chickpeas) mixed with 1 teaspoon of cornstarch. The texture won’t be exactly the same—slightly less chewy—but they’re still delicious and satisfy that cookie craving.
Double Chocolate
Replace 1 tablespoon of the flour with 1 tablespoon of unsweetened cocoa powder. Use white chocolate chips or milk chocolate chips for contrast. The browned butter and cocoa together create this deep, almost fudge-like flavor that’s dangerously good.
Serving & Storage Suggestions
These cookies are at their absolute best when they’re still warm from the oven—that moment when the chocolate is still slightly melted and the edges are perfectly crisp. I like to serve them with a cold glass of milk, a hot mug of chai tea, or even a scoop of vanilla ice cream for a full dessert experience.
If you’re feeling fancy, sprinkle a tiny pinch of flaky sea salt on top of each cookie right when they come out of the oven. That little salty crunch against the sweet, buttery cookie is absolutely magical. I use Maldon sea salt flakes, but any flaky salt works.
Storage: Keep leftover cookies in an airtight container at room temperature for up to 3 days. To restore that fresh-from-the-oven texture, pop a cookie in the microwave for 10 seconds—it softens the center and makes the chocolate melty again. For longer storage, freeze the baked cookies in a zip-top bag for up to 3 months. Thaw at room temperature for about 15 minutes.
Freezing the dough: This is my favorite trick. Scoop the dough into balls, place them on a parchment-lined baking sheet, and freeze until solid (about 1 hour). Transfer the frozen dough balls to a zip-top bag. When you want fresh cookies, bake them straight from frozen—just add 2 minutes to the baking time. You’ll have warm cookies in under 15 minutes, which is dangerous knowledge to have.
The flavors actually develop and deepen after a day or two. The browned butter notes become more pronounced, and the texture evens out. So if you can resist eating them all immediately, day-old cookies are also fantastic—though I’ve never managed to test that theory thoroughly.
Nutritional Information & Benefits
Let’s be real—these are cookies, not health food. But here’s the nutritional breakdown for one cookie (based on 8 cookies per batch):
- Calories: Approximately 185
- Fat: 11g (7g saturated)
- Carbohydrates: 22g (14g sugar)
- Protein: 2g
- Fiber: 1g
- Sodium: 115mg
The portion control here is the real win. With only 8 cookies per batch, you’re not staring down a container of two dozen. Each cookie is a reasonable indulgence, not a half-day’s worth of calories. The dark chocolate chips provide a small amount of antioxidants (hello, flavonoids!), and the browned butter adds a richness that means one or two cookies actually feels satisfying—unlike those skinny, sad cookies that leave you wanting the whole batch.
If you’re watching your sugar intake, you can reduce the granulated sugar to 2 tablespoons, but honestly, this is a treat. Sometimes the healthiest thing you can do is enjoy a damn cookie without guilt. Balance, right?
Frequently Asked Questions
Can I make this recipe with a whole egg instead of just the yolk?
You can, but the texture will change. The egg white adds moisture that makes cookies more cakey and less chewy. If you use a whole egg, expect a softer, puffier cookie. It’s still good—just different. I’ve done it when I didn’t want to waste the white, and it worked fine.
Why didn’t my cookies spread enough?
This usually means there’s too much flour in the dough. Make sure you’re measuring your flour correctly by spooning it into the cup and leveling it off. Another culprit is butter that cooled down too much before you added the sugars—the butter should be warm, not solidified. If your dough feels stiff, try pressing the dough balls down slightly before baking.
Can I double this recipe?
Absolutely. Just double all the ingredients. The only thing to watch is the browning butter step—if you double the butter, use a larger pan so it browns evenly. You’ll get 16 cookies instead of 8. Perfect for sharing, or for when you don’t feel like sharing.
My cookies came out too flat. What went wrong?
Flat cookies usually mean the butter was too warm when you mixed the dough, or the baking soda is old and not providing enough lift. Make sure your baking soda is fresh (replace it every 6 months). Also, let the browned butter cool for the full 2-3 minutes before adding the egg yolk—if it’s too hot, it melts the sugar too much and the cookies spread like pancakes.
Can I use margarine instead of butter?
I wouldn’t recommend it. Margarine has a higher water content than butter, which affects the texture and spread. Plus, you can’t brown margarine the same way—it won’t develop that nutty flavor. If you need a dairy-free option, use a good quality vegan butter that’s designed for baking.
Conclusion
These small-batch chocolate chip cookies have become my fall tradition for a reason. They’re simple enough for a random Tuesday, special enough for a cozy evening in, and forgiving enough that even a beginner baker can nail them on the first try. The browned butter adds a warmth that feels like autumn, the dark chocolate chips provide those little pockets of richness, and the perfect 8-cookie batch means you get just enough without going overboard.
I love that this recipe came from a completely ordinary moment—borrowing a ladder, catching a smell, getting a recipe texted to me without any fuss. It reminds me that the best recipes don’t come from fancy cooking blogs or complicated techniques. They come from real people making something delicious in their own kitchens, not trying to impress anyone, just making something good.
So go ahead—preheat that oven, brown that butter, and treat yourself to a warm cookie on a cool fall evening. You deserve it. And when you make them, I’d love to hear how they turned out. Drop a comment below or tag me in your cookie photos. Happy baking, friends.
Pin This Recipe!
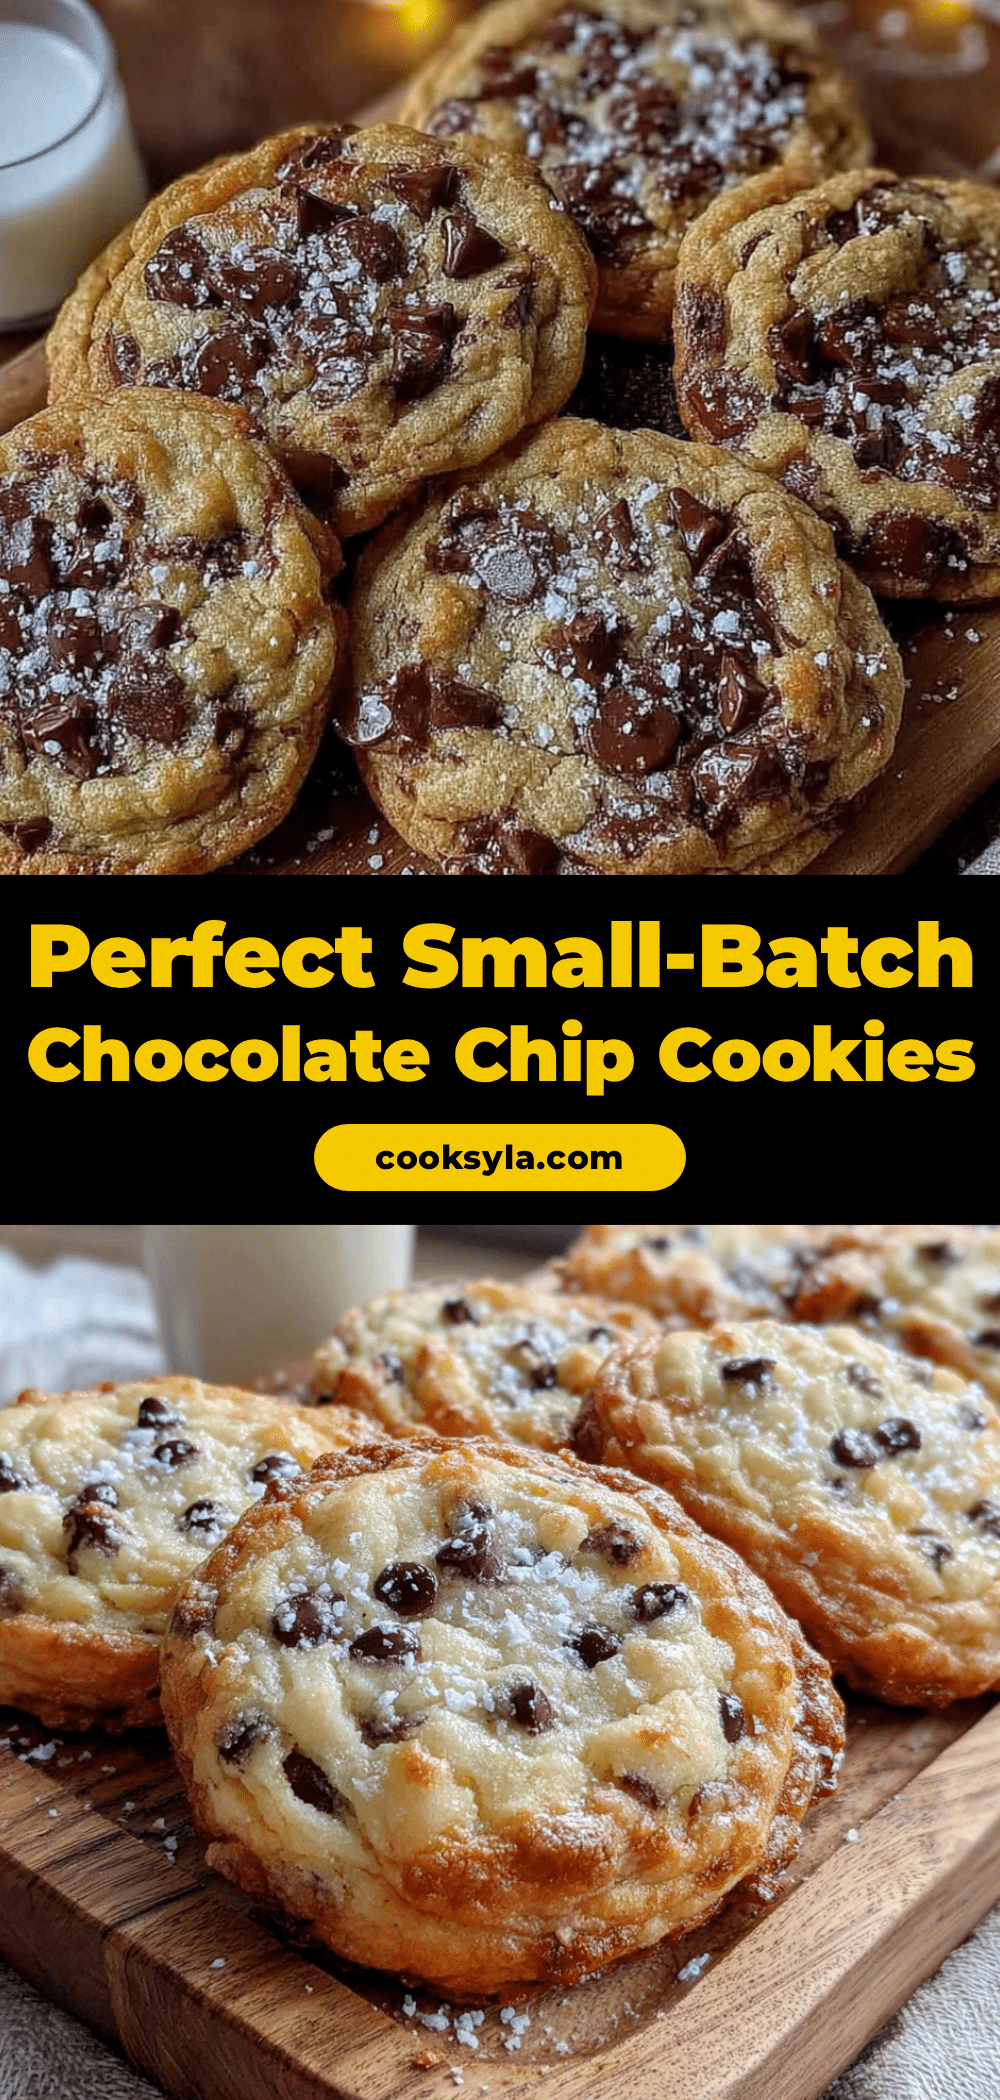
Perfect Small-Batch Chocolate Chip Cookies for Cozy Fall Evenings

These small-batch chocolate chip cookies feature browned butter for a nutty, toasty flavor and dark chocolate chips for rich pockets of sweetness. Ready in under 30 minutes, they make exactly 8 cookies—perfect for a cozy fall evening without leftovers.
- Prep Time: 10 minutes
- Cook Time: 10 minutes
- Total Time: 25 minutes
- Yield: 8 cookies 1x
- Category: Dessert
- Cuisine: American
Ingredients
- 4 tablespoons (57g) unsalted butter
- 3 tablespoons (38g) granulated sugar
- 3 tablespoons (43g) packed light brown sugar
- 1 large egg yolk
- 1/2 teaspoon vanilla extract
- 1/2 cup plus 1 tablespoon (75g) all-purpose flour
- 1/4 teaspoon baking soda
- 1/4 teaspoon fine sea salt
- 1/3 cup (60g) semi-sweet or dark chocolate chips
Instructions
- Preheat your oven to 375°F (190°C). Position the rack in the middle of the oven. Line your baking sheet with parchment paper or a silicone mat.
- Brown the butter: Place the 4 tablespoons of butter in a small saucepan over medium heat. Stir occasionally. The butter will melt, foam, then crackle and pop. After about 3-4 minutes, the foam will subside and golden brown specks will form at the bottom. When the butter turns a warm amber color and smells nutty, remove from heat immediately. Pour into a mixing bowl and let cool for 2-3 minutes.
- Combine sugars and butter: Add the granulated sugar and brown sugar to the warm browned butter. Whisk vigorously for about 30 seconds until combined and smooth like wet sand.
- Add the egg yolk and vanilla: Drop in the egg yolk and vanilla extract. Whisk for a full minute until the mixture becomes lighter in color and slightly thicker.
- Add the dry ingredients: Sprinkle the flour, baking soda, and salt over the wet mixture. Fold gently with a rubber spatula just until no streaks of flour remain. The dough should be soft and slightly sticky.
- Fold in the chocolate chips: Add the chocolate chips and fold in with a few gentle strokes until evenly distributed. If the dough seems too soft, let it rest for 5 minutes.
- Scoop the cookies: Using a cookie scoop or tablespoon, portion the dough into 8 equal balls (about 1.5 tablespoons each). Place them on the prepared baking sheet, spacing about 2 inches apart. Do not flatten. Optionally, press a few extra chocolate chips onto the tops.
- Bake: Bake for 9-11 minutes. The edges should be golden brown and the centers should still look slightly puffy and underdone.
- Cool on the baking sheet: Let the cookies rest on the hot baking sheet for exactly 5 minutes. Then transfer to a cooling rack. Enjoy warm.
Notes
Watch the butter carefully when browning—it can go from perfect to burnt in seconds. Measure flour by spooning it into the cup and leveling off for best results. For bakery-style cookies, press extra chocolate chips onto the dough balls before baking. Cookies can be stored in an airtight container at room temperature for up to 3 days. Dough balls can be frozen for up to 3 months; bake from frozen, adding 2 minutes to the baking time.
Nutrition
- Serving Size: 1 cookie
- Calories: 185
- Sugar: 14
- Sodium: 115
- Fat: 11
- Saturated Fat: 7
- Carbohydrates: 22
- Fiber: 1
- Protein: 2
Keywords: small-batch chocolate chip cookies, browned butter cookies, fall cookies, easy cookie recipe, 8 cookies


