Love this? Save it for later!
Share the inspiration with your friends
I was digging through the back of my freezer last Tuesday, looking for a bag of frozen peas I knew was in there somewhere, when my fingers brushed against a Ziploc bag that made me stop cold. The bag was labeled in my mother’s handwriting — “HUCKLEBERRIES, 2019” — and even through the frost, I could see those tiny, dark purple berries huddled together like secrets. I stood there in the cold air, the freezer door propped open, and I swear I could smell my grandmother’s kitchen. It was the weirdest thing, honestly, because the freezer smelled like frozen pizza and that one bag of coffee beans I forgot about. But there it was — that sharp, floral, almost wine-like scent that only wild huckleberries have. I sat down on the kitchen floor right there, bag in hand, and I knew exactly what I had to make.
My grandmother wasn’t a fancy baker, let me tell you. She measured flour with a coffee mug and used the same butter knife for everything. But her wild huckleberry cheesecake? That was something else entirely. She’d disappear into the woods behind her cabin every August, come back with scratched arms and a bucket full of berries the size of small pearls, and spend the next two days making this cheesecake that practically glowed on the plate. The swirl she made through the cream cheese filling wasn’t just pretty — it was a map of something, I don’t know, maybe love or patience or the kind of attention you can’t learn from a recipe book. I made that cheesecake with her exactly once, the summer I turned fourteen, and I remember dropping the entire carton of cream cheese on the floor. She didn’t even blink. Just scooped it up, wiped off the cat hair, and handed it back to me. “Cream cheese is tough,” she said. “It’ll be fine.”
Maybe you’ve been there — that moment when a single ingredient holds an entire person inside it. That bag of huckleberries was the last she ever picked before her hands got too shaky for the hike. So this Perfect Wild Huckleberry Cheesecake with Berry Swirl isn’t just a dessert. It’s the closest thing I have to sitting on her porch again, watching the light go gold through the pine trees, while she hummed off-key and stirred something wonderful into existence. I’ve made this recipe about a dozen times since that Tuesday, tweaking and testing until it felt like hers but also, you know, a little bit like mine. And I think I finally got it right.
Why You’ll Love This Recipe
This isn’t just another cheesecake recipe. After testing this thing through three different cream cheese brands, two different oven temperatures, and one truly tragic attempt at making a crust with almond flour (don’t ask), I can say with confidence that this is the version you want in your life. Here’s why this Perfect Wild Huckleberry Cheesecake with Berry Swirl stands out from every other recipe you’ll find online:
- Unbelievably Creamy Texture : The secret is a water bath and room-temperature ingredients. No cracks, no graininess, just that velvety, melt-in-your-mouth texture that makes you close your eyes on the first bite.
- That Wild Berry Swirl : The huckleberry compote isn’t just dumped on top. It’s swirled through the cheesecake batter in ribbons, so every single slice has that gorgeous purple marbling and a pop of tart, fruity flavor.
- Simple Ingredients, No Fuss : You don’t need any fancy equipment or hard-to-find items. If you can’t find wild huckleberries (they’re seasonal and regional), I’ll give you the perfect substitution in the ingredients section.
- Perfect for Entertaining : This cheesecake is a showstopper. I brought it to a dinner party last month, and three people asked for the recipe before they even finished their slice. It’s that kind of dessert.
- Make-Ahead Friendly : Cheesecake actually gets better after a day in the fridge. The flavors meld, the texture firms up perfectly, and you get to cross “dessert” off your list a full day before your guests arrive.
I’m not going to tell you this is the easiest recipe in the world — it’s cheesecake, so there are a few steps and some patience required. But I’ve broken everything down so clearly that even if you’ve never made a cheesecake before, you’ll end up with something that looks and tastes like it came from a bakery. And honestly, the first time you pull that perfect, crack-free cheesecake out of the oven and see those berry swirls peeking through? You’ll feel like a rockstar.
What Ingredients You Will Need
This Perfect Wild Huckleberry Cheesecake with Berry Swirl uses simple, high-quality ingredients that work together to create something truly special. Most of these are pantry staples, with the star ingredient — those gorgeous wild huckleberries — being the only thing you might need to hunt down. But don’t worry, I’ve got you covered with substitutions too.
For the Graham Cracker Crust
- 1 ½ cups graham cracker crumbs (about 12 full sheets, crushed finely) — I prefer using a food processor for the most even texture, but a rolling pin and a Ziploc bag work in a pinch.
- ¼ cup granulated sugar — just enough to add a touch of sweetness without overpowering the berries.
- 6 tablespoons unsalted butter, melted — use real butter here, not margarine. It makes a huge difference in flavor and how well the crust holds together.
- Pinch of salt — trust me on this. A tiny pinch balances the sweetness and makes the crust taste more buttery.
For the Huckleberry Swirl Compote
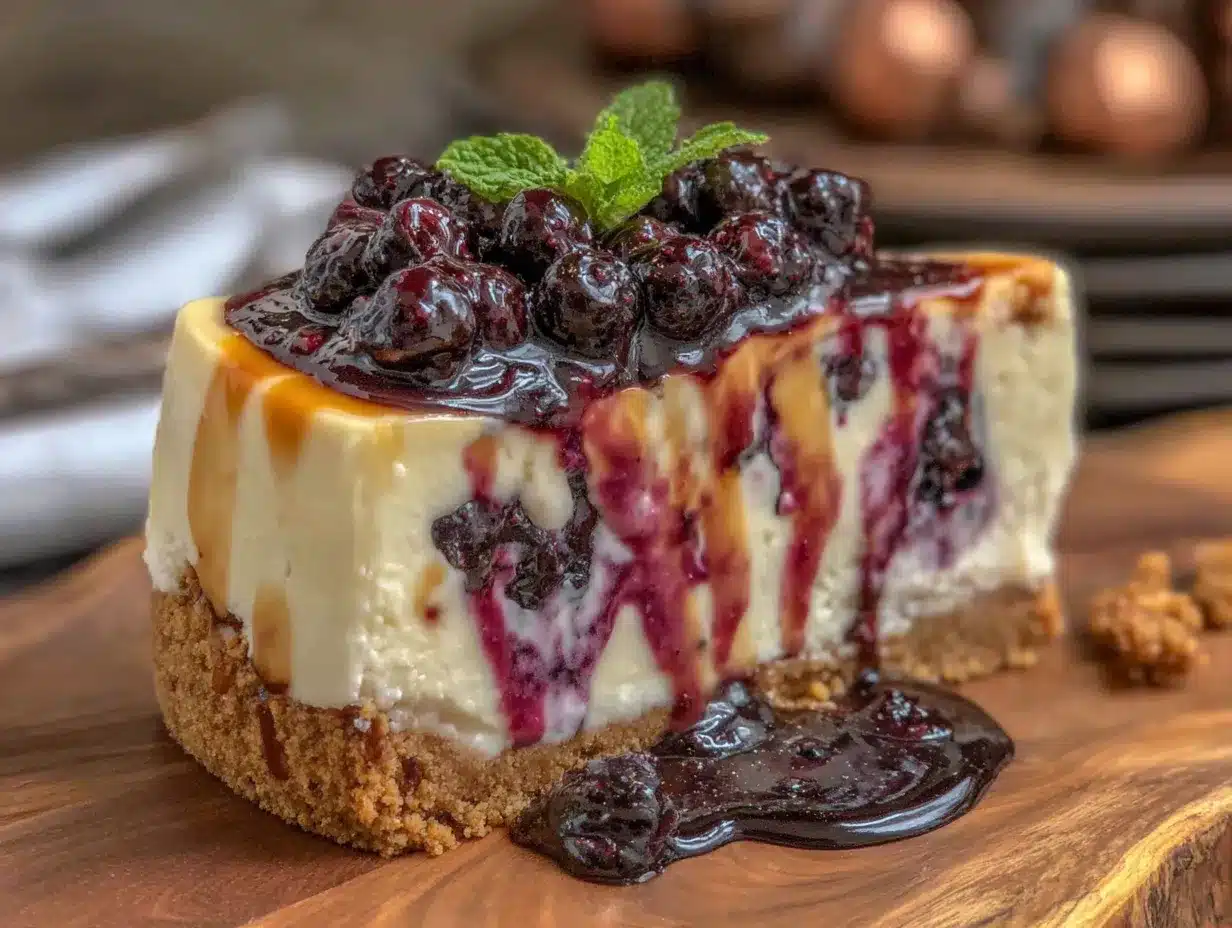
- 2 cups wild huckleberries, fresh or frozen — if you’re using frozen, don’t thaw them first. Just toss them straight into the saucepan. If you can’t find wild huckleberries, you can substitute with blueberries or a mix of blueberries and blackberries. The flavor won’t be exactly the same (huckleberries have this unique floral, tart note that’s hard to replicate), but it will still be delicious.
- ⅓ cup granulated sugar — adjust based on how tart your berries are. Wild huckleberries can be quite tart, so taste as you go.
- 1 tablespoon lemon juice — fresh squeezed is best. The acidity helps brighten the berry flavor and keeps the color vibrant.
- 1 teaspoon vanilla extract — I use pure vanilla extract, not imitation. It adds a warmth that complements the berries beautifully.
- 1 tablespoon cornstarch mixed with 2 tablespoons cold water — this is your thickening agent. Don’t skip it, or your swirl will be too runny and sink to the bottom of the cheesecake.
For the Cheesecake Filling
- 32 ounces (4 blocks) full-fat cream cheese, softened to room temperature — this is non-negotiable. Low-fat cream cheese has too much water and will make your cheesecake dense and prone to cracking. I recommend Philadelphia brand for the most consistent results.
- 1 cup granulated sugar — standard white sugar works perfectly here.
- 1 cup full-fat sour cream, at room temperature — the sour cream adds tanginess and helps create that silky texture. Don’t use light sour cream; the fat content matters for stability.
- 1 teaspoon vanilla extract — again, pure vanilla is your friend.
- 4 large eggs, at room temperature — cold eggs will seize up your batter and create lumps. Let them sit on the counter for at least 30 minutes before you start.
- 2 tablespoons all-purpose flour — this might seem like a weird addition, but it helps stabilize the cheesecake and prevents cracking. It’s a trick I learned from a pastry chef friend, and it works like magic.
Equipment Needed
You don’t need a professional bakery setup to make this Perfect Wild Huckleberry Cheesecake with Berry Swirl, but having the right tools makes the process so much smoother. Here’s what you’ll need:
- 9-inch springform pan — this is essential for cheesecake. The removable sides let you release the cheesecake without damaging it. I’ve had my Nordic Ware pan for about eight years, and it’s never let me down.
- Electric hand mixer or stand mixer — you need power to get that cream cheese perfectly smooth. A hand mixer works fine, just be patient and scrape the bowl frequently.
- Large roasting pan or baking dish — for the water bath. It needs to be big enough to hold your springform pan with room to spare around the sides.
- Aluminum foil — heavy-duty is best. You’ll wrap the bottom and sides of the springform pan to prevent water from seeping in during the water bath.
- Saucepan — for making the huckleberry compote. A small to medium saucepan works perfectly.
- Fine-mesh strainer — optional, but useful if you want to strain the seeds out of your compote for a smoother swirl.
- Rubber spatula — for scraping every last bit of batter and compote. A good spatula is a cheesecake maker’s best friend.
- Offset spatula or butter knife — for creating the swirl pattern in the batter.
- Large bowl — for mixing the filling.
- Measuring cups and spoons — accurate measurements matter in baking.
If you don’t have a springform pan, you can use a deep 9-inch cake pan lined with parchment paper, but getting the cheesecake out cleanly will be much harder. I’d recommend investing in a springform pan if you plan on making cheesecake more than once. They’re not expensive, and they make your life so much easier.
Preparation Method
Alright, let’s make this Perfect Wild Huckleberry Cheesecake with Berry Swirl. I’ve broken everything down into clear steps with time estimates and sensory cues so you know exactly what you’re looking for at each stage. Take your time, and don’t rush — cheesecake rewards patience.
Step 1: Make the Huckleberry Compote (15 minutes + cooling time)
In a medium saucepan, combine the huckleberries, sugar, and lemon juice. Cook over medium heat, stirring occasionally, until the berries start to break down and release their juices — about 5-7 minutes. You’ll see the mixture turn a deep, jewel-toned purple, and the kitchen will smell incredible. Once the berries are soft and the mixture is bubbling, stir in the vanilla extract. Add the cornstarch slurry (cornstarch mixed with water) and stir continuously for another 1-2 minutes until the compote thickens to a syrupy consistency. It should coat the back of a spoon. Remove from heat and let it cool completely. You can speed this up by spreading it on a plate and popping it in the fridge.
Step 2: Prepare the Crust (10 minutes + 10 minutes baking)
Preheat your oven to 325°F (163°C). In a medium bowl, combine the graham cracker crumbs, sugar, and salt. Pour in the melted butter and stir with a fork until the mixture looks like wet sand and holds together when you squeeze it. Press the mixture firmly into the bottom of your springform pan — use the bottom of a measuring cup to get it even and compact. Bake for 10 minutes, then set aside to cool. Don’t turn off the oven yet.
Step 3: Wrap Your Pan for the Water Bath (5 minutes)
This is the step that scares people, but it’s not hard, I promise. Tear off two large sheets of heavy-duty aluminum foil, each about 18 inches long. Place the springform pan in the center of the first sheet and pull the foil up around the sides, pressing it snugly against the pan. Repeat with the second sheet, wrapping in the opposite direction. Make sure there are no tears or gaps — you want a watertight seal. Place the wrapped pan in your large roasting pan.
Step 4: Make the Cheesecake Filling (15 minutes)
In a large bowl, beat the softened cream cheese with an electric mixer on medium speed until it’s completely smooth and fluffy — about 2-3 minutes. Scrape down the sides and bottom of the bowl with a rubber spatula. Add the sugar and beat for another 2 minutes until light and creamy. Add the sour cream and vanilla, and beat just until combined. Add the flour and mix on low speed until incorporated. Now, add the eggs one at a time, beating on low speed after each addition just until the yolk disappears into the batter. Overmixing at this stage incorporates too much air, which can cause cracks. The batter should be smooth, thick, and velvety.
Step 5: Assemble and Create the Swirl (10 minutes)
Pour the cheesecake filling over the cooled crust. Use a spatula to smooth the top into an even layer. Drop spoonfuls of the cooled huckleberry compote all over the surface of the batter — about 8-10 dollops. Now, take a butter knife or offset spatula and gently drag it through the batter and compote in a figure-eight pattern. Don’t over-swirl, or you’ll lose the distinct ribbons. About 5-6 passes is all you need. You want distinct pockets of berry goodness, not a uniformly purple cheesecake.
Step 6: Bake in a Water Bath (1 hour 15 minutes + 1 hour cooling in oven)
Carefully pour hot water into the roasting pan until it reaches about halfway up the sides of the springform pan. This is the water bath, and it’s your secret weapon against cracks. Bake at 325°F (163°C) for 1 hour 15 minutes. The edges should be set and slightly puffed, but the center should still jiggle like Jell-O when you gently shake the pan. Turn off the oven, crack the oven door open, and let the cheesecake cool inside for 1 full hour. This gradual cooling prevents the dreaded crack.
Step 7: Chill and Set (Minimum 6 hours, ideally overnight)
Remove the cheesecake from the water bath and peel off the foil. Run a thin knife around the edge of the pan to loosen the cheesecake (this helps prevent cracking as it cools further). Let it cool completely on a wire rack for about 1 hour, then cover with plastic wrap and refrigerate for at least 6 hours, but overnight is truly best. The texture firms up and the flavors deepen. I know it’s hard to wait, but trust the process.
Cooking Tips & Techniques
I’ve made this Perfect Wild Huckleberry Cheesecake with Berry Swirl about a dozen times now, and I’ve made every mistake in the book so you don’t have to. Here are the tips that make the biggest difference:
Room temperature ingredients are not optional. I know, I know, it’s annoying to wait. But cold cream cheese creates lumps that no amount of beating will fix, and cold eggs can cause the batter to curdle. Take everything out of the fridge at least 1 hour before you start. Set a timer if you have to. I once tried to speed things up by microwaving the cream cheese, and let me tell you — it was a disaster. Melted cream cheese does not make good cheesecake.
Don’t overmix the batter. Once you add the eggs, mix on low speed and stop as soon as each egg is incorporated. Too much air in the batter creates bubbles that rise to the surface and cause cracks. You’re looking for a smooth, dense batter, not a fluffy one.
The water bath is your best friend. I know it seems fussy, but it’s the difference between a crack-free cheesecake and one that looks like a map of the Grand Canyon. The steam from the hot water keeps the oven moist and helps the cheesecake bake evenly. If you’re worried about water leaking in, use heavy-duty foil and double wrap it. I’ve never had a leak using this method.
Let it cool slowly. The number one cause of cheesecake cracks is thermal shock. That’s why I let it cool in the oven with the door cracked open for an hour before taking it out. It’s a slow, gentle transition that keeps the surface smooth.
Use a thin knife to loosen the edges. As the cheesecake cools, it shrinks slightly and pulls away from the pan. Running a thin knife around the edge right after it comes out of the water bath releases any tension and prevents cracks from forming during the cooling process.
Variations & Adaptations
One of the things I love about this Perfect Wild Huckleberry Cheesecake with Berry Swirl is how adaptable it is. Here are some variations I’ve tried and loved:
Berry Swap : If you can’t find wild huckleberries, use an equal amount of fresh or frozen blueberries. For a deeper flavor, mix blueberries with a handful of blackberries. The color won’t be quite as dramatic (huckleberries have a unique deep purple hue), but the taste will still be fantastic. I’ve also made this with raspberries, and the tartness works beautifully with the creamy filling.
Gluten-Free Version : Swap the graham cracker crust for a gluten-free alternative. Use gluten-free graham crackers or a mix of almond flour and crushed gluten-free cookies. Omit the all-purpose flour in the filling, or replace it with an equal amount of cornstarch or gluten-free flour blend. I’ve tested this with Bob’s Red Mill 1-to-1 Baking Flour, and it works perfectly.
No-Bake Version : For a lighter, no-bake version, skip the eggs and flour. Instead, soften 2 teaspoons of unflavored gelatin in 2 tablespoons of cold water, then dissolve it over low heat. Beat the cream cheese and sugar until smooth, then beat in the sour cream, vanilla, and dissolved gelatin. Fold in 1 cup of heavy cream that you’ve whipped to stiff peaks. Pour over the crust, swirl in the compote, and chill for at least 6 hours. It’s a different texture — lighter and mousse-like — but absolutely delicious.
Mini Cheesecakes : Line a muffin tin with paper liners and press the crust mixture into the bottom of each cup. Fill with the cheesecake batter, top with a small dollop of compote, and swirl with a toothpick. Bake for about 18-22 minutes at 325°F (163°C). These are perfect for parties or portion control. I made these for a brunch once, and they disappeared in minutes.
Serving & Storage Suggestions
This Perfect Wild Huckleberry Cheesecake with Berry Swirl is best served cold, straight from the refrigerator. The texture is firm but creamy, and the flavors are at their peak after a full night of chilling. Here’s how to serve and store it:
Serving : Remove the cheesecake from the springform pan by running a thin knife around the edge and releasing the latch. Slice with a sharp, thin-bladed knife, wiping the blade clean between cuts for the prettiest slices. I like to serve it with a dollop of lightly sweetened whipped cream and a few extra fresh huckleberries on top if I have them. A drizzle of honey or a sprinkle of powdered sugar also works beautifully. For drinks, a strong cup of black coffee or a late-harvest Riesling pairs wonderfully with the tart berry flavor.
Storage : Store leftover cheesecake in the refrigerator, tightly covered, for up to 5 days. The flavor actually improves after day one as the berry swirl melds with the cream cheese filling. To freeze, wrap individual slices tightly in plastic wrap, then in aluminum foil, and place in a freezer-safe bag. Cheesecake freezes beautifully for up to 3 months. Thaw overnight in the refrigerator before serving.
Reheating : Honestly, I prefer this cheesecake cold. But if you want a slightly softer texture, let a slice sit at room temperature for about 15-20 minutes before serving. Do not microwave it — that will ruin the texture and make the crust soggy.
Nutritional Information & Benefits
This Perfect Wild Huckleberry Cheesecake with Berry Swirl is definitely a treat, but it does have some redeeming qualities. Here’s the estimated nutritional breakdown per slice (based on 12 servings):
- Calories: Approximately 480-520
- Fat: 32-35g
- Carbohydrates: 40-45g
- Protein: 8-10g
- Sugar: 28-32g
Wild huckleberries are actually packed with antioxidants — even more than blueberries, in fact. They’re rich in vitamin C and fiber, and they have anti-inflammatory properties. The cream cheese and sour cream provide calcium and protein, though they’re also high in saturated fat, so this is definitely an “in moderation” kind of dessert. The graham cracker crust adds some carbs, but you can reduce the sugar in the crust and filling if you prefer a less sweet cheesecake.
If you’re watching your sugar intake, you can reduce the sugar in the filling to ¾ cup without affecting the texture too much. The berry compote needs the sugar to balance the tartness, so I wouldn’t reduce that. For a lower-fat option, you can use Neufchâtel cheese instead of full-fat cream cheese, but the texture won’t be quite as creamy.
Conclusion
This Perfect Wild Huckleberry Cheesecake with Berry Swirl is more than just a recipe — it’s a little piece of my grandmother’s kitchen that I get to share with you. Every time I make it, I think about that summer afternoon, the sound of her humming, the way the light fell across the counter, and the feel of that slightly cat-hairy cream cheese in my hands. It’s funny how food does that, isn’t it? How a single bite can carry you back to a moment you thought you’d forgotten.
I hope you make this cheesecake for someone you love. I hope you take your time with it, don’t stress about the cracks (they don’t matter, I promise), and let the smell of those berries fill your kitchen. And when you take that first bite and the creamy filling melts into the tart, fruity swirl, I hope you close your eyes for just a second and enjoy it.
If you make this recipe, I’d love to hear about it! Leave a comment below and let me know how it turned out, what variations you tried, or if you found huckleberries in the wildest place. And if you loved it, share it with a friend who needs a little sweetness in their life. Happy baking!
Frequently Asked Questions
Can I use frozen huckleberries instead of fresh?
Absolutely! Frozen huckleberries work perfectly in this recipe. In fact, I often use frozen berries because they’re available year-round. Don’t thaw them before making the compote — just add them directly to the saucepan. You may need to cook them for an extra minute or two to account for the extra moisture.
Why did my cheesecake crack on top?
Cracks usually happen for one of three reasons: overmixing the batter (too much air), baking at too high a temperature, or cooling too quickly. Make sure you’re using a water bath, not overbeating the eggs, and letting the cheesecake cool slowly in the oven with the door cracked open. Even if it cracks, it will still taste amazing — you can always cover it with extra compote or whipped cream!
Can I make this cheesecake without a water bath?
You can, but I don’t recommend it. The water bath creates a humid environment that helps the cheesecake bake evenly and prevents cracks. Without it, you’re much more likely to end up with a dry, cracked cheesecake. If you absolutely can’t do a water bath, place a pan of hot water on the oven rack below the cheesecake to create steam.
How do I know when the cheesecake is done baking?
The edges should be set and slightly puffed, but the center should still jiggle when you gently shake the pan. It should look like a firm Jell-O, not liquid. If the center is completely set and doesn’t jiggle at all, it’s overbaked. Remember, the cheesecake continues to cook from residual heat as it cools in the oven.
Can I double this recipe for a larger crowd?
Yes! You can double the ingredients and bake it in a 10-inch springform pan. The baking time will be longer — start checking at 1 hour 30 minutes. You may also need to use a larger roasting pan for the water bath. Just make sure your springform pan fits comfortably with room for water around the sides.
Pin This Recipe!
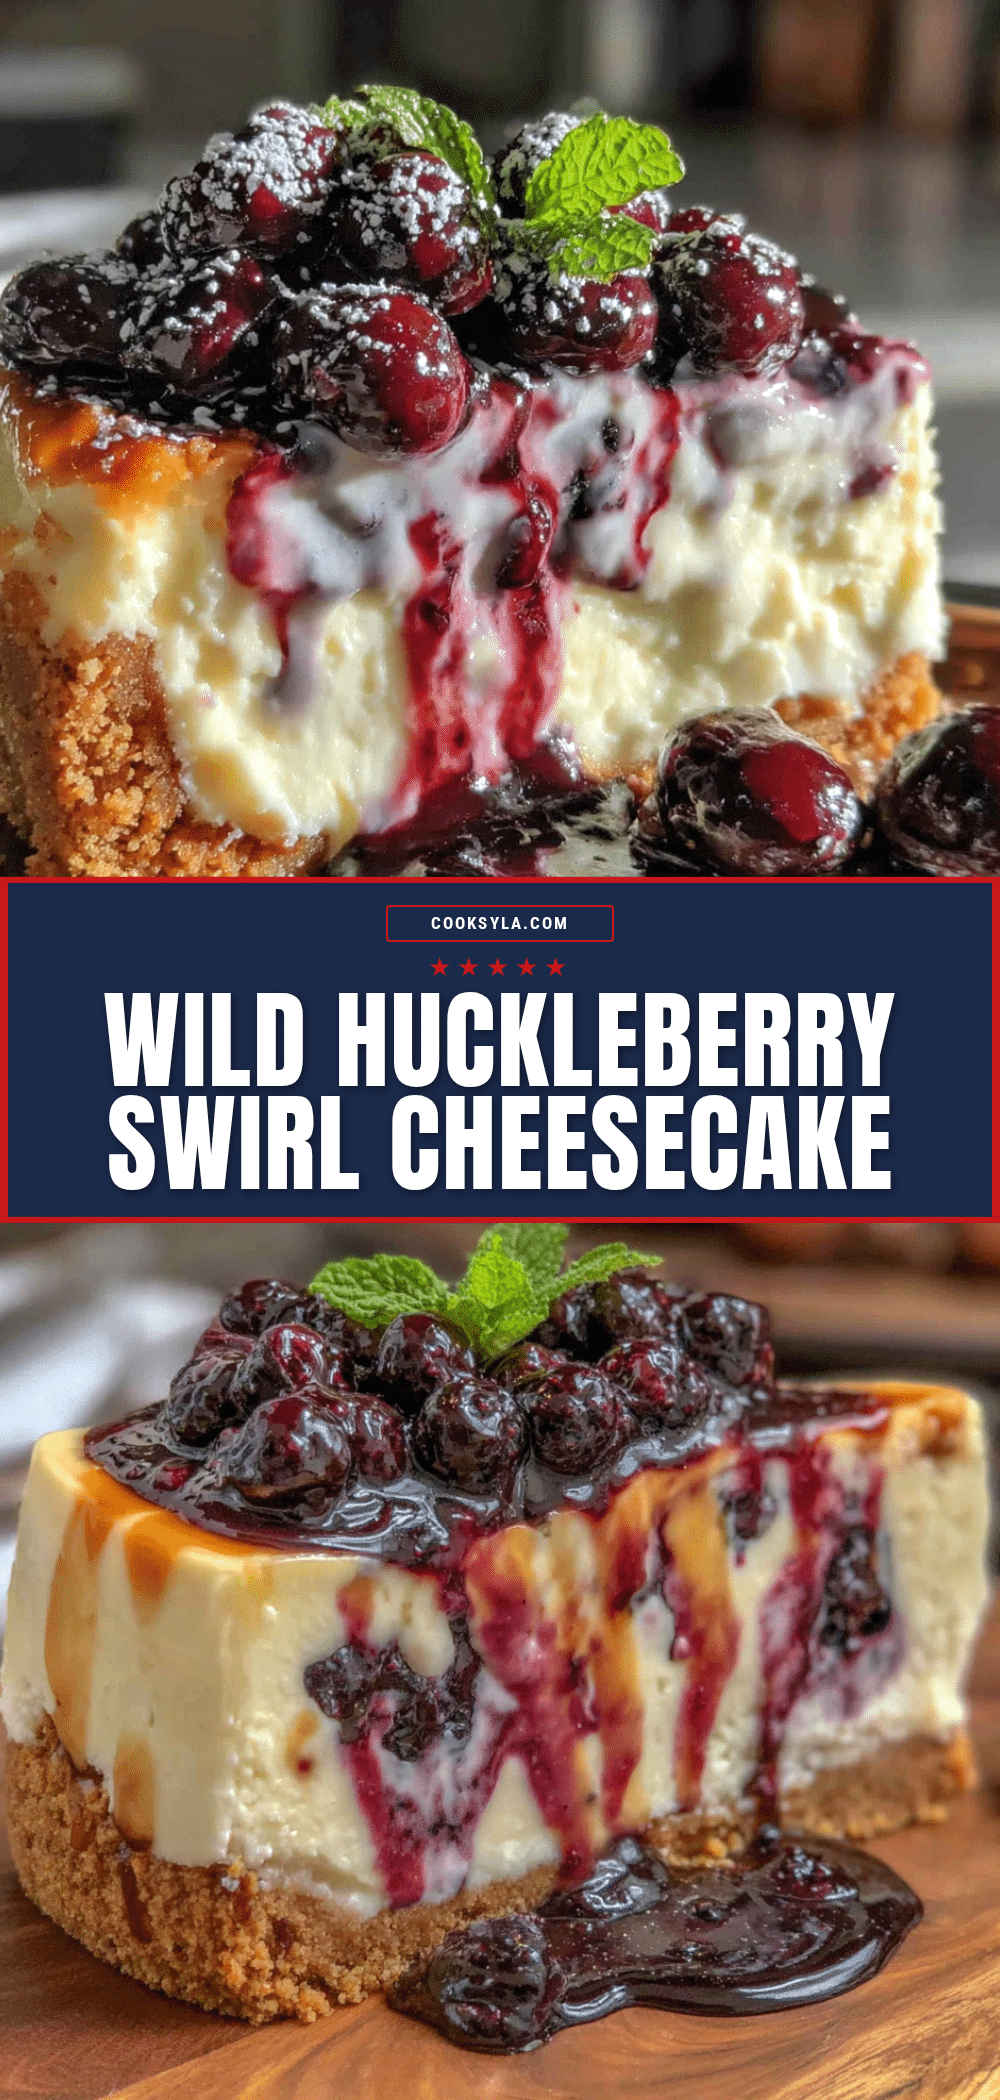
Perfect Wild Huckleberry Cheesecake: Easy Berry Swirl Recipe

A creamy, crack-free cheesecake swirled with a tart wild huckleberry compote, inspired by a grandmother’s recipe. This showstopping dessert is perfect for entertaining and can be made ahead.
- Prep Time: 30 minutes
- Cook Time: 1 hour 15 minutes
- Total Time: 8 hours (including cooling and chilling)
- Yield: 12 servings 1x
- Category: Dessert
- Cuisine: American
Ingredients
- 1 ½ cups graham cracker crumbs (about 12 full sheets, crushed finely)
- ¼ cup granulated sugar
- 6 tablespoons unsalted butter, melted
- Pinch of salt
- 2 cups wild huckleberries, fresh or frozen
- ⅓ cup granulated sugar
- 1 tablespoon lemon juice
- 1 teaspoon vanilla extract
- 1 tablespoon cornstarch mixed with 2 tablespoons cold water
- 32 ounces (4 blocks) full-fat cream cheese, softened to room temperature
- 1 cup granulated sugar
- 1 cup full-fat sour cream, at room temperature
- 1 teaspoon vanilla extract
- 4 large eggs, at room temperature
- 2 tablespoons all-purpose flour
Instructions
- Make the Huckleberry Compote: In a medium saucepan, combine the huckleberries, sugar, and lemon juice. Cook over medium heat, stirring occasionally, until the berries start to break down and release their juices — about 5-7 minutes. Stir in the vanilla extract. Add the cornstarch slurry and stir continuously for another 1-2 minutes until the compote thickens to a syrupy consistency. Remove from heat and let it cool completely.
- Prepare the Crust: Preheat your oven to 325°F (163°C). In a medium bowl, combine the graham cracker crumbs, sugar, and salt. Pour in the melted butter and stir with a fork until the mixture looks like wet sand. Press the mixture firmly into the bottom of your springform pan. Bake for 10 minutes, then set aside to cool.
- Wrap Your Pan for the Water Bath: Tear off two large sheets of heavy-duty aluminum foil, each about 18 inches long. Place the springform pan in the center of the first sheet and pull the foil up around the sides, pressing it snugly against the pan. Repeat with the second sheet, wrapping in the opposite direction. Place the wrapped pan in your large roasting pan.
- Make the Cheesecake Filling: In a large bowl, beat the softened cream cheese with an electric mixer on medium speed until completely smooth and fluffy — about 2-3 minutes. Add the sugar and beat for another 2 minutes until light and creamy. Add the sour cream and vanilla, and beat just until combined. Add the flour and mix on low speed until incorporated. Add the eggs one at a time, beating on low speed after each addition just until the yolk disappears into the batter.
- Assemble and Create the Swirl: Pour the cheesecake filling over the cooled crust. Drop spoonfuls of the cooled huckleberry compote all over the surface of the batter — about 8-10 dollops. Take a butter knife or offset spatula and gently drag it through the batter and compote in a figure-eight pattern. About 5-6 passes is all you need.
- Bake in a Water Bath: Carefully pour hot water into the roasting pan until it reaches about halfway up the sides of the springform pan. Bake at 325°F (163°C) for 1 hour 15 minutes. The edges should be set and slightly puffed, but the center should still jiggle like Jell-O when you gently shake the pan. Turn off the oven, crack the oven door open, and let the cheesecake cool inside for 1 full hour.
- Chill and Set: Remove the cheesecake from the water bath and peel off the foil. Run a thin knife around the edge of the pan to loosen the cheesecake. Let it cool completely on a wire rack for about 1 hour, then cover with plastic wrap and refrigerate for at least 6 hours, but overnight is best.
Notes
Room temperature ingredients are crucial for a smooth batter. Do not overmix once eggs are added. The water bath is essential for preventing cracks. Let the cheesecake cool slowly in the oven to avoid thermal shock. For best results, chill overnight.
Nutrition
- Serving Size: 1 slice
- Calories: 500
- Sugar: 30
- Sodium: 350
- Fat: 33.5
- Saturated Fat: 18
- Carbohydrates: 42.5
- Fiber: 1
- Protein: 9
Keywords: wild huckleberry cheesecake, berry swirl cheesecake, homemade cheesecake, huckleberry recipe, easy cheesecake, no-crack cheesecake, water bath cheesecake


