Love this? Save it for later!
Share the inspiration with your friends
It was 11:47 PM on a Wednesday in late October, and I had a ridiculous, very specific craving for something that looked disgusting but tasted amazing. I didn’t have any fancy cookie cutters or food coloring gels—the stuff the real Halloween bakers use—but I had butter, flour, sugar, and a bag of whole almonds I’d bought for a salad I never made. And then the idea arrived, probably from that part of my brain that only wakes up after midnight: witch fingers. Realistic ones. The kind that make people at parties do a double-take before they bite down.
I mean, let me tell you, I was tired. I’d spent the whole day cleaning for a dinner party I was hosting the next evening, and my kitchen looked like a flour bomb had gone off. Honestly, I was too exhausted to care about perfection. I just grabbed a bowl and started throwing things together, not even measuring half the time. I forgot to soften the butter properly and had to microwave it in ten-second bursts, which is a total rookie move. But you know what? That weird, impulsive, late-night energy made these cookies better. There’s something about the quiet hours that loosens the usual rules.
The first batch came out of the oven at 12:34 AM, and I nearly burned my tongue testing one. The almond nail was perfectly toasted, the knuckle creases looked disturbingly real, and the texture was this perfect shortbread-sandwich-cookie hybrid. I stood there in my pajamas, eating a witch finger at midnight, and I knew I’d stumbled onto something special. Maybe you’ve been there—that moment when a kitchen accident or a last-minute substitution becomes your new favorite thing. These cookies stayed with me because they’re more than just a Halloween gimmick. They’re the cookie that steals the show at any gathering, and they start with a story about a very tired woman and a very good idea at nearly midnight.
Why You’ll Love This Recipe
I’ve tested these witch finger cookies at three different parties now, and they never fail to get the exact reaction you want: a little bit of horror, followed by a lot of delight. Here’s why they’ve become my go-to for any spooky gathering:
- Surprisingly Simple: The dough comes together in about 15 minutes, and you probably have everything in your pantry right now. No weird ingredients, no specialty extracts—just butter, sugar, flour, and almonds.
- Naturally Creepy: These look genuinely unsettling, which is exactly what you want at a Halloween party or a spooky-themed dinner. The almond nails and the knuckle details are simple to do but look incredibly realistic.
- Perfect for Hosting: You can make the dough up to three days ahead and shape the cookies the morning of your party. That means less stress when guests are arriving and more time to enjoy the show when someone takes their first bite.
- Crowd-Pleaser: Kids and adults both go crazy for these. I’ve seen grown men squeal and then eat six in a row. The shortbread base is buttery and not too sweet, so they pair perfectly with coffee, hot cider, or a glass of cold milk.
- Unbelievably Realistic: The key is in the details—the almond sliver pressed in for a nail, the slight browning at the “cuticle,” and the way the dough cracks around the knuckles as it bakes. People will actually hesitate before eating one.
This isn’t just another Halloween cookie recipe. It’s the one that makes you the cool person at the party. The one people text their friends about. The one that gets photographed before it gets eaten. And honestly? It’s the kind of cookie that makes you close your eyes after the first bite because it’s just that good—buttery, crumbly, with that perfect little crunch from the almond.
What Ingredients You Will Need
This recipe uses simple, everyday ingredients to create something that looks like it crawled out of a witch’s kitchen. The magic is in the technique, not the grocery list. Here’s everything you’ll need:
For the Cookie Dough
- 1 cup (226g) unsalted butter, softened — I always use Land O’Lakes for baking because the flavor is consistent. Make sure it’s truly at room temperature; cold butter won’t cream properly and will give you lumpy dough.
- 1 cup (200g) powdered sugar — Powdered sugar gives these cookies a melt-in-your-mouth texture that granulated sugar just can’t match. No need to sift unless it’s really clumpy.
- 1 large egg — Room temperature is best. If you forgot to take it out of the fridge, place it in a bowl of warm water for 5 minutes.
- 1 teaspoon vanilla extract — Pure vanilla makes a difference here. Imitation will work in a pinch, but the flavor won’t be as rich.
- ½ teaspoon almond extract — This is the secret ingredient that ties everything together. It enhances the almond nails and gives the cookies a subtle, mysterious flavor. I recommend Nielsen-Massey if you can find it.
- ½ teaspoon salt — Fine sea salt is best. It balances the sweetness and brings out the buttery flavor.
- 2 ½ cups (312g) all-purpose flour — Spoon and level your flour for the most accurate measurement. Scooping directly from the bag can add up to 25% more flour, which makes the cookies dry and crumbly.
For the “Nails” and Details
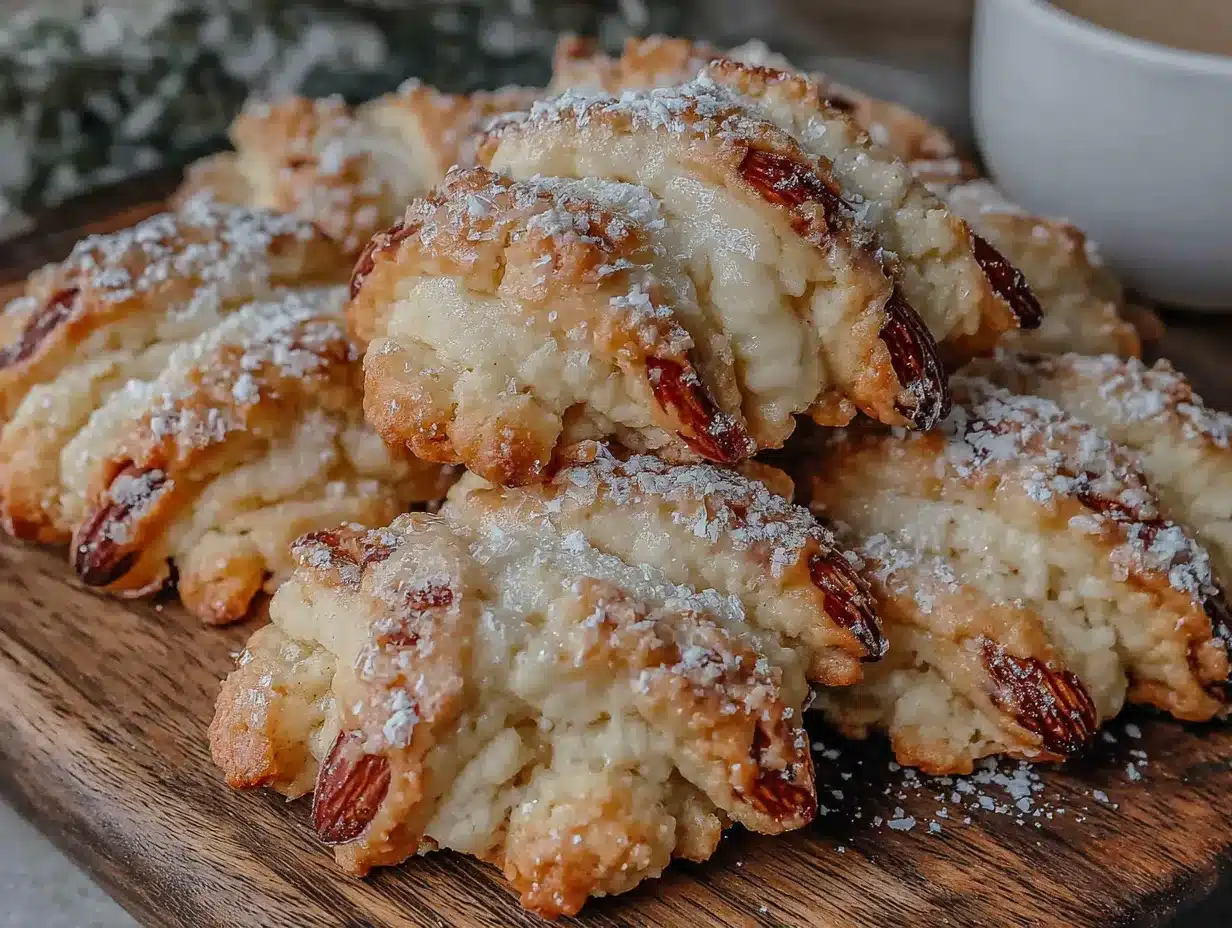
- 1 cup whole almonds (about 24-30 almonds) — You want raw, unsalted almonds with their skins on. The brown skin helps them look more like real fingernails. I’ve tried blanched almonds, and they look too clean—not creepy enough.
- Red food coloring gel — A tiny dab at the base of each almond nail creates a “cuticle” effect that sells the illusion. Gel coloring is better than liquid because it doesn’t add extra moisture to the dough.
- Green food coloring gel (optional) — For an extra-spooky green tint on the fingers. I skip this for my classic version, but it’s fun for a zombie-themed party.
For the “Dirt” Coating (Optional but Recommended)
- 2 tablespoons cocoa powder — Unsweetened, for dusting the finished cookies. It makes them look like they’ve been dug up from a grave. Trust me, it’s the detail that gets the biggest reaction.
- 1 tablespoon powdered sugar — Mixed with the cocoa to soften the bitterness.
Equipment Needed
You don’t need much to make these creepy cookies, and I’ve found some clever substitutes for the fancy stuff:
- Electric mixer — A stand mixer with the paddle attachment is ideal, but a hand mixer works perfectly. I’ve even made these by hand with a wooden spoon when my mixer was broken, and they turned out fine—my arm was just very tired.
- Baking sheets — Two large rimmed baking sheets are ideal. If you only have one, just let it cool completely between batches. A hot pan will spread the dough before it sets.
- Parchment paper — Non-negotiable for these cookies. They’re delicate when warm, and parchment makes removal a breeze. Silicone baking mats work too, but the cookies might spread slightly more.
- Sharp knife or bench scraper — For cutting the almond slivers and scoring the knuckle lines. A paring knife works great; just make sure it’s sharp so you don’t squish the almonds.
- Small paintbrush or toothpick — For applying the red food coloring at the cuticle. I actually prefer a clean, unused makeup brush for a more precise application—don’t judge, it works.
- Cooling rack — Wire racks allow air to circulate so the cookies cool evenly. If you don’t have one, just transfer them carefully to a plate and flip them after a few minutes.
Preparation Method
Follow these steps carefully, and you’ll have the creepiest cookies at any gathering. I’ve included all the little details I learned from my late-night experiments.
Step 1: Make the Dough
In a large mixing bowl, cream together the softened butter and powdered sugar on medium speed until light and fluffy—about 3 minutes. You want the mixture to be pale and airy. Scrape down the sides of the bowl halfway through. Add the egg, vanilla extract, and almond extract, and mix on low until just combined. The mixture might look slightly curdled at this point, but that’s normal—don’t panic.
In a separate bowl, whisk together the flour and salt. Gradually add the dry ingredients to the wet mixture, mixing on low speed. Stop as soon as the dough comes together. Overmixing will develop gluten and make the cookies tough instead of tender. The dough should be soft but not sticky. If it feels too sticky to handle, wrap it in plastic wrap and chill for 20 minutes.
Step 2: Prepare the Almond “Nails”
While the dough rests, prepare your almonds. You need one whole almond per cookie. Using a sharp knife, carefully slice each almond lengthwise into 2-3 thin slivers. You want pieces that look like fingernails—slightly curved and about ½ inch long. Discard the tiny broken pieces or snack on them (you’ve earned it). Set the almond slivers aside on a plate.
Using a toothpick or small paintbrush, dab a tiny dot of red food coloring gel at the base of each almond sliver. This will create the “cuticle” effect. Don’t use too much—a little goes a long way, and you want it to look subtle, like a real nail bed. Let the almonds dry while you shape the cookies.
Step 3: Shape the Fingers
Preheat your oven to 325°F (163°C). Line two baking sheets with parchment paper.
Take about 1 tablespoon of dough (roughly the size of a walnut) and roll it into a log shape about 3 inches long. Gently taper one end to form the fingertip and make the other end slightly thicker to look like the base of the finger. Place it on the prepared baking sheet. Repeat with the remaining dough, spacing the fingers about 2 inches apart—they don’t spread much, but you want room to work.
Here’s where the magic happens. Using the back of a butter knife or a bench scraper, gently press three lines into each finger at the knuckle positions. Don’t press too deep or the cookies will break apart during baking. You want subtle creases that look like natural skin folds. For extra realism, gently pinch the dough at each knuckle to create a slight bulge.
Step 4: Attach the Nails
Press one prepared almond sliver into the tapered end of each finger, with the red “cuticle” end touching the dough. Gently press the dough up around the base of the almond to secure it—you want it to look like the nail is growing out of the finger. If the almond doesn’t stick, dab a tiny bit of water on the dough before pressing.
For extra creepy realism, use the tip of a toothpick to create a few tiny lines around the nail bed, like real cuticles. You can also gently score a few lines on the “fingertip” to look like fingerprints. These details are optional but they make a huge difference in the final presentation.
Step 5: Bake
Bake the cookies for 12-15 minutes, or until the edges are just barely golden brown. The centers should still look slightly pale and underdone—they’ll continue to set as they cool. Rotate the baking sheets halfway through for even baking. The cookies will puff slightly and the knuckle lines will become more pronounced as they bake.
Let the cookies cool on the baking sheet for 5 minutes. This is crucial—they’re very delicate when hot and will fall apart if you try to move them too soon. After 5 minutes, transfer them to a wire rack to cool completely.
Step 6: The “Dirt” Finish (Optional)
Once the cookies are completely cool, mix the cocoa powder and powdered sugar in a small bowl. Lightly dust the cookies with the mixture using a fine-mesh sieve. This gives them a “just dug up” appearance that’s perfect for Halloween. Don’t overdo it—you want a light dusting, not a thick coating. Tap the cookies gently to remove any excess.
Cooking Tips & Techniques
I’ve made these cookies at least a dozen times now, and I’ve learned a few things the hard way. Here’s what I wish someone had told me before my first batch:
Chill the dough if it gets too soft. Warm hands will soften the butter in the dough, making it sticky and hard to shape. If you notice the dough getting greasy or difficult to work with, pop it in the fridge for 10-15 minutes. I’ve had to do this mid-shaping more times than I’d like to admit.
Don’t skip the almond extract. I made a batch without it once because I thought it was an unnecessary extra ingredient. The cookies were good, but they didn’t have that mysterious, slightly haunting flavor that makes people ask, “What’s in these?” The almond extract ties the whole concept together.
Watch the bake time carefully. These cookies go from perfectly done to overbaked very quickly. The first time I made them, I left them in for 17 minutes because I was distracted, and they came out hard and cracked. You want them just set—the edges should be barely golden, and the centers should still look slightly soft. They’ll firm up as they cool.
Make extra almond slivers. Some almonds will break when you slice them, and some will fall off during baking. I always prepare at least 5-6 extra almond slivers to account for casualties. There’s nothing worse than running out of nails halfway through shaping.
Work in batches. Don’t try to shape all the cookies at once if you’re new to this. Shape a few, attach the nails, and then move on. Taking your time ensures each finger looks realistic and detailed. I usually shape 6-8 at a time before I start a new batch.
Variations & Adaptations
One of the best things about this recipe is how adaptable it is. Here are a few variations I’ve tried and loved:
Gluten-Free Witch Fingers
Substitute the all-purpose flour with a 1:1 gluten-free baking flour blend. I’ve had great results with Bob’s Red Mill 1:1 Baking Flour. The texture will be slightly more crumbly, so handle the dough gently. Add an extra tablespoon of butter to help with moisture.
Vegan Witch Fingers
Use vegan butter (I like Miyoko’s for baking) and replace the egg with a flax egg (1 tablespoon ground flaxseed mixed with 3 tablespoons water, let sit for 5 minutes). The cookies will be slightly less tender, but they’ll still look wonderfully creepy. The almond nails are naturally vegan, so that part stays the same.
Chocolate Witch Fingers
Replace ¼ cup of the flour with unsweetened cocoa powder. The cookies will be dark and even more sinister-looking. The chocolate flavor pairs beautifully with the almond extract. I made these for a friend’s gothic-themed party, and they were a hit.
Zombie Green Fingers
Add a few drops of green food coloring gel to the dough before adding the flour. Knead it in until the color is evenly distributed. The green tint makes the cookies look like they belong on a zombie’s hand. Pair with red food coloring at the “cuticle” for maximum gross-out factor.
Bloody Fingers
After baking, drizzle a small amount of red icing or thinned strawberry jam around the “nail bed” for a bloody effect. This is definitely the most disturbing variation, and it gets the biggest reaction at parties. Just warn guests before they bite in!
Serving & Storage Suggestions
These cookies are designed to be the star of your Halloween spread, and they deserve a dramatic presentation. Here’s how I serve and store mine:
Serving: Arrange the cookies on a black or dark gray platter, scattered in a way that looks like a pile of severed fingers. For extra effect, place them sticking out of a bowl of “dirt” (crushed chocolate cookies) or arrange them around a fake cauldron. I like to serve them at room temperature with a side of warm apple cider or a dark hot chocolate. The contrast between the creepy appearance and the delicious buttery flavor is what makes them so memorable.
Storage: Store the cookies in an airtight container at room temperature for up to 5 days. Layer them between sheets of parchment paper to prevent the almond nails from breaking off. Do not refrigerate them—the moisture in the fridge will make the cookies soft and the almonds soggy. If you want to keep them longer, you can freeze the baked cookies for up to 3 months.
Make-Ahead Tips: This is a lifesaver for hosting. You can make the dough up to 3 days ahead and keep it wrapped tightly in the refrigerator. When you’re ready to bake, let the dough sit at room temperature for 10-15 minutes to soften slightly before shaping. You can also shape the cookies completely and freeze them on the baking sheet. Once frozen solid, transfer them to a freezer bag and bake directly from frozen—just add 2-3 minutes to the baking time.
Nutritional Information & Benefits
Let’s be honest—these are cookies, not health food. But here’s what you’re looking at per cookie (based on 24 cookies):
- Calories: Approximately 165
- Fat: 10g
- Carbohydrates: 17g
- Protein: 3g
- Sugar: 8g
The almonds provide a small amount of healthy fats, vitamin E, and magnesium. The butter and eggs add some protein and fat-soluble vitamins. These aren’t a health food, but they’re made with real ingredients—no preservatives, no artificial flavors (except the food coloring, which you can skip if you prefer). If you’re watching your sugar intake, you can reduce the powdered sugar to ¾ cup without affecting the texture too much.
This recipe is naturally nut-free if you skip the almond nails and use a different decoration (like a slivered date or a piece of dried apricot). It’s also vegetarian-friendly. For those with dairy sensitivities, the vegan variation above works well.
Conclusion
These witch finger cookies have become my signature Halloween contribution, and I don’t see that changing anytime soon. They’re the perfect blend of creepy and delicious—the kind of recipe that makes people laugh, shiver, and then reach for another one. Whether you’re hosting a spooky dinner party, bringing treats to a potluck, or just want to have some fun in the kitchen, these cookies deliver every time.
I love that they start with a story about a late-night kitchen experiment and end with a table full of delighted (and slightly horrified) guests. That’s what cooking should be—a little bit of magic, a little bit of chaos, and a whole lot of joy. So go ahead, get your hands dirty, and make some fingers. Trust me, your guests will be talking about them long after the last cookie is gone.
Have you tried these witch finger cookies? I’d love to hear how they turned out! Drop a comment below with your own variations, or tag me in your photos—I always love seeing your creepy creations. Happy Halloween, and happy baking!
Frequently Asked Questions
Can I make these cookies without almond extract?
Yes, you can skip the almond extract or substitute it with an equal amount of vanilla extract. The cookies will still taste great, but they won’t have that subtle almond flavor that ties everything together. If you’re serving these to someone with a nut allergy, definitely skip the almond extract and use a different “nail” decoration.
Why did my cookies spread too much?
Overly spread cookies usually mean the dough was too warm when it went into the oven. Make sure your butter is softened but not melted, and chill the shaped cookies for 10-15 minutes before baking if your kitchen is warm. Also, check that you used the correct amount of flour—too little flour will cause spreading.
How do I get the nails to stay on?
Press the almond sliver firmly into the dough and gently mold the dough up around the base. If the almond still seems loose, dab a tiny bit of water on the dough before pressing. For extra security, you can press a small piece of dough over the base of the almond after placing it. The dough will hold the almond in place as it bakes.
Can I freeze the unbaked cookies?
Absolutely! Shape the cookies completely, place them on a baking sheet lined with parchment, and freeze until solid. Transfer the frozen cookies to a freezer bag and store for up to 3 months. When you’re ready to bake, place them directly on a lined baking sheet and add 2-3 minutes to the baking time. No need to thaw first.
How do I make these cookies less sweet?
Reduce the powdered sugar to ¾ cup instead of 1 cup. The cookies will be slightly less tender but still delicious. You can also skip the cocoa powder dusting at the end, as the cocoa adds a slight bitterness that balances the sweetness. For a savory twist, add ½ teaspoon of black pepper to the dough—it sounds weird, but it’s incredible with the almond flavor.
Pin This Recipe!
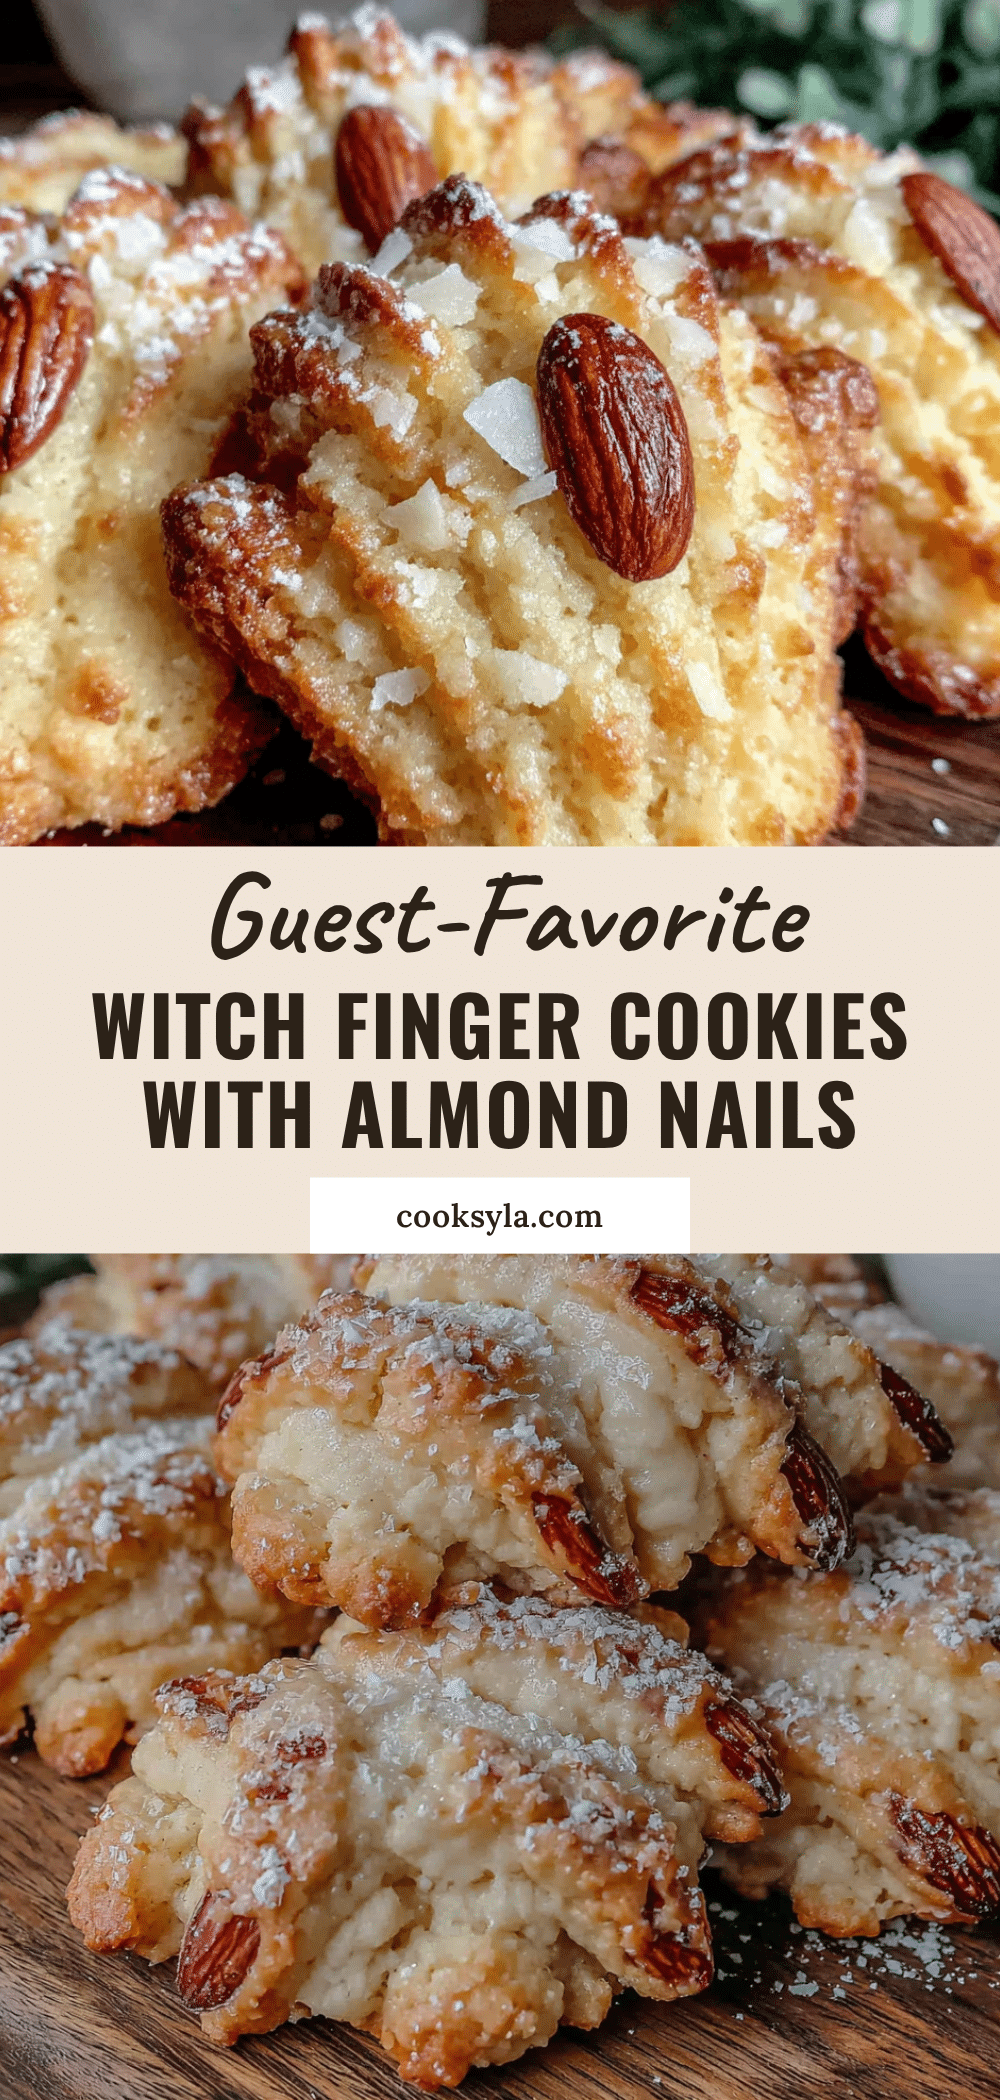
Spooky Witch Finger Cookies with Almond Nails

These realistic witch finger cookies are buttery, crumbly shortbread with almond nails, perfect for Halloween parties. They look disturbingly real but taste deliciously sweet.
- Prep Time: 15 minutes
- Cook Time: 15 minutes
- Total Time: 30 minutes
- Yield: 24 servings 1x
- Category: Dessert
- Cuisine: American
Ingredients
- 1 cup (226g) unsalted butter, softened
- 1 cup (200g) powdered sugar
- 1 large egg
- 1 teaspoon vanilla extract
- ½ teaspoon almond extract
- ½ teaspoon salt
- 2 ½ cups (312g) all-purpose flour
- 1 cup whole almonds (about 24–30 almonds)
- Red food coloring gel
- Green food coloring gel (optional)
- 2 tablespoons unsweetened cocoa powder (optional)
- 1 tablespoon powdered sugar (optional)
Instructions
- In a large mixing bowl, cream together the softened butter and powdered sugar on medium speed until light and fluffy—about 3 minutes. Scrape down the sides of the bowl halfway through. Add the egg, vanilla extract, and almond extract, and mix on low until just combined.
- In a separate bowl, whisk together the flour and salt. Gradually add the dry ingredients to the wet mixture, mixing on low speed. Stop as soon as the dough comes together. If too sticky, wrap in plastic wrap and chill for 20 minutes.
- While the dough rests, prepare the almond ‘nails’: Using a sharp knife, carefully slice each almond lengthwise into 2-3 thin slivers. Set aside. Using a toothpick or small paintbrush, dab a tiny dot of red food coloring gel at the base of each almond sliver. Let dry.
- Preheat oven to 325°F (163°C). Line two baking sheets with parchment paper.
- Take about 1 tablespoon of dough and roll into a log shape about 3 inches long. Gently taper one end to form the fingertip and make the other end slightly thicker. Place on prepared baking sheet. Repeat with remaining dough, spacing fingers about 2 inches apart.
- Using the back of a butter knife or bench scraper, gently press three lines into each finger at the knuckle positions. For extra realism, gently pinch the dough at each knuckle to create a slight bulge.
- Press one prepared almond sliver into the tapered end of each finger, with the red ‘cuticle’ end touching the dough. Gently press the dough up around the base of the almond to secure it. Optionally, use a toothpick to create tiny lines around the nail bed and fingerprints.
- Bake for 12-15 minutes, or until edges are just barely golden brown. Rotate baking sheets halfway through. Let cookies cool on baking sheet for 5 minutes, then transfer to a wire rack to cool completely.
- Once completely cool, mix cocoa powder and powdered sugar in a small bowl. Lightly dust cookies with the mixture using a fine-mesh sieve for a ‘dirt’ finish (optional).
Notes
Chill dough if it gets too soft. Don’t skip the almond extract. Watch bake time carefully—cookies go from done to overbaked quickly. Make extra almond slivers as some may break. Work in batches for best results.
Nutrition
- Serving Size: 1 cookie
- Calories: 165
- Sugar: 8
- Sodium: 75
- Fat: 10
- Saturated Fat: 5
- Carbohydrates: 17
- Fiber: 1
- Protein: 3
Keywords: Halloween cookies, witch finger cookies, shortbread cookies, almond cookies, spooky cookies, creepy cookies, party cookies


