Love this? Save it for later!
Share the inspiration with your friends
I was standing in the freezer aisle at our local grocery store last January when a sharp, earthy smell hit me — and suddenly I was seven years old in my Aunt Clara’s tiny kitchen in Vermont. She had a dented pot simmering on the stove, the windows completely fogged up, and that same wild, almost medicinal scent filled every corner of the room. I remember her stirring with a wooden spoon that had seen better days, muttering something about “keeping the germs away.” I didn’t know what she was making back then. I just knew the house felt safe, and she always smelled like purple berries and honey.
That memory sat buried for years until I found myself standing there in the freezer aisle, sniffling, with two kids at home who had already gone through three rounds of daycare crud that winter. Honestly, I had never made homemade elderberry syrup before. I didn’t even know where to buy dried elderberries. But I grabbed a bag, some local honey, and a hunk of ginger, and I went home determined to figure it out. The first batch was a disaster — I boiled the berries too long and ended up with something that tasted like bitter tea mixed with regret. But the second batch? That was the one. It was sweet, a little tart, and it made my whole kitchen smell like that memory from Vermont.
Maybe you’ve been there — standing in a store aisle, desperate for something that actually works when everyone around you is coughing. Or maybe you just want something natural to keep on hand during cold season. Either way, this homemade elderberry syrup recipe became my winter ritual. It’s the thing I make every single year now, and I keep making it because it actually works. Let me tell you exactly how to make it.
Why You’ll Love This Recipe
I’ve tested this recipe more times than I can count, and honestly, I’ve made every mistake possible so you don’t have to. After years of trial and error, here’s why this version stands out from everything else you’ll find online.
- Quick & Easy : This comes together in about 45 minutes, and most of that is just simmering time. You don’t need to stand over the stove the whole time.
- Simple Ingredients : You only need six ingredients, and you can find all of them at your regular grocery store or online. No weird specialty shops required.
- Perfect for Cold Season : This is the thing I reach for at the first sniffle. It’s great for the whole family, and kids actually like the taste.
- Cost-Effective : Store-bought elderberry syrup costs a small fortune. Making it at home saves you at least half the price, and you control what goes in it.
- Crowd-Pleaser : I’ve given jars of this to neighbors, teachers, and family members. Everyone asks for more. It’s become my signature winter gift.
What makes this recipe different from the rest is the balance. Most recipes are either too sweet or too medicinal. I spent months tweaking the ratio of ginger to cinnamon to honey until I got that perfect sweet-spicy-tart balance that actually makes you want to take it every day. Plus, I figured out the exact simmering time that preserves the immune-boosting compounds without destroying them. Trust me, I boiled all the goodness out of my first batch and learned the hard way.
This isn’t just another syrup. It’s the kind that makes you feel like you’re actually doing something good for your body. And honestly, when cold season hits and everyone around you is dropping like flies, that feeling is priceless.
What Ingredients You Will Need
This recipe uses simple, wholesome ingredients that work together to create a powerful immune-boosting syrup. Most of these are probably already in your pantry, or at least easy to find. Let me walk you through each one.
- Dried elderberries, 1 cup (I recommend Starwest Botanicals or Frontier Co-op for consistent quality. Look for deep purple-black berries that smell slightly sweet and earthy. Avoid any that smell musty.)
- Water, 4 cups (Filtered water works best. Tap water with heavy chlorine can affect the taste.)
- Fresh ginger root, 2 inches (Peeled and sliced into thin rounds. The ginger adds warmth and anti-inflammatory properties. I don’t recommend powdered ginger here — fresh gives a much brighter kick.)
- Cinnamon sticks, 2 whole (Ceylon cinnamon is milder and sweeter than cassia cinnamon. Either works, but Ceylon has a more delicate flavor that doesn’t overpower the berries.)
- Whole cloves, 1 teaspoon (These add a subtle spiciness and antimicrobial benefits. Go easy — too many cloves can make the syrup taste like holiday potpourri.)
- Raw honey, 1 cup (Local raw honey is ideal for added immune benefits and pollen exposure. Never use honey for children under 1 year old. If you’re vegan, you can substitute with maple syrup or agave, though the texture will be thinner.)
Optional additions that I sometimes rotate in:
- Orange peel from one organic orange (adds vitamin C and bright citrus notes)
- Rose hips, 2 tablespoons (extra vitamin C and a slightly floral undertone)
- Astragalus root, 1 tablespoon (traditional Chinese herb for immune support, adds an earthy depth)
A quick note on sourcing: I buy my dried elderberries in bulk online during the fall. They keep for up to a year in a cool, dark cabinet. If you’re foraging your own elderberries, make sure you cook them thoroughly — raw elderberries can cause stomach upset. Stick with store-bought dried ones if you’re new to this. Trust me, it’s easier and safer.
One more thing — don’t skip the ginger and cinnamon just because you think they’re optional. They’re not just for flavor. They help your body absorb the elderberry compounds better. It’s like a little teamwork happening in your jar.
Equipment Needed
You don’t need fancy equipment for this recipe. Here’s what you’ll need, along with a few tips I’ve learned from years of making this syrup.
- Medium saucepan (A 2-3 quart pot works perfectly. Stainless steel or enameled cast iron is ideal. Avoid aluminum pots — they can react with the acidic berries and leave a metallic taste. I learned that one the hard way.)
- Fine-mesh strainer (You need something with very small holes to catch all the tiny berry bits and sediment. A regular colander won’t cut it. If you don’t have a fine-mesh strainer, you can use cheesecloth or a nut milk bag.)
- Glass measuring cup (For easy pouring into jars. A 4-cup size is perfect.)
- Wooden spoon (For stirring. Metal spoons can get too hot and the berries tend to stick to them.)
- Glass jars with lids (Two 8-ounce jars or one 16-ounce jar. Make sure they’re sterilized. I run mine through the dishwasher on the sanitize cycle or boil them for 10 minutes.)
- Funnel (Optional but helpful for transferring syrup into jars without making a sticky mess. I use a small canning funnel.)
- Kitchen scale (Optional. Measuring dried elderberries by weight is more accurate — 1 cup is about 4 ounces.)
If you’re on a budget, skip the fancy stuff. A regular pot, a strainer from the dollar store, and an old spaghetti sauce jar that you’ve washed thoroughly will work just fine. I made my first batch with exactly that setup and it turned out great.
Preparation Method
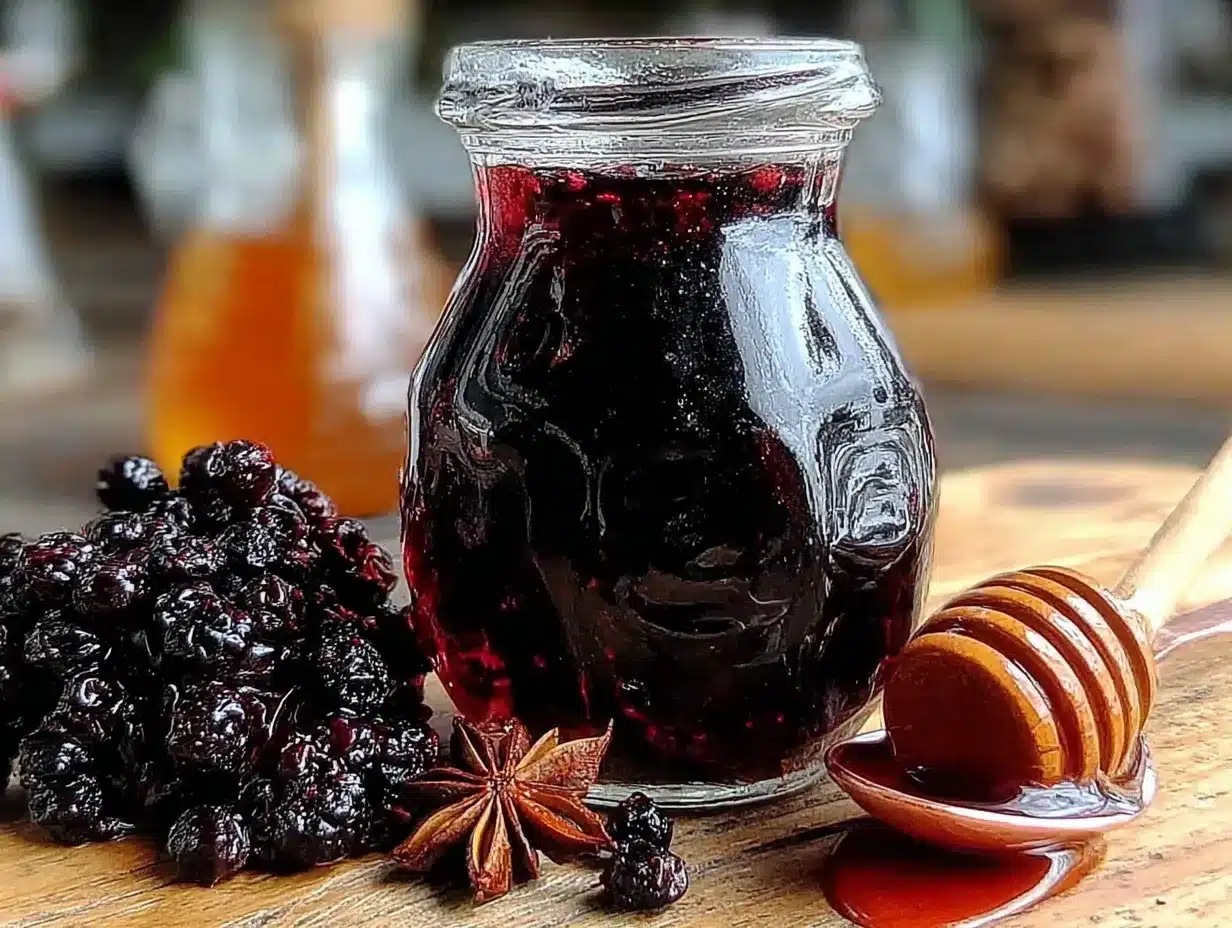
Alright, let’s get to the actual making part. I’ve broken this down step by step so you don’t make the same mistakes I did. Read through everything first, then start cooking.
- Rinse the dried elderberries (30 seconds). Place them in your fine-mesh strainer and give them a quick rinse under cool water. This removes any dust or debris. Don’t soak them — you don’t want them to start absorbing water before cooking.
- Combine berries, water, and spices in your saucepan (1 minute). Add the rinsed elderberries, 4 cups of filtered water, sliced ginger, cinnamon sticks, and whole cloves. Give everything a stir with your wooden spoon. The water should cover the berries by about an inch. If it doesn’t, add a little more.
- Bring to a boil, then reduce to a simmer (5-10 minutes to reach boil). Turn the heat to medium-high and watch for the first bubbles. Once it reaches a full boil, immediately reduce the heat to low. You want a gentle simmer — tiny bubbles, not a rolling boil. Boiling too hard destroys the beneficial compounds in the elderberries. I killed my first batch this way.
- Simmer for 30-40 minutes (set a timer). Let it simmer uncovered. The liquid will reduce by about half, and the kitchen will start smelling amazing. Stir occasionally to prevent the berries from sticking to the bottom. You’ll know it’s done when the liquid is dark purple-black and the berries look plump and slightly wrinkled. If you’re using a kitchen thermometer, the liquid should be around 180°F — never above 200°F.
- Remove from heat and let cool slightly (10 minutes). Take the pot off the stove and let it sit for about 10 minutes. This makes it safer to handle and helps the flavors meld. Don’t skip this step — straining hot liquid is a burn risk.
- Strain the mixture (5 minutes). Place your fine-mesh strainer over a glass measuring cup or large bowl. Carefully pour the mixture through the strainer. Use the back of your wooden spoon to gently press the berries against the strainer to extract all the liquid. Don’t press too hard or you’ll push bitter sediment through. You should end up with about 1.5 to 2 cups of dark purple liquid.
- Let the strained liquid cool to room temperature (20-30 minutes). This is crucial. If you add honey to hot liquid, you destroy its beneficial enzymes and antibacterial properties. The liquid needs to be warm, not hot — think bathwater temperature. I check by dipping my clean finger in. If it feels hot, it’s too hot.
- Stir in the honey (2 minutes). Once the liquid is cool enough, add 1 cup of raw honey and stir gently until fully dissolved. Don’t whisk vigorously — you don’t want to incorporate air bubbles. The syrup should be smooth and glossy. Taste it here. If you want it sweeter, add a little more honey. If it’s too sweet for your liking, that’s fine too — it’s your syrup.
- Pour into sterilized jars (5 minutes). Use your funnel to pour the syrup into clean glass jars. Leave about half an inch of headspace at the top. Wipe the rims with a clean damp cloth, then screw on the lids.
- Label and refrigerate (2 minutes). Write the date on the jar with a permanent marker. Store in the refrigerator immediately. The syrup will thicken slightly as it chills.
That’s it. You just made homemade elderberry syrup. Give yourself a pat on the back.
Cooking Tips & Techniques
After more batches than I can count, here are the things I wish someone had told me before I started.
Don’t boil the berries to death. I cannot stress this enough. The first time I made this, I let it boil for an hour because I thought “more cooking equals more extraction.” Nope. I ended up with a bitter, tannic syrup that tasted like crushed aspirin. The sweet spot is 30-40 minutes at a gentle simmer. That’s enough time to extract the beneficial compounds without pulling out the bitter tannins from the seeds.
Watch your honey temperature. Raw honey is packed with enzymes, probiotics, and antioxidants that get destroyed at temperatures above 95°F. That’s barely warm. I ruined two batches before I learned to let the liquid cool completely before adding honey. Now I wait until the strained liquid feels neutral on my wrist — like testing baby bottle temperature.
Use the right berry-to-water ratio. I’ve seen recipes calling for 1 cup of berries to 3 cups of water, or 2 cups of berries to 6 cups of water. After testing both, I found that 1 cup of berries to 4 cups of water gives the best balance of potency and flavor. Any more water and the syrup is too thin. Any less and it’s too concentrated and bitter.
Don’t skip the straining step. I know it’s tempting to just leave the berries in there for “extra goodness.” Don’t. The berries are woody and unpleasant to eat, and the seeds can be hard on digestion. Strain thoroughly. Your future self will thank you.
Make it a double batch. This syrup disappears fast, especially during cold season. I always make a double batch and keep one jar in the fridge and one in the freezer. It freezes beautifully for up to 6 months. Just leave headspace in the jar for expansion.
Keep a jar at work. I keep a small 4-ounce jar in my desk drawer at work. When I feel a tickle in my throat or someone near me starts coughing, I take a spoonful. It’s saved me more times than I can count.
Variations & Adaptations
This recipe is flexible. Here are some variations I’ve tried and loved.
Spicy Immune Booster: Add 1 tablespoon of fresh turmeric root (peeled and sliced) along with the ginger. Turmeric is a powerful anti-inflammatory, and it pairs beautifully with the elderberries. Just be warned — it will stain everything yellow, including your countertops and fingers. I learned to use gloves when handling it.
Kids’ Version: Reduce the ginger to 1 inch and skip the cloves entirely. Kids can be sensitive to strong spice flavors. Add an extra cinnamon stick for sweetness. My kids call this “purple honey” and actually ask for it. I consider that a parenting win.
Low-Sugar Option: If you’re watching your sugar intake, you can reduce the honey to 1/2 cup and add 1/4 cup of monk fruit sweetener or stevia glycerite. The texture will be thinner, but it still works. I’ve made this for friends with diabetes and they reported no blood sugar spikes.
Winter Wellness Blend: Add 2 tablespoons of dried rose hips and 1 tablespoon of dried orange peel along with the elderberries. Rose hips are packed with vitamin C, and orange peel adds a bright citrus note that cuts through the earthiness. This is my go-to version during peak flu season.
Alcohol-Based Tincture Version: If you want a shelf-stable version that doesn’t need refrigeration, you can make an elderberry tincture instead. Combine 1 cup of dried elderberries with 2 cups of vodka or brandy in a glass jar. Let it sit in a cool dark place for 4-6 weeks, shaking daily. Strain and store in a dropper bottle. This version lasts for years. I keep a bottle in my medicine cabinet for emergencies.
Slow Cooker Method: Throw everything except the honey into a slow cooker and cook on low for 4-6 hours. Strain, cool, and add honey. This is great for busy days when you don’t want to watch the stove. The flavor is slightly mellower, but it works perfectly.
Serving & Storage Suggestions
This syrup is incredibly versatile. Here’s how I use it and store it.
How to take it: Adults take 1 tablespoon daily for maintenance or 1 tablespoon 3-4 times daily at the first sign of illness. Children aged 1-6 take 1 teaspoon daily, and children 7-12 take 2 teaspoons. Always consult your pediatrician before giving any herbal remedy to children. I take mine straight off a spoon, but you can also mix it into warm tea, hot water with lemon, or even drizzle it over oatmeal or yogurt.
When to take it: I start taking it daily in early fall, right when the weather starts to turn. It’s not a cure — it’s more like a shield. Think of it as giving your immune system a little extra support so it can do its job better. I also take it after traveling, after a stressful week, or anytime I feel run down.
Storage instructions: Store your syrup in the refrigerator in a sealed glass jar. It will keep for 2-3 months in the fridge. If you see any mold, fizzing, or off smells, throw it out immediately. Properly made syrup that’s kept cold should stay good for the full 3 months. I’ve never had a batch go bad, but I also go through it pretty fast.
Freezing instructions: Pour the syrup into ice cube trays and freeze. Once frozen, pop the cubes out and store them in a freezer bag. Each cube is about 1 tablespoon. Just thaw a cube in the fridge overnight or drop it into hot tea. Frozen syrup keeps for up to 6 months.
Gift idea: Pour the syrup into small 4-ounce jars, tie a ribbon around the neck, and attach a tag with dosage instructions. I give these to teachers, neighbors, and coworkers every December. They’re always a hit. One year I made 20 jars and ran out before Christmas.
Flavor development: The flavors actually deepen and meld after about a week in the fridge. The first day, the ginger and cloves will be quite prominent. After a week, everything settles into a smooth, balanced sweetness. Don’t judge it on day one.
Nutritional Information & Benefits
Here’s the approximate nutritional breakdown for a 1-tablespoon serving of this syrup.
| Nutrient | Amount per Serving |
|---|---|
| Calories | 45 |
| Total Carbohydrates | 12g |
| Sugars | 11g |
| Vitamin C | 4% DV |
| Antioxidants | High |
Please note these are estimates. Actual values will vary based on your specific ingredients and honey brand.
Health benefits of key ingredients:
- Elderberries are packed with anthocyanins, powerful antioxidants that support immune function and reduce inflammation. Studies suggest they may shorten the duration of colds and flu.
- Raw honey contains natural enzymes, probiotics, and antibacterial properties. Local honey may also help with seasonal allergies.
- Ginger is anti-inflammatory and can help soothe sore throats and settle upset stomachs.
- Cinnamon has antimicrobial properties and helps regulate blood sugar.
- Cloves are rich in antioxidants and have mild pain-relieving properties.
Dietary considerations: This recipe is naturally gluten-free, dairy-free, and soy-free. It’s suitable for paleo and Whole30 diets if you use compliant honey. For vegans, substitute maple syrup or agave. For low-sugar diets, reduce the honey as noted in the variations section. Always check with your healthcare provider before starting any new herbal regimen, especially if you’re pregnant, nursing, or on medication.
I’m not a doctor or nutritionist, obviously. I’m just someone who spent a lot of time reading studies and testing things in my own kitchen. This syrup has genuinely made a difference in how often I get sick during winter. That’s good enough for me.
FAQs
Can I use fresh elderberries instead of dried?
Yes, you can. Use 2 cups of fresh elderberries in place of 1 cup dried. Reduce the water to 3 cups since fresh berries contain more moisture. Make sure to cook them thoroughly — raw elderberries can cause nausea and stomach upset. I personally stick with dried because they’re more consistent and available year-round.
How long does homemade elderberry syrup last?
In the refrigerator, it lasts 2-3 months in a sealed glass jar. In the freezer, it lasts up to 6 months. If you see any mold, bubbles, or smell something off, throw it away. I always label my jars with the date so I know exactly how old they are.
Can I give this syrup to my kids?
Yes, but with precautions. Children over 1 year old can take elderberry syrup in age-appropriate doses. Never give honey to children under 1 year due to botulism risk. For kids 1-6, give 1 teaspoon daily. For kids 7-12, give 2 teaspoons. Always check with your pediatrician first. My kids love the taste and call it “purple medicine.”
Does elderberry syrup actually work for colds and flu?
There’s promising research suggesting elderberries can help reduce the duration and severity of cold and flu symptoms. They’re not a cure or a replacement for medical care, but many people find them helpful as part of a comprehensive immune support routine. I’ve personally noticed I get sick less often and recover faster when I take it consistently. That said, everyone’s body is different.
Can I make this without honey?
Absolutely. For a sugar-free version, skip the honey and use monk fruit sweetener, stevia, or simply enjoy the syrup unsweetened. The flavor will be much more tart and earthy. For a vegan version, use maple syrup or agave nectar. The texture will be thinner with agave, but it still works great. I’ve made all three versions and they’re all good in their own way.
Conclusion
This homemade elderberry syrup has become a staple in my kitchen, and I honestly can’t imagine going through another winter without it. It’s simple to make, uses ingredients you can actually pronounce, and fills your home with the kind of warm, spicy aroma that just feels like comfort. Every time I open the fridge and see that dark purple jar, I think about my Aunt Clara’s fogged-up kitchen windows and that feeling of being taken care of.
The best part about this recipe is that you can make it your own. Add more ginger if you like it spicy. Use less honey if you prefer it tart. Throw in some orange peel or rose hips if you’re feeling adventurous. The base recipe is forgiving and adaptable, which is exactly what a good homemade remedy should be.
I’d love to hear how your batch turns out. Did you add your own twist? Did your kids actually take it without a fight? Drop a comment below and let me know. And if you found this helpful, share it with a friend who’s tired of spending a fortune on store-bought syrups. We’re all in this together, and a little purple syrup goes a long way.
Stay healthy, friends. And keep a spoon handy.
Pin This Recipe!
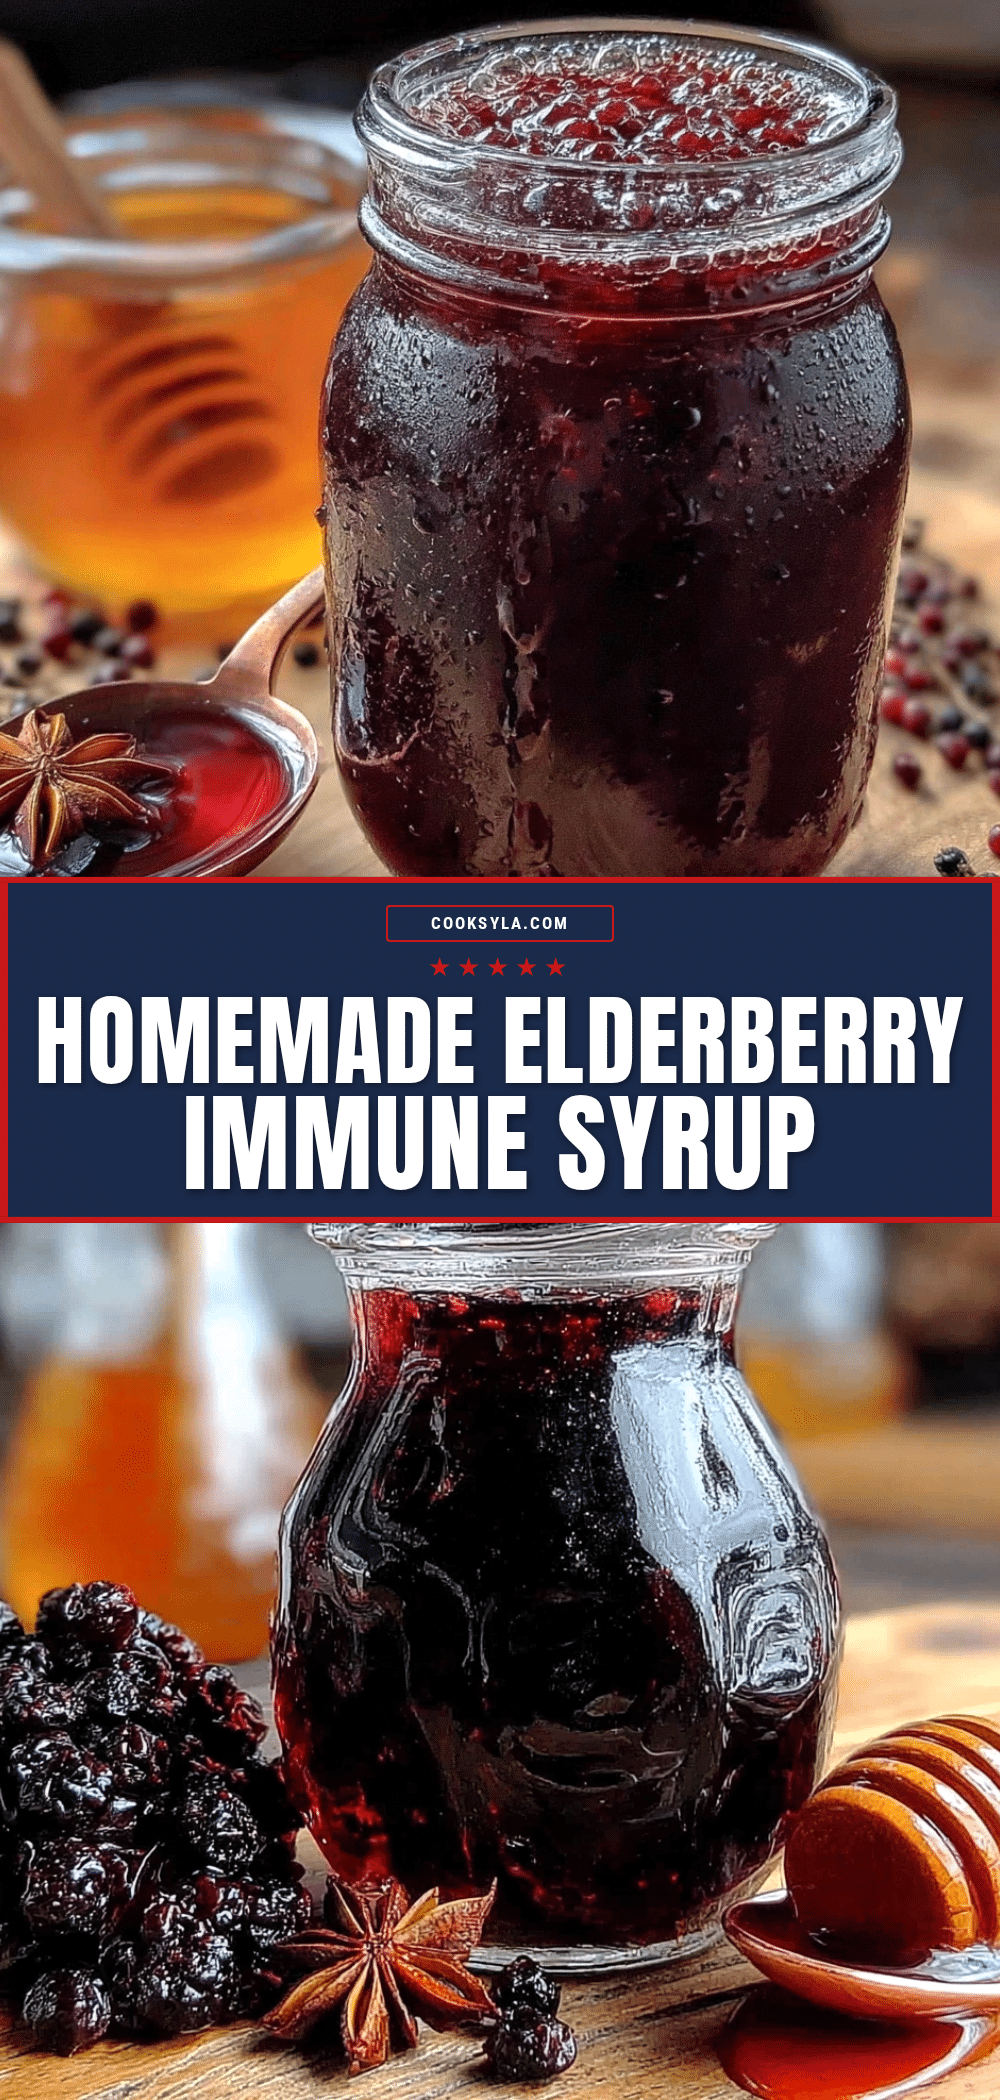
Homemade Elderberry Syrup: Easy Immune-Boosting Recipe
This homemade elderberry syrup is a simple, immune-boosting recipe made with dried elderberries, ginger, cinnamon, cloves, and raw honey. It’s perfect for cold season and can be made in about 45 minutes.
- Prep Time: 15 minutes
- Cook Time: 40 minutes
- Total Time: 55 minutes
- Yield: 16 servings 1x
- Category: Condiment
- Cuisine: American
Ingredients
- 1 cup dried elderberries
- 4 cups filtered water
- 2 inches fresh ginger root, peeled and sliced into thin rounds
- 2 whole cinnamon sticks
- 1 teaspoon whole cloves
- 1 cup raw honey
Instructions
- Rinse the dried elderberries in a fine-mesh strainer under cool water for 30 seconds.
- Combine the rinsed elderberries, 4 cups of filtered water, sliced ginger, cinnamon sticks, and whole cloves in a medium saucepan. Stir with a wooden spoon.
- Bring to a boil over medium-high heat (5-10 minutes), then immediately reduce heat to low to maintain a gentle simmer.
- Simmer uncovered for 30-40 minutes, stirring occasionally, until the liquid is dark purple-black and reduced by about half.
- Remove from heat and let cool for 10 minutes.
- Strain the mixture through a fine-mesh strainer into a glass measuring cup or bowl, gently pressing the berries with a wooden spoon to extract all liquid. Discard solids.
- Let the strained liquid cool to room temperature (20-30 minutes). It should feel warm, not hot.
- Stir in 1 cup of raw honey until fully dissolved. The syrup should be smooth and glossy.
- Pour the syrup into sterilized glass jars using a funnel, leaving about 1/2 inch of headspace. Wipe rims and screw on lids.
- Label jars with the date and refrigerate immediately.
Notes
Do not boil the berries too long or at high heat, as it destroys beneficial compounds and creates bitterness. Let the strained liquid cool to room temperature before adding honey to preserve its enzymes. Store in the refrigerator for 2-3 months or freeze for up to 6 months. For children under 1 year, do not use honey; substitute with maple syrup or agave.
Nutrition
- Serving Size: 1 tablespoon
- Calories: 45
- Sugar: 11
- Carbohydrates: 12
Keywords: elderberry syrup, homemade elderberry syrup, immune booster, cold remedy, natural remedy, elderberry recipe


